Category Archives: On My Needles

Manly Socks

Here’s the annoying part about being a knitter:  When people learn about your hobby, they all want knitted things for their birthday/Christmas/Arbor Day.

And here’s the sick part about being a knitter:  You want to make stuff for everyone.

For example,  my father-in-law is notoriously hard to find gifts for, so when he mentioned to me that all he wanted for Christmas was a pair of hand-knit socks each year, I couldn’t help but oblige!  I even had a pair of fairly large manly-looking socks in my stash of finished projects in a lovely burgundy-brown color.  Easy-peasy!

He loved them, and wore them the rest of Christmas break (which made me very happy-it’s always great to see your work being appreciated).  But there was a problem:  They were WAY too small.

Not too small that he couldn’t get the socks on or anything, but my knitter’s eye couldn’t help but notice that the sock was pulling across the ball of the foot and the heel was much too close to the toe.

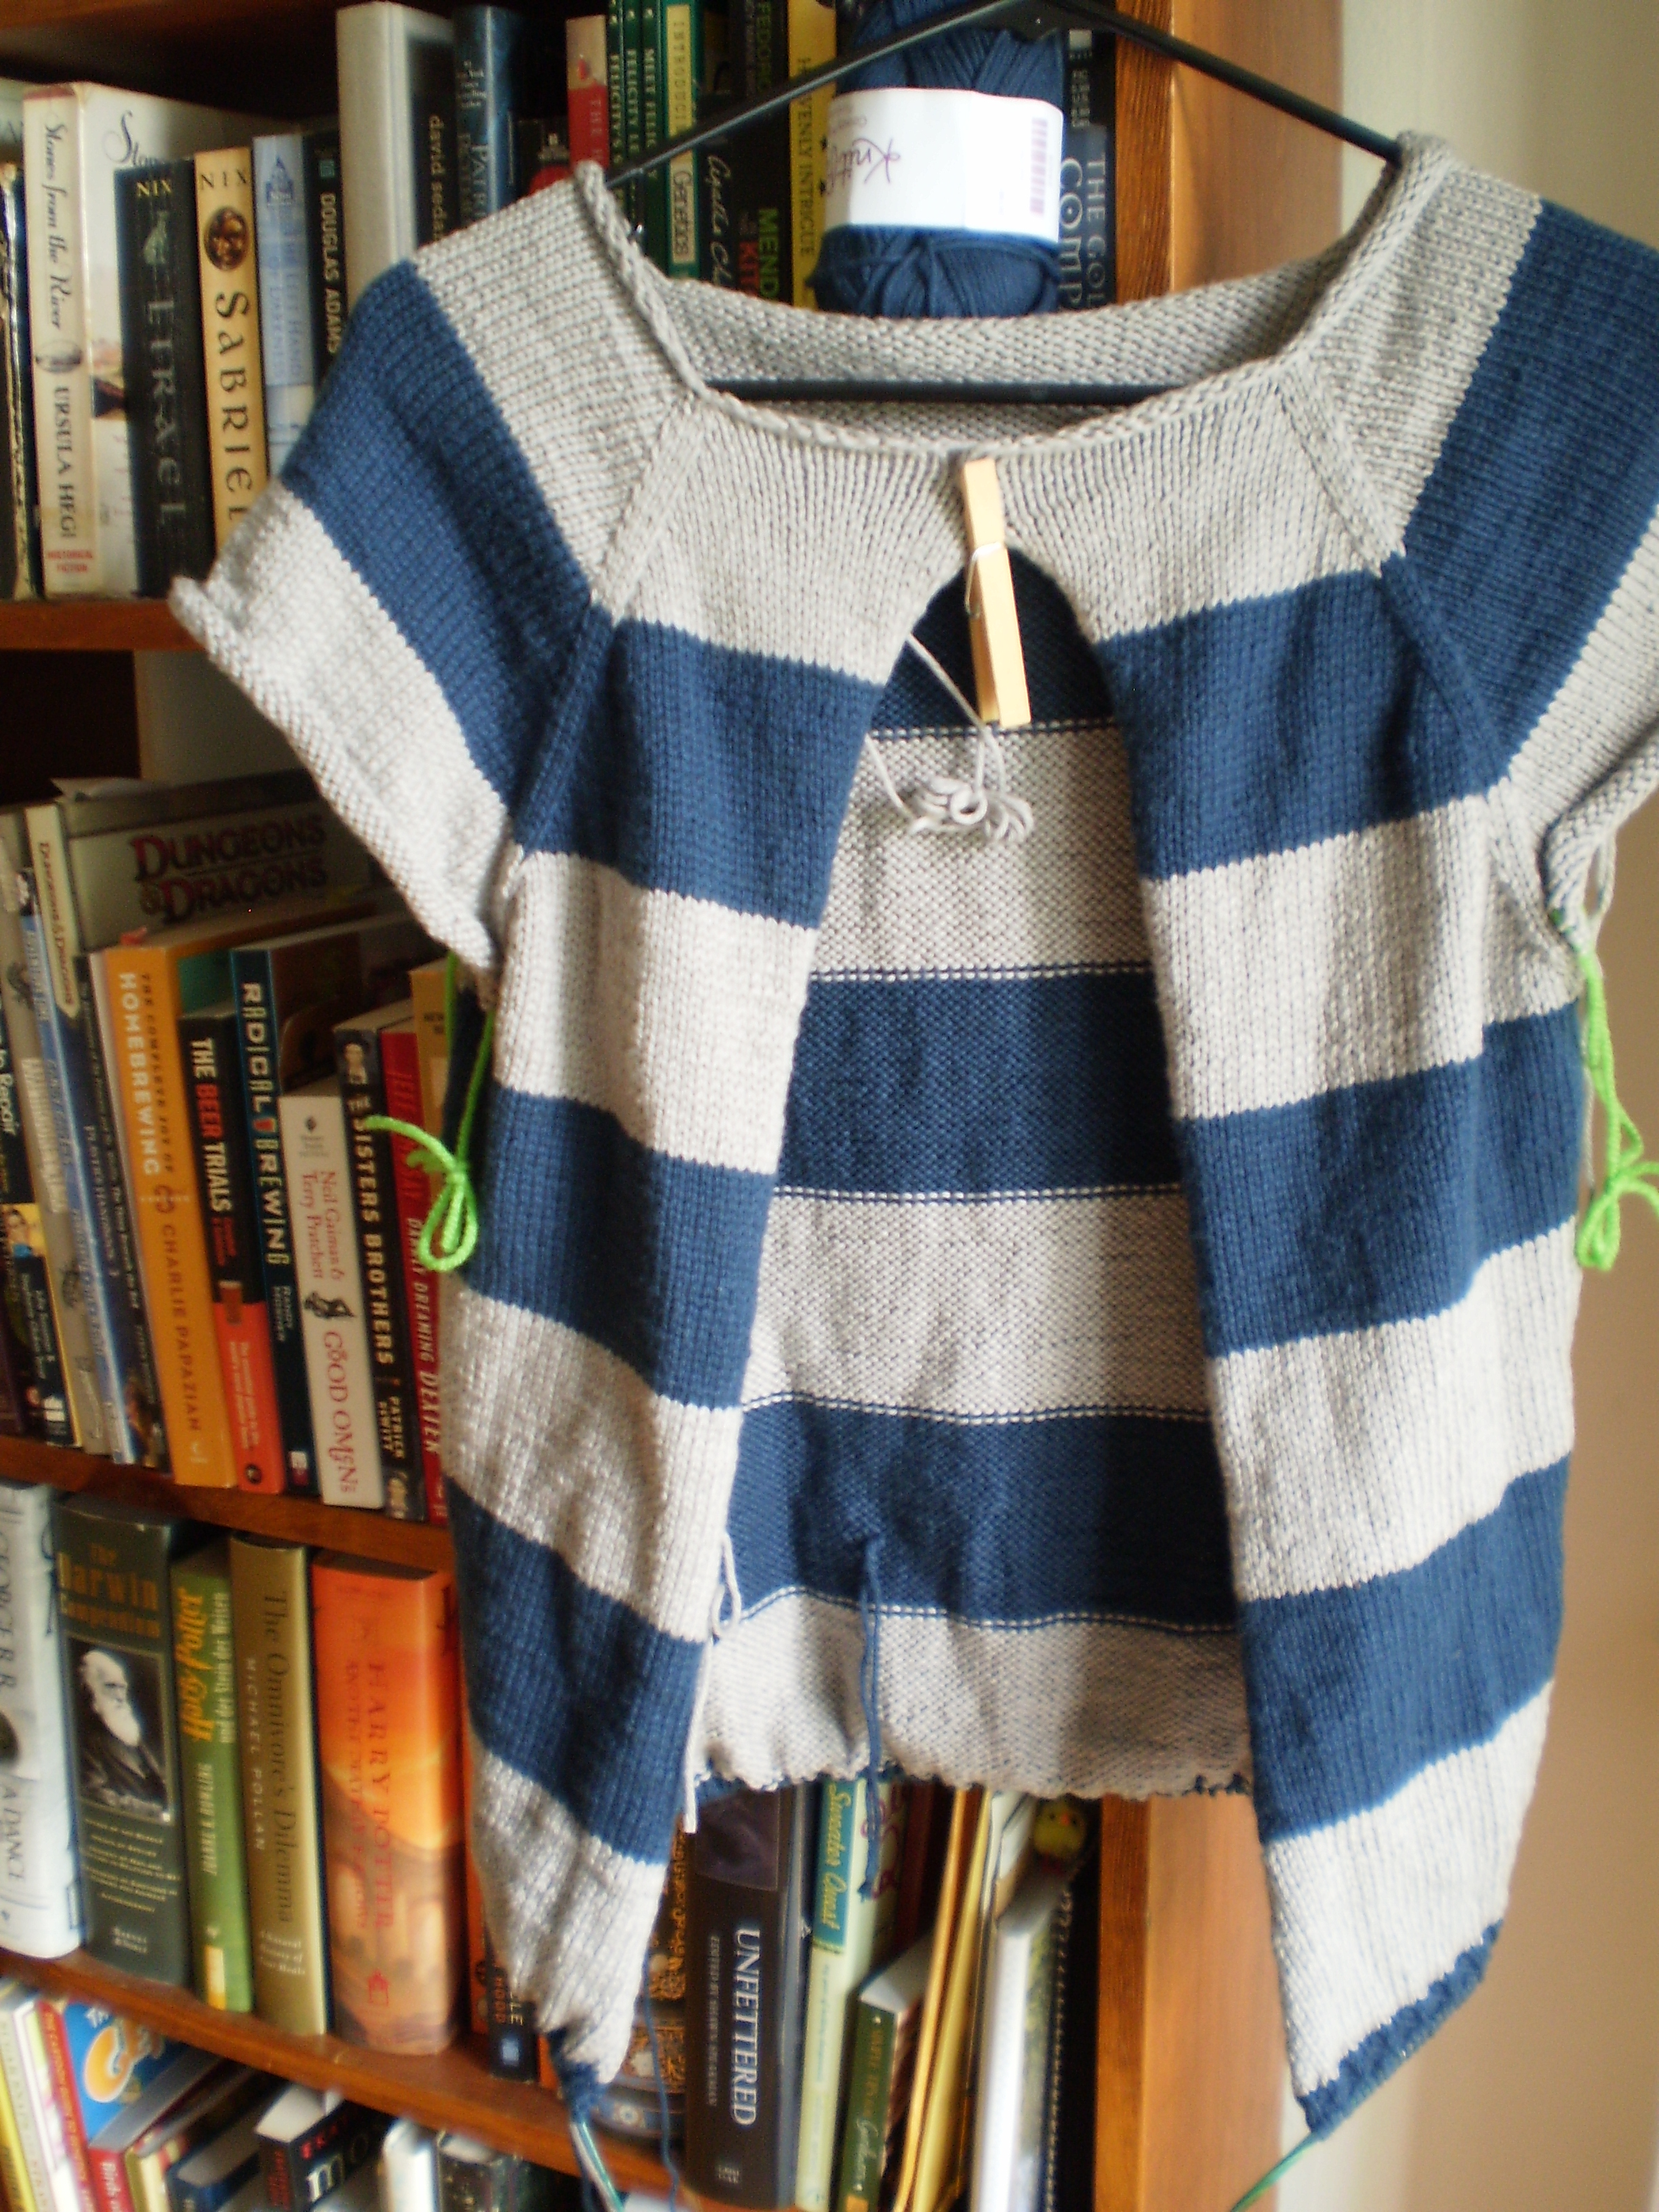
It drove me nuts!  I pulled out a couple skeins of sock yarn from my suitcase and started working on next year’s Christmas Socks then and there (what?  Don’t tell me I’m the only one that travels with a selection of yarns and needles.).

OLYMPUS DIGITAL CAMERA

Unfortunately, these socks are slow going, for many reasons.  First off, I kind of forgot about them for a while and they hid somewhere in my knitting studio.  Second, I’ve been crazy busy with a bunch of pattern writing and haven’t had time to finish these guys.

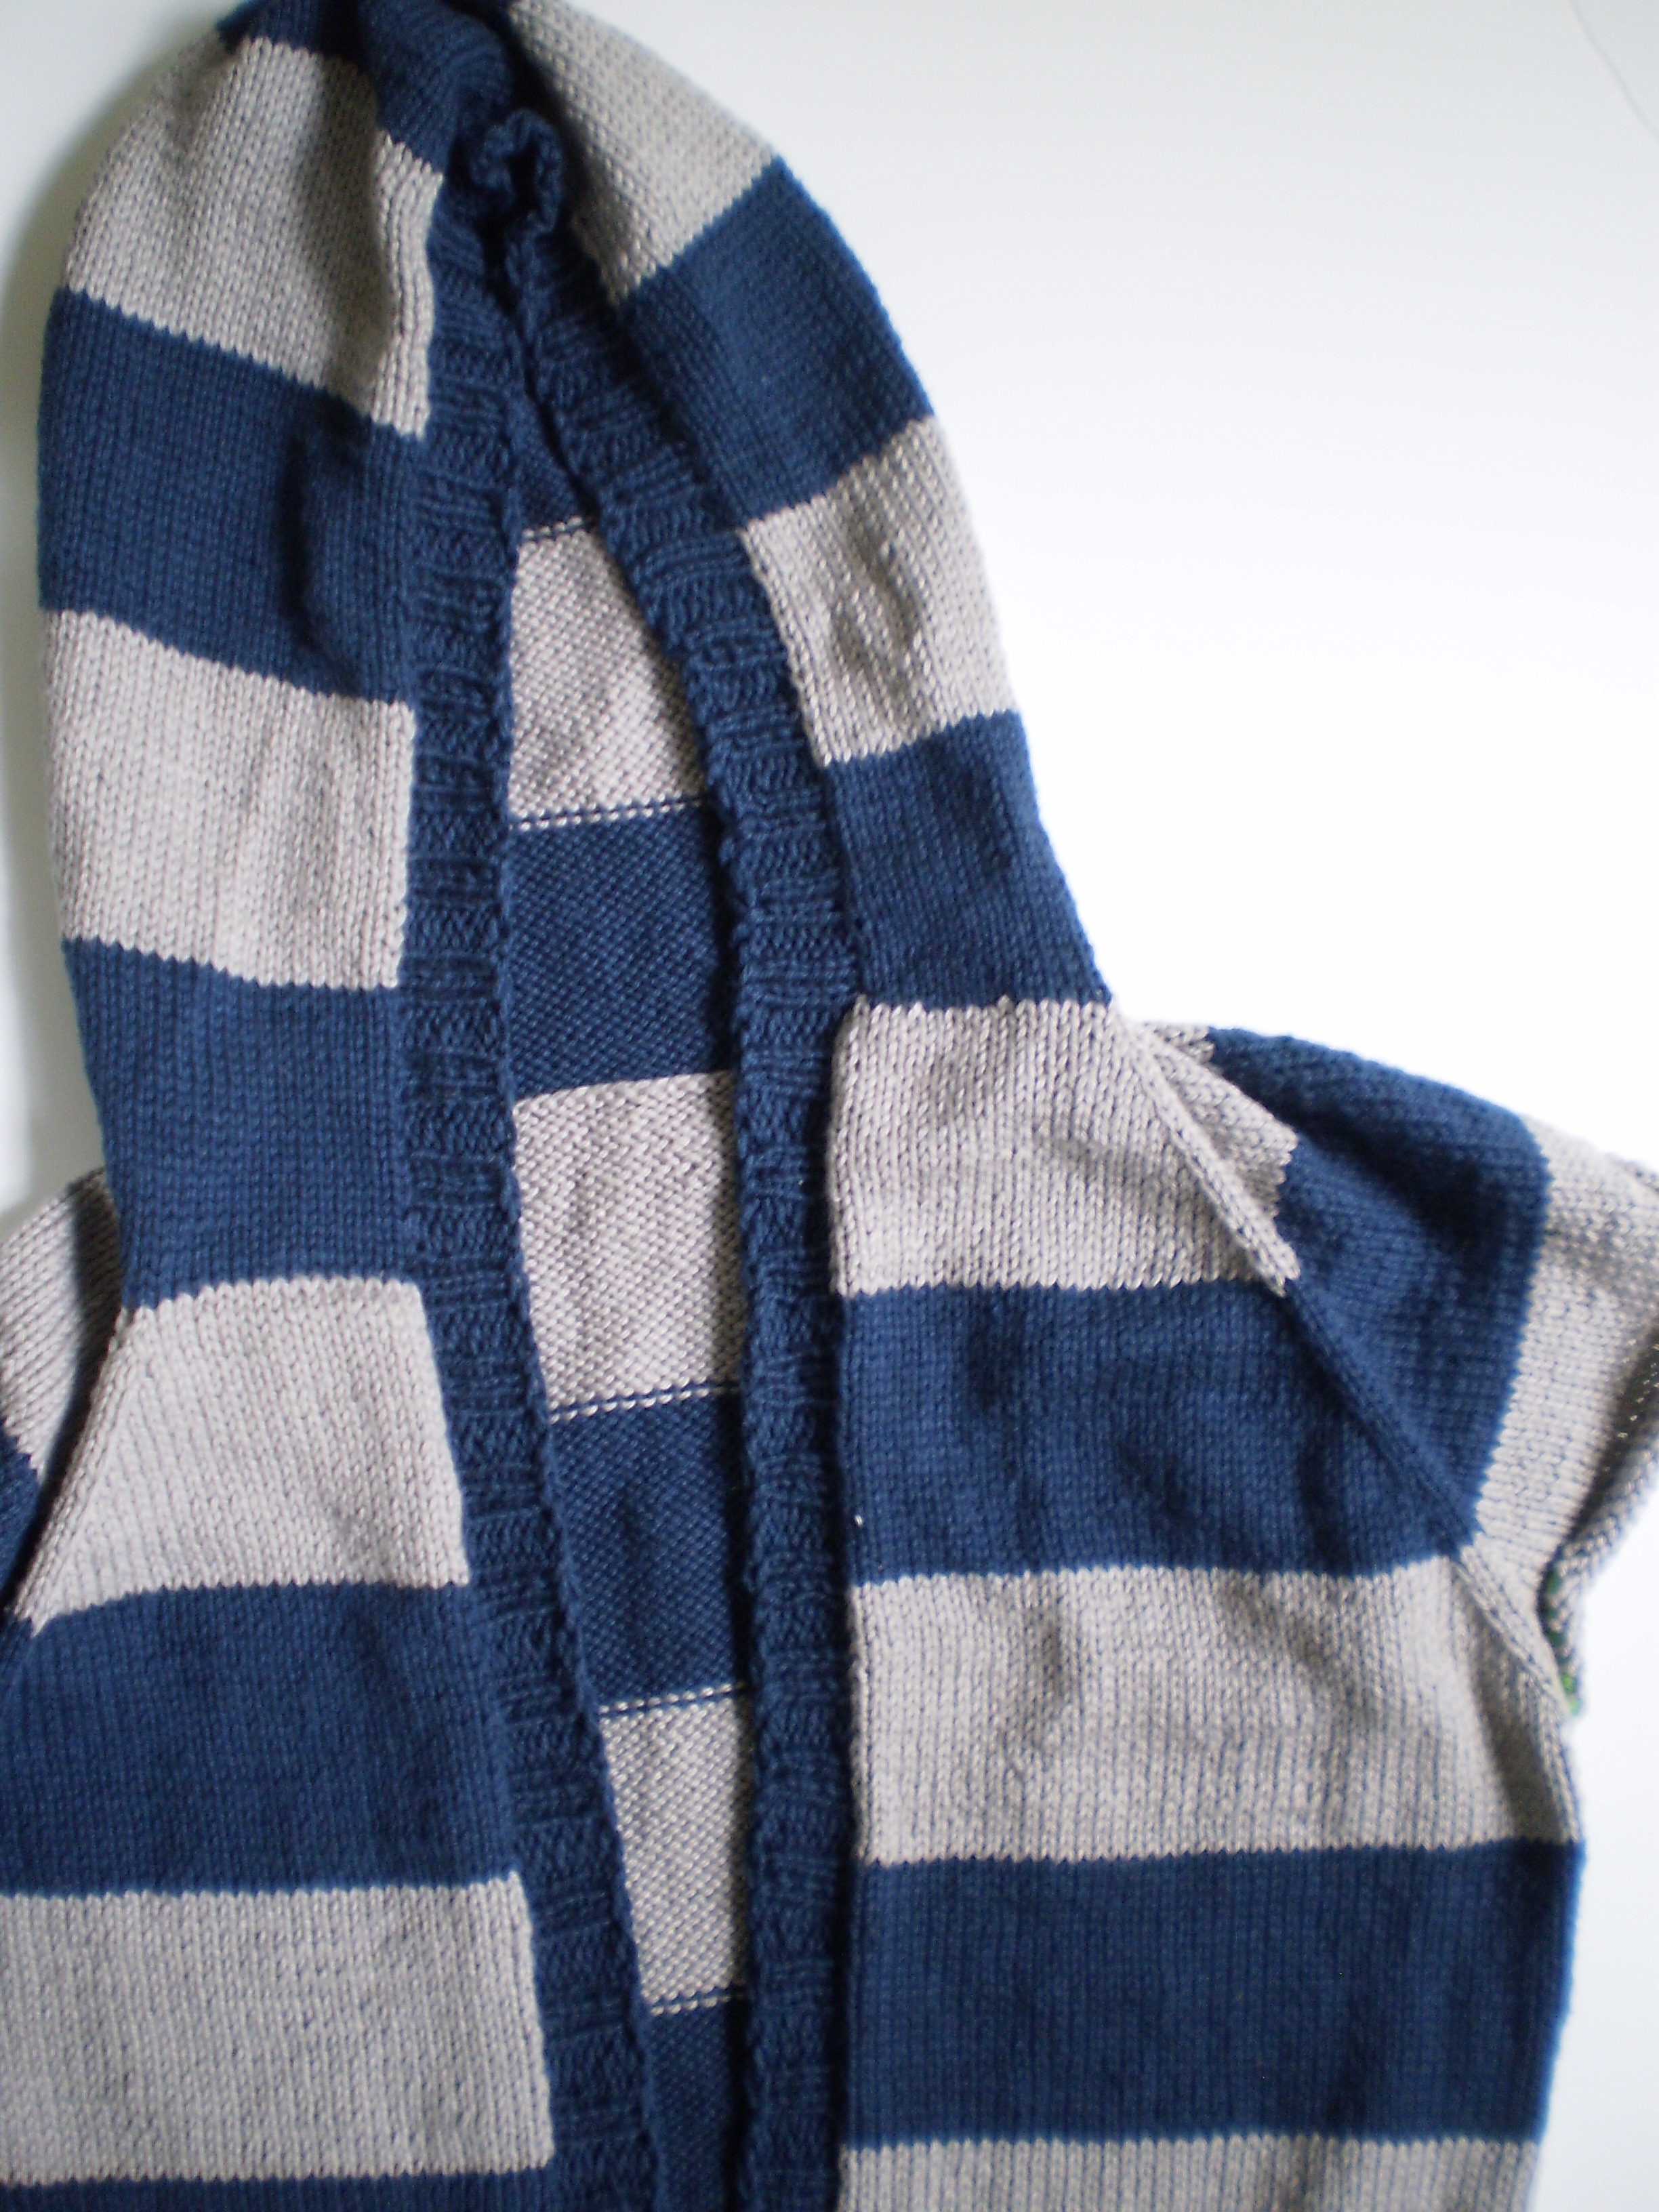
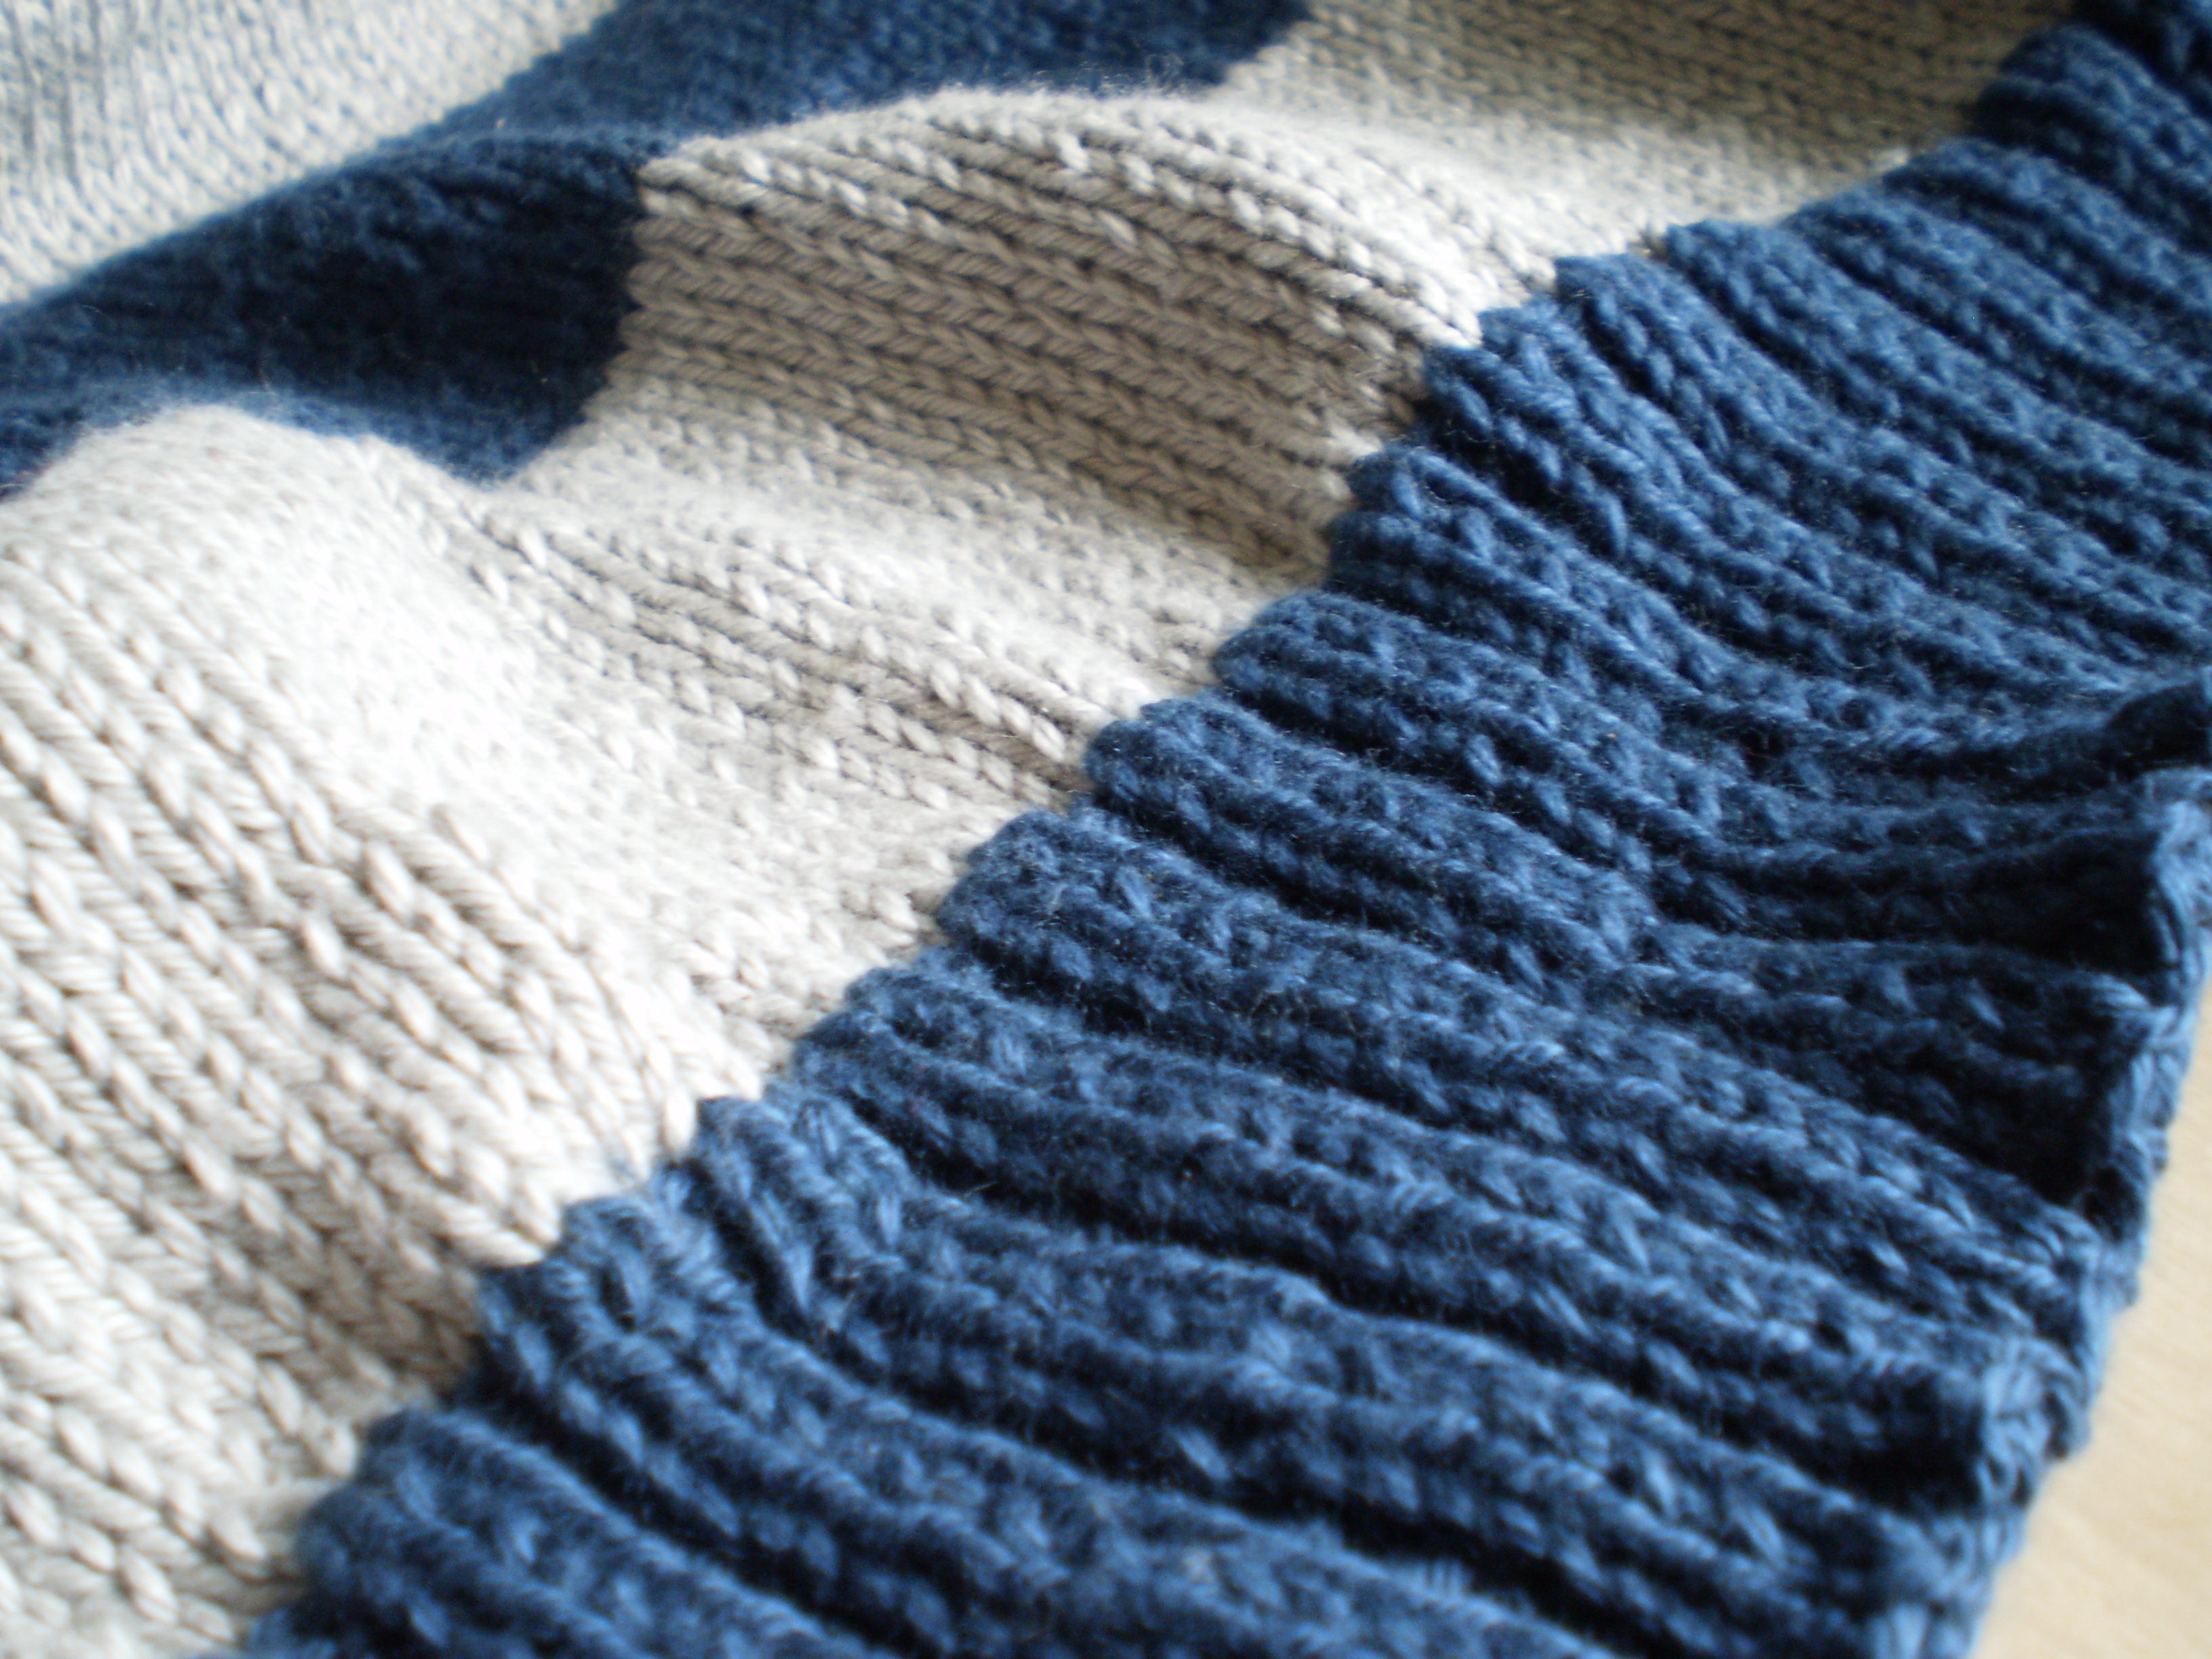
But most of all, these socks are annoyingly large.  A few extra stitches per row and several inches longer than my standard socks.  And, I picked a cool-looking, but annoyingly complicated basket-weave stitch.  It all adds up to very slow going,

Ugh.

Oh well, at least I have 5 more months to finish them!

Husband Sweater: The Sleeves

I think it’s high time that this dang sweater stops looking like a muscle shirt when my husband tries it on.  Don’t you agree?

The only problem is that he’s not a fan of the fairly over-sized sleeves that the original pattern calls for.  Ugh.  Nothing is ever simple.

So, it’s time to get out my scratch paper (or rather, the back of the pattern), my calculator and start figuring out what I need to do.

OLYMPUS DIGITAL CAMERAOK.  Before I even have to start doing math I know a few things:

1.  I have 82 stitches (about 20 inches) at the top of the sleeve, set aside from when I split the body for sleeves.

2.  I need to get down to about 40 stitches (about 10 inches) at the top of the cuff.

3.  My sleeve needs to be about 15 inches (about 105 rows) from where I’ll pick up my stitches to the top of the cuff.  (I based this on my husband’s arm length, and the length of the sleeves of his favorite sweater.)

Now it’s math time.

If I need to go from 82 to 40 stitches, I need to do 42 decreases somewhere on the sleeve.

(82 sts at the shoulder-40 sts at the cuff=42 decreases)

I’ll do two decreases per decrease row, so I’ll need to do 21 decrease rows.

(42 decreases/2 decreases per row=21 decrease rows)

And, I want to space those decreases out evenly over 105 rows, so I’ll work a decrease row every 5th row.

(105 rows/21 decrease rows=5 rows per decrease row)

OLYMPUS DIGITAL CAMERASo that means, I’ll knit four rows evenly (while still making sure the stripe pattern matches up with the body), then I’ll work a decrease row (knitting all stitches, except for working two decreases at the underarm).  Easy!

Hopefully, this’ll look good.  It’s a more extreme decrease than I usually use for sleeves, but it might work.  Luckily, I’ll be able to finish one sleeve, have the husband try it on, and get his approval for the next sleeve (or, heaven forbid, find out I have to redo the sleeve!  Cross your fingers for me).OLYMPUS DIGITAL CAMERAHave you ever had to rejigger part of a pattern?  How did it turn out for you?

Husband Sweater: Button (er- Zipper) Band

I feel like it’s been a hot minute since I gave you an update on the sweater I’m working on for my husband.  Oof- actually it’s been almost a month.  (Sorry, husband!  Hopefully I’ll have it finished by August at this rate!)

Anyway, this time, I knit up the button band (or rather, the zipper band).  Instead of using the pattern, I used my own standard button band (mostly because I lost my paper copy of the pattern).

OLYMPUS DIGITAL CAMERA

My button bands actually start when I’m knitting up the sweater body.  I always slip the first stitch of each row.  This creates a nice, neat edge that makes it easy to pick up stitches evenly all the way around.  And I’ve found that picking up one stitch for every two rows makes a button band with just the right tension.  This way, you don’t even have to count, except for making sure you have an even number of stitches to make your ribbing come out right.

OLYMPUS DIGITAL CAMERA

I worked the button band on this sweater for about an inch, in a 2×2 rib.  This is a little narrower than my usual button bands, but that’s because I’ll be using a zipper, not buttons.  If you use buttons, the button bands will overlap, so you’ll need a wider band.  If you use a zipper, the bands don’t overlap, so you need a narrower one.

Next up-I’ll start working on the sleeves!

Husband Sweater: The Hood

I admit, it’s been a while since I updated you on the sweater situation (almost a month-eek!).  I’ve been busy with some dog stuff, some quilting, and generally catching up with other projects around the house (I even tried my hand at some very simple woodworking- I made a slightly wobbly window seat for the dog!).

But, I’m back on track with my husband’s sweater, and have the hood all finished!

OLYMPUS DIGITAL CAMERATa-da!

I actually went off-pattern for this hood, because if you remember, the one outlined by the pattern was a little, well, big:

uploadedImage_medium2[1]Instead, I based the shape of the hood off of my husband’s favorite hoodie.  I measured the height of the hood from the neck to the crown.  This was the total height of my finished hood.  Then, I measured the hood from the neck to the start of the head-shaped curve.  This was how far I would knit before starting my decreases.

The hood ended up looking like this:

OLYMPUS DIGITAL CAMERAI picked up stitches from the neck, and knit even (in pattern) for about 8 inches.  Then, I marked the center back of the hood and started decreasing on either side of the mark.  At first I decreased every fourth round, then every other round, then right at the top of the head, I decreased every round.  Finally, I grafted the hood together  at the top of the head to make a seamless-looking hood that fits my husband (almost) perfectly.

Phew!

Next, I’ll start working on the button band, once I get up the energy to pick up all those stitches!

Have you ever changed a part of a pattern?  What did you change and why?


Let’s Design Something Together

I have an idea.  Dangerous, I know.  But I think this will be fun.

I’d like to design a new pattern, and I’d like you guys to all come along through the journey.  Does that sound like fun?  I’ll take you through my design process, from idea creation to the finished pattern.notebook-with-pencil[1]Where do we start?  What are we going to make?  Sometimes a design element will pop into my head first (a particularly cool cable, or a pretty lace pattern), but usually I decide on a project type first.

So.  What shall we make?  Socks? A hat?  A scarf?  Or something for the home?  A pot holder or a washcloth?

What do you want to see?  Do you have any ideas of your own?

Once we have a project picked out, we’ll work together to design the item together.  This will be fun!  I’m excited!

Husband Sweater: The Hem!

Woo!  I finally made it through the body of my Husband sweater!  Phew!  That was a slog, I tell you what.  The combination of cotton yarn and acres of stockinette at a slightly-smaller-than-usual gauge made the body seem like it took for-ev-er.  (I suppose the fact that I kept getting bored and making gnomes didn’t help it go faster, either.)

As I mentioned before, I decreased very slightly down the torso, to make the sweater a little bit fitted.  And, the row before I worked the ribbing, I used a trick I learned from Elizabeth Zimmerman.  I decreased every 10th stitch ([k8, k2tog] across).  It seems like a lot of stitches to get rid of at the end.  But, it’s actually the perfect amount to decrease to make a nice, tight-fitting hem, instead of one that flips and curls away from the body.

OLYMPUS DIGITAL CAMERANow, I’m on to the hood.  Which I might need to modify, too.  The hoods on all the projects on Ravelry are a little Assassin’s Creed-y.

uploadedImage_medium2[1]But, a big hood isn’t a big deal, I suppose. Most of the time it’ll be just hanging down my husband’s shoulders, anyway.  I’ll have to think about it, and how much effort I want to put into changing the hood.

Have you ever made a hooded sweater?  How did it turn out?

Husband Sweater: The Picard Maneuver

In case it hasn’t been perfectly clear in the last two years of blog posts, I am a big nerd.  My husband is also a big nerd.  A big exciting night with friends usually includes home-brew beer and a rousing game of Settlers of Catan.  I’ve read through the Harry Potter books  so many times that I can practically recite them.  And, even though it’s nearly 30 years old, you’ll still find us curled up on the couch watching Star Trek: TNG whenever it comes on.

So, when my husband asked me to be sure that his new sweater is long enough that he doesn’t have to preform the “Picard Maneuver,” I knew exactly what he meant.

What?  You’re not a weirdo nerd, too?  You don’t know what the Picard Maneuver is?  Let me explain.  Captain Picard, Starfleet officer and coolest bald man in the known universe, always keeps his ship and his uniform neat and tidy.  So, whenever he sat down, stood up, or otherwise mussed up his uniform, he would always tug down his uniform top to make it lay nicely.  For example:


Thus, the “Picard Maneuver.”

My husband has a couple sweaters he has to use the Picard Maneuver on.  You can understand why he is worried about the length of his new sweater.

I’ve decided not to measure the sweater.  I know, crazy.  Instead, I’m going to keep knitting and trying it on him until it is the absolute perfect length.  I’m hanging it up for a couple days to let the yarn sag naturally, especially since it’s cotton, which tends to droop more than wool.

OLYMPUS DIGITAL CAMERAThis weekend, I plan on knitting the rest of the waistband, based on how long it ends up looking on my husband.  Hopefully, all this elaborate hanging up, trying on, and re-trying on will make the Picard Maneuver unnecessary.

Do you have any clothes you have to do the Picard Maneuver on?  How do you prevent it?

Wedding Blanket- the Last-Minute Edition

As a knitter, I use any excuse to break out my yarn.  Whenever a friend has a baby, they get a sweater.  When a friend gets married they get a blanket.  That’s just the way it goes.

Usually, I pay attention to the schedule of these things.

Except, for some reason, I totally spaced on my friend Michel’s wedding.  It’s next weekend.  I started her blanket last weekend.  I’m a dumbo.

I knew I had only about two weeks to do it, so I had to pick my pattern wisely.  I decided to crochet the blanket, since that goes faster, even for me.  And, I wanted something super simple, without any seaming, so granny squares were out.

I considered making a ripple blanket for a while.  I particularly liked this one.  The white against the brightly colored stripes is super cool.l32025a_medium[1]Modern Ripple Baby Blanket by Lion Brand Yarn

But, a couple rows in, it turned out I had messed up on my counting and I had to rip it all back.  So, I decided to try something a little simpler.  Something I could work on while binge-watching Parks and Rec.

1_medium[1]V stitch by Sucrette

Totally cute, right?  I used the V-stitch pattern, and a made up a semi-random stripe pattern inspired by the first blanket.  But, in a very cool (if I say so myself) neutrals-and-neon color palette.OLYMPUS DIGITAL CAMERAI think it turned out pretty well.  It’s a good size for snuggling under with a good book and a cup of tea, or throwing over the back of a couch.  I hope she likes it!

OLYMPUS DIGITAL CAMERANow I’ve got to go put ice on my wrists from crocheting too fast!

Do you ever knit to a (ridiculous, self-imposed) deadline?


Husband Sweater: The Body

My husband’s sweater is coming along (slowly, but I’m still making progress).  It’s looking pretty good, if I say so myself.

I split off the arms a while ago and have been working on the body.

See?

OLYMPUS DIGITAL CAMERAI actually modified the body a bit from the pattern, which should make the sweater a little more fitted.  When I was measuring my husband’s favorite cardigan to pick the size for this one, I noticed that the torso was slightly tapered.  The chest measurement was 40″, while the waist was 36″ around.

I figured, why not add a little waist shaping into this sweater?  That’s why we knit, right?  To make beautiful, customized garments.

So, it was time to do some math (Yay!).

I knew I wanted to decrease 4″ (which comes to about 20 stitches, based on my gauge).  And, I wanted to arrange the decreases in pairs underneath the armpits, along the “side seams” (this sweater is knit in the round, so there aren’t seams, but you can imagine where they would be).  This means, that each time I work a decrease row, I’m decreasing 4 stitches (2 under each arm).

So: 20 decreases total / 4 decreases per row = 5 decrease rows.

I wanted the decrease rows to be spread evenly down the torso.  Based on the Emilien pattern, there are 88 rows between the armpits and the top of the hem ribbing.

So: 88 rows total / 5 decrease rows = 17.6

Because you can’t knit .6 of a row, round to 18.  So, I work a decrease row (decreasing 4 stitches under the arms) every 18th row (ish).

A couple inches doesn’t seem like it’d make a lot of difference, but you’d be surprised.  Adding just a few k2togs will change this sweater from a standard, boxy cardigan to a cool, slightly fitted one.  I hope my husband will like it!

Husband Sweater: Slow and Steady

I’ve been working away on the sweater for my husband, and I’m starting to make progress.

OLYMPUS DIGITAL CAMERAI’m already to the armpits!  Woo!  Now I just have to do the rest of the sweater…

The yarn I’m using is a really lovely cotton yarn, and I’m totally in love with the finished fabric.  It’s crazy soft and luxurious-feeling (especially the swatch that I put through the washing machine)!  I know my husband is going to love it.

But you know what I don’t love?  Actually knitting with the stuff.  There’s something about cotton that is kind of hard on my hands.  I don’t know if it’s the fact that it has almost no spring, or if it is stickier on my needles than wool, but it’s a little bit of a pain to knit.  Instead of sitting down in the evening and working through several X-files episodes, like I usually do, I’ve been slogging my way through a couple rows per night, which is making this sweater rather slow going.

But, I think I’m really going to like the finished product (or at least I hope I will!)

Are there any fibers you don’t like working with?  Or am I just being crazy?