Category Archives: Knitting Accessories

Let’s Keep the Momentum!

Now that I’ve got my DPNs squared away, it’s time I did something (anything) with my circulars.

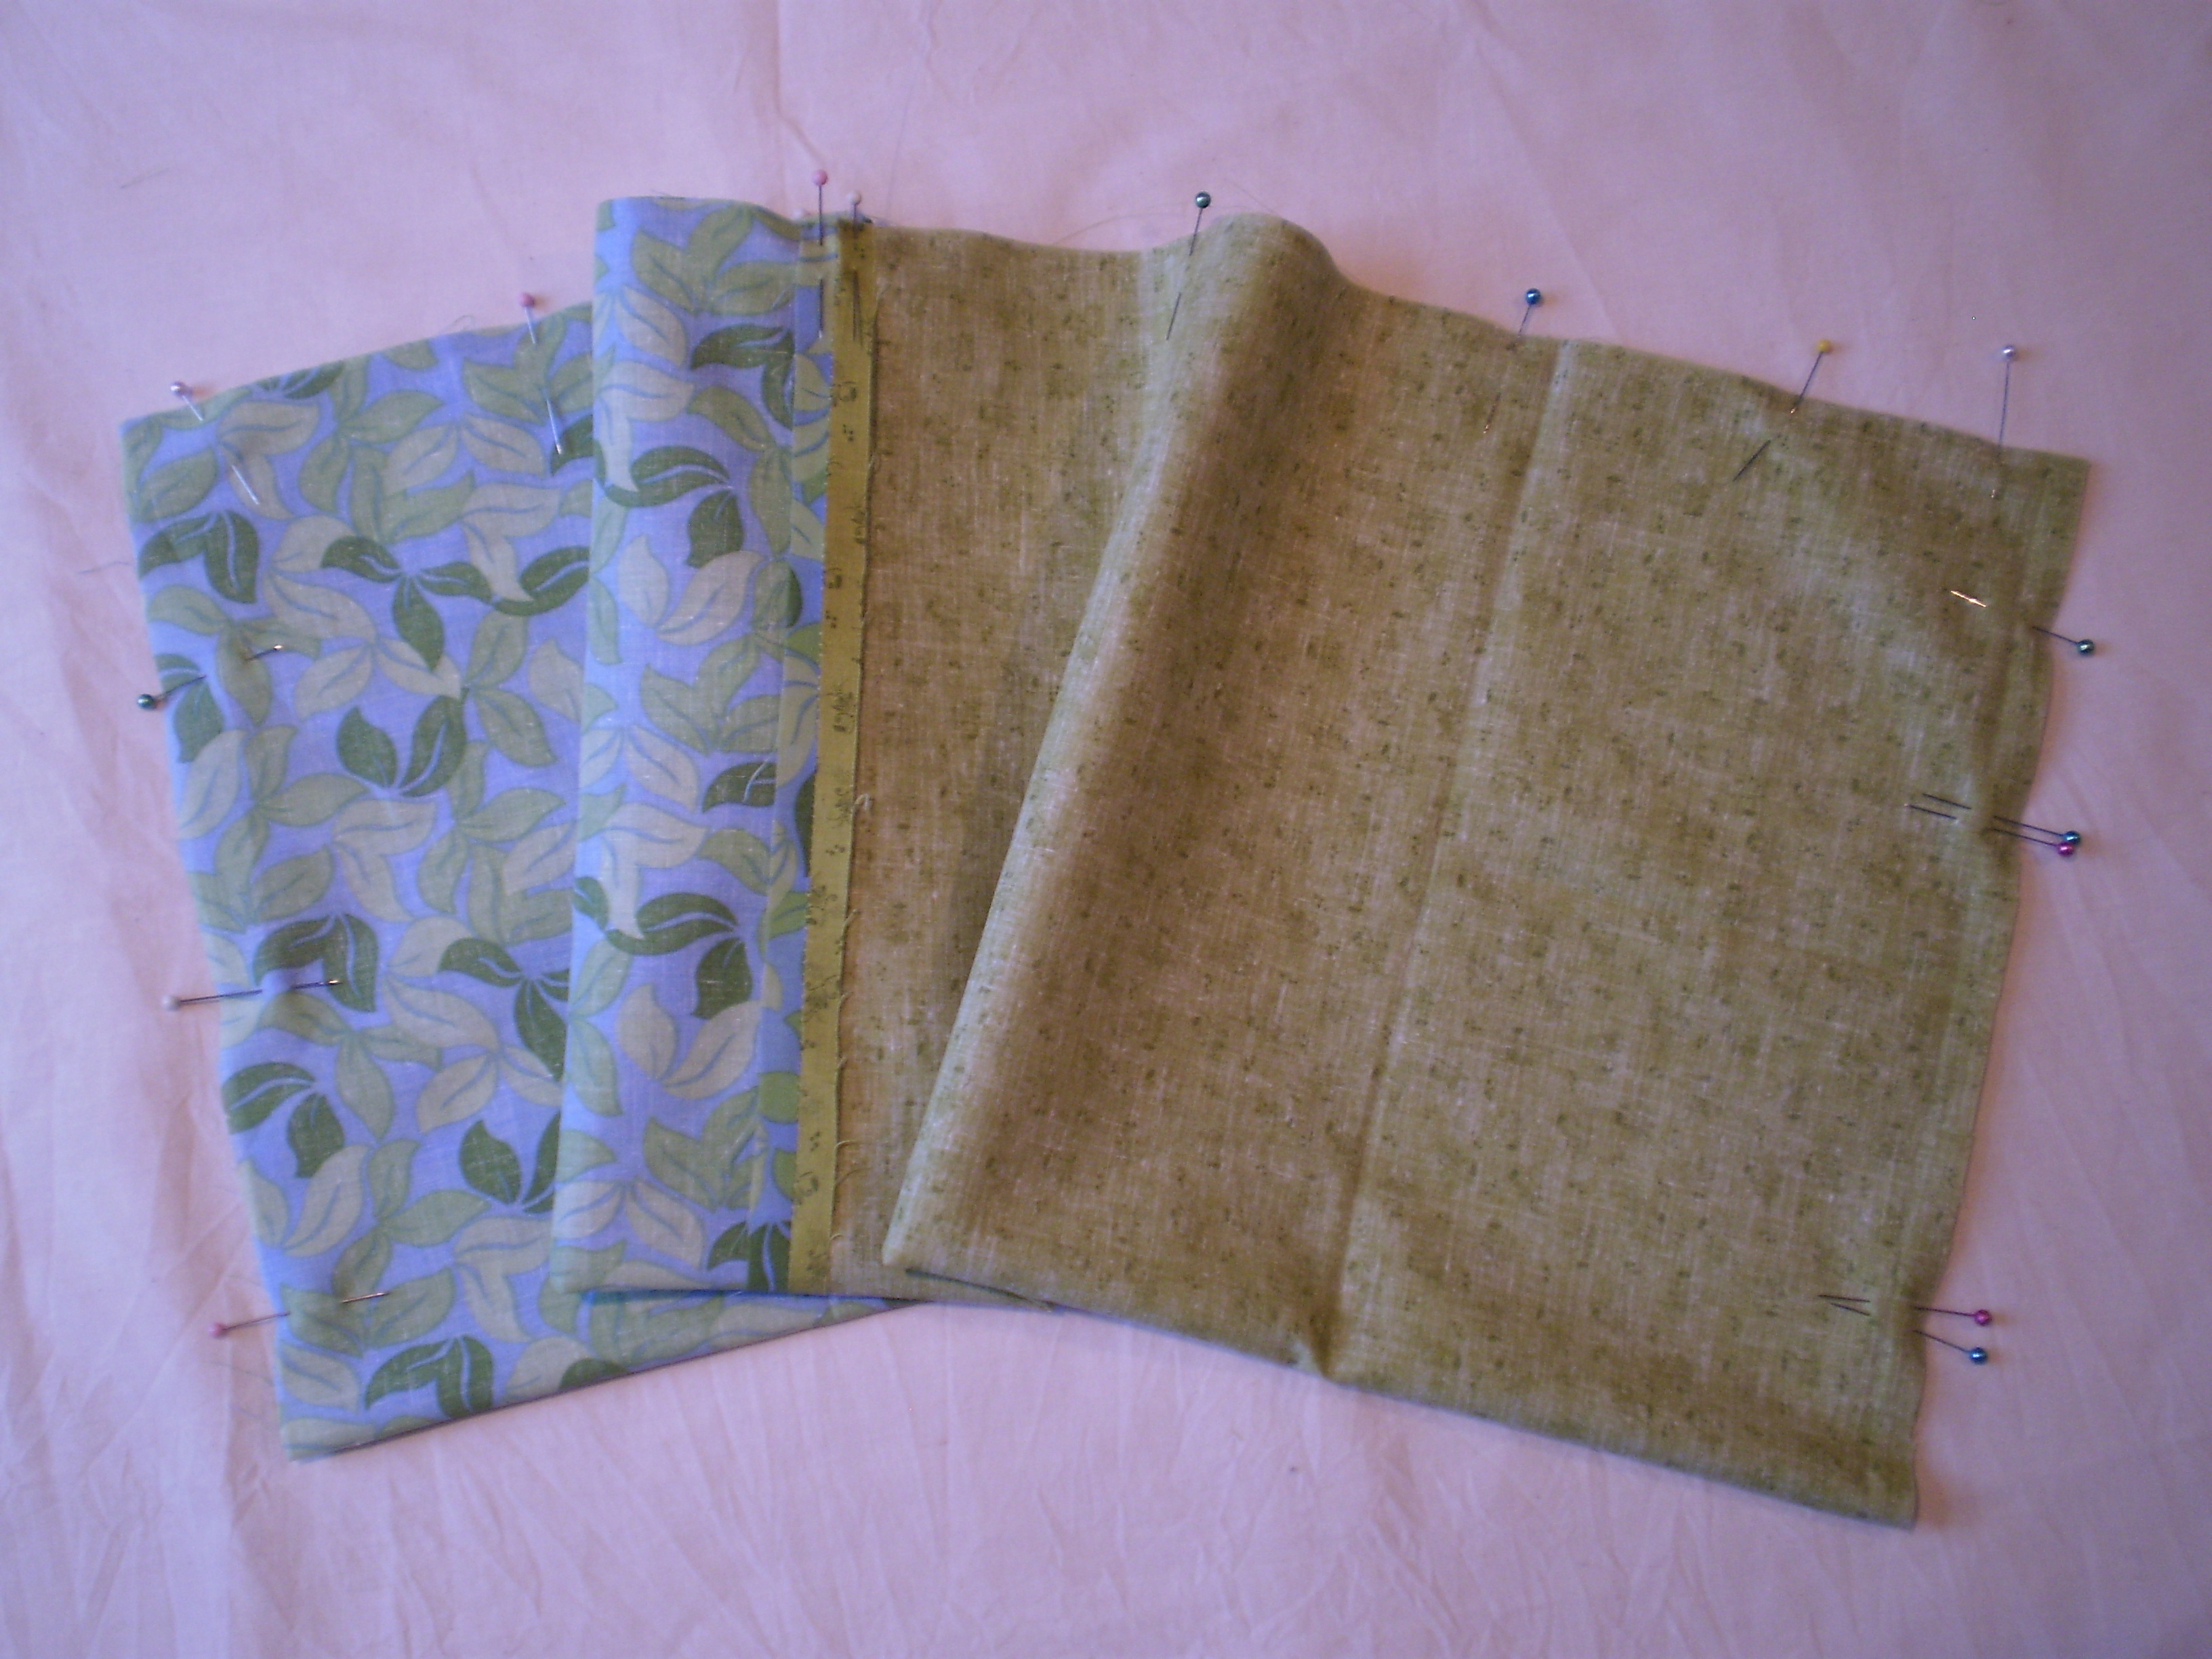
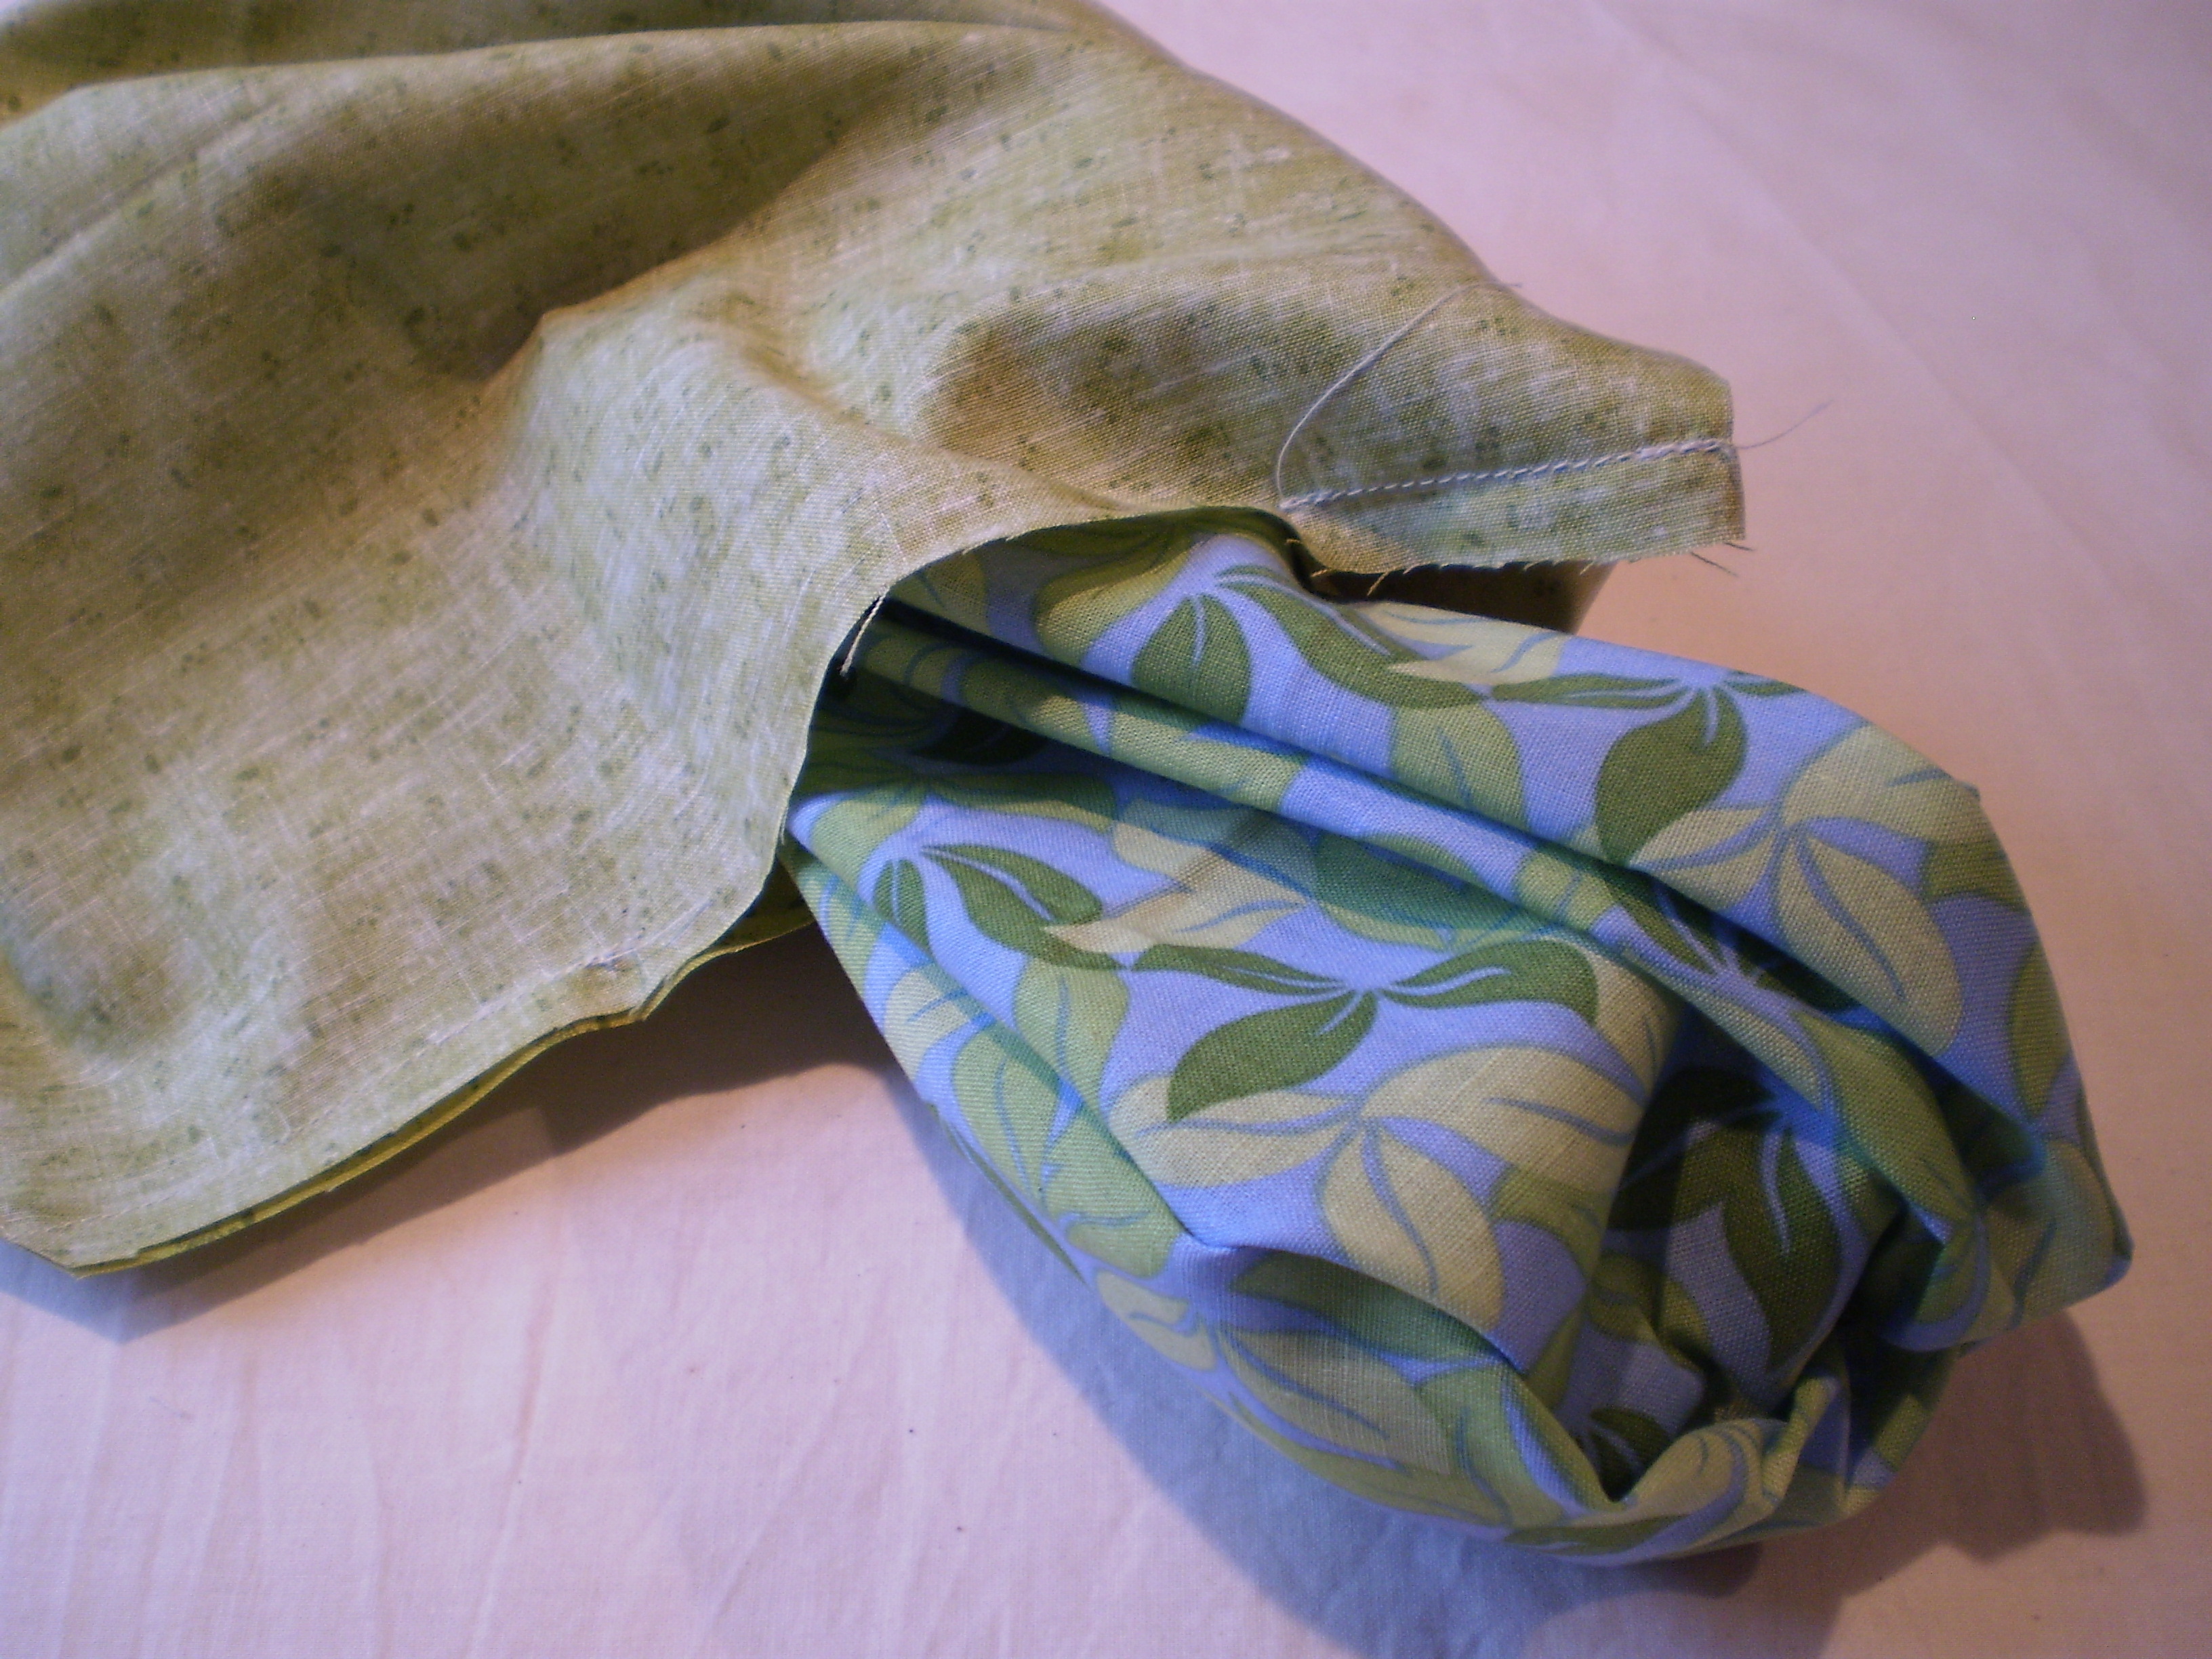
Right now (and, honestly for the last 15+ years), they’ve lived in one big jumble in this shopping bag.  It’s not pretty.  From time to time, I go through and try to match them up with their envelopes.  It’s a pain and I hate it, so mostly they’re just a big old rats nest hanging at the back of my closet. Don’t judge me.IMG_2103.JPGIn the back of my mind, I knew that there were circular needle holders out there- my mom even sells them. (She won’t let me buy anything from her shop, but you should buy from her.  Her stuff is amazing.)  So I pulled out the sewing machine and some fabric scraps and whipped up this bad boy myself.IMG_2093

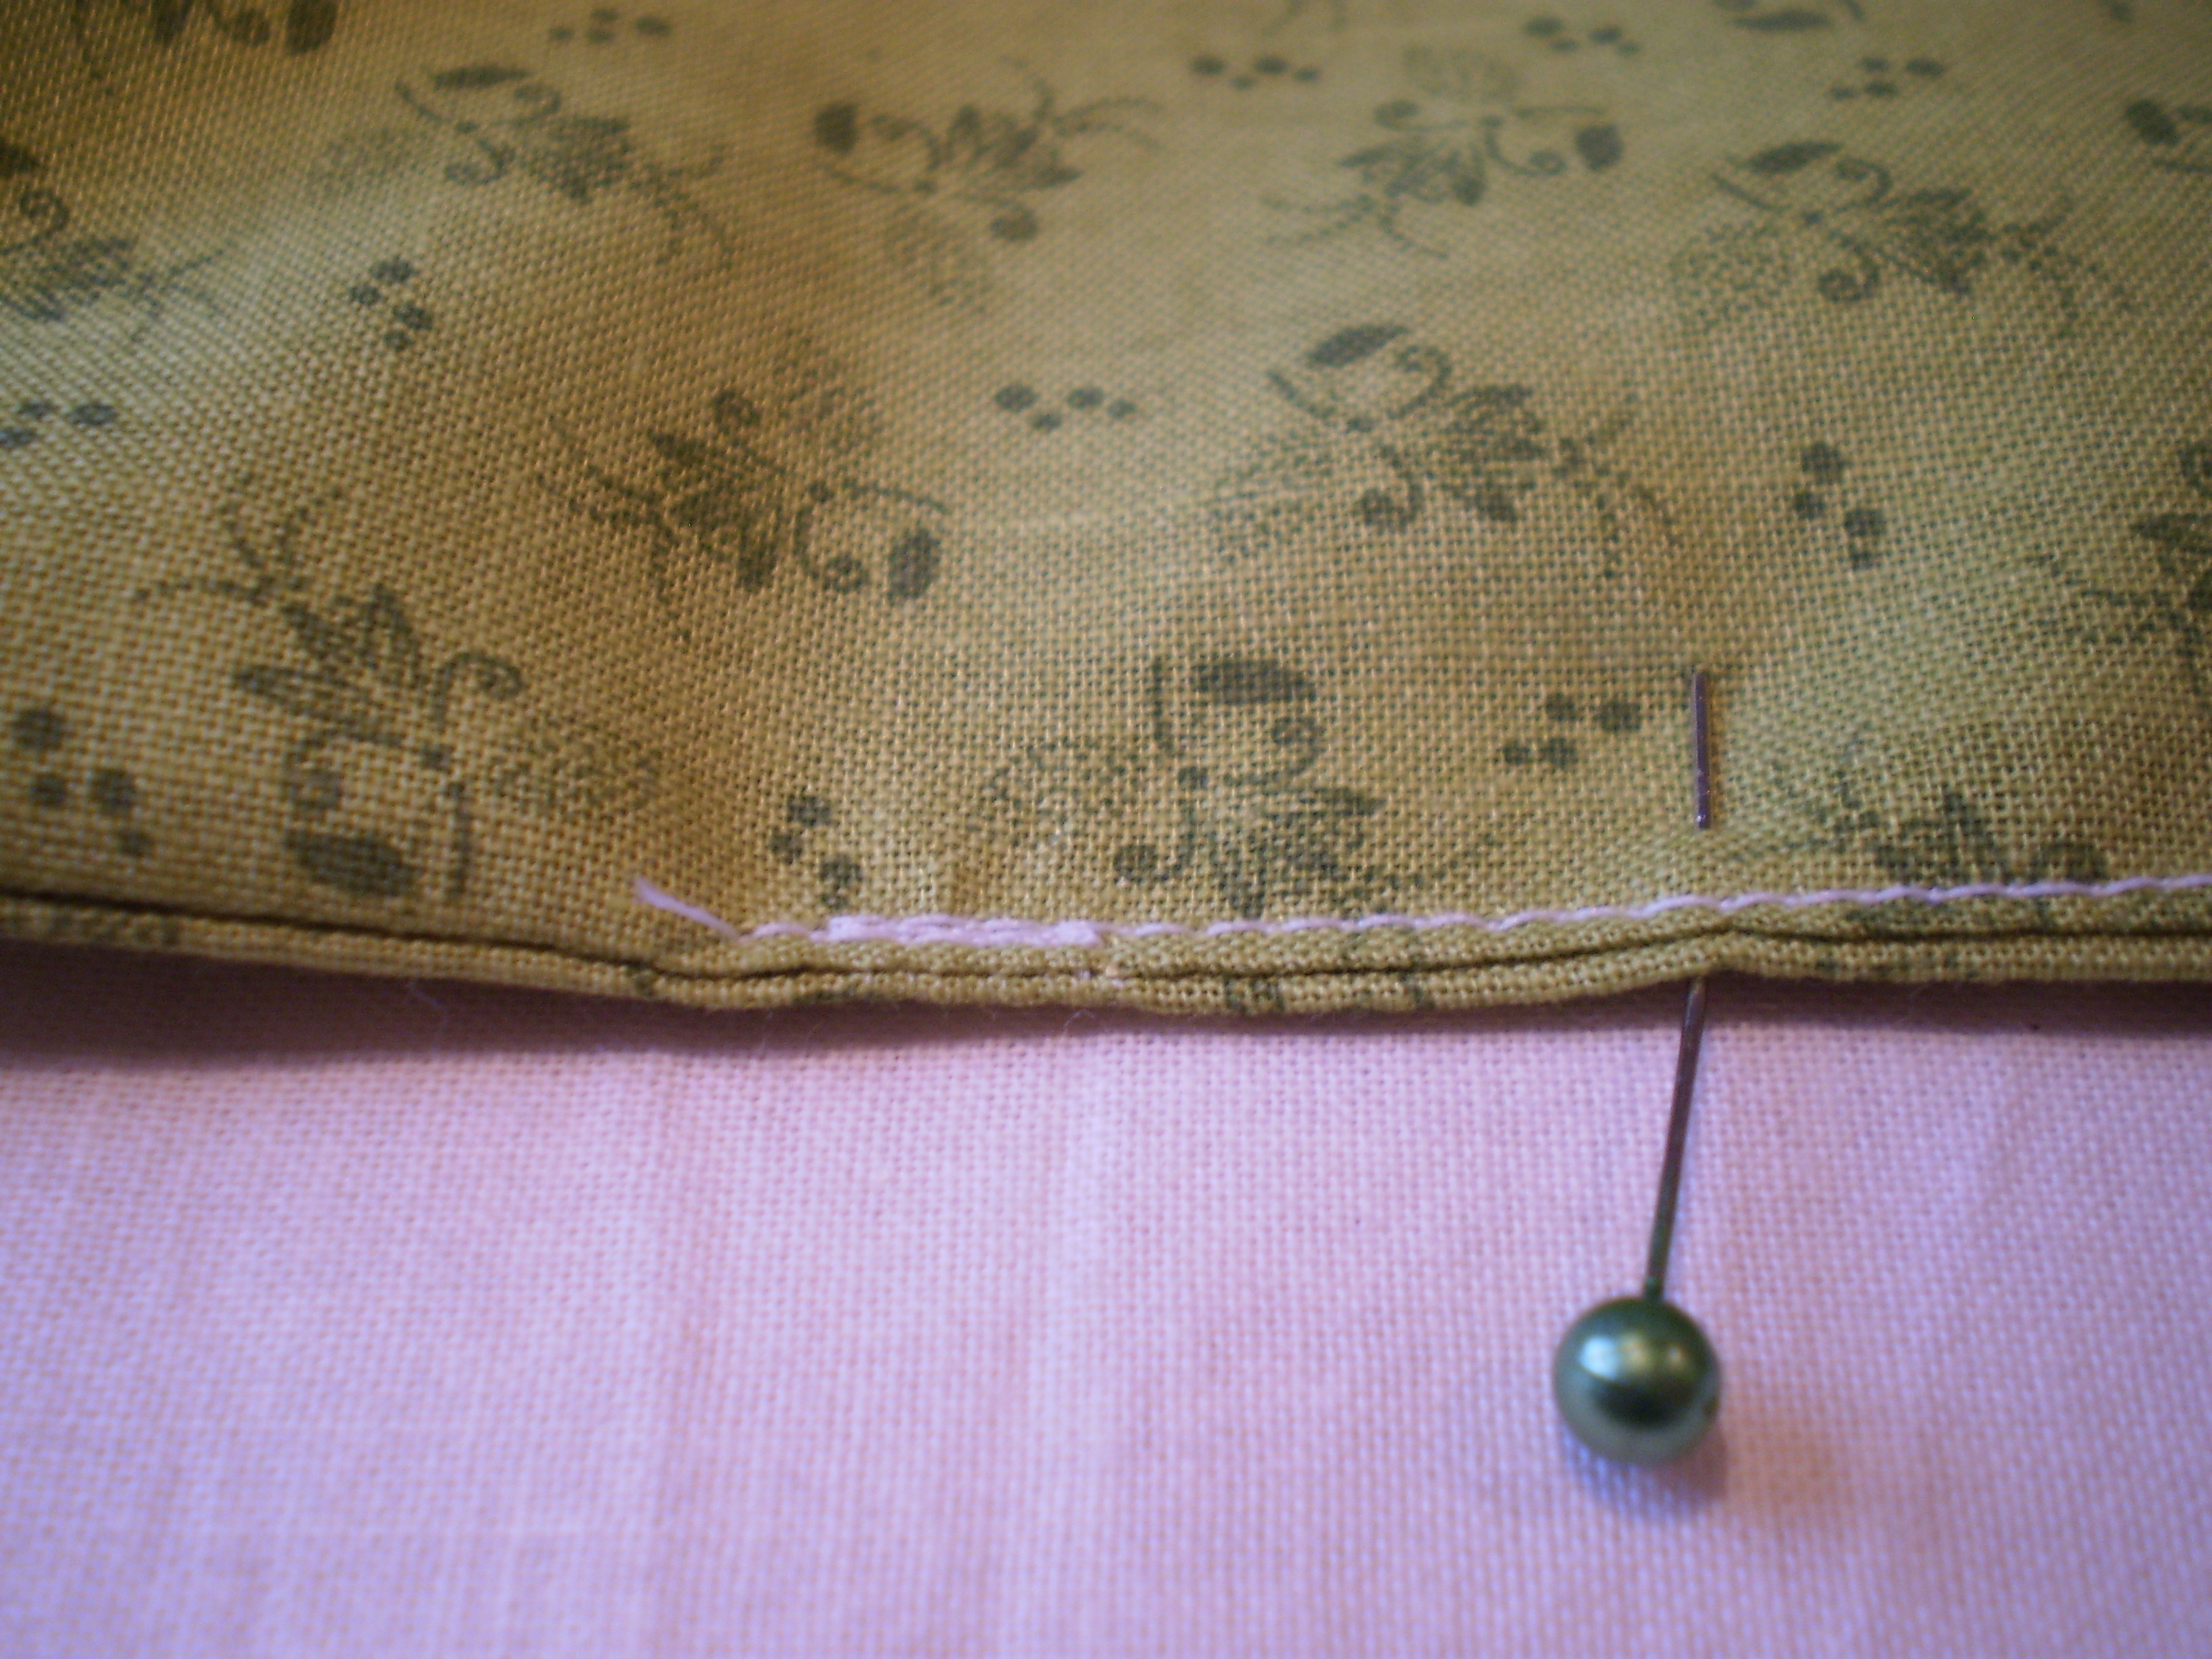
It’s not the prettiest.  (In my defense, I picked my fabrics at night when the light was not great, and I thought the yellow was a better match, but still.  Also- rickrack?  Really?) But it’s functional and has already saved me a bunch of time.  It’s great seeing all the needles I have all laid out.  Weirdly, I have a lot more US3s than I expected, and a lot fewer US8s.  Funny how that goes.  At least now I know, and won’t keep buying 3s…

How do you organize your needles?

Mom

It’s Mother’s Day this weekend (at least it is here in the US).  So, in celebration of mothers generally, I want to talk about my mother in particular, and promote her amazing business for two reasons:

  1. She’s insanely talented, and I legit think that you guys would love her work.
  2. She would never in a million years think about self-promotion, so I’m going to do it for her.  (Sorry Mom.  I know this is going to make you self-concious, but I’m going to brag about you for a little bit.)

My mom, apart from being the one who taught me how to knit, is a fantastic seamstress (sewer?) and an insanely talented illustrator.  A few years back she took early retirement, and opened up an Etsy store, Paper or Threads.

She makes bags.

Amazing knitting project bags.

il_1588xN.1797132514_g54y.jpg

(SWEATERS!!)

But she doesn’t just make bags.  Oh no- that would be too easy.  She designs her own fabric for them.

il_1588xN.1754874351_n08i

(SHEEP!!)

She’s got big bags and little bags.  Bags with zips and bags with drawstrings.  And, I know this sounds like I’m just shilling, but I swear to god, they’re the nicest project bags I own.  They’re made from really quality cotton fabric (that feature her own original designs… I can’t emphasize that enough), and they’re all fully-lined (which means you won’t run into any annoying fraying edges to tangle up your yarn) and last for years and years.il_1588xN.1635891553_4ld8

(GNOMES!!!)

She’s got designs for everyone- from kitchy gnomes to adorable farm animals to classy all-over prints.  (I’m a big fan of the gnomes myself.)il_1588xN.1178395020_h0c8

(TREES!!)

And, if you sew, you can get yardage of her fabrics through SnapfishCapture2(SLOTHS!!)

Imagine a dress made of sloths!  Or a quilt covered in socks!Capture

(SOCKS!!!)

Fair warning- I’ve been trying to get Mom to increase her prices for a while (because she seriously undercharges for her amazing bags), so if you want to grab a bag or two (and you should),  head over to her Etsy store soon!

(ALSO! She makes kids’ clothes with her designs, too. They’re too stinking cute.  Definitely check them out.)

(Happy Mother’s Day, Mom!)

A Love Letter

The following is a love letter to my favorite cable needle. (Yes, I know I’m weird.  I’ll blame it on the fact I haven’t had my coffee yet.)

Dearest Cable Needle,

It feels like we’ve been together forever.  Could it be true, that I bought you in college, more than ten years ago?  OLYMPUS DIGITAL CAMERA

You were one of a pack of three, but I knew you were special from the first.  The smallest of your siblings disappeared in minutes.  And the largest has been lost somewhere in my house (or possibly the car… or maybe somewhere out in the yard).  But you’ve stayed true, faithfully at my side (and in my knitting bag) for years.

You are such a simple little tool, just a under 4 inches long without any bells or whistles.  But therein lies your beauty.  Lovely blonde birchwood, tapered to rounded points, with a narrow waist to hold my stitches safely out of the way.  Perfection

You’ve been smoothed by years of use to a lovely satiny patina that slips into stitches with ease.  And, you’re beautiful enough to be used as a shawl pin.OLYMPUS DIGITAL CAMERAI love you, Cable Needle.  And if I ever lose you, I’ll be very, very sad.

-Allison

PS.  Do you want your own Perfect Cable Needle?  I really can’t recommend them enough.  Look online at the Brittany website for stores in your area.  (They make really excellent dpns, too.)

Knitting Bling

I have been known to use the poor man’s stitch markers (loops of scrap yarn, twist-ties, I even used my wedding ring once when I was stuck without stitch markers.  That was dumb, but it worked in a pinch.).  But I love my pretty stitch markers, and I like making stitch markers, too.  It’s like making jewelry for your knitting needles, which is pretty swell.  This is just one way to make stitch markers, feel free to play around with it and make it your own.OLYMPUS DIGITAL CAMERA

Materials:

Headpins- 1 per stitch marker, plus a couple for when you mess up.  I’m using 2 inch long ones, but my beads are tiny.  If you plan on using really big beads or using lots of beads, be sure to get longer head pins.

A few pretty beads-as many or as few as you like for each marker.  Having some markers with different colors/shapes can be helpful with your knitting.  Make sure the holes in the beads are small enough that they won’t fall off the headpin.

Needle nose pliers

1 metal knitting needle a size or two larger than the needles you want to  use the markers on (for example, if I want to use these stitch markers on size 8 needles, I will use a size 10 needle for this project)

Wire cutters (or crappy scissors that you don’t mind messing up when you trim the pins)

Instructions:

  1.  Take a headpin and thread on a couple beads in a pleasing pattern.  Make sure that you have at least 1.5 inches of non-beaded pin, or the rest of this won’t work.
  2. Using the pliers, bend the pin into a 90 degree angle just above the beads.OLYMPUS DIGITAL CAMERA
  3. Wrap the wire around the knitting needle, making a circle.OLYMPUS DIGITAL CAMERA
  4. Wrap the end of the wire a couple times around the pin, just above the beads.  You will probably want to use the pliers for this, unless you have crazy monkey hands.
  5. Slip the stitch marker off the needle, and trim any extra wire from the marker.  Using the pliers, make sure that the end of the wire is tucked neatly away (poky bits of wire can cause snags in your knitting).OLYMPUS DIGITAL CAMERA
  6. Make a bunch more.OLYMPUS DIGITAL CAMERA
  7. Profit.

Stitch Markers

Stitch markers are pretty neat little tools.  You might not use them for every project, or maybe you’ll just use one or two, but it’s really handy to have a handful in your knitting kit.  They’re super easy to use, they make complicated patterns (like lace) way easier to manage, PLUS you can get really pretty ones that look like jewelry for your knitting.  Win/win/win.

First off… what are they exactly?  They’re nothing more than a little loop that fits over your needle, between your stitches.  You know when kids learn to read (or when you’re really tired and trying to finish reading something before bed), and they use their finger to point at the words they are reading so that they know where they are?  That’s what stitch markers do.

They come in a bunch of sizes, and about a million styles.   If you’re super poor, or stuck somewhere where you don’t have access to a knitting store (poor you!), you can improvise, using little loops of yarn, twist-ties, or even soda can tabs, if your needles are small enough.

Mid-range stitch markers are usually made of plastic, and can be purchased for a couple bucks from any big box store with a knitting section.  They also come in these fantastic tiny little containers. (Don’t look at me like that.  I know you like tiny containers, too.)80593

If you’re looking for something with a little more flare, you can go to your local yarn store, or onto Etsy to buy some really beautiful markers.  I really like these, if anyone wanted to get me an early Christmas present…

But, no matter what kind of stitch marker you have, they all work the same way.  As you’re knitting along and you want to mark a specific stitch (your pattern may say “PM” or “place marker”, or you may want to mark the beginning of a particularly tricky pattern repeat), you’ll take the stitch marker and place it on your right-hand needle. You’ll then continue knitting, as if nothing happened.  Don’t stitch into the stitch marker.  No yarn should ever go into the marker, or wrap around it or anything.  On your next row, you’ll knit up to the stitch marker, at which point you’ll think “Ah ha!  This is the point that I have to do something important!”  To keep on knitting, you’ll then move the marker from the left needle to the right needle, and keep on knitting.  Easy peasy.

Fat Quarter Project Bag

Now that you know the important parts of your knitting kit, you might want to put one together for yourself.  Here’s a quick and easy pattern for a sewn project bag that you can put together in an afternoon or less.  I’ve used a sewing machine, but you could totally sew it by hand, if you don’t have access to a machine.  I’ve also used eyelets and an eyelet setter to make the holes for my draw string.  It’s not a terribly expensive tool, and I’ve used mine more than I ever expected to.  But, if you don’t want to invest in an eyelet setter, you can use your sewing machine to stitch button holes to thread your ribbon through.

Materials:

2 fat quarters in coordinating colors (available at fabric and quilting stores)

Coordinating thread

Sewing machine (or needle and thread if you like to kick it old school)

Eyelet setter

8 1/4 inch eyelets (8 fronts and 8 backs)

Ruler

Pencil

Iron (optional)

1 yard of ribbon or cord

  1. Iron the fat quarters and cut 3 inches off the long edge of each piece of fabric, and trim off the selvage edge.  Discard the small pieces, or use them to make tiny quilts for mice or something.OLYMPUS DIGITAL CAMERA
  2. Lay out the fat quarters, right sides in, and sew them along one long edge with a ½ inch seam allowance.OLYMPUS DIGITAL CAMERA
  3. Fold the fabric in half long ways (like a hot dog as my elementary art teacher said) and pin along the outside edge.  You’ll have your lining fabric pinned to itself, and your outside fabric pinned to itself.  Sew around the edge, leaving a ½ inch seam allowance.   Leave a  3 inch gap on the lining end.  You’ll need this gap to turn the project inside-out.OLYMPUS DIGITAL CAMERA
  4. Clip the corners, and turn the bag right-side out.OLYMPUS DIGITAL CAMERA
  5. Press the opening  so that the edges of the opening are flush with the seam on either side.  Stitch the opening closed.  OLYMPUS DIGITAL CAMERA
  6. Push the lining into the bag and press the whole thing, making it as neat as possible.  Make sure the seam between the lining and the outside fabric is even (this is the very top edge of the bag’s opening.OLYMPUS DIGITAL CAMERA
  7. Measure 2.5 inches from the top edge of the bag.  Evenly mark 4 points across this line on the front of the bag (front or back doesn’t really matter, but just put 4 points on one side… we’ll put the others on there later).  These points will be where you put in the grommets.OLYMPUS DIGITAL CAMERA
  8. Using the instructions that came with your eyelets, install the 4 eyelets on the front of the bag.OLYMPUS DIGITAL CAMERA
  9. Lay the bag flat, and mark where your eyelets fall on the back of the bag (just poke your pencil through the front of the bag).  This makes sure that your eyelets are evenly spaced around the whole bag.  Install the remaining 4 eyelets.OLYMPUS DIGITAL CAMERA
  10. Weave the ribbon through the grommets.OLYMPUS DIGITAL CAMERA

Done!  Now go fill it with knitting or other projects.  This bag is a good size for small to medium projects (1 or 2 skeins).  If you want a bigger project bag, start with bigger pieces of fabric, but use the same technique.    Because the bag is double-layered, even the pointiest needles won’t poke through, and it’s strong enough to keep your delicate yarn nice and clean and protected.OLYMPUS DIGITAL CAMERA

What’s in your bag?

What’s in your bag?

I don’t know about you, but I love seeing what other people have in their purses.  Maybe it’s just me being a weirdo, but there’s always something interesting in there.  Of course, you always have the usual; keys, wallet, cell phone, spare change, wadded up receipts, random old pens (I have one old purse that I just found that had, I kid you not, 10 pens in it.  What was I thinking?).  But there is always something weird in there, too.  Maybe it’s an old notepad with some cryptic notes scribbled on it, or maybe a tiny plastic hippopotamus that someone got out of one of those 25 cent vending machines at the grocery store, or maybe a single big hoop earring that got left in there after you lost the other one at a new year’s party.  Who knows?

Anyway, to satisfy my voyeurism, let’s talk about what you carry around in your knitting bag.   Here’s what I have in my bag (I suppose it’s exhibitionism, not voyeurism, but still):

OLYMPUS DIGITAL CAMERA

  1. Knitting (duh.)
  2. A pen.  Always useful!
  3. My knitting toolkit.  This is a little wallet-y pouch thing that I received in a swap years ago.  I’ve got a couple of these little kits rattling around my knitting things.  It’s great to have one of these always loaded up with useful little bits and bobs so that you don’t have to go running around looking for a needle or scissors.  So, what’s in mine?
    1. Stitch markers-several kinds, several sizes for all your stitch marking needs.
    2. Scissors-I like these because they are tiny and pretty.  I think I got them at JoAnn’s years ago for a couple bucks.  They make me feel all fancy-like.
    3. Tapestry needles- organized on the plastic dealy that they came on, so they aren’t just rolling around loose and getting lost.
    4. Diaper pins-I actually got these in a swap, too, and had no idea why someone would send them to me.  It seemed dumb.  But, I use them all the time.  You can use them to mark the beginning of a row when a stitch marker won’t work.  You can use them to pin two pieces of knitting together when you’re seaming it.  You can use them to organize buttons or stitch markers when are afraid you’re going to lose them before you get home.  Also, they’re better than just using safety pins, since they don’t have as many jagged metal bits to cause snags.
    5. A cable needle- Never leave home without it.  Easy to loose, not used a lot, but essential when you need to find it.
    6. Buttons that I took off of a sweater when I frogged it months ago.  I should put them away…

So, I showed you mine.  You show me yours.  What’s in your knitting bag?