Tag Archives: design

Design Process Series: Heart and Sole

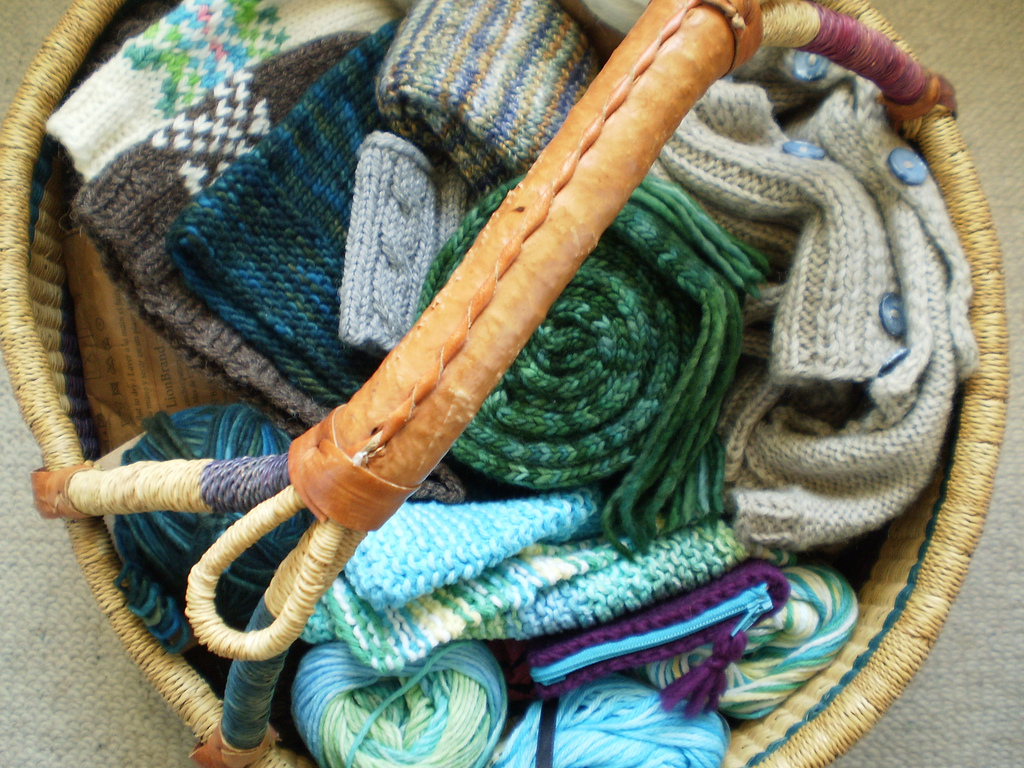
Our socks are nearly finished, guys!  And just in time for it to get all hot and summery.  (Nothing better than wearing big woolen socks in the July heat.  Ick!)

Let’s get started!

OLYMPUS DIGITAL CAMERA

With the Main Color, knit back across the heel flap, moving the marker as you go.  Using the same  needle, pick up and knit 12 (13, 14, 15) stitches along the side of the heel flap.

Knit across the next 24 (26, 28, 30) stitches normally (these are the top of the foot).

Then, with your spare needle (the one we set aside at the beginning of the heel flap), pick up another 12 (13, 14, 15) stitches along the remaining side of the heel flap and knit to the marker. Remove marker.

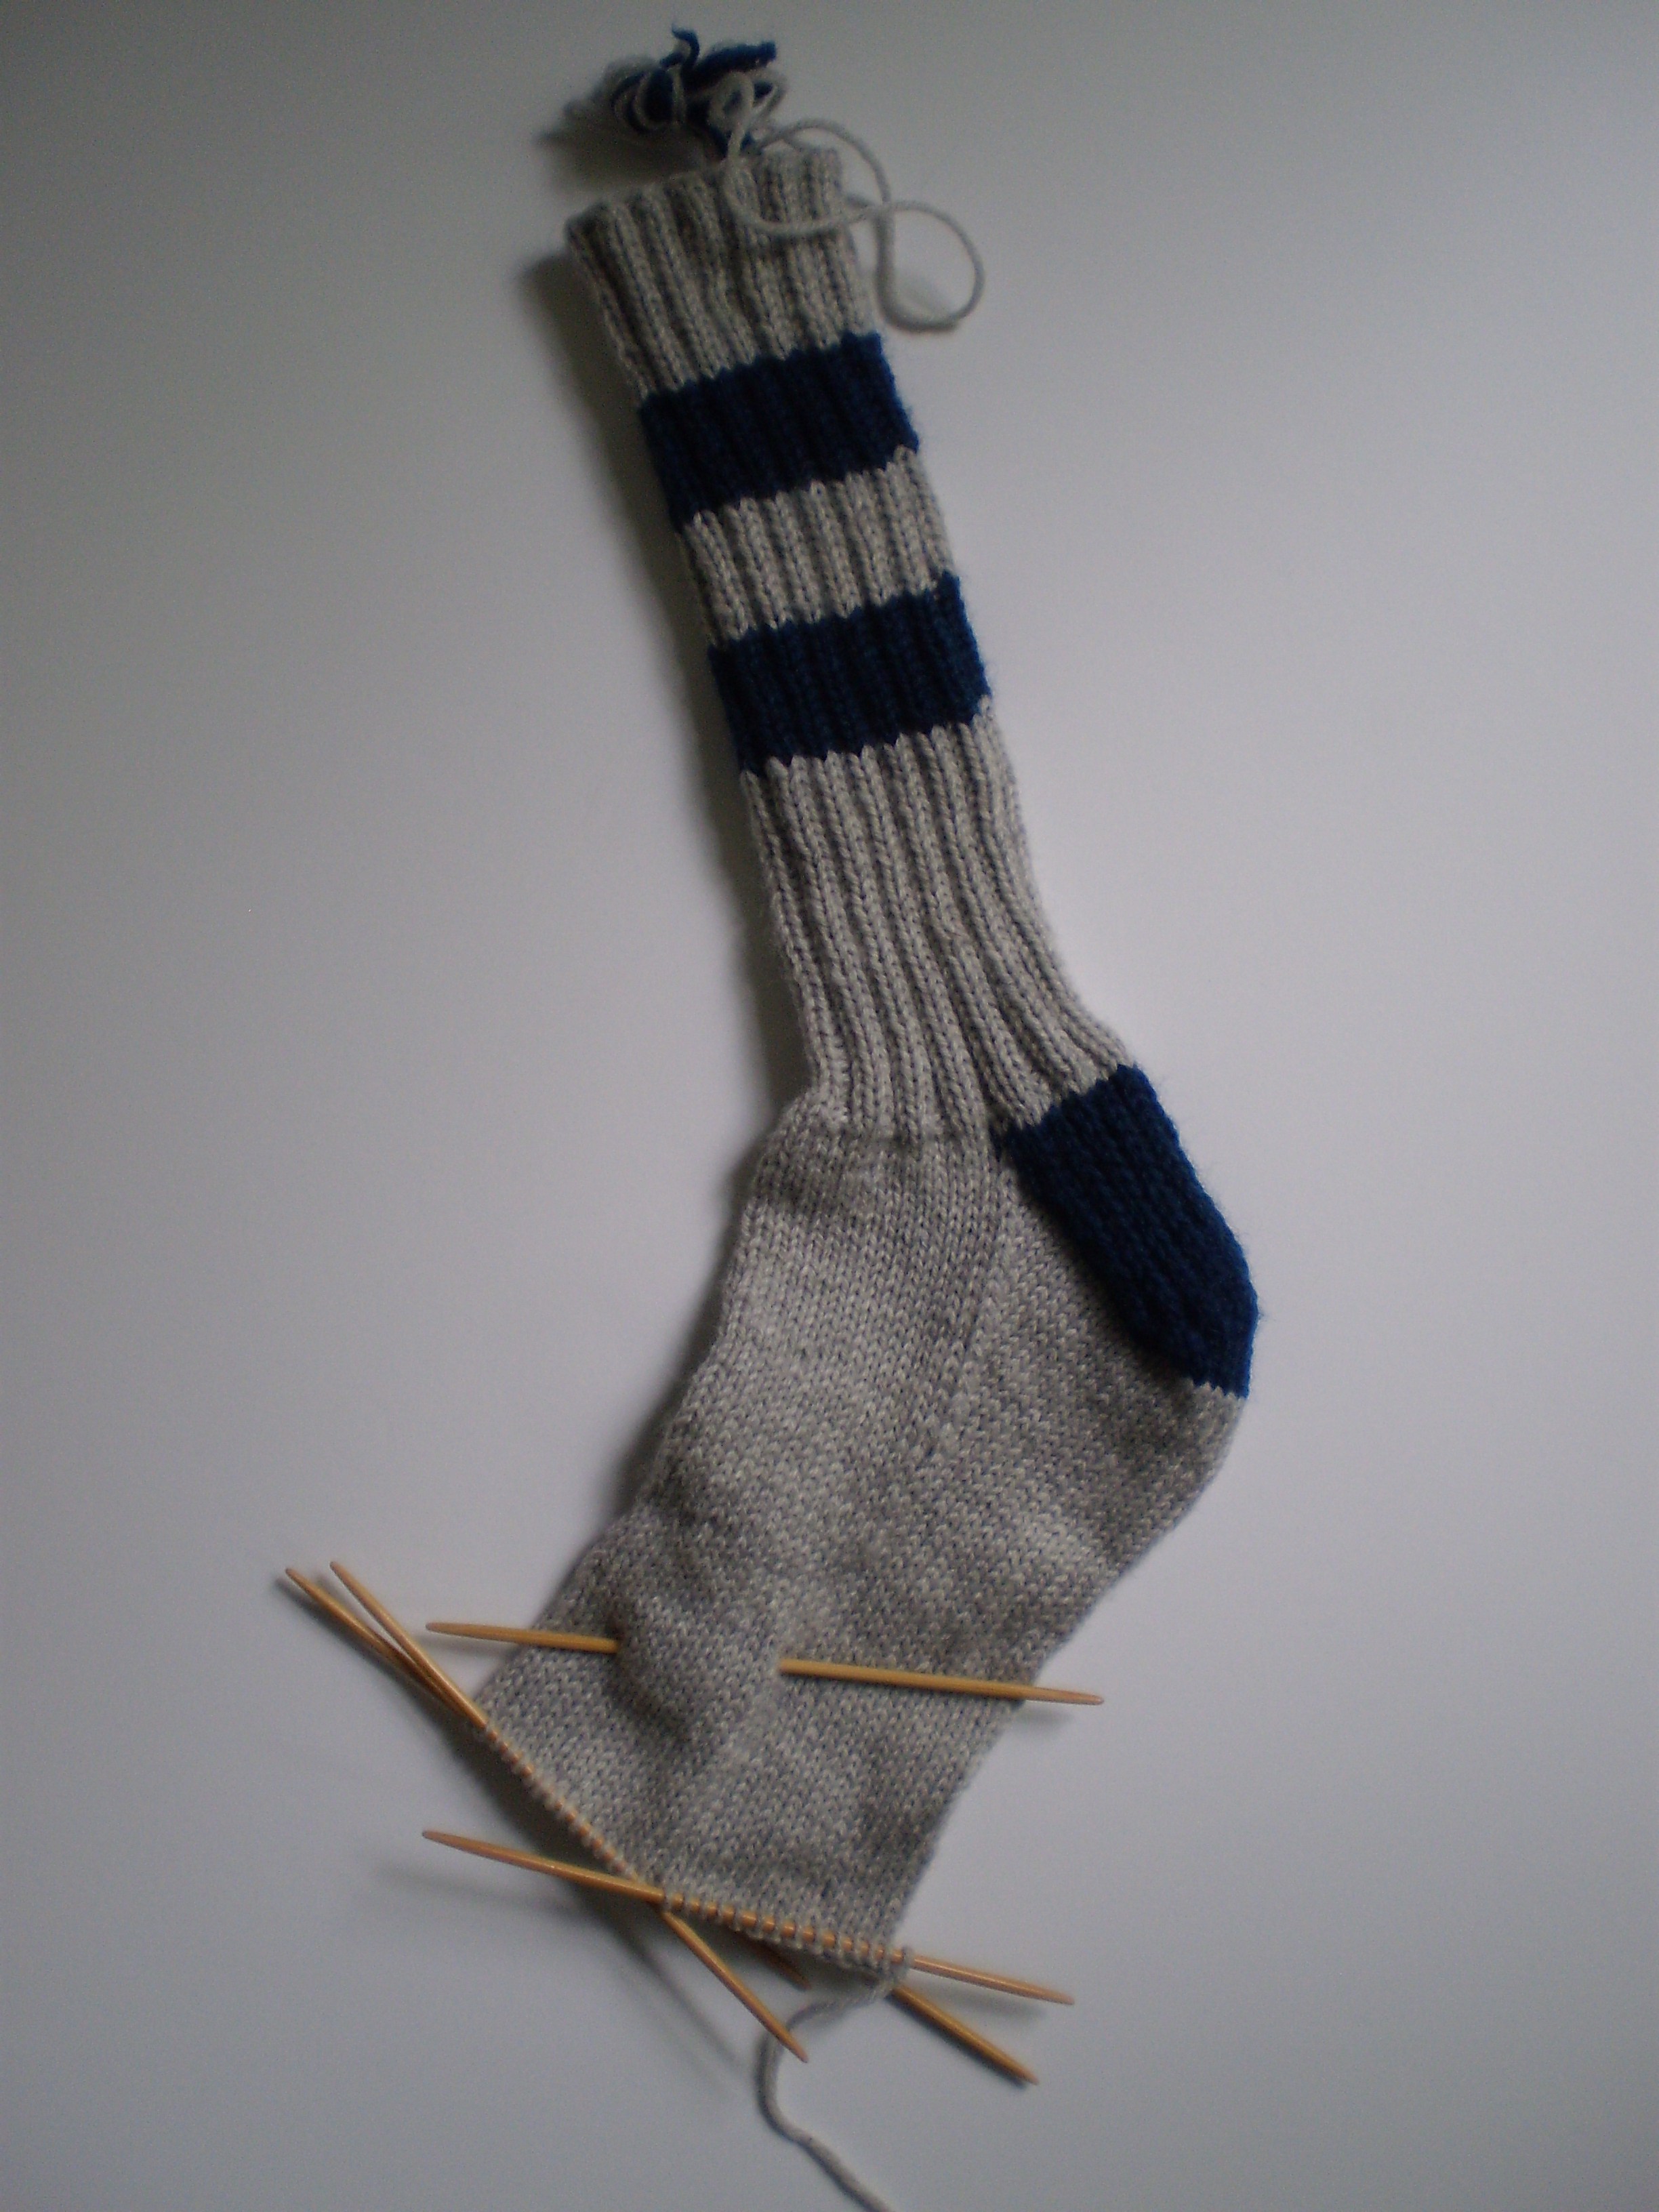
You’ll have the stitches arranged on 4 needles.  Two (the ones on the top of the foot) will have 12 (13, 14, 15) stitches each, and the other two (the ones on the sole of the foot) will have more.  The beginning of the row from now on will be between the two “sole of the foot” needles.  Confused?  This might help.

Now that we’re all set up for the foot, it’s time to start knitting.

  • K to 2 before the end of the first needle, k2tog.  K the next two needles even.  On the fourth needle, ssk, then knit to the end.
  • K all stitches even.

Repeat these two rows, alternating decrease and even rows, until all needles have the same number of stitches (12 (13, 14, 15) stitches each).  You’ve finished the gusset and it’s all easy sailing (er… knitting) from here.

Knit all stitches even until the sock measures 2 inches shorter than desired from heel to toe.  End at the bottom of the sole.  Break yarn and get ready for some exciting toe action next week!

OLYMPUS DIGITAL CAMERA

Design Process Series: Turning the Heel

OK, guys.  It’s time.  Time to turn the heel.

I remember my first pair of socks.  I got to the heel, took one look at the instructions, got scared and put it in the bottom of my WIP pile for about a year.

Let’s not do that.  Heels aren’t that scary.  It’s just some little short rows, and then next week, we’ll pick up some stitches.  No biggie.  (If you want a more detailed explanation, feel free to go back to my “Socks by the Numbers” series.)

This heel will be a basic short-row heel with a reinforced slip-stitch heel.  The slipped stitches will make the heel lovely and thick and squishy (which I think will fit well with the whole “warm and cozy” thing).  They’ll be perfect for wearing with your favorite pair of broken-in hiking boots. (Or while sitting on the couch with a cup of cocoa.)

Ready to start?  Great!

So far, we’ve been knitting in the round on 4 needles.  Now, we’ll be using just one needle, working back and forth as we work up the heel flap.

Join your CC and knit the next 24 (26, 28, 30) stitches onto a single needle.  You’ll have an extra needle.  Put this somewhere you won’t loose it.  We’ll need it later.  These 24 (26, 28, 30) stitches are your heel flap stitches, and we’ll only be working with these stitches today.  Turn your sock around and get ready to work back across your heel stitches.

  • Slip 1, then purl across.
  • (Slip 1, knit 1) across.

Repeat these two rows until the heel flap is 24 (26, 28, 30) rows long.  Finish with a purl row.

OLYMPUS DIGITAL CAMERA

I couldn’t find a stitch marker, but you should have one right in the middle of the blue section.

Next, we’ll shape the heel cap.  (This is the part of the heel that gets nice and round.)

  • K12 (13, 14, 15) then place marker.  Then, K2, K2tog, K 1, wrap and turn.
  • P to marker, slip marker, P2, P2tog, P1, wrap and turn.

Then:

  • K to 1 before the wrap and turn gap, k2tog, k1, wrap and turn.
  • P to 1 before the wrap and turn gap, p2tog, p1, wrap and turn.

Repeat these last two rows until you have worked all heel flap stitches.  (On the last two rows, the math might not quite work out and you might not be able to do the last k1/p1, or the last wrap and turn.  Don’t worry about it!)  End with a purl row.

OLYMPUS DIGITAL CAMERA

Break Contrast Color, and get ready to work the foot next week!

Design Series: Let’s go!

Guys.  It’s time.  Finally!

It’s time to cast on for our socks!

Just to recap, we decided to make simple, warm and cozy socks with a basic design.  We picked light gray and indigo blue for the colors, and we wanted them to be regular socks, not slipper socks.

Luckily, I had some lovely indigo blue and light gray sock yarn in my stash!

Knit Picks Stroll Sock yarn in Sapphire Heather and Dove Heather, about one skein of each.  (Which should hopefully be enough to make it through a whole pair of socks!)

24590[1] 25023[1]Pretty, right?  Of course, you’re more than welcome to use any color (or brand of yarn) that makes you happy, but I’ll be using this yarn.

Since we’re going for a nice warm and cozy design, I thought that using a lovely, squishy 2×2 rib would look really good.  (Not to mention that ribbed socks are super comfy.)

I’m going to be working this design in four sizes: Women’s Small (Medium, Large, Extra Large). (Don’t feel bad if you have to use the Extra-Large Size.  That’s the size I have to make for myself.  I have big man-feet.)

So, let’s start!

  • Materials:
  • 5 US2 double-pointed needles
  • Yarn needle
  • Scissors
  • 1 skein each, Gray (MC) and Blue (CC) sock yarn, such as Knit Picks Stroll Sock in Dove Heather and Indigo Heather.

Directions:

  • Using MC, cast on 48 (52, 56, 60) stitches using your favorite method.  Distribute the stitches evenly across 4 needles (12 (13, 14, 15) sts per needle) and join to work in the round.
  • Work around in a K2P2 rib for 15 rounds.  Break yarn and join CC.
  • Continue in ribbing for 10 rounds.  Break yarn and join MC.
  • Continue in ribbing for 10 rounds.  Break yarn and join CC.
  • Continue in ribbing for 10 rounds.  Break yarn and join MC.
  • Continue in ribbing for 30 rounds.
  • Work 1 round, knitting all stitches.
  • Knit 36 ( 39, 42, 45).  Break yarn and get ready to make the heel flap!

OLYMPUS DIGITAL CAMERANext time, we’ll turn the heel!  Woo Hoo!

Design Series: Halfway there!

We’re almost there, guys!   I’m itching to go buy yarn and cast on!

If you’re just joining us now, we’ve been designing a knitting pattern together.  We decided to make socks, and we wanted them to be warm and cozy.  And, last week, we decided to make them with a simple gray and indigo-blue pattern.

This week, I have two questions for you.

First, do you want the socks to be made at a standard sock-yarn gauge, or should they be slipper socks, worked at a larger (DK or Worsted) gauge?

And, of course, what do you you want our simple stripes to look like?  here are 4 variations to choose from.

Design Project Socks

Vote!  Quick!  I really want to go visit the yarn store and start knitting on these socks!


(And, don’t forget to enter your name into the drawing for a copy of “Cute, Cuter, Cutest!”  You’ve got until Friday before I pick a winner!)

Design Series: Color!

I know, I know, I know.  This sock-design project is taking longer than maybe you (and certainly I) expected.  But, honestly, these are all the questions I have to ask myself while designing any pattern.  I’ve just never put my thought process into words before.  It’s a bit of work at the beginning, but it’s worth it to get started the right way.

Last week, we talked about the technical theme of the socks.  And, it looks like “Simple socks” won by a hair!

IMG_2698_medium2[1]We’ll be making super cozy socks in a simple pattern with two or three colors. (Maybe we could even make them at a big, cozy gauge!  That would be fun!)

So, the next question of course is:  What color are our socks going to be?

Actually, what colors are our socks going to be?

Lets first pick a main color:Maincolors

And then we can pick an accent color:Accentcolors

Vote, Vote, Vote!  Or, if there’s a color I didn’t include, let me know and I can add it in!

Design Series: Inspirations

All right, knitters!  The votes have been tallied and it looks like socks are the big winner!

When I’m working on my own designs, the next thing I decide on is the inspiration behind my project.  This isn’t anything technical; I’m not doing any math, or even picking out any stitch patterns yet.  This step simply lets me figure out what the feel of the project will be.  Once I decide on an inspiration, the rest of the design will start to fall into place.

So, here are a few options for the inspiration of our socks:

Option 1:  Fun and silly, like this little goat.

funny-animal-pictures-of-the-week-039-001[1]Option 2:  Sleek and sophisticated, like the Singapore skyline.singapore_skyline[1]Option 3: Delicate and feminine, like these forget-me-not flowers.Forget-Me-Not-[1]Option 4: Warm and cozy, like this mountain cabin.cozy-cabins[1]Option 5: Light and breezy, like this tropical beach.Tropical-Beach-2[1]Option 6: Natural and outdoorsy, like this mountain range.yellow-stone-national-park-mountains[1]Option 7: Cool and practical, like the Pacific Northwest coastline.

Rialto-Beach-Olympic-Peninsula-WA[1]Let me know what you’re into, and next week, we’ll start narrowing down the design.

Design Series-What are we making?

All right!  Judging by your reaction to my last post, I’d say that designing a garment/item together is something you want to do!  I’m excited, I think it will be fun.

I’ve been thinking about it, and I think that the easiest way for us to do this is through a series of polls.  Then, once a week or so, I’ll tally up the votes, and we’ll move forward with whatever design wins.   Sound good?

8176171268_c8f5ee53d9_bSo, first things first, what are we going to make?  I’ve got some ideas, but I want to see what y’all want to do before I say anything.

So Vote, Vote, Vote!  I’m itching to get this project rolling!

Let’s Design Something Together

I have an idea.  Dangerous, I know.  But I think this will be fun.

I’d like to design a new pattern, and I’d like you guys to all come along through the journey.  Does that sound like fun?  I’ll take you through my design process, from idea creation to the finished pattern.notebook-with-pencil[1]Where do we start?  What are we going to make?  Sometimes a design element will pop into my head first (a particularly cool cable, or a pretty lace pattern), but usually I decide on a project type first.

So.  What shall we make?  Socks? A hat?  A scarf?  Or something for the home?  A pot holder or a washcloth?

What do you want to see?  Do you have any ideas of your own?

Once we have a project picked out, we’ll work together to design the item together.  This will be fun!  I’m excited!

Patterns: Dahlia Shawl and Puddle Jumper Socks AND a Giveaway!

Holy crap, you guys!  It’s finally here!  Today’s the day I can FINALLY tell you about not one, but TWO patterns that I’ve been working on since May!  AND, I get to hold my first ever On the Needles giveaway!

(I was going to try to play it cool, but I’m so excited, I can’t even pretend that I’m not freaking out.)

I have two patterns in the new KnitPicks Spring Collection.  It’s a book.  An actual, real-life book, and my patterns are printed in it.

For real.  Here’s the cover (It’s not my pattern on the cover, but it’s still super cute!):

32490Want to see my patterns?

I’m totally in love with my Dahlia Shawl.  I wear the prototype one all the time.  It’s the perfect size to wear as a scarf, tucked into my coat, or as a shawl, wrapped around my shoulders.  The modern lace edging is super easy to knit because it’s worked at the same time as the main body of the shawl.  (And the yarn is merino and silk, and is totally gorgeous and drapes wonderfully.)

51851220_5 51851220My second pattern in the collection are my super-cheerful Puddle Jumper Socks.  They’re knit from the top down, with an afterthought heel, so they work up in no time.  I love the stripe pattern, especially the way the third contrasting color really pops on the toe and heel.

51850220 51850220_10So, I bet you’ve guessed what the giveaway is.

I’ve got two copies of the 2015 Spring Accessories Collection (one paper book and one ebook) to give away to two lucky readers.  (It really is a great collection-there are lots of fabulous patters, not just mine.  I particularly like the Pyra Mitts, the Modular Triangle Shawl and the Charm City Socks.)

If you want to try and win a copy, comment below and tell me what you’d knit first if you won the book!  (Don’t post your address or anything-we’ll figure that all out later.)  I’ll pick the winner at random in one week (on 2/25).

Good luck!  (Now I need to go drink a nice, calming cup of tea.)

Stellar Jay Sweater: Gauge and Math

It’s here! It’s here! Let’s all ooh and ahh at the beautiful yarn!

OLYMPUS DIGITAL CAMERANext step is to whip up a swatch. I have been brainstorming this sweater, and I think that plain stripes are too boring, so I’ve decided to do a little scallop design between each stripe, so I’m going to include that in my swatch, to see how it looks. Two birds. One stone.

I knit up a square of fabric about six inches by six inches. And I’ve worked my scallop pattern both right-side-up and upside down, to see which I like better.

This is the upside-down version, but I think it makes the scallops look a little rectangular.

OLYMPUS DIGITAL CAMERAThis is the right-side up version, which I like better.OLYMPUS DIGITAL CAMERA

This means that I will need to work my sweater from the bottom up, which is important to know when I start designing my pattern.

I pulled out my gauge meter (you could just use a ruler or tape measure) and measured out my gauge. I got 5 sts per inch and 7 rows per inch in stockinet stitch on size 8 needles.

OLYMPUS DIGITAL CAMERASo, now that I know my gauge, and the general design I want to use (bottom up pullover), I do a little math and sketch out my pattern. I’m basing this one on Elizabeth Zimmerman’s Percentage System, to give me the bones of the sweater, but I’m tweaking it a bit to deal with an all-over stripes pattern, instead of only a yoke pattern.

OLYMPUS DIGITAL CAMERABelieve it or not, those chicken scratches make sense to me. I usually sketch out my pattern like this (on a drawing), before I start knitting. Then, as I knit up the pattern, I’ll make notes into a notebook or on my computer in more standard knitting lingo. But, for now, this will do nicely for me.

Now I get to go cast on! Woo!