Tag Archives: design series

Pattern: Committee Socks

We’ve done it, guys!  We’ve finished our socks.  The ones we started talking about way back in March.

You picked out the item, the style and even the colors.  And, over the last couple months, we’ve been knitting up the socks piece by piece.

And, here’s the day we’ve been waiting for!  It’s Finished Sock Day!

OLYMPUS DIGITAL CAMERA

They are the perfect comfy-cozy everyday socks. Featuring a classic ribbed leg with bold stripes of contrasting color and a slip-stitch reinforced heel, these socks are perfect for hiking up to your mountain cabin, beachcombing on the Puget Sound or lounging in front of the fireplace. Simple, classic, cozy and perfect.

OLYMPUS DIGITAL CAMERA

Thanks, everyone for your input!  I hope you had fun working on these socks together… I know I did.

Want a nice copy of the finished pattern?  Get it here:

Committee Socks.docx


Design Process Series: Heart and Sole

Our socks are nearly finished, guys!  And just in time for it to get all hot and summery.  (Nothing better than wearing big woolen socks in the July heat.  Ick!)

Let’s get started!

OLYMPUS DIGITAL CAMERA

With the Main Color, knit back across the heel flap, moving the marker as you go.  Using the same  needle, pick up and knit 12 (13, 14, 15) stitches along the side of the heel flap.

Knit across the next 24 (26, 28, 30) stitches normally (these are the top of the foot).

Then, with your spare needle (the one we set aside at the beginning of the heel flap), pick up another 12 (13, 14, 15) stitches along the remaining side of the heel flap and knit to the marker. Remove marker.

You’ll have the stitches arranged on 4 needles.  Two (the ones on the top of the foot) will have 12 (13, 14, 15) stitches each, and the other two (the ones on the sole of the foot) will have more.  The beginning of the row from now on will be between the two “sole of the foot” needles.  Confused?  This might help.

Now that we’re all set up for the foot, it’s time to start knitting.

  • K to 2 before the end of the first needle, k2tog.  K the next two needles even.  On the fourth needle, ssk, then knit to the end.
  • K all stitches even.

Repeat these two rows, alternating decrease and even rows, until all needles have the same number of stitches (12 (13, 14, 15) stitches each).  You’ve finished the gusset and it’s all easy sailing (er… knitting) from here.

Knit all stitches even until the sock measures 2 inches shorter than desired from heel to toe.  End at the bottom of the sole.  Break yarn and get ready for some exciting toe action next week!

OLYMPUS DIGITAL CAMERA

Design Process Series: Turning the Heel

OK, guys.  It’s time.  Time to turn the heel.

I remember my first pair of socks.  I got to the heel, took one look at the instructions, got scared and put it in the bottom of my WIP pile for about a year.

Let’s not do that.  Heels aren’t that scary.  It’s just some little short rows, and then next week, we’ll pick up some stitches.  No biggie.  (If you want a more detailed explanation, feel free to go back to my “Socks by the Numbers” series.)

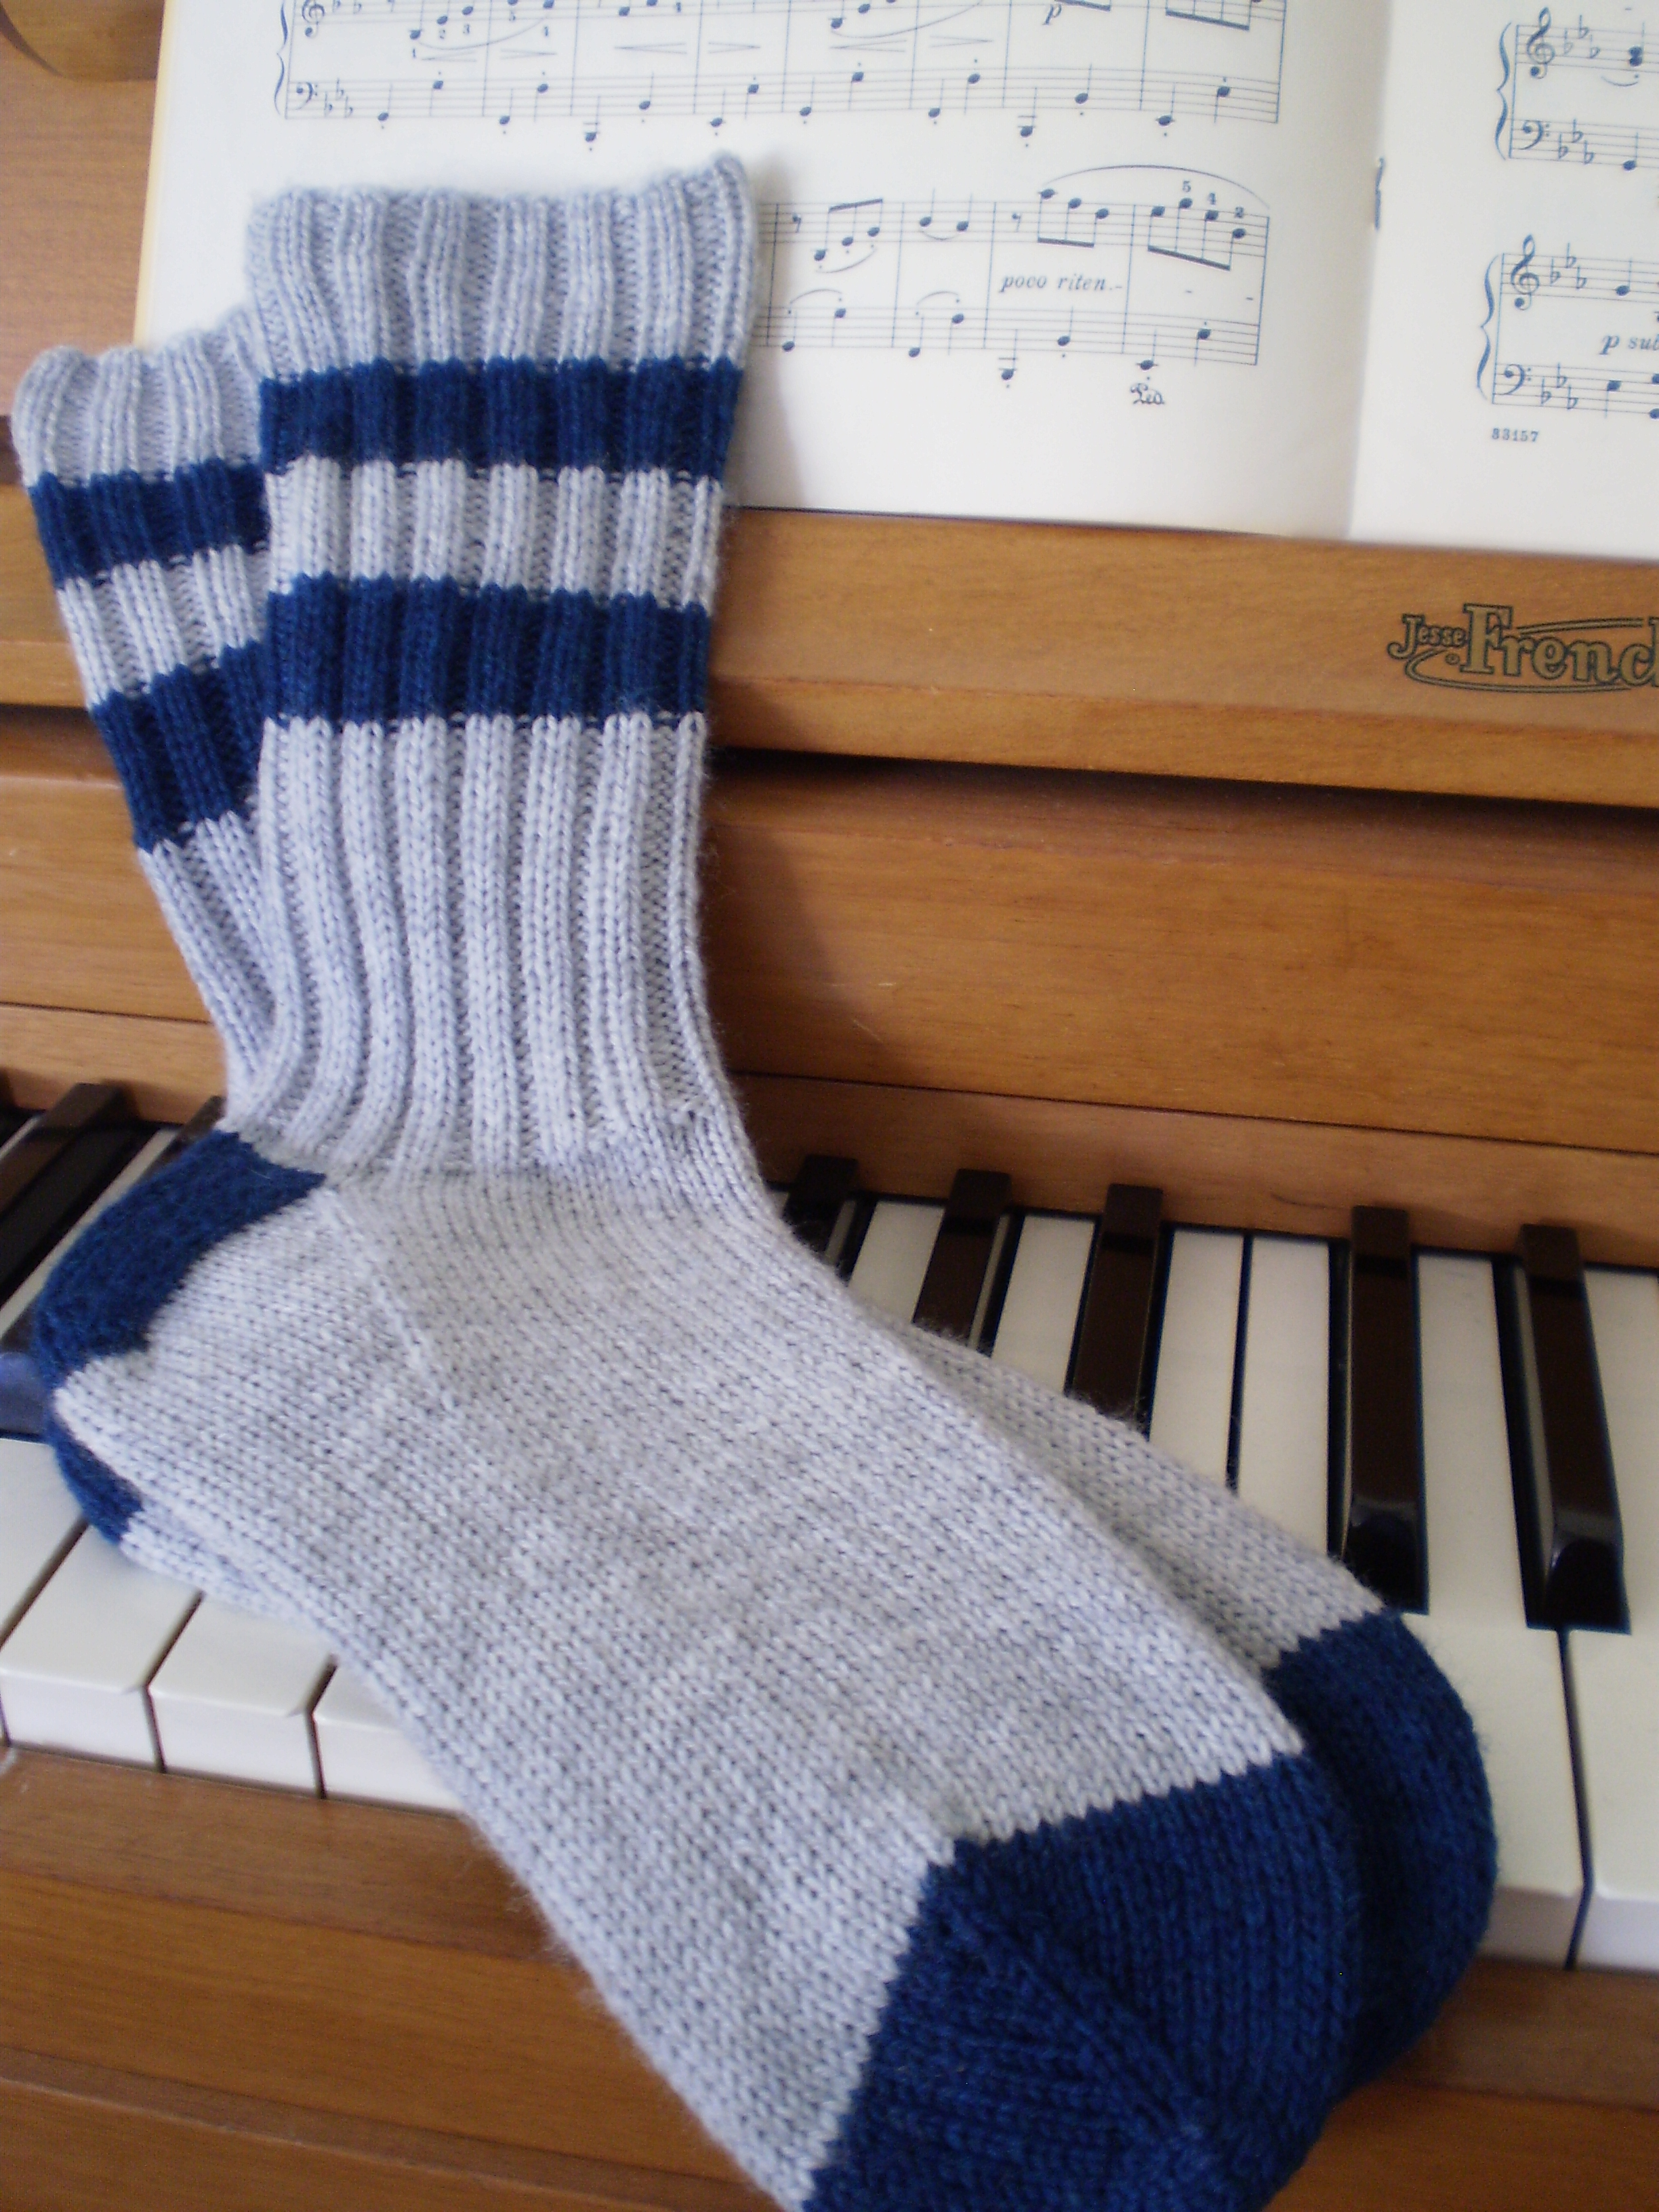
This heel will be a basic short-row heel with a reinforced slip-stitch heel.  The slipped stitches will make the heel lovely and thick and squishy (which I think will fit well with the whole “warm and cozy” thing).  They’ll be perfect for wearing with your favorite pair of broken-in hiking boots. (Or while sitting on the couch with a cup of cocoa.)

Ready to start?  Great!

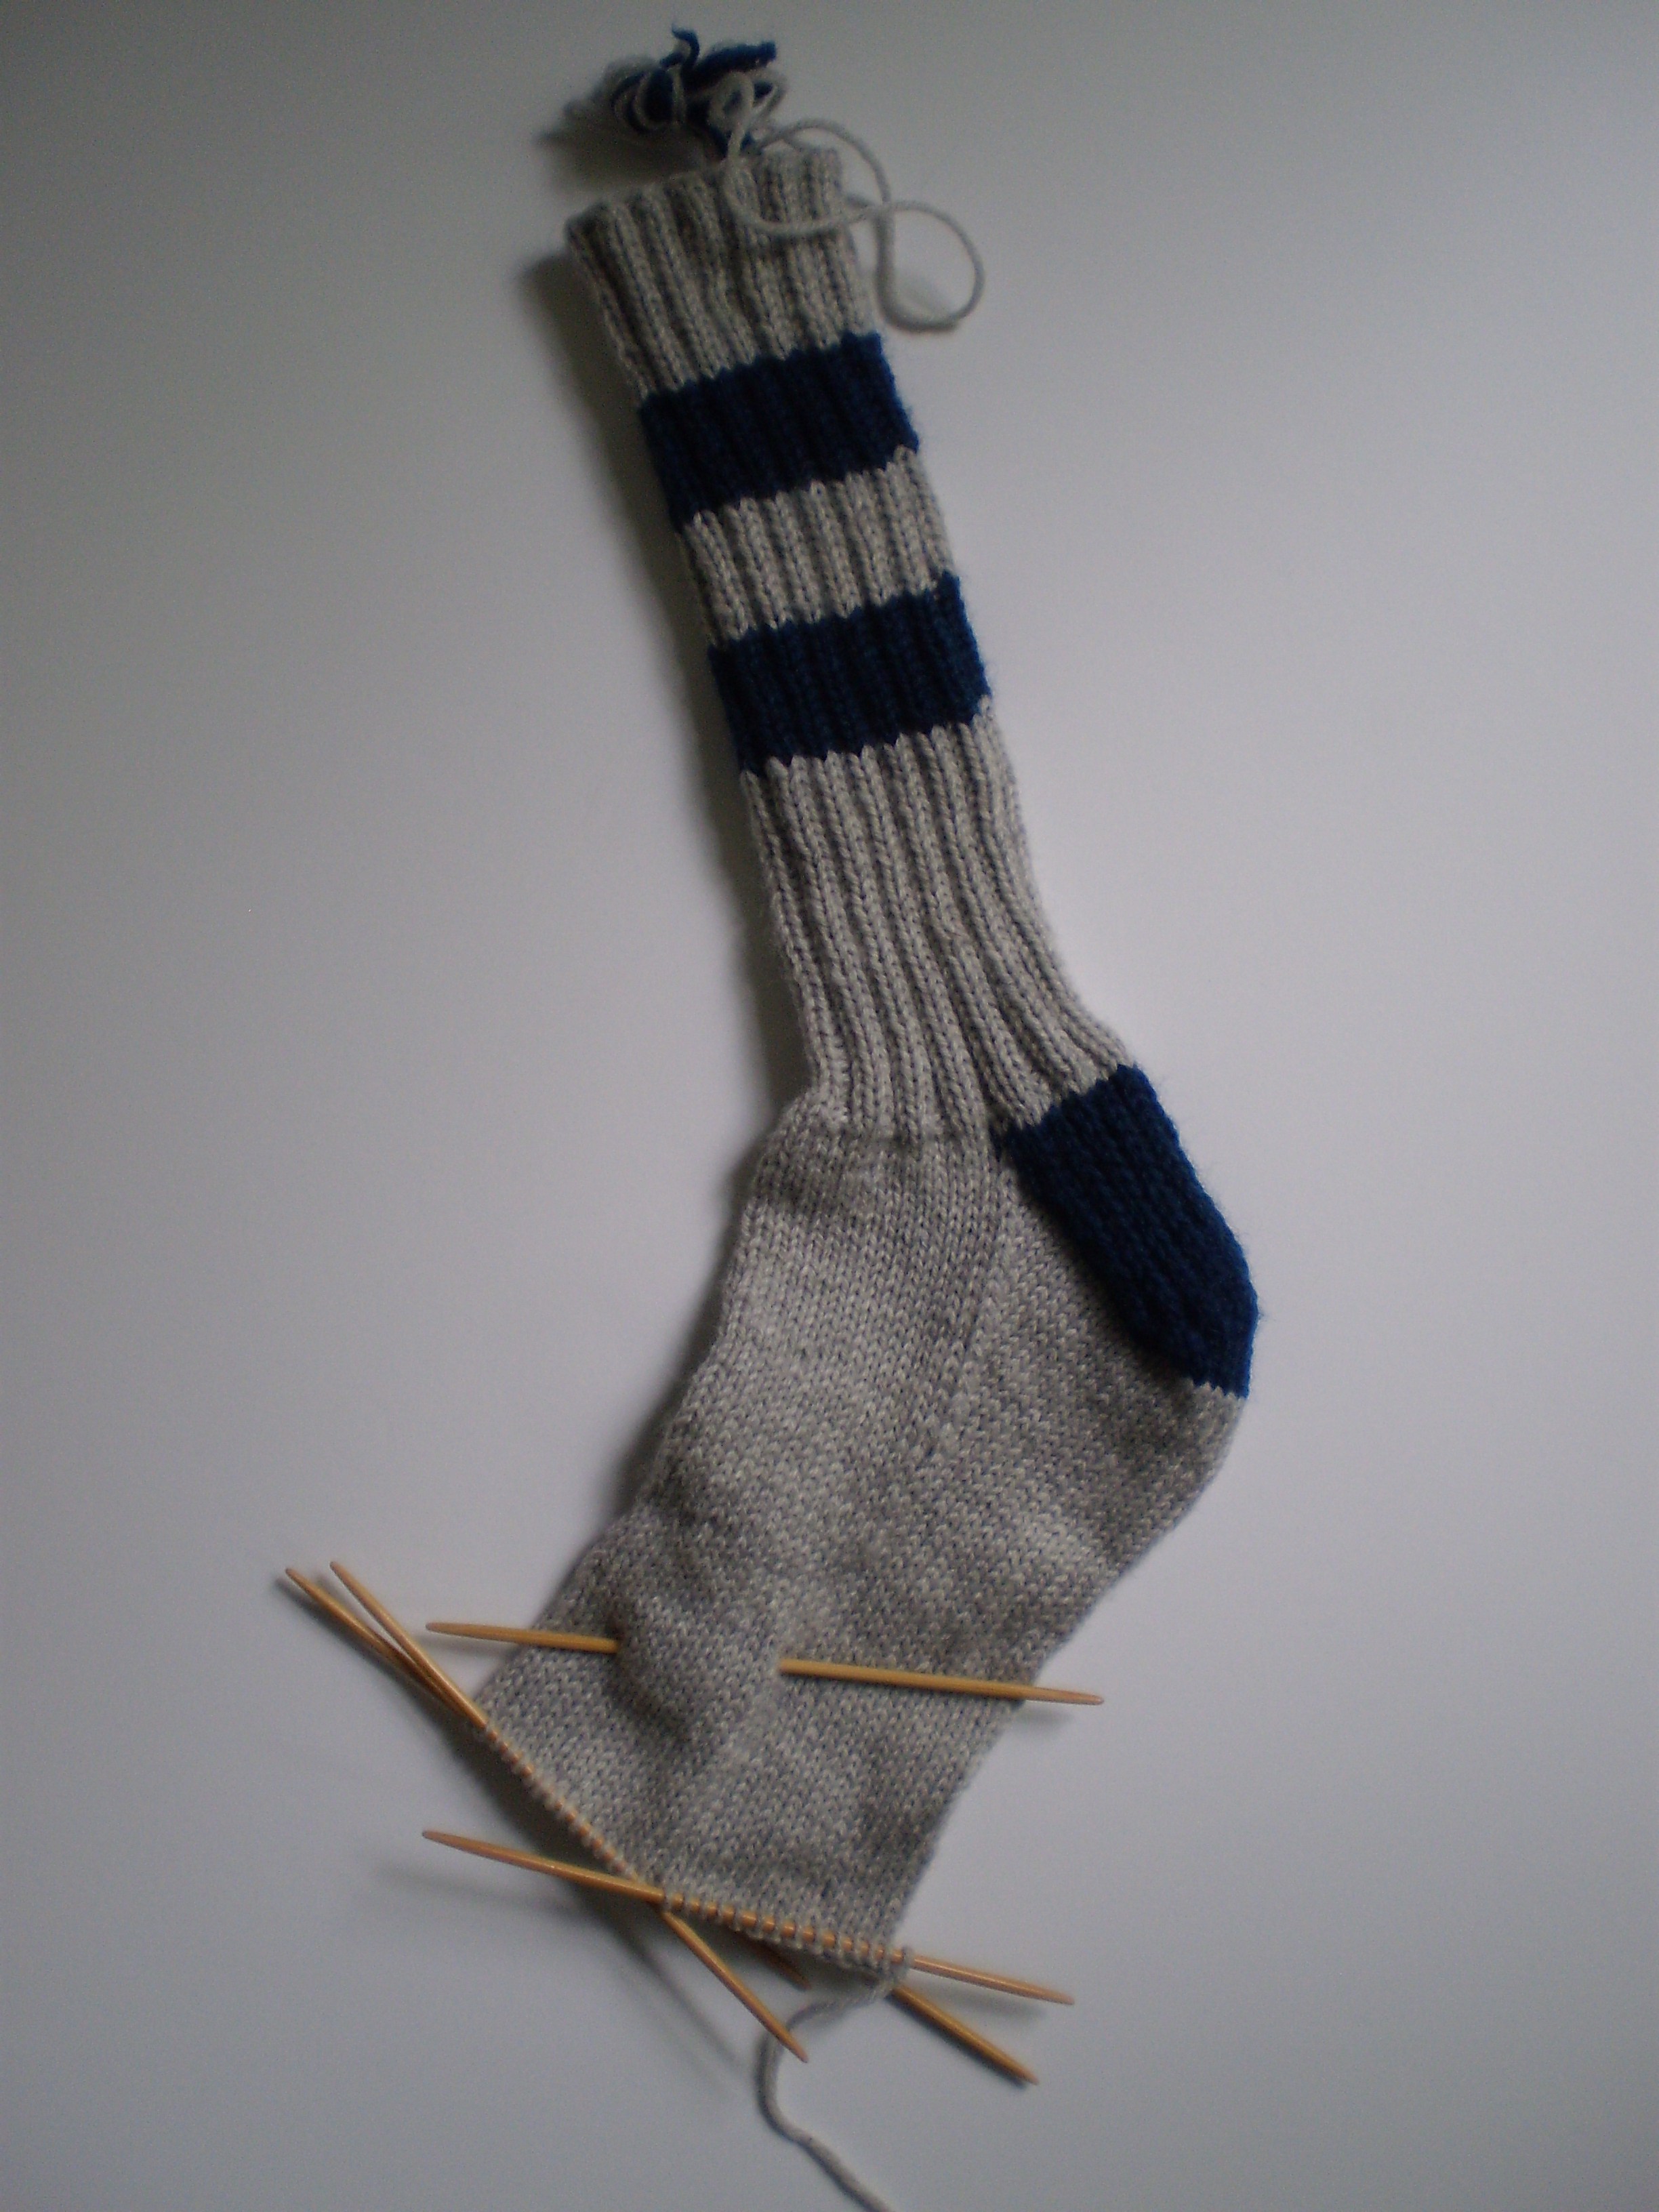
So far, we’ve been knitting in the round on 4 needles.  Now, we’ll be using just one needle, working back and forth as we work up the heel flap.

Join your CC and knit the next 24 (26, 28, 30) stitches onto a single needle.  You’ll have an extra needle.  Put this somewhere you won’t loose it.  We’ll need it later.  These 24 (26, 28, 30) stitches are your heel flap stitches, and we’ll only be working with these stitches today.  Turn your sock around and get ready to work back across your heel stitches.

  • Slip 1, then purl across.
  • (Slip 1, knit 1) across.

Repeat these two rows until the heel flap is 24 (26, 28, 30) rows long.  Finish with a purl row.

OLYMPUS DIGITAL CAMERA

I couldn’t find a stitch marker, but you should have one right in the middle of the blue section.

Next, we’ll shape the heel cap.  (This is the part of the heel that gets nice and round.)

  • K12 (13, 14, 15) then place marker.  Then, K2, K2tog, K 1, wrap and turn.
  • P to marker, slip marker, P2, P2tog, P1, wrap and turn.

Then:

  • K to 1 before the wrap and turn gap, k2tog, k1, wrap and turn.
  • P to 1 before the wrap and turn gap, p2tog, p1, wrap and turn.

Repeat these last two rows until you have worked all heel flap stitches.  (On the last two rows, the math might not quite work out and you might not be able to do the last k1/p1, or the last wrap and turn.  Don’t worry about it!)  End with a purl row.

OLYMPUS DIGITAL CAMERA

Break Contrast Color, and get ready to work the foot next week!

Design Series: Halfway there!

We’re almost there, guys!   I’m itching to go buy yarn and cast on!

If you’re just joining us now, we’ve been designing a knitting pattern together.  We decided to make socks, and we wanted them to be warm and cozy.  And, last week, we decided to make them with a simple gray and indigo-blue pattern.

This week, I have two questions for you.

First, do you want the socks to be made at a standard sock-yarn gauge, or should they be slipper socks, worked at a larger (DK or Worsted) gauge?

And, of course, what do you you want our simple stripes to look like?  here are 4 variations to choose from.

Design Project Socks

Vote!  Quick!  I really want to go visit the yarn store and start knitting on these socks!


(And, don’t forget to enter your name into the drawing for a copy of “Cute, Cuter, Cutest!”  You’ve got until Friday before I pick a winner!)

Design Series-What are we making?

All right!  Judging by your reaction to my last post, I’d say that designing a garment/item together is something you want to do!  I’m excited, I think it will be fun.

I’ve been thinking about it, and I think that the easiest way for us to do this is through a series of polls.  Then, once a week or so, I’ll tally up the votes, and we’ll move forward with whatever design wins.   Sound good?

8176171268_c8f5ee53d9_bSo, first things first, what are we going to make?  I’ve got some ideas, but I want to see what y’all want to do before I say anything.

So Vote, Vote, Vote!  I’m itching to get this project rolling!