Tag Archives: recipe

Sock Week: Starting at the top


ARE! YOU! READY!

I am.  And apparently overexcited.  Or possibly over-caffeinated.  Which is often the same thing.  Without further ado, let’s get started.

So, these are “top-down” socks, meaning that we cast on at the cuff, and work down to the toe.  Some patterns are worked “toe-up,” but it’s really just a personal preference if you like top-down socks or toe-up socks.

Since these are top-down socks, you’ll cast on your Sock Number of stitches (I hope you remember it from Wednesday).  I cast on 60 stitches, because that was my sock number.

Divide your stitches evenly among four of your  needles (15 stitches on each needles, in my case).

Then…. knit the leg of your sock.OLYMPUS DIGITAL CAMERA


For my basic basic socks, I like to do 1 inch of k1p1 ribbing, then stockinet stitch (all knits, since we’re working this sock in the round) until the leg measures about 6 inches.  BUT, you can do anything you like.  Think about this sock leg as a canvas for you to play on.  The rest of the sock is pretty standard, but you can add all sorts of fun stuff to the leg, if you like.

How about:

Ribbing?

Stripes?

Lace?

Colorwork?

Tall socks?

Short socks?

Take a look through pattern books and at pictures of socks and find something you like.  As long as the pattern you choose (ribbing, lace, colorwork etc) uses a number of stitches that divides nicely into your Sock Number, you are free to do whatever you like.   So, work on your leg over the weekend, and we’ll move on to the heel flap on Monday.

Sock Week: Your lucky number

Are you ready to get started?!  I know I am!


But, before we really start knitting, we need to get your SOCK NUMBER.  It’s super important, and getting an accurate number will ensure that your socks fit properly.  All you need to do is make a swatch, measure your foot and do a tiiiiny bit of math.  Then we can get down to the business of making your socks!


OK, so first, make a stockinet stitch swatch with your yarn and needles that you’ll be using.  You can look at this post if you need a refresher.  Come back when you know the gauge (in stitches per inch) for your swatch.  I’ll wait.

.

.

.

Cool!  What’s your gauge?  Mine is 7 stitches per inch.  You should write this down somewhere so you don’t forget.  Muy importante.


The next step is to measure your foot (or the foot of the person for whom the socks are intended).  Measure the circumference of the widest part of the ball of the foot.  I like socks to be a little snug, so I can wear them in sneakers, so I try to keep the tape measure tight when I measure my feet.

I am wearing a sock in this picture.  You should not wear socks when you measure your feet.  My feet are disgusting (I roller-skate a lot, so my feet are covered in bruises, blisters and callouses), and I like it when people read my blog, so I decided to hide my feet for your viewing pleasure.  You’re welcome.

OLYMPUS DIGITAL CAMERA

Hey, look!  I have feet that are about 9 inches around.  (I wear size US 12 shoes, for reference.  So if you have little delicate lady-feet, you haven’t measured wrong.)

If you’re making socks as a gift for someone else whose feet you don’t have access to, here’s a pretty good reference for foot sizes.


OK.  So now you have your gauge (mine is 7 sts/in) and your foot measurement (mine is 9 in).  Now we have to do a tiny bit of math.  I promise it’s not scary.

First, multiply your gauge and your foot measurement:

7 x 9 = 63

Then round this number to the nearest multiple of 4.  If you want a sock that fits snugly, round down.  If you want a sock that’s a smidge looser, round up.  I like my socks snug, so I’ll round down to 60.


That’s it!  That’s your Sock Number.  My Sock Number is 60.  What’s yours?
On Friday, we’ll actually cast on, and start knitting.  I can’t wait!

Sock Week: Gathering your troops

So, what do we need to get started on your brand new wool socks?  Not too much, actually, which is pretty great.  You don’t need any really weird buttons or anything, and you don’t need hundreds of dollars worth of yarn.  All in all, socks might be the perfect project.

OLYMPUS DIGITAL CAMERA

Materials

  • Sock yarn (duh).  I used Lion Brand Sock-Ease for the finished sock in the previous post.  In the tutorial I’m going to be using Zoe Sock yarn from Shalimar Yarns in the colorway “Melba.” (It’s a beautiful peachy-sunny yellow, despite the bland name… Melba Toast…ew.)  You can use whatever yarn you like.  When I’m buying sock yarn I look for three things:

1.  It has to be machine washable.  I am not a crazy person and am not going to hand wash my socks. That’s super dumb.  If I’m making wool socks (which are undeniably the best socks), I use yarn made from Superwash Wool.  Yarn that has a small percentage of nylon or polyester mixed with the Superwash Wool are good, because it adds strength to your socks.

2.  I need 100 grams of yarn (about 450 or so yards) to make a pair of adult-sized socks.  Most sock yarn comes in 100 gram skeins, but sometimes it comes in 50 gram skeins, in which case you’ll need to buy two.

3.  It has to say “Sock” on it, or it has to recommend using size US 1-3 needles on it.  If you use yarn that’s too thick, you’ll end up with socks that are too big to fit in your shoes.  You could do this, and use them as slippers, but that’s a personal choice.

  • A set of 5 Size 2 knitting needles.  I like short (5-inch long) wooden ones, but it’s totally up to personal preference.
  • A tape measure.  If yours has fruit on it, that’s ideal.  If not, that is acceptable, too.
  • A stitch marker (optional).
  • Scissors and a tapestry needle for finishing up.

So, go and collect your materials, and I’ll see you back here on Wednesday to get you Lucky Sock Number sorted out.

Sock Week: First Thing’s First

shark-week-discovery-channel

It’s Sock Week!  Surprise!  Sock week is a lot like Shark Week, but with less blood, more socks, and it will last more than a week.  But Sock-Fortnight doesn’t sound as good as Sock week, so you’ll just have to deal.

So what does Sock Week entail?  It’s a step-by-step knitalong to make my Basic Sock Recipe.  At the end of Sock Week, I’ll put the whole kit and caboodle up in my Pattern Library for your sock-knitting pleasure, and you’ll have a brand-new hand-knit pair of socks.

“What are we making?” you ask.

“Great question!” I answer.  “This:”

OLYMPUS DIGITAL CAMERA

“Ooh, aah” you say in wonderment.

Not really, I suspect.  But, if you get the hang of this basic sock recipe, you can easily modify it to make socks in every shape, size and style.

Get your wallets ready to go shopping for materials next week, when I give you the materials list.

Cabled Container Cozy

I firmly believe that you can never own too many containers.  Bags, boxes, jars, crates… it doesn’t matter.  I can always find something to put in them.  Maybe it’s more containers… but the point still stands.

When those containers are pretty, it’s even better.

Here’s a recipe for a cabled sleeve that you can use to pretty-up any straight-sided containers around your house.  I’m using an oatmeal canister and a small coffee can, but you could use the same recipe to cover jars, pots, vases, or other plastic or ceramic containers.  They make great places to keep needles, flowers, and the tiny little balls of sock yarn that are left over at the end of a project that you don’t want to throw away.  (Don’t look at me like that… I know I’m not the only pack-rat out there.)

OLYMPUS DIGITAL CAMERA

Materials:

1 straight-sided container (Coffee cans, oatmeal canisters, old (clean) juice cartons with the tops cut off neatly, storage crate-the kind without big holes in them, vases etc.  Look around your house… I can guarantee you have something that would work for this project)

1 (or more) skeins of worsted-weight yarn.  (Use more than one skein if the container you are covering is gigundo.  Don’t spend too much money on this project… It’s not like a sweater or something that you’ll have to wear around close to your skin.)

Size 8 needles (DPNs or appropriately sized circulars, depending on the size of the project.  I’m working on a smallish coffee can, so I’ll be using DPNs.  If I was covering a big crate or something, I’d use circulars that were a little smaller than the diameter of the container.)

An appropriately sized cable needle

Tape measure

Calculator (optional if you’re good with math in your head)

Stitch markers

Scissors and tapestry needle

Spray paint (0ptional)

Hot glue (optional)

Instructions:

  1.  Make a stockinet (knit 1 row, purl one row) gauge swatch.  I know.  Lame.  But, it will be important later.  The container cozy really has to fit nicely to give you a good result.  Measure your gauge and write it down.  My gauge is 6 sts/in.
  2. Rip out the gauge swatch.  Or not.  Finished gauge swatches make excellent coasters.
  3. Measure the circumference of your container by wrapping the tape measure around the outside of the container.  (My container’s circumference is 12 inches.) Multiply this number by your gauge.  (6 sts/in x 12 in=72 stitches)OLYMPUS DIGITAL CAMERA
  4. Round this number to the nearest multiple of 4.  (72 already is a multiple of 4, so I can skip this step.)
  5. Cast on your number of stitches (in my case, 72), place a marker at the beginning of your round, and work 2 rows in the round in a k2p2 rib.
  6. On your next row, you’ll continue working the k2p2 rib, but at the same time you’ll start your cables.  I will be doing 3 cables on my coffee can, placed more or less evenly.  Make as many or as few as you want.  (You don’t have to do any.  I won’t call the cops or anything.)  Work along the row until you reach the spot where you want your first cable to be.  After a p2, place a marker, k6, and go back to your k2p2 rib pattern.  Continue to where you want your next cable to be, and the same thing (after the p2, place marker, k6, continue in pattern).
  7. Now that you’ve got your cables established, the rest is easy.  Continue working in pattern, following what you’ve been doing (k2, p2 rib, k6 when there’s a cable) for 3 more rows.
  8. Next row, get out your cable needle, and work up to your first stitch marker.  Transfer the first 3 stitches from the “K6” to your cable needle, and hold them in front of your work.  Knit the second 3 stitches of the cable.  Then knit the 3 stitches from the cable needle.  Continue working in pattern to your next cable and do the same thing. (Here’s a video with instructions if you’re having trouble with your cable.  She talks a lot, but gets around to instructions eventually.)
  9. Work in pattern for 6 rows, then work another cable row.  And rinse and repeat.   Keep adding height to your sleeve until the piece measures 1/2 inch less than your container height.
  10. To finish, work 3 rows even (after your last cable row), then work 3 rows of k2p2 rib, and bind off loosely.  If you want, you can continue the k2p2 rib for a few inches, if you want a folded-over edge.
  11. Weave in the ends, and trim the tails (making sure they lie on the inside of the tube).OLYMPUS DIGITAL CAMERA
  12. (Optional)  If your container has lots of colors and patterns on it, you may want to spray paint it with a color similar to that your yarn.OLYMPUS DIGITAL CAMERA
  13. Slip your piece over your container, like a sock.  If the tube is too long, fold the top of the tube over, inside the container to make a nice finished-looking edge.   If the tube is too loose, add a couple dabs of hot glue at the top of your container to hold the sleeve up.
  14. Add in flowers, knitting needles, or whatever else you want to display in your cool new container.  Brag to your friends about the handmade vintage vase on your mantelpiece that you got from Anthropology for about 500 bucks.  (They don’t have to know it’s an old coffee can and about 50 cents worth of yarn that you had in the back of your closet.)OLYMPUS DIGITAL CAMERA

A Recipe for Anarchy

This recipe is for a basic yarn bombing piece.  I’ve purposefully neglected to give you yarn requirements, gauge measurements, sizes and other specifics.  Because, well, this is graffiti, and should be sort of free form.  And rules are for squares.  So, feel free to change, modify, add to, and alter to your heart’s content.  Change is good!  Anarchy!  Down with the Man!

OLYMPUS DIGITAL CAMERA

Materials:

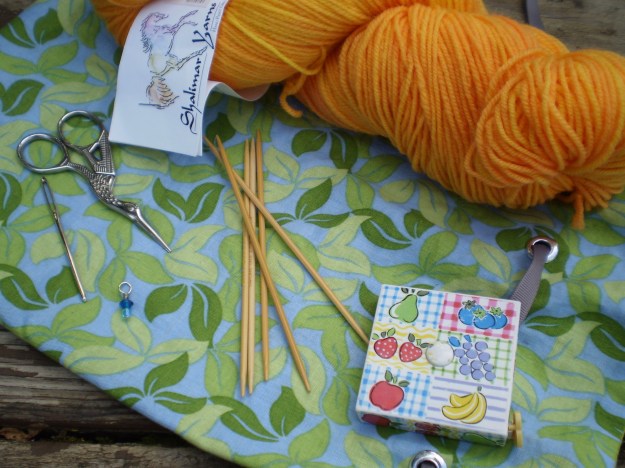
Yarn-As much or as little as you like.  Don’t use anything expensive, since it’ll get gross out in the rain, and may be torn down quickly.  Odds and ends that you have laying around will work fine.  I used some Red Heart that I had laying around, waiting to be used.

Needles- To match your yarn.  I recommend a large gauge, so that your knitting goes quickly and you can cover a larger area.  I used 10 1/2.

Crochet hook (optional)- In a gauge to match your needles.

Buttons (optional)-Again, nothing fancy or expensive.  If you have some laying around that you don’t mind parting with, feel free to use them.  Or, you can make your own buttons using an old plastic container (like a milk jug or other food container).  Cut out circles about an inch around, and use a hole punch (or a knitting needle) to poke two holes in each button.  They won’t be pretty, but, they’ll do the job.

Scissors and tapestry needle.

Instructions:

1. Cast on any number of stitches.  This should be easy and free-flowing, so don’t worry about gauge or where the knitting is going to end up.   I’ll just make something, and then find somewhere to put it.  However, if you have a particularly sad tree or something that you think needs a little knitted excitement, feel free to measure the circumference of the tree, make a gauge swatch, and figure out the number of stitches you’ll need to go around it.

2. Knit for a while.  Let your creativity take over!  Change colors, mix patterns together, do things that you wouldn’t usually do.  Think of this as an opportunity to “sketch” with your needles.  Here are some ideas that you might want to include:
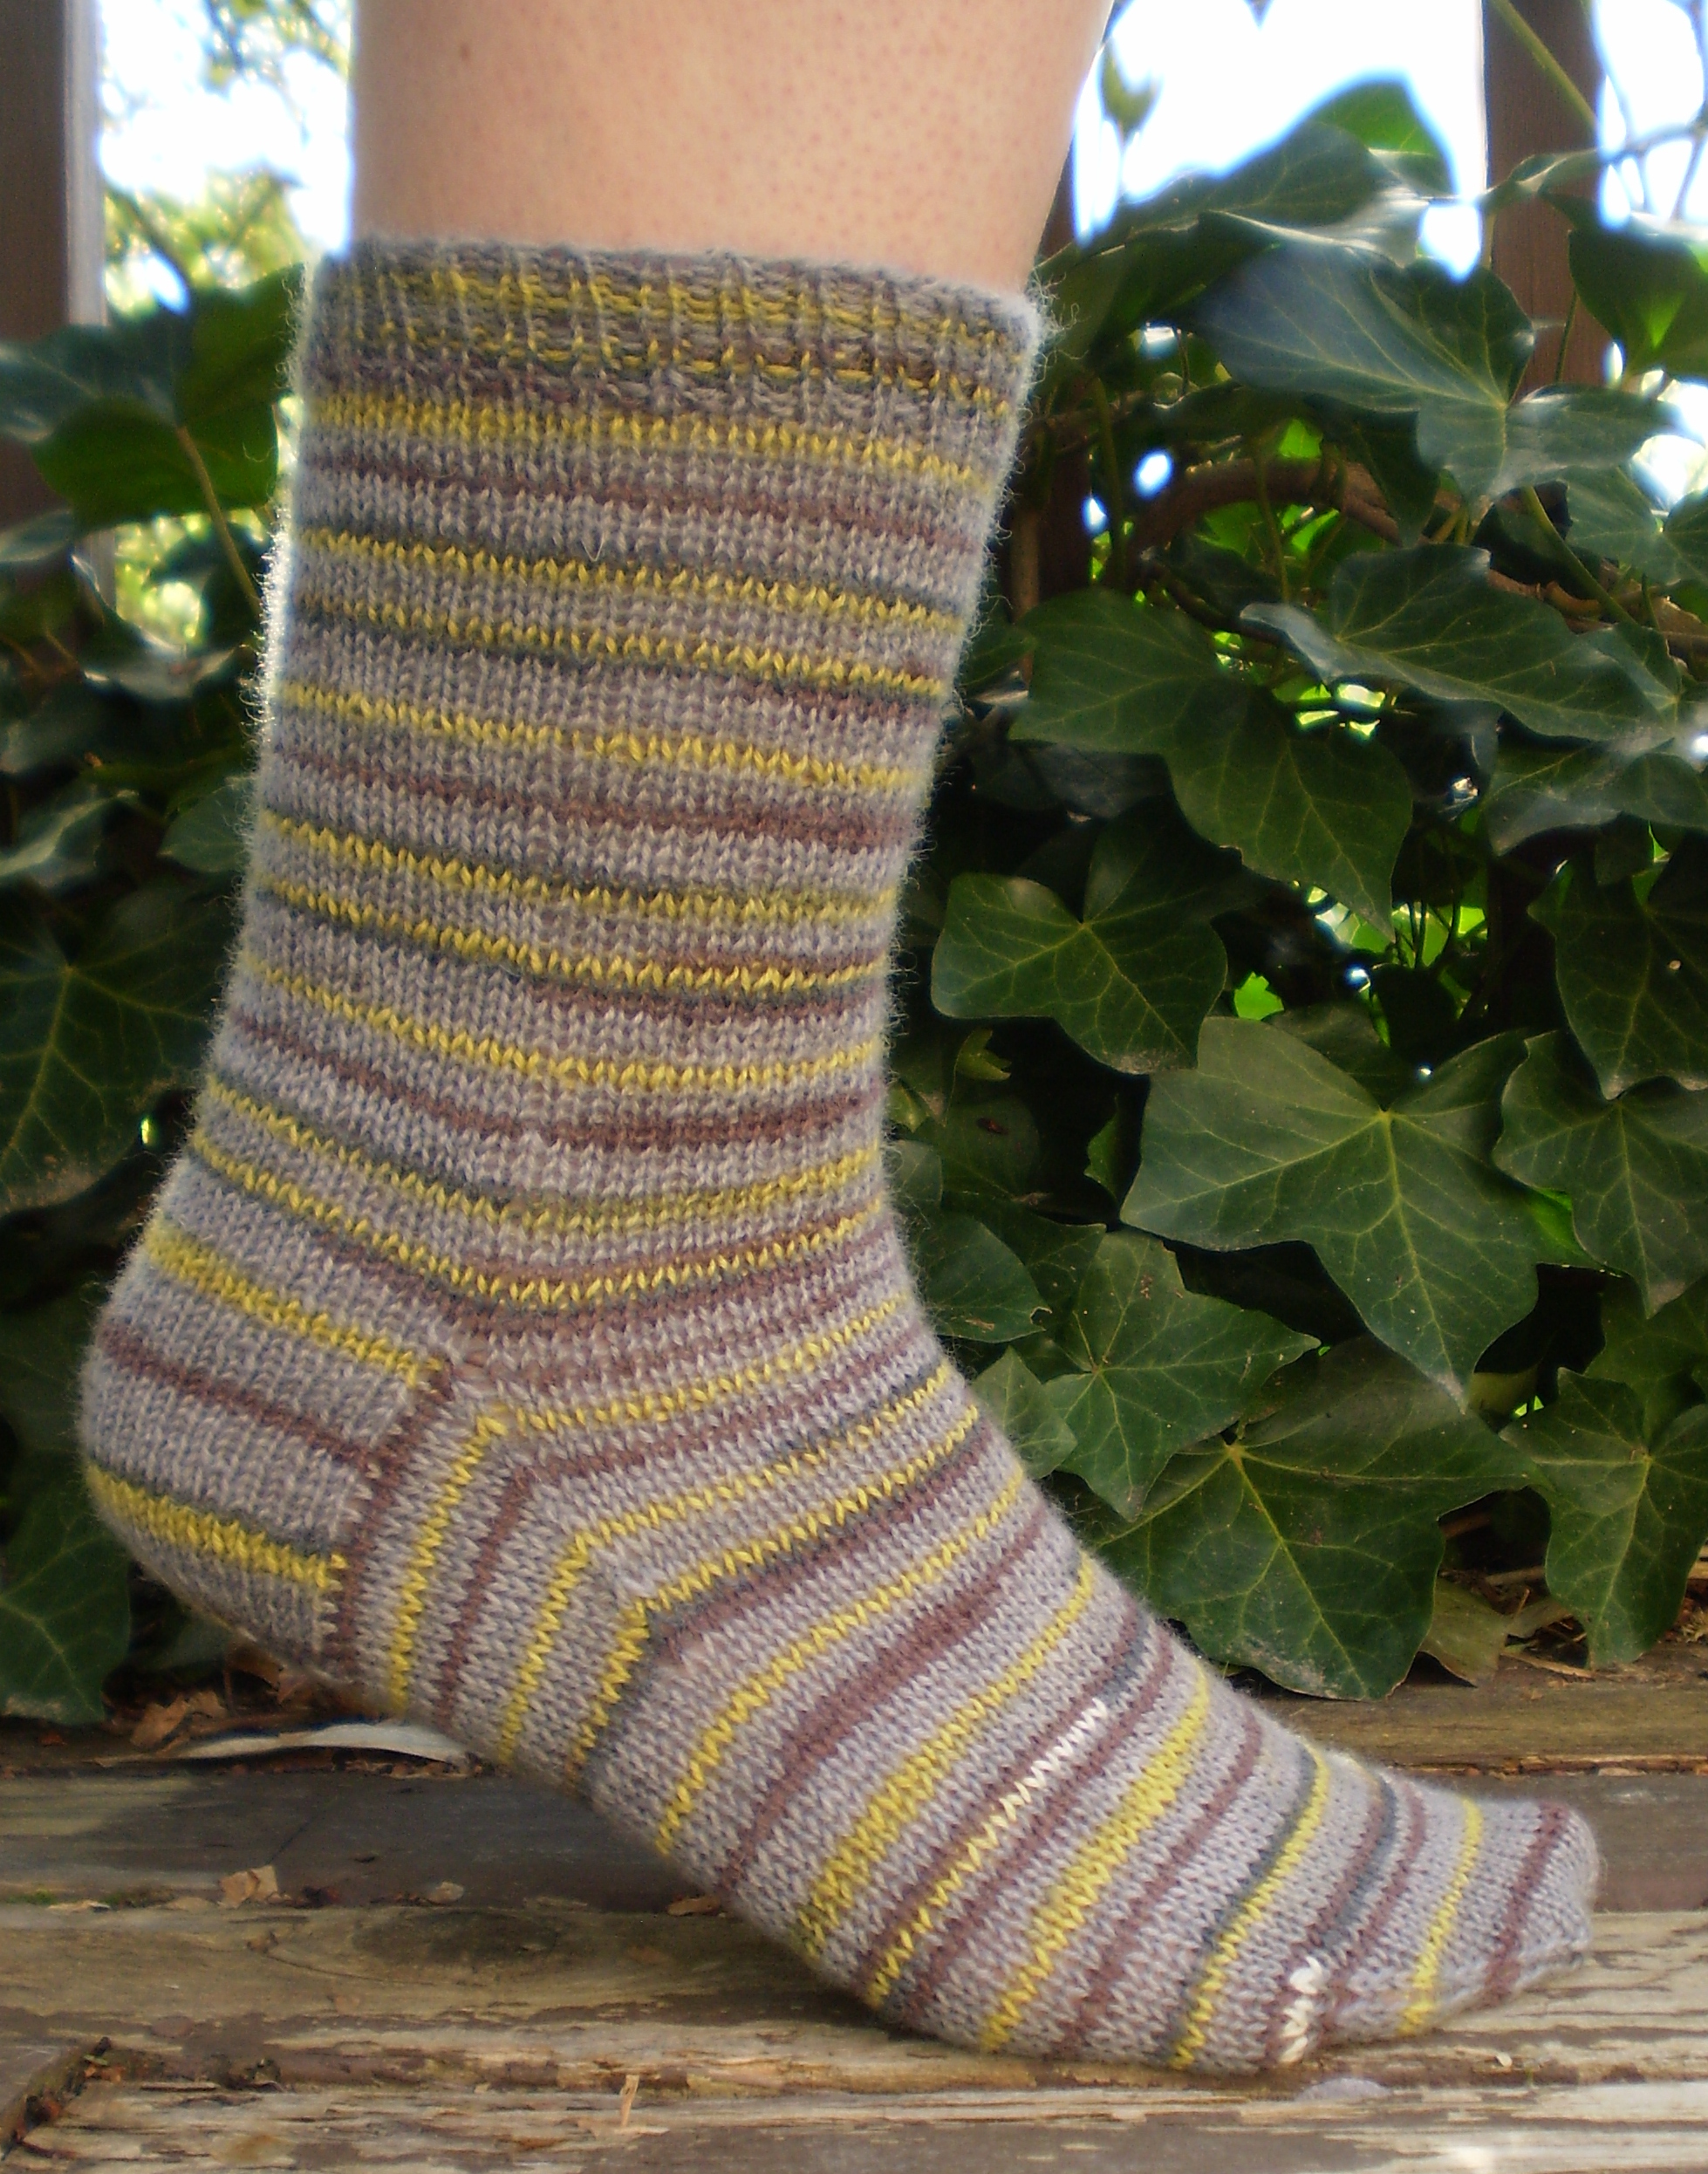
  • Stripes
  • Ribbing
  • Lace patterns (How cool would a tree look covered in gigantic lace?  I just thought of this… and I might go try this soon.)
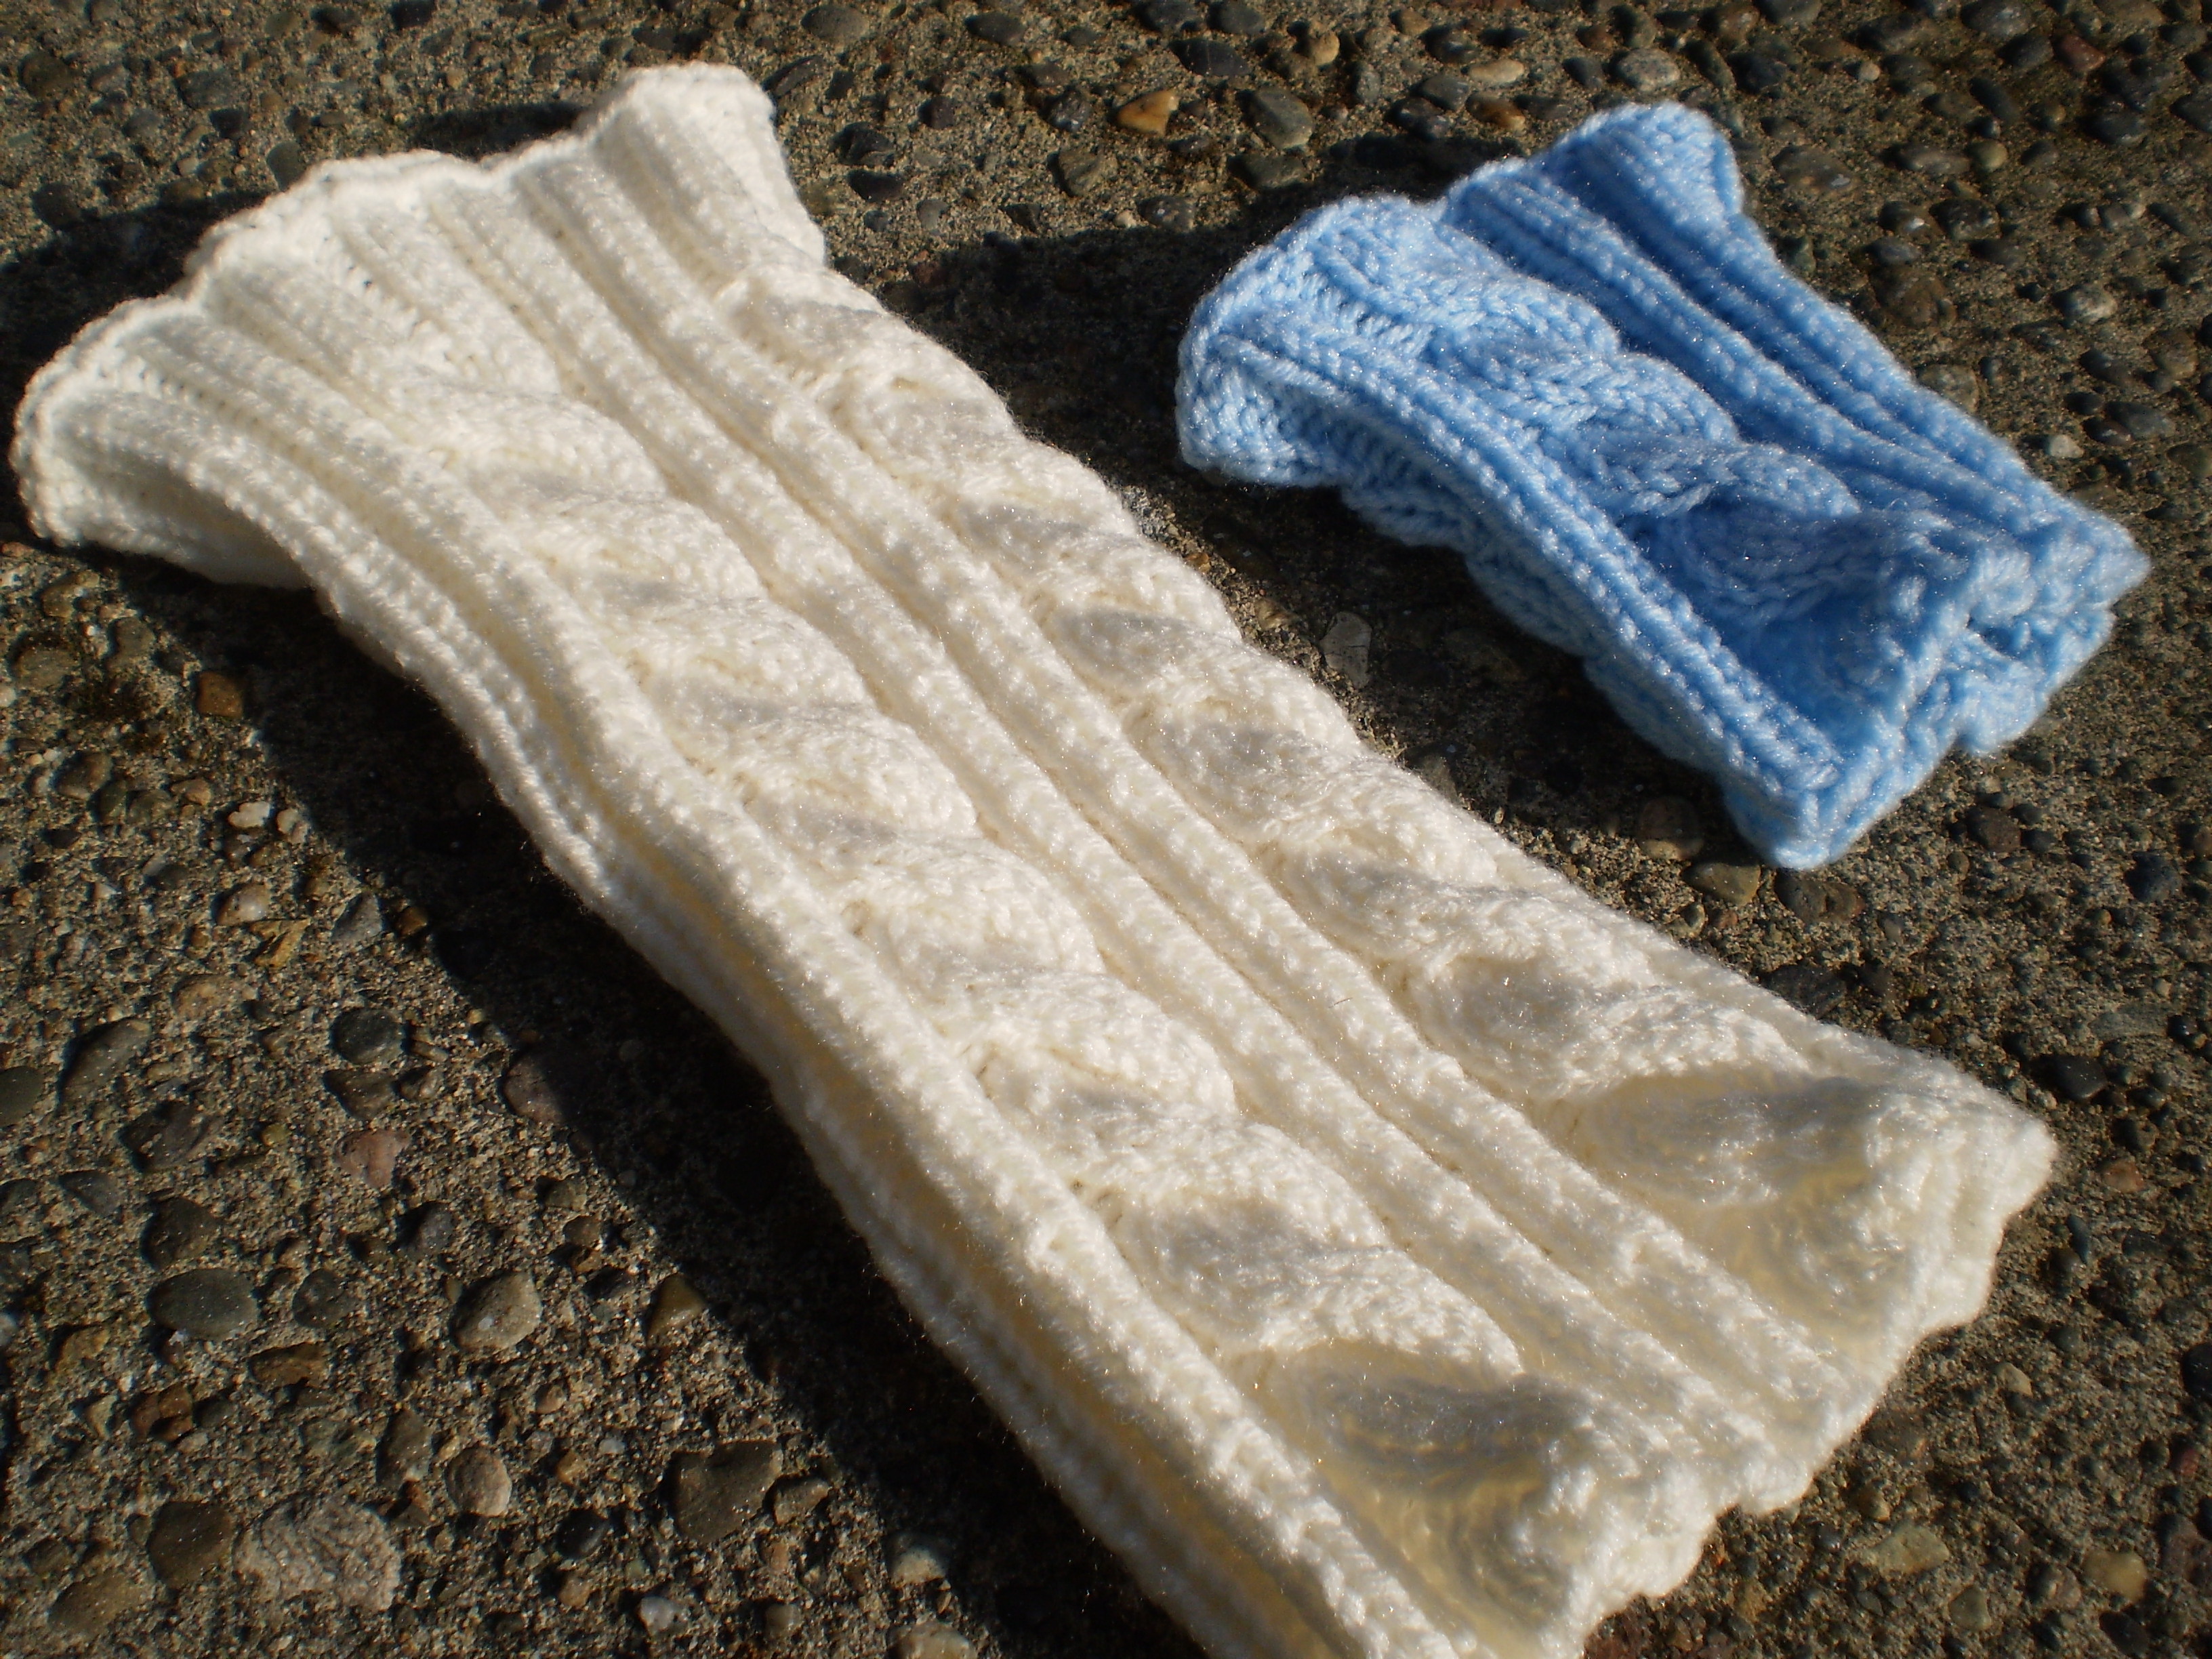
  • Cables
  • Intarsia, Fair Isle, or other Color work
  • Adding beads or other unconventional materials

3.  When your piece is finished, cast off loosely.

4. Optional-Use the crochet hook to edge the whole piece with a single crochet edge.  You can use this to burry any yarn tails that you may have, so you don’t have to actually sew them in.OLYMPUS DIGITAL CAMERA

5. Optional- Add buttons and button holes.  You can skip this step if you want to sew your piece directly onto your tree/light pole/sign post. If you want buttons, attach them to one side of your piece (mine are on the right in the above picture).  On the opposite side of the piece, make some button loops.  You have two options:

  • Use the crochet hook to make loops in the edging.  Make another row of single crochet along the edge.  When you reach a spot where you want a button hole, chain 3 stitches, then continue doing the single crochet edging.
  • Using your tapestry needle and a length of yarn, you can add simple button loops as follows:  Sew in one end of the yarn.  Wrap the yarn around your non-dominant thumb, right down by your knitting.  Sew other end of the yarn.  You’ll end up with a 1” loop of yarn hanging off the side of your knitting.  This loop will act as your buttonhole.

OLYMPUS DIGITAL CAMERA

6. Sew in any ends that haven’t been sewn in already.

7. Install your work.  This is the sneaky part.  I recommend doing it under cover of darkness.  But it’s up to you.  Find where you want to put your knitting.  Trees in parks are good, or maybe there is a bike rack near your house that needs a little perking up.  Look for something with a circumference that is roughly equal to the width of your knitting.  When you have found a good spot for you knitting, install your graffiti!

  • If you have buttons:  Button the piece to your tree/pole etc.  Easy!
  • If you didn’t put on buttons: Using a long piece of yarn, sew the piece into place.  A simple whip stitch works well.  Work quickly!

8. Run away!

9. Come back the next day to appreciate your work.  Take pictures.  Pretend to just be a passer-by who is tickled by the cool knitting.

OLYMPUS DIGITAL CAMERA