Slouchy Hipster Hat

Freaking hipsters.  Here in Seattle, they’re everywhere.  With their smug attitudes and their fixed-gear bicycles, and their super skinny jeans.  And suddenly, it’s cool to have gigantic glasses?  For real.  The poor kids who have perfect vision are actually wearing glasses frames without lenses because they think they look cool.  How weird is that?

Admittedly, if I really wanted to get away from hipsters, I could a.) not live in Seattle, b.) not play roller derby, c.) not hang out in brew-pubs and independent coffee shops or, or d.) all of the above.  But I like doing all of those things.

Actually… I think I might be a hipster.  Oh shit!

I like eating from food trucks, and think “organic” is pretty swell.  I wear cardigans and scarves, and my idea of a nice afternoon is one spent blogging from my local coffee shop.

God, that’s depressing.

But, I suppose, if you have to do a thing, you might as well go all-in.

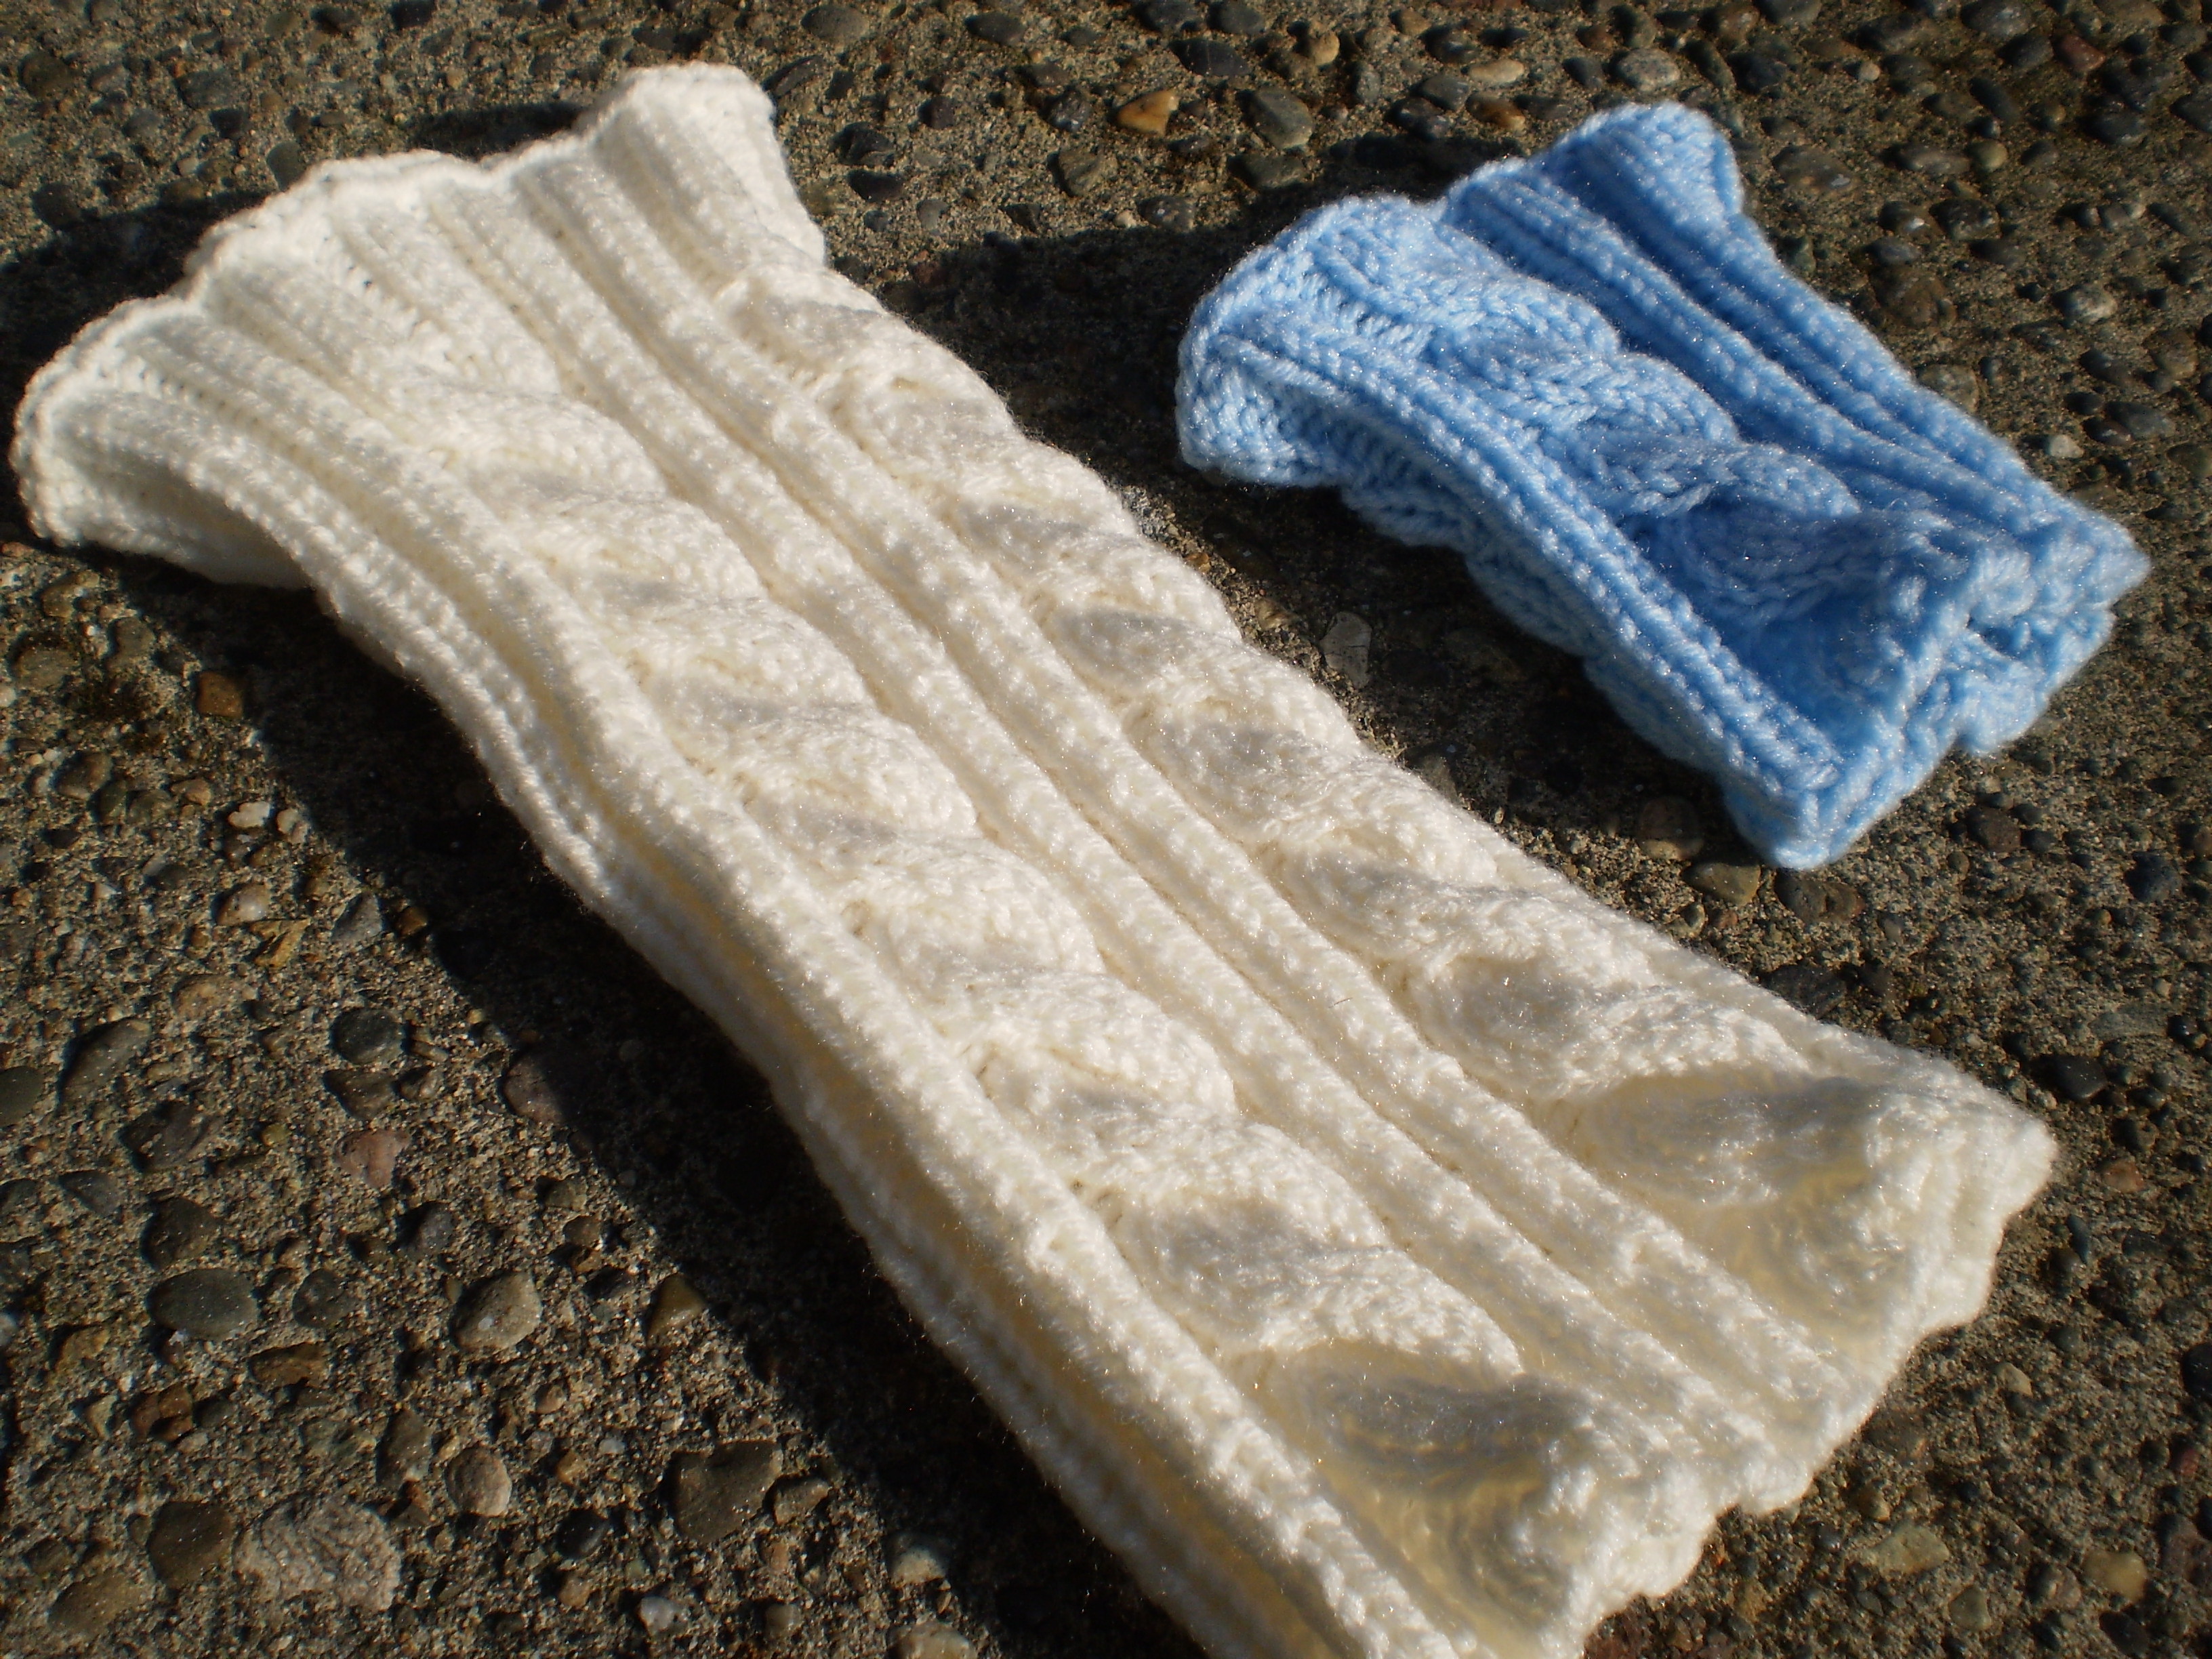
So, fine! I give in!  Here’s a slouchy, hipster hat.  It’s knit with pretty fine yarn on largeish needles to give it a plenty of floppiness.  Deal with it.

(I even tried to make instagram-ish photos for this pattern, because why not.  Don’t laugh too hard.)

instagramish2


Materials:

1 skein sock or fingering weight yarn.  (I’m using Dale of Norway’s Baby Ull in color 9436)

Size 5  16″ circular needle (or size to get gauge)

Size 7 16″ circular needle (or size to get gauge)

Size 7 double-pointed needles (or size to get gauge)

Scissors and Tapestry needle

Gauge:

Size 5: 6.5 stitches/inch in stockinet stitch

Size 7: 5.5 stitches/inch in stockinet stitch

Size:

Women’s Small(Women’s Large)

Shown in size Large

Instructions:

  • Using your size 5 circular needle, cast on 120(136) stitches.  Mark the beginning of your row.  Work in the round, in a k2p2 rib for 2 inches.
  • Change to size 7 circular needle, and knit in stockinet stitch (knit all rows), until the piece measures 7(7.5) inches from the edge.
  • Work crown decreases as follows:

1.  [k6, k2tog] around
2. & 3. Knit
4. [k5, k2tog] around
5. Knit
6.[k4, k2tog] around
7. Knit
8. [k3, k2tog] around
9. Knit
10. [k2, k2tog] around
11. [k1, k2tog] around
12. [k2tog] around

  • Cut yarn, leaving a longish tail.  Draw the yarn through the loops at the crown of the hat to close up.  Sew in ends.
  • Put on hat and jump on your fixie to go down to the coffee shop for a nice organic matcha green tea latte with soy and a vegan cupcake.

instagramish

Inspiration: Clueless

Nothing says “grace, poise, and timeless beauty” quite like the cinematic jewel that is the 1995 film, Clueless.  Never before and never since has there been such a stellar example of the meaning of the word “chic.”  If they were alive today, I know that Audrey Hepburn herself would bow to the genius of Alicia Silverstone’s seminal performance, and Coco Chanel would redesign her signature suit.

How can you argue with the bright beauty of this ensemble  (and although you can’t see it in this photograph, but the sweater is fuzzy… Fuzzy!  Genius!):

Or what about the understated grace of this outfit:

Or the classic use of color and pattern in these two?  Just stunning!:

 Want to make some of your own Clueless inspired fashion?  Break out your fun fur and try these:

Uptown, Downtown Cardigan, by Lion Brand Yarn40001ada_medium

#20 Fur Collared Jacket by Charlotte Quiggle 738_1_

Inspiration: The Hobbit

Have you seen the Hobbit yet?  Probably.  It seems like everyone and their mother has seen it.  It was pretty good, but I have a couple gripes with it.

  1. Why do all the dwarves look like dwarves, except for two who look like some sort of perfume models?  Can you find them?
  2. Why did the dwarves randomly sing two big song and dance numbers at the beginning of the movie, then NEVER SING AGAIN?  I’m not saying I want the Hobbit to be a musical, but two musical numbers out of nowhere is a little weird.
  3. Why is Frodo in the beginning?  Dumb.  No point in him being there.
  4. Why is it a trilogy that will end up lasting more than 9 hours?  That’s too much.  It’s not a long book.

But one thing I did notice (because I’m a weirdo who likes knitting way too much), is that many of the characters wear these fantastic knitted fingerless mitts:

Mittens 3Mittens 2Mittens 1

Gorgeous!  Warm!  Practical!  Exactly what you want to wear when going on an adventure.  Want some for yourself?  Try these patterns:

Commuter Fingerless Mitts by Stephanie Sun

Camp Out Fingerless Mittens by tante ehm

Bookworm

I like a good intricate pattern as much as the next person.  One that I can really sink my teeth into, one that really takes all of my attention.

I also like patterns with acres and acres of stockinet stitch.  I love the way stockinet stitch feels and looks, all smooth and uniform, and I enjoy being able to totally zone out while my hands are hard at work.  I will be watching TV, or chatting with a friend, then I look down and Hey! I’ve got 6 more inches of stockinet.  It’s rather pleasing.

If a pattern is particularly simple (like the Boyfriend Scarf), just a tube of knitting, I can even read if I have a hands-free way of wrangling my book.  It’s hard to do with a paper book, but with an e-reader (a Kindle or the like), it’s totally manageable.  You can just leave your book out on your table and lean over it to read, but it’s much more pleasant with my handy-dandy, virtually free bookstand.  Also, if you don’t want to read while knitting, you can totally use this bookstand for your other hands-free book reading needs.

Materials:

OLYMPUS DIGITAL CAMERA

1 Wire Hanger (the cheap-o kind you get from the cleaners.  I’ve never actually taken anything to the dry cleaners, but I still have about a million of these hangers at my house.  I think they multiply when I’m not looking)

1 E-Reader

Instructions:

1. Bend the hanger into a V-shape, making sure that the two arms are roughly even, smoothing out the “shoulders.”

OLYMPUS DIGITAL CAMERA

2. Bend the hook closed.  This will become the back leg of the stand.

OLYMPUS DIGITAL CAMERA

3. Bend the back leg down, so that it is at a roughly 90 degree angle with the arms.

OLYMPUS DIGITAL CAMERA

4. Bend the last 2 or 3 inches of the arms upward, giving your e-reader a nice little seat.

OLYMPUS DIGITAL CAMERA

5. Adjust all the parts of the book stand until it sits nice and even.

OLYMPUS DIGITAL CAMERA

Enjoy!

Adding Fringe

So I don’t know about you, but I am not great at learning things from out of books.  However, I do love a good tutorial video.  So, I thought, why not make a video about adding fringe?  How hard can it be?  Apparently harder than I thought.  I managed to make a video, but I don’t know how to add titles or cut scenes, or even have sound.  That’ll be my next project.  I may be good with needles and yarn, but technology still stumps me sometimes.

Anyway, here it is, my very first YouTube video!  Drum roll please!

And, since I can’t figure out how to add audio, here is what I would have said, if I had been able to conquer the computer:

Step 1: Insert the crochet hook through both the front and back layer of the scarf.

Step 2: Pick up one of your fringe pieces folded in half and use the hook to pull the middle of the fringe through both layers of the scarf.

Step 3: Using your hook again, pull the ends of your piece of fringe through the middle loop.

Step 4: Pull the ends of the fringe tight.

Step 5: Repeat the whole process over and over, so that each stitch has a piece of fringe  attached to it.  This makes a really nice, thick fringe for a scarf.

Step 6: Laugh at how terrible my YouTube video is.  I promise I’ll work hard to make my next one better. Cross my heart.

Pattern:The Boyfriend Scarf

So,  if you can’t may your significant other  a sweater without getting cursed, what’s a girl to do? (Unless you want to be cursed, but that’s a personal issue.)  How about a fancy-enough-to-be-special-but-not-too-fancy-to-be-worn-every-day scarf?  It’s plain enough to be manly, but is made with gorgeous, soft, hand-dyed yarn to keep you happy as you knit. The Boyfriend Scarf will keep your main squeeze toasty warm, and is guaranteed not to be cursed. (I can’t promise that you won’t break up, but if you do, it is not the fault of this scarf.)

This project was designed to be given as a special gift, so I splurged on the yarn.   You’re welcome to use another more cost-effective yarn, but  you will not regret knitting with Malabrigo.  It’s a hand-dyed single-ply merino wool from Uruguay.  So soft and warm!  (If I had a million dollars I would knit myself a suit from it, but since I do not have a million dollars, a Malabrigo scarf will do nicely.)

The scarf is actually knit in the round, as one very long, thin tube, like a small sleeve.  Because of this, you’ll end up with a double-thick, non-rolling, smooth stockinet scarf.  The only problem with this construction is that it can get a tad boring, so make sure you have something good queued up on your Netflix.

The ends of the scarf are finished off with a simple fringe that serves two purposes.  First, it’s fringe, which just looks snazzy.  And, second, it closes up the ends of the scarf, so that you have a nice, double-thick scarf, not a weird tubey-thing around your neck.  If you/your guy is not interested in fringe, a neat whip stitch will finish the ends just as effectively.

OLYMPUS DIGITAL CAMERA

Materials:

2 Skeins Malabrigo Worsted (shown in Verdes 203)

1 Size 8, 8 inch circular needle

1 Size 8/H crochet hook (if you have a slightly smaller hook, that will work, too)

Stitch marker (optional)

Ruler

Scissors and tapestry needle

Instructions:

1. Cut fringe:  Measure and cut 50 10-inch pieces of your yarn.  These will be your fringe when you’re done knitting your scarf.  Set them aside until later (I recommend protecting them in a Zip-Lock baggie or something, just to be sure they’re safe).

2. Cast on 50 stitches.  Place marker (if you like; it’s not technically necessary), and join in the round.  Work in stockinet (knitting all stitches) until your first ball of yarn runs out.

3. Join the second ball of yarn and keep knitting.  (I like using a spit join.)

4. Keep knitting

5. Knit some more

6. When you’re just about out of yarn, bind off.

7. Apply fringe: Dig out your fringe pieces from wherever you hid them.  Lay out the scarf flat (so that it looks like a scarf, not a sleeve), with one short end facing you.  Slip the crochet hook through both layers of the scarf, just above the cast-on or bound-off edge.  Pick up and fold one of the fringe pieces in half.  Use the crochet hook to pull the middle of the fringe piece partway through the scarf end.  Then pull the cut ends of the fringe through the loop you just made.  Pull the fringe tight.  Repeat the process so that 25 fringe pieces are attached to each end of the scarf.  When you’ve attached them all, trim any pieces that are a little wonky.

8. Block: Soak your scarf in warm water for about 20 minutes.  Squeeze out most of the water with a clean towel.  Lay out flat on another clean towel on a counter or a nice empty part of the floor to dry.

The Curse of the Boyfriend Sweater

So, have you ever heard of the CURSE OF THE BOYFRIEND SWEATER? (You’re supposed to read that like the announcer introducing a B-horror movie, in case you were wondering.)  The superstition is that if you make a sweater for your boyfriend (or girlfriend, I suppose), you’ll be broken up by the time you bind off.   I’m not making this up.  It’s even got it’s own Wikipedia page.

I’m not terribly superstitious, but I don’t doubt that this occurs.  (I know I refused to make a sweater for my husband until we got married, just in case.)   I propose that the “curse” actually happens for one of two reasons.

1. You picked an ugly-ass sweater pattern, or at least a sweater that you want your significant other to wear, but not one that he would ever be caught dead in in a million years.  These miscommunications can lead to hurt feelings, bickering, and general  unpleasantness.  Not good at all.

2.  Most sweaters take a loooong time to knit, unless you’re really on a mission a typical knitter won’t complete a sweater in less than several months.   Your typical dating relationship (that doesn’t go on to marriage and all that jazz) may not last quite that long. (Of course, I’m generalizing, but you get my point.)

So, I’m not sure that I buy into the whole superstition thing, but I certainly can see how there might be a correlation between sweater-making and relationship-ending.  So what’s a girl to do if she wants to dress up her guy in cozy knitwear?  How about a nice scarf?  A cozy hat?  Maybe a cool pair of gloves?

Unless, of course, you want your relationship to end but you don’t like confrontation.  In that case, knit away!  Might I recommend this classy number modeled by Mr. Cosby?

Inspiration: McDonald’s Fish Commercial

This is possibly the worst commercial ever made:

But, I’ve seen it about a thousand times, since they have been playing it over and over again on Hulu.  It might be a terrible commercial, it has a pretty great sweater in it.  It’s a fairly standard fair isle sweater in cream and grays, but it’s knit extra-long and a little bit fitted, which makes it much more modern than the fair isle sweaters you’ve probably seen in the back of your parent’s closets.

Want to make something similar?  Try these:

North Shore by tincanknitsIMG_0213

Guirnalda by Varian Brandon2013L-1_medium2

116-43 Jumper with raglan sleeves and multi coloured pattern in ”Karisma Superwash” by DROPS design43-1

Cabled Container Cozy

I firmly believe that you can never own too many containers.  Bags, boxes, jars, crates… it doesn’t matter.  I can always find something to put in them.  Maybe it’s more containers… but the point still stands.

When those containers are pretty, it’s even better.

Here’s a recipe for a cabled sleeve that you can use to pretty-up any straight-sided containers around your house.  I’m using an oatmeal canister and a small coffee can, but you could use the same recipe to cover jars, pots, vases, or other plastic or ceramic containers.  They make great places to keep needles, flowers, and the tiny little balls of sock yarn that are left over at the end of a project that you don’t want to throw away.  (Don’t look at me like that… I know I’m not the only pack-rat out there.)

OLYMPUS DIGITAL CAMERA

Materials:

1 straight-sided container (Coffee cans, oatmeal canisters, old (clean) juice cartons with the tops cut off neatly, storage crate-the kind without big holes in them, vases etc.  Look around your house… I can guarantee you have something that would work for this project)

1 (or more) skeins of worsted-weight yarn.  (Use more than one skein if the container you are covering is gigundo.  Don’t spend too much money on this project… It’s not like a sweater or something that you’ll have to wear around close to your skin.)

Size 8 needles (DPNs or appropriately sized circulars, depending on the size of the project.  I’m working on a smallish coffee can, so I’ll be using DPNs.  If I was covering a big crate or something, I’d use circulars that were a little smaller than the diameter of the container.)

An appropriately sized cable needle

Tape measure

Calculator (optional if you’re good with math in your head)

Stitch markers

Scissors and tapestry needle

Spray paint (0ptional)

Hot glue (optional)

Instructions:

  1.  Make a stockinet (knit 1 row, purl one row) gauge swatch.  I know.  Lame.  But, it will be important later.  The container cozy really has to fit nicely to give you a good result.  Measure your gauge and write it down.  My gauge is 6 sts/in.
  2. Rip out the gauge swatch.  Or not.  Finished gauge swatches make excellent coasters.
  3. Measure the circumference of your container by wrapping the tape measure around the outside of the container.  (My container’s circumference is 12 inches.) Multiply this number by your gauge.  (6 sts/in x 12 in=72 stitches)OLYMPUS DIGITAL CAMERA
  4. Round this number to the nearest multiple of 4.  (72 already is a multiple of 4, so I can skip this step.)
  5. Cast on your number of stitches (in my case, 72), place a marker at the beginning of your round, and work 2 rows in the round in a k2p2 rib.
  6. On your next row, you’ll continue working the k2p2 rib, but at the same time you’ll start your cables.  I will be doing 3 cables on my coffee can, placed more or less evenly.  Make as many or as few as you want.  (You don’t have to do any.  I won’t call the cops or anything.)  Work along the row until you reach the spot where you want your first cable to be.  After a p2, place a marker, k6, and go back to your k2p2 rib pattern.  Continue to where you want your next cable to be, and the same thing (after the p2, place marker, k6, continue in pattern).
  7. Now that you’ve got your cables established, the rest is easy.  Continue working in pattern, following what you’ve been doing (k2, p2 rib, k6 when there’s a cable) for 3 more rows.
  8. Next row, get out your cable needle, and work up to your first stitch marker.  Transfer the first 3 stitches from the “K6” to your cable needle, and hold them in front of your work.  Knit the second 3 stitches of the cable.  Then knit the 3 stitches from the cable needle.  Continue working in pattern to your next cable and do the same thing. (Here’s a video with instructions if you’re having trouble with your cable.  She talks a lot, but gets around to instructions eventually.)
  9. Work in pattern for 6 rows, then work another cable row.  And rinse and repeat.   Keep adding height to your sleeve until the piece measures 1/2 inch less than your container height.
  10. To finish, work 3 rows even (after your last cable row), then work 3 rows of k2p2 rib, and bind off loosely.  If you want, you can continue the k2p2 rib for a few inches, if you want a folded-over edge.
  11. Weave in the ends, and trim the tails (making sure they lie on the inside of the tube).OLYMPUS DIGITAL CAMERA
  12. (Optional)  If your container has lots of colors and patterns on it, you may want to spray paint it with a color similar to that your yarn.OLYMPUS DIGITAL CAMERA
  13. Slip your piece over your container, like a sock.  If the tube is too long, fold the top of the tube over, inside the container to make a nice finished-looking edge.   If the tube is too loose, add a couple dabs of hot glue at the top of your container to hold the sleeve up.
  14. Add in flowers, knitting needles, or whatever else you want to display in your cool new container.  Brag to your friends about the handmade vintage vase on your mantelpiece that you got from Anthropology for about 500 bucks.  (They don’t have to know it’s an old coffee can and about 50 cents worth of yarn that you had in the back of your closet.)OLYMPUS DIGITAL CAMERA

Bus Knitting

I just got a new job, and it’s fantastic, and I’m SOOO glad that I am done with my old job.  You have no idea.  My old job was a mind-numbing clerical job in the HR department of a large corporation that will remain nameless.  My entire job consisted of making schedules for interviewing candidates.  It was like herding literally thousands of cats.  All day.   Every day.   And when it wasn’t terribly stressful and frustrating, it was deadly boring.  My boss actually told me to watch Netflix at work when it got boring.  Terrible.

But, enough complaining.    There was something that I really enjoyed about this job that I miss.  The commute.  My job was waaaaay on the other side of Lake Washington, which was an hour bus ride each way.  This sounds terrible, but it totally wasn’t.  It was great!  Daily set quiet time with my knitting.  I would put in my headphones and knit away.

I used to be weird about knitting in public, always afraid that someone would call me out on it and make fun of me or something (I was an awkward teenager.  I am now an awkward adult, but I care about my awkwardness less).   But you know, these days no one gives you a second look, unless they are also a knitter.  Once I was sitting in a coffee shop working on a sweater and listening to an audiobook when a complete stranger came up to me and started chatting.  She took one look at the knitting in my hands and correctly identified the pattern and complimented my yarn choice.   It was delightful.

Anyway, this is a round-about way of saying that knitting on the bus is good.  If you have the opportunity to commute on a bus, do it.  And bring your knitting.

Also, as a bonus, no matter how pleasant you look, almost no one will sit next to you on the bus when you’re knitting, so you’ll often get the seat all to yourself.