Tag Archives: toe

Tip-toe

I’ve made it to the toe!  My socks are almost finished!  Woo!  There’s something just so satisfying about finishing a pair of socks (or any knitting, I suppose).

This morning, after dropping off my husband at his bus stop, I sat down to do knit a couple rows before grabbing breakfast.

And, well, I got a little distracted.  Let’s just say I got my breakfast a couple hours later than I had planned (which is saying something. I love breakfast).

I’m so happy with how the socks turned out, but I think my favorite part of making socks (and the reason I love making top down socks in particular) is sewing up the tip of the toe with the Kitchener stitch.  It’s one of those perfect knitting tricks that just makes me endlessly happy.  I know that a lot of people have trouble with the Kitchener stitch, and it took me a long time to figure out how to do it.  But, man, I love it now.

It’s like magic!

You start with a big ugly hole in the end of your nice sock.  Then with a few careful stitches,Then a little careful pulling,  (I know you’re supposed to keep your stitches tight when you do the Kitchener stitch, but for whatever reason, leaving them loose, then tightening them up afterward makes more sense to me.)And, voila!  A perfect, lovely toe!  I just love how the stitches disappear, looking just like your knitting.  Whoever figured out how to do the Kitchener stitch (presumably, Ms. Kitchener) is a freaking genius! 
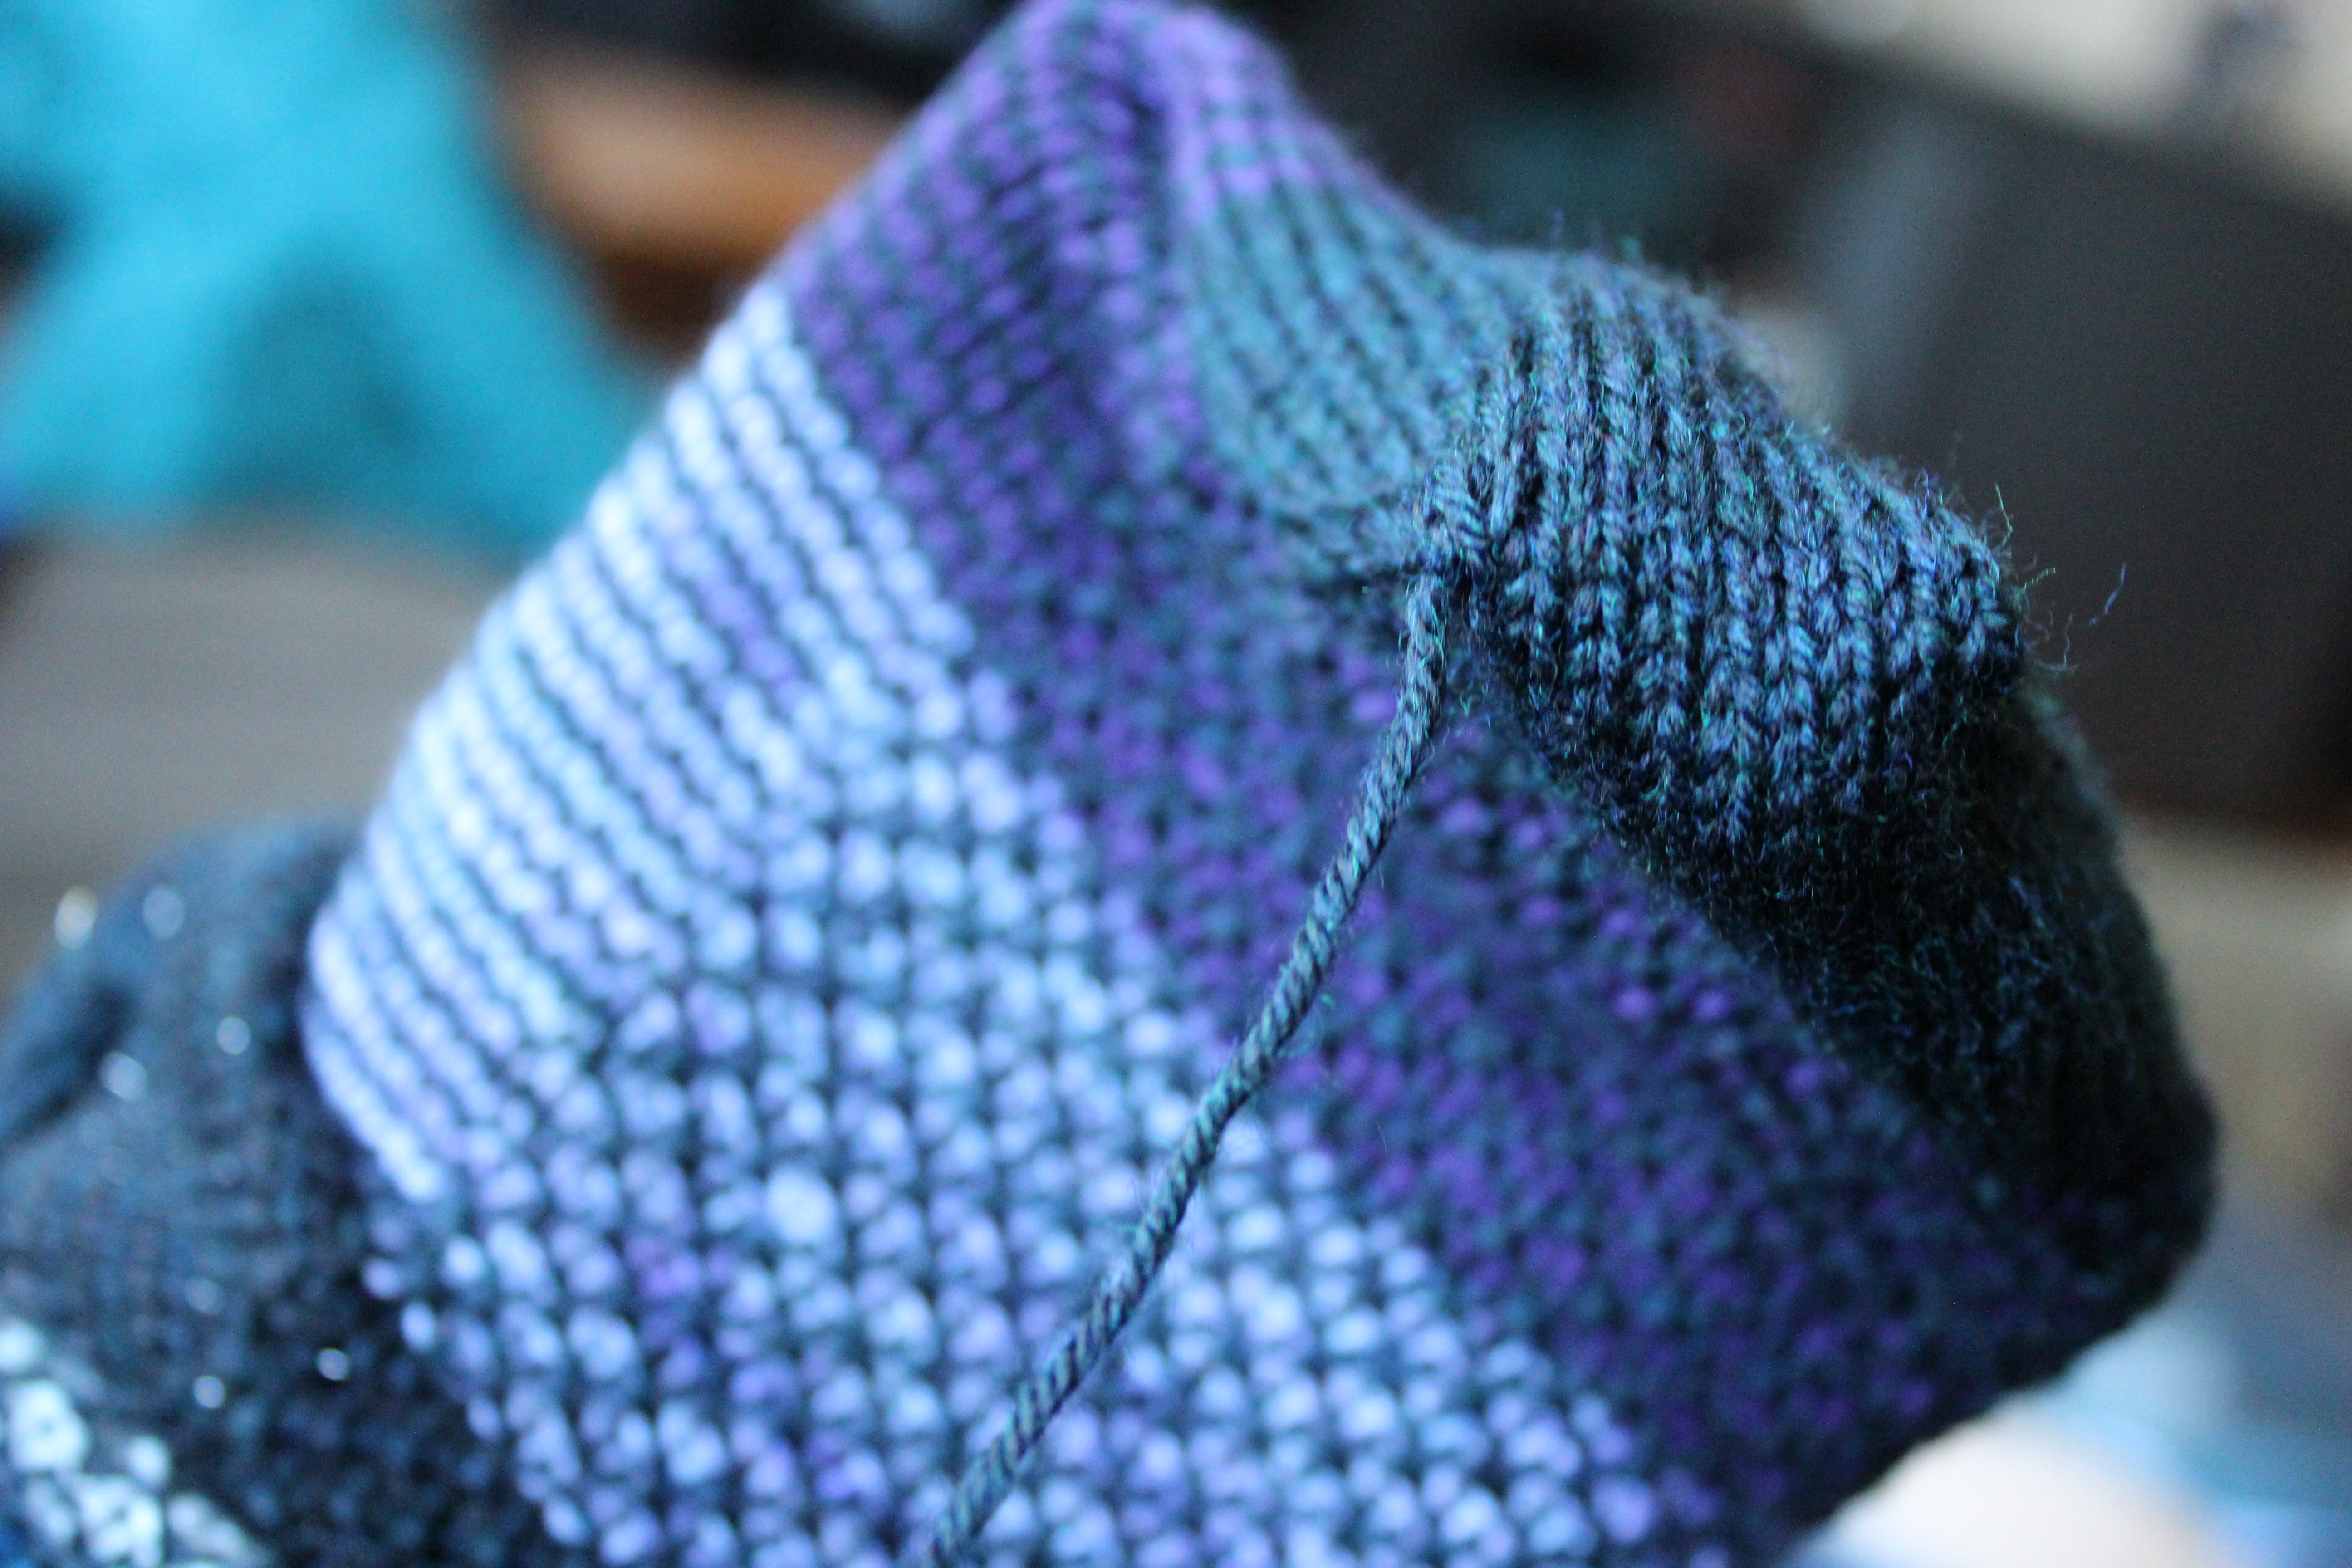
Now I have to go weave in all my ends (my least favorite part of making socks).

Do you have a favorite technique?  Something that makes you happy whenever you have to do it?

Design Process Series: Twinkle Toes

We’re almost done!  These socks that we started talking about months and months ago, are almost finished!  Whee!!

(Can you tell I’m excited?)

OK.  Down to business.  We finished the main part of the foot last week, ending at the middle of the bottom of the foot.  We cut the MC yarn, and now we’ll work the toe.  This is my favorite, classic, simple toe.

Here’s what we’ll do:

Join the Contrast Color and work as follows:

  • Knit 1 round even.
  • *K to 2 before end of the needle, k2tog.  On the next needle, ssk, then knit to end. Repeat from * for the next two needles.  You will decrease 4 sts per decrease row.

Repeat these two rows, alternating even and decrease rows, until you have 20 stitches on your needles (5 stitches per needle).  Finish with a decrease row.  K 5 more stitches (your yarn will now be at the side of the toe, instead of at the bottom of the sole).

Then use the Kitchener stitch to close up the toe.  If you need more detailed instructions, this should help.

OLYMPUS DIGITAL CAMERAWeave in your ends, give yourself a pat on the back and make a second sock!

Sock Week: Closing Time

We’re in the final stretch!  All we have to do today is to close up the toe and weave in the ends.  Then you’ll have a beautiful new sock!

OK, when we left off on Friday, you had finished with needle 4 (your active yarn was at the bottom of the sole).

OLYMPUS DIGITAL CAMERA

Knit needle 1, so that your active yarn is coming from the side of the foot (by where your big toe/pinky toe would sit if you put on the sock).

OLYMPUS DIGITAL CAMERA

You’re now officially done with knitting the sock!  Yay! No more knitting.  Just grafting the toe closed.

To set up for grafting (also called the Kitchener Stitch), combine the stitches on needle 1 with the stitches on needle 4.  And, combine the stitches on needle 2 with the stitches on needle 3.  Cut your yarn, leaving a couple feet of tail, and get out your tapestry needle.  Your toe should look like this:

OLYMPUS DIGITAL CAMERA

Now, using the Kitchener Stitch, graft these stitches together.  This is a great video tutorial, if you haven’t done it before.

When you’re done, your toe should look like this:

OLYMPUS DIGITAL CAMERA

See how the knitting flows nicely from the top of the foot to the bottom of the foot?  Very pretty.

Now, all that’s left is to weave in your ends, and your sock is done!

OLYMPUS DIGITAL CAMERA

Congratulations!  You’ve now completed your first sock!

Sock Week: Tootsies

We’re so close, I can taste it!  Only a few short rows until you get to be done!  (And then you get to make another one… unless you’re an amputee.  In which case I’m jealous that you don’t have to make two socks, but I’m also sorry for your loss.)

So, there are a bunch of ways to do toes, just like there are a bunch of ways to do heels.  You’re welcome to use whatever method you like, but here’s what I do.  It’s easy, and gives me a nice result.

Starting at the middle of the sole of the foot (between needles 4 and 1), work the toe in the round by repeating the following two rows:

Row 1:  Needle 1: knit to 2 stitches before the end of the needle.  K2tog (right leaning decrease).  Needle 2: ssk (left leaning decrease), then knit to the end of the needle.  Needle 3: knit to 2 stitches before the end, k2tog.  Needle 4: ssk, knit to end of needle.

Row 2: Knit evenly (no decreases).

Repeat these two rows until you only have 5 stitches left on each needle, finishing with Row 1.  (Note: if you’re using this recipe to make tiny kids’ socks or doll socks, you’ll want to keep decreasing until there are 2 or 3 stitches left on each needle.)  You should have 20 stitches total.

Here’s what your toe should look like.  See how the decreases end up lining up nicely?

OLYMPUS DIGITAL CAMERA

Have a fantastic weekend!  We’ll finish the sock on Monday!!