Woo! These socks are starting to take shape in my mind! I’ve got so many ideas!
The tally is in, and we’ve decided that the theme of our socks is (drum roll please…):
Warm and Cozy!
![cozy-cabins[1]](https://ontheneedles.com/wp-content/uploads/2015/04/cozy-cabins1.jpg) I absolutely love this theme (especially today-it’s gray and blustery outside, and all I really want to do is curl up in a nice armchair next to a fire and read a really great novel).
I absolutely love this theme (especially today-it’s gray and blustery outside, and all I really want to do is curl up in a nice armchair next to a fire and read a really great novel).
So, now that we have the feel decided on, it’s time to start talking about actual knitting details: what techniques are we going to use to evoke a “warm and cozy” feel in our socks?
Here are some ideas. Keep in mind, that these are only jumping off places. We won’t be replicating these socks specifically, instead we’ll take their ideas and tweak them to create something awesome and unique.
Option 1: Simple socks with touches of contrasting color. Sometimes a contrasting toe or cuff can transform a sock that’s dead simple into one that’s simply beautiful!
![IMG_2698_medium2[1]](https://ontheneedles.com/wp-content/uploads/2015/04/img_2698_medium21.jpg?w=200&h=300) Option 2: All-over stripes. Thick or thin, bright or muted, stripes can be used to evoke almost any mood. Cozy, warm colors (chocolate browns, brick reds, and pine-tree greens) could combine to make the perfect socks for our theme.
Option 2: All-over stripes. Thick or thin, bright or muted, stripes can be used to evoke almost any mood. Cozy, warm colors (chocolate browns, brick reds, and pine-tree greens) could combine to make the perfect socks for our theme.![DSC02936_medium2[1]](https://ontheneedles.com/wp-content/uploads/2015/04/dsc02936_medium21.jpg?w=228&h=300)
![4445452408_b2e51aebc1_z[1]](https://ontheneedles.com/wp-content/uploads/2015/04/4445452408_b2e51aebc1_z1.jpg?w=300&h=197) Option 3: Lace. We could do an all-over lace pattern, or include panels of lace up the sides of the socks. If you want the look of lace, but want something cozier, using thicker yarn makes fantastic socks to wear with winter boots.
Option 3: Lace. We could do an all-over lace pattern, or include panels of lace up the sides of the socks. If you want the look of lace, but want something cozier, using thicker yarn makes fantastic socks to wear with winter boots. ![hedera_1_medium2[1]](https://ontheneedles.com/wp-content/uploads/2015/04/hedera_1_medium21.jpg?w=255&h=300) Option 4: Cables. Cables always make socks look warm and cozy, which would be perfect for our theme. But, keep in mind that they can make socks a little bulky if you plan on wearing them with shoes, and not just around the house.
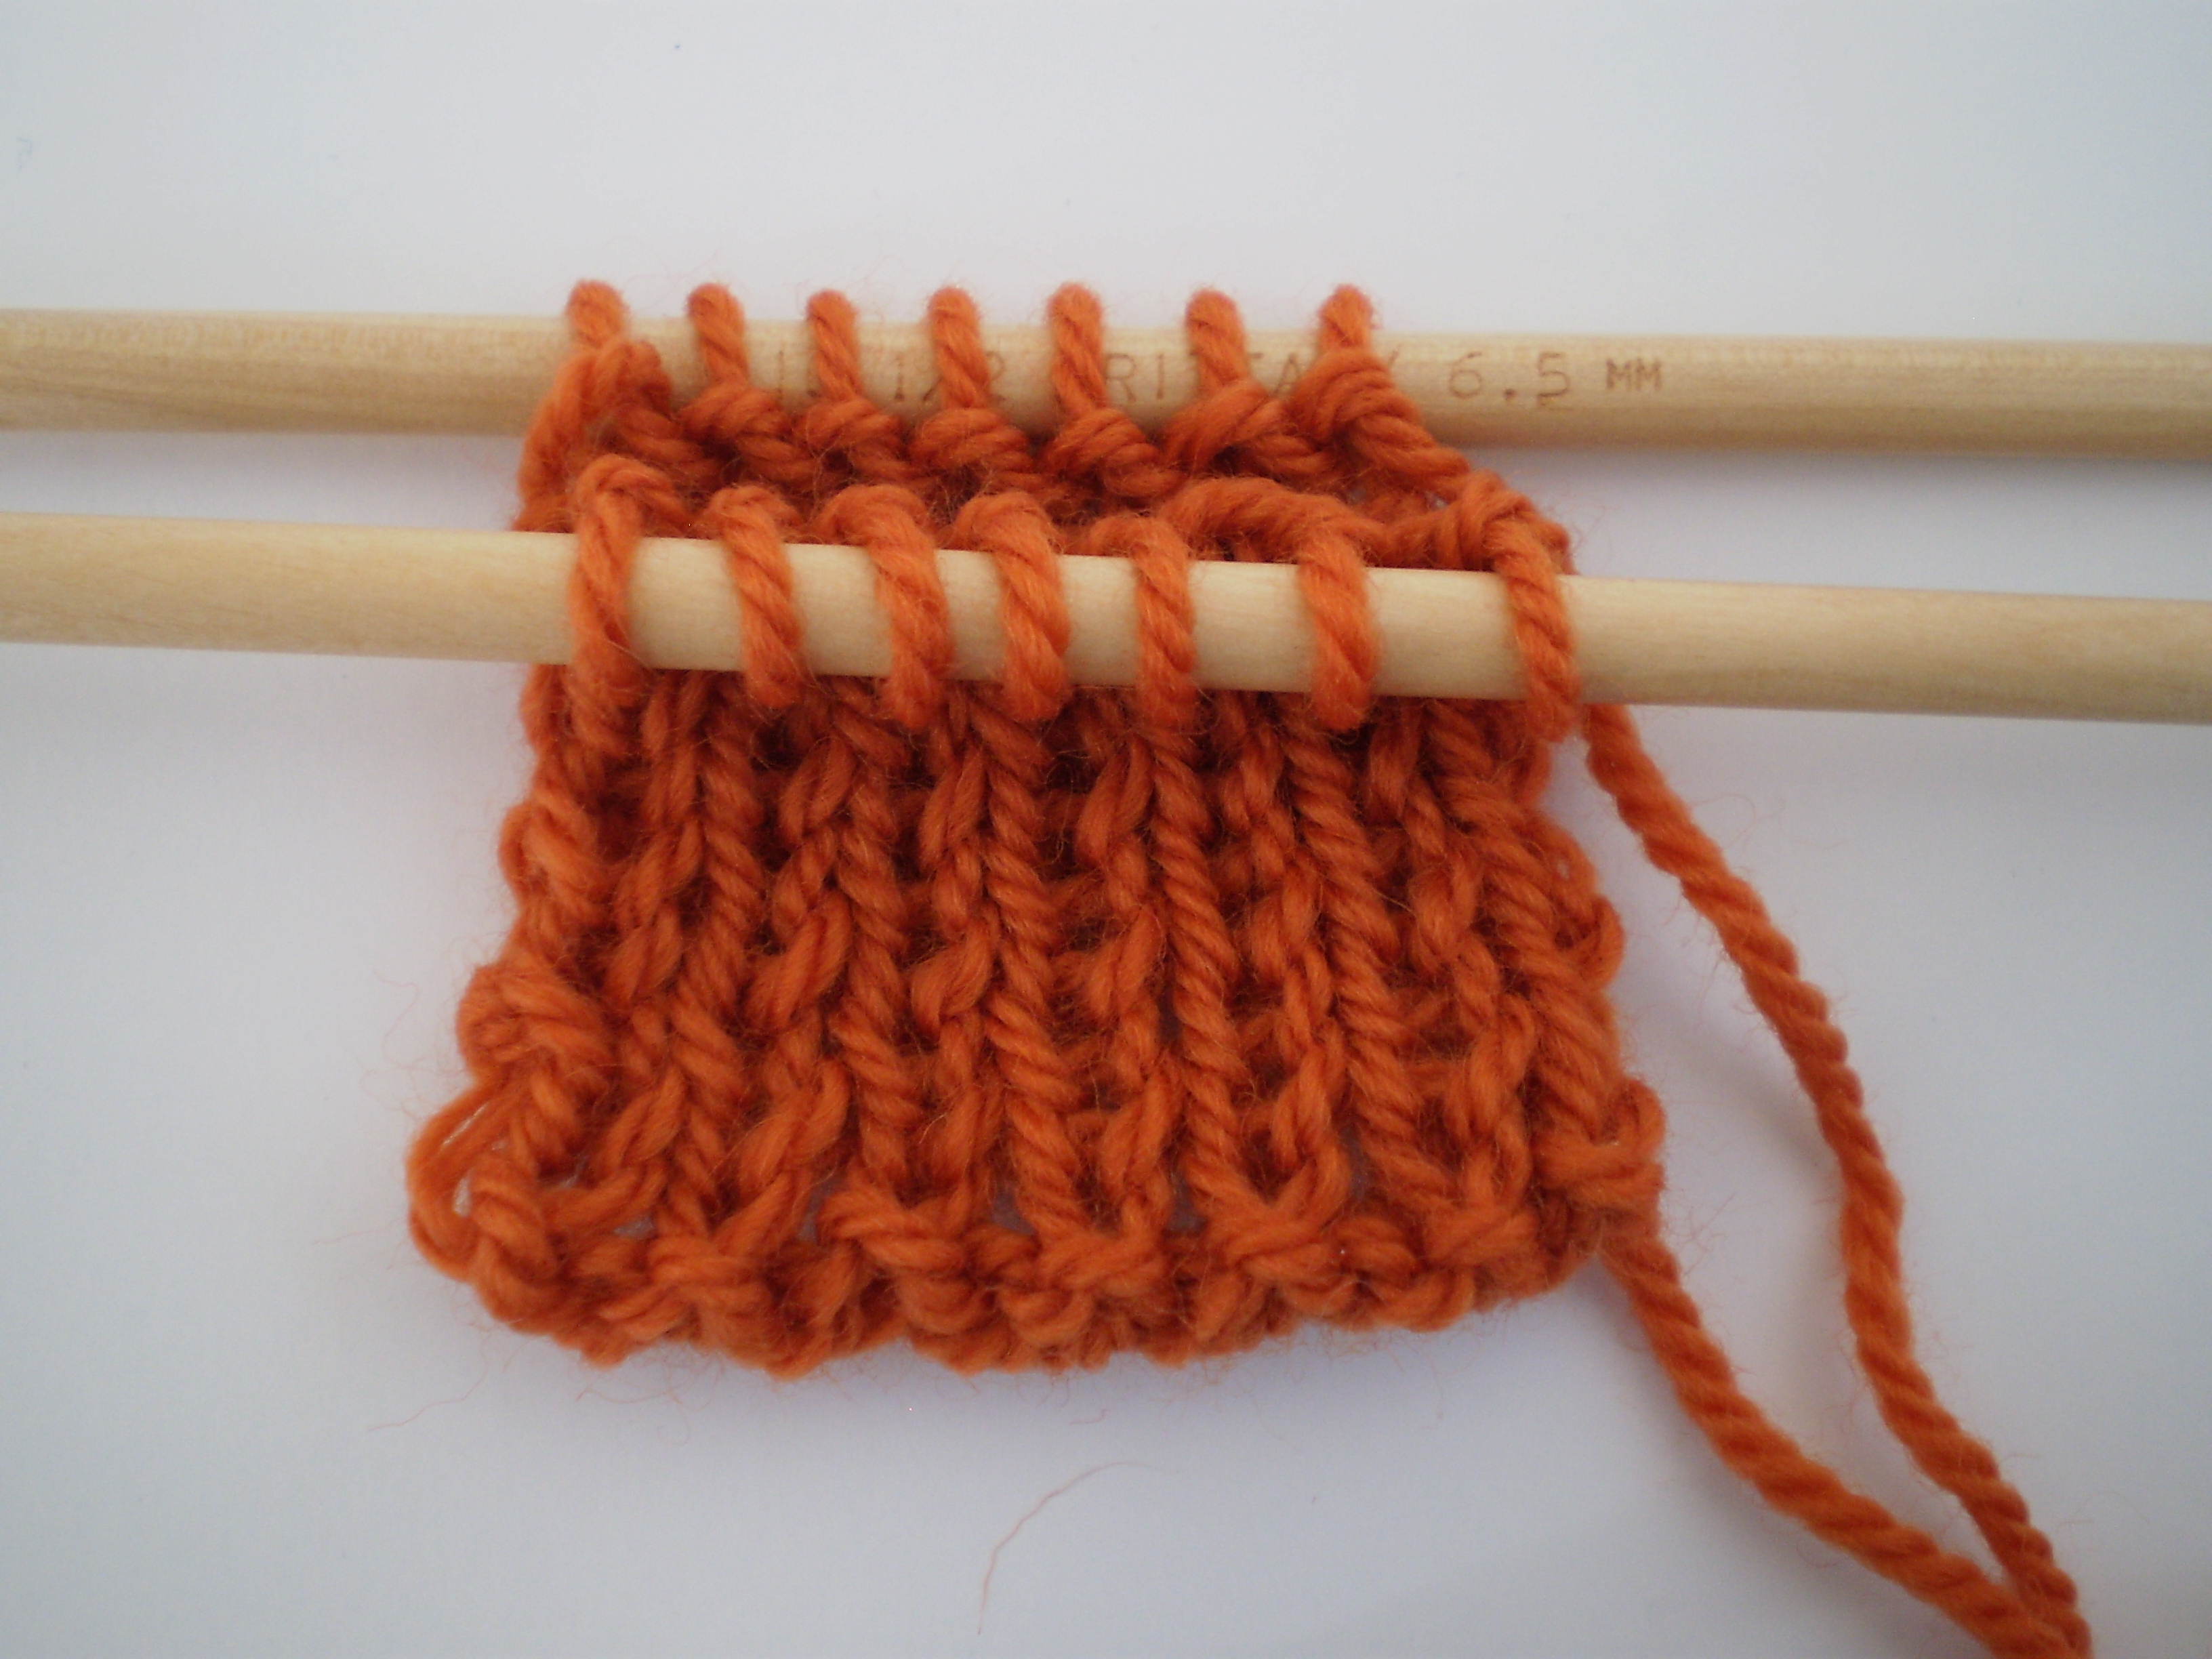
Option 4: Cables. Cables always make socks look warm and cozy, which would be perfect for our theme. But, keep in mind that they can make socks a little bulky if you plan on wearing them with shoes, and not just around the house. ![DSC_2774_medium2[1]](https://ontheneedles.com/wp-content/uploads/2015/04/dsc_2774_medium21.jpg?w=200&h=300) Option 5: All-over texture. My favorite socks all come from this category- sometimes, you just want a workhorse sock that looks good with any pair of shoes and keeps your toes warm. Simple socks knit with the seed stitch or basket weave stitches are classic and beautiful. Or we could try a more complicated pattern with slipped stitches or other interesting techniques.
Option 5: All-over texture. My favorite socks all come from this category- sometimes, you just want a workhorse sock that looks good with any pair of shoes and keeps your toes warm. Simple socks knit with the seed stitch or basket weave stitches are classic and beautiful. Or we could try a more complicated pattern with slipped stitches or other interesting techniques.![3704532404_227f070d7a_z[1]](https://ontheneedles.com/wp-content/uploads/2015/04/3704532404_227f070d7a_z1.jpg?w=225&h=300) Option 6: Combination. Stripes and cables? Lace and textures? The sky’s the limit! If you’re itching for something more complicated than a simple sock designed with a single technique, let me know! And leave your ideas in the comments section.
Option 6: Combination. Stripes and cables? Lace and textures? The sky’s the limit! If you’re itching for something more complicated than a simple sock designed with a single technique, let me know! And leave your ideas in the comments section.