Tag Archives: step-by-step

Project Tea Cozy: Let’s Begin

I’ve got the gauge, I’ve got the stitch pattern, and I’ve got the design in my head.  It’s time to start getting this pattern on paper.

I’ll start by measuring my teapot.  19″ around the fattest part, which, with some math, can give me my stitch count.

img_3316Then I’ll sketch out my design, adding in notes about all the details- where the increases will be, what stitch pattern to use, etc.  I’m going to make this tea pot like a modified hat.  So, I’ll start from the bottom and work up, but I’m going to knit flat (until I make it to the “crown”).  That will make it easy to make the big hole for the handle; I’ll just sew up an inch or so at the hem, and voila!  Tea cozy.  (Or at least that’s the plan.)img_3331Then, starting with the cast on at the bottom, I write a first draft of the pattern, knowing that a bunch of it will be wrong.  But that’s OK, that’s what first drafts are for!img_3337Then, I finalized the stitch pattern…
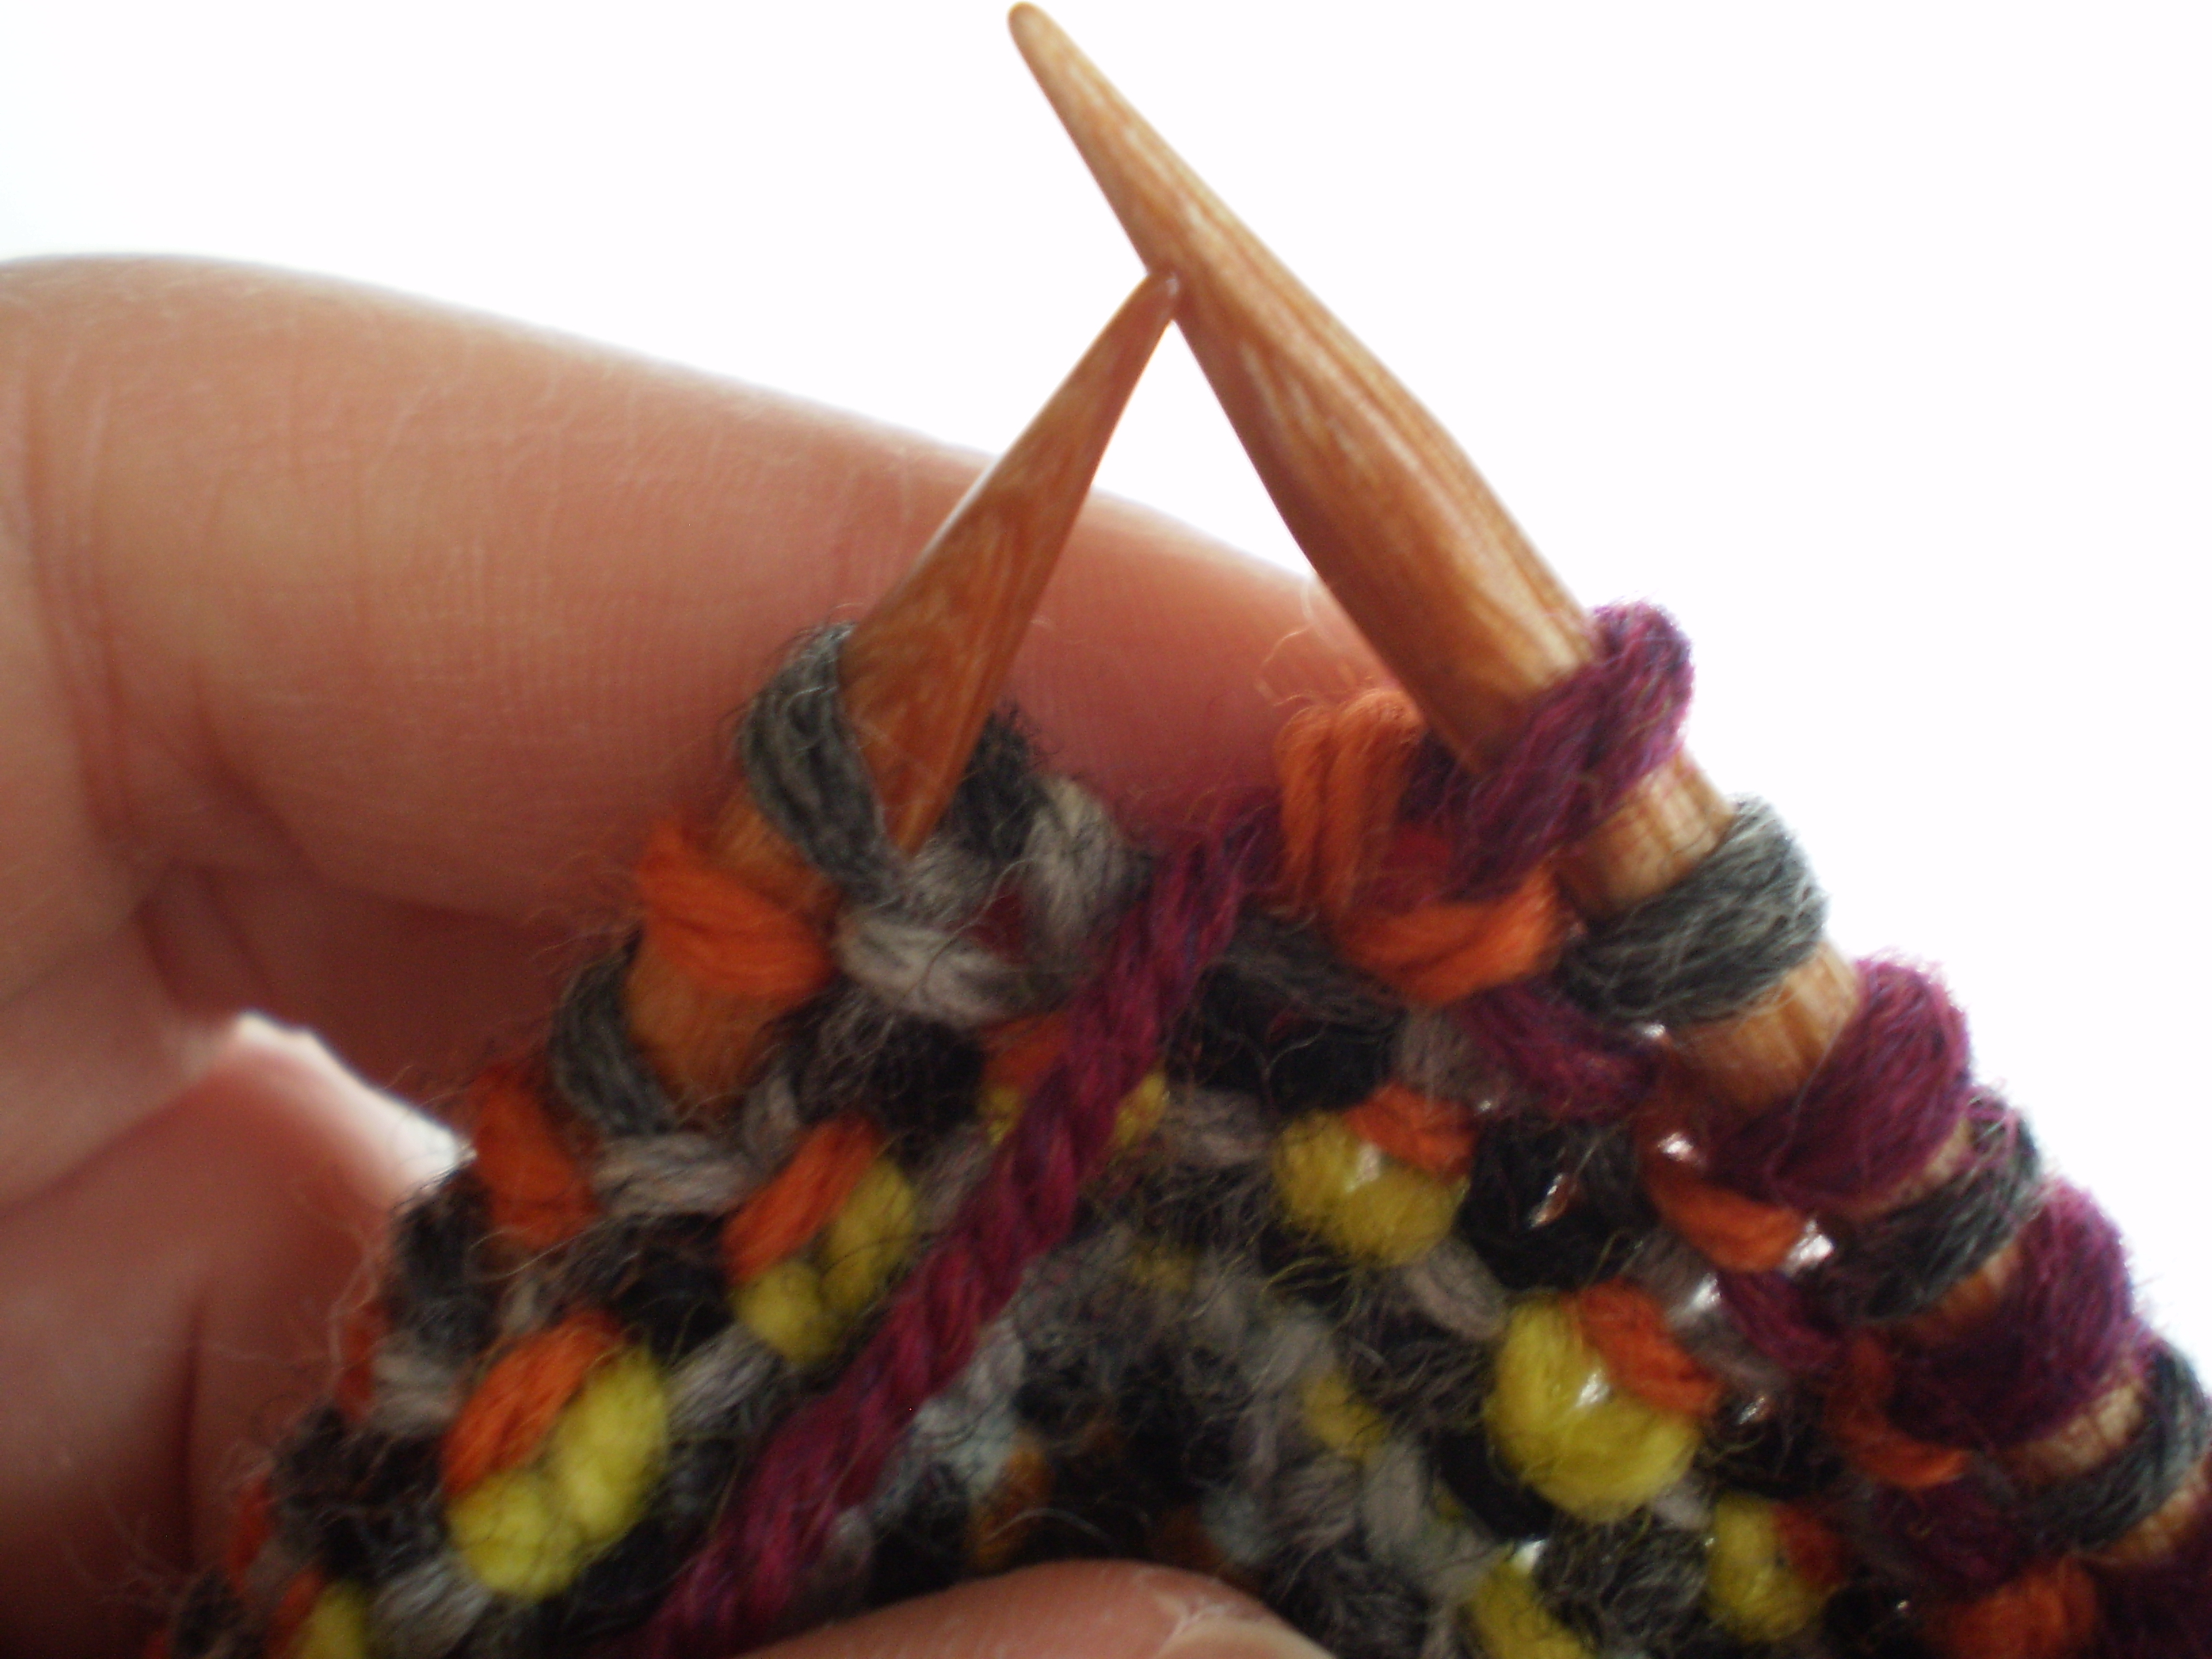
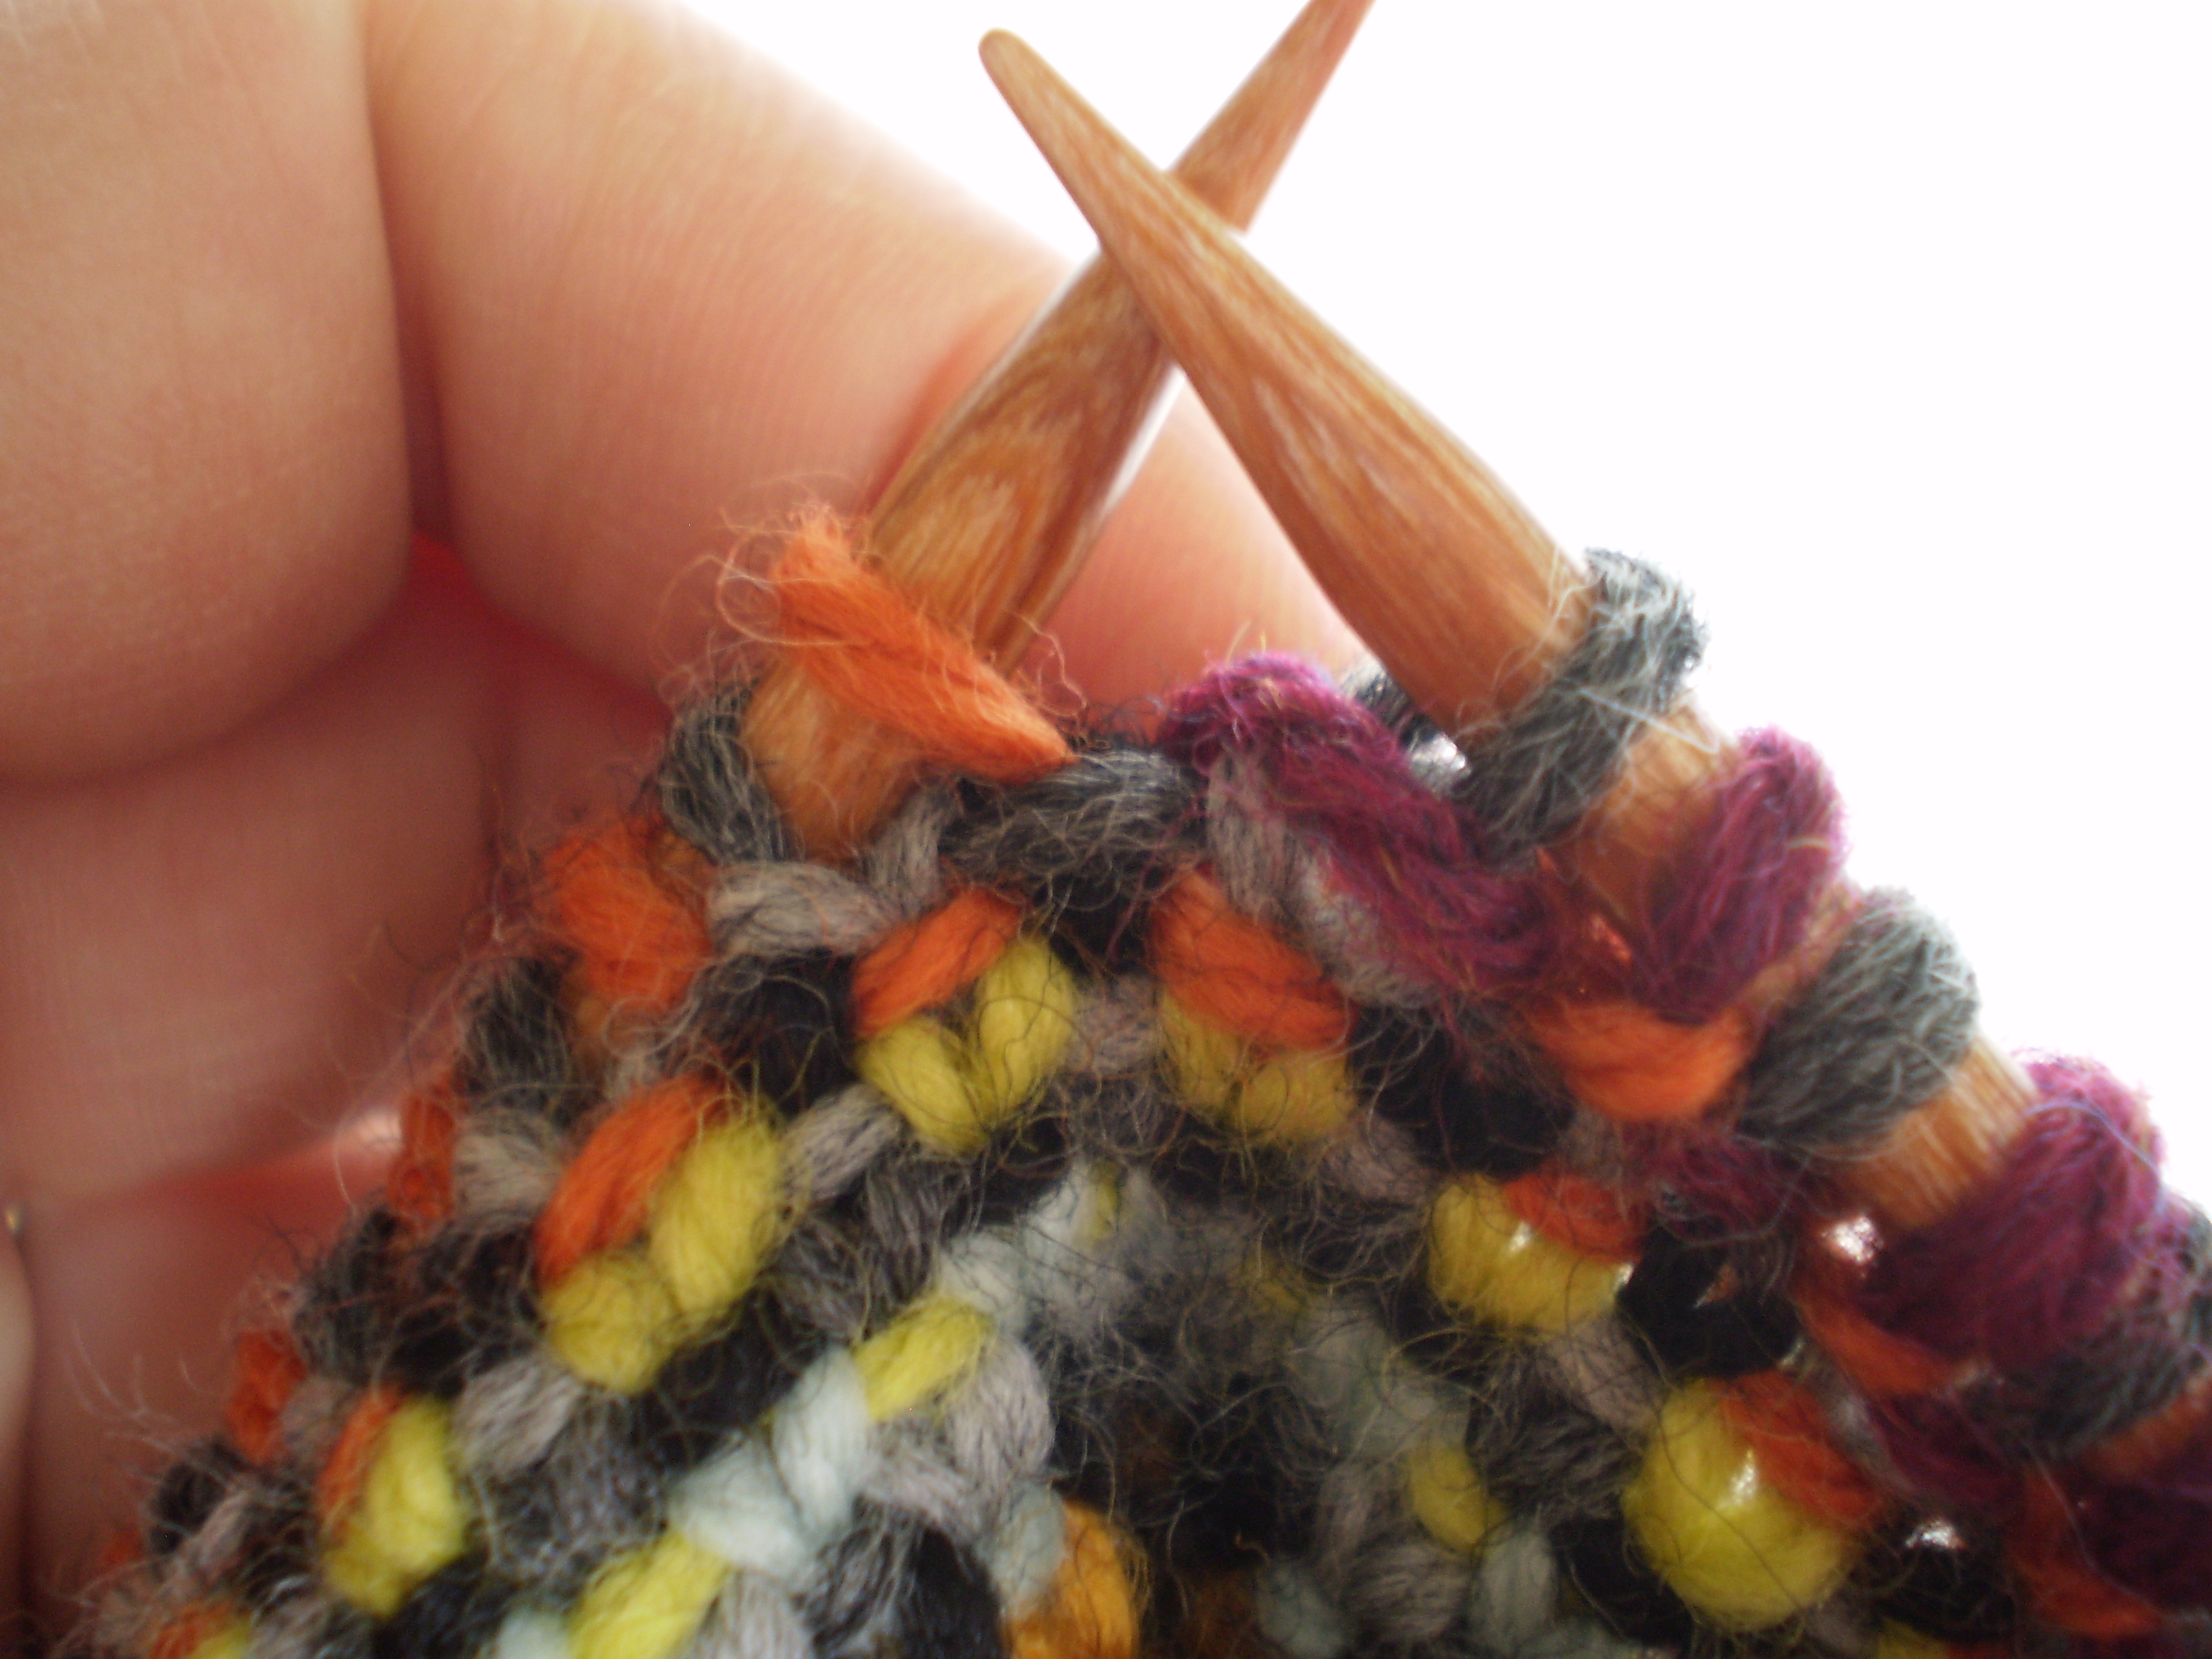
Oh.  Except…

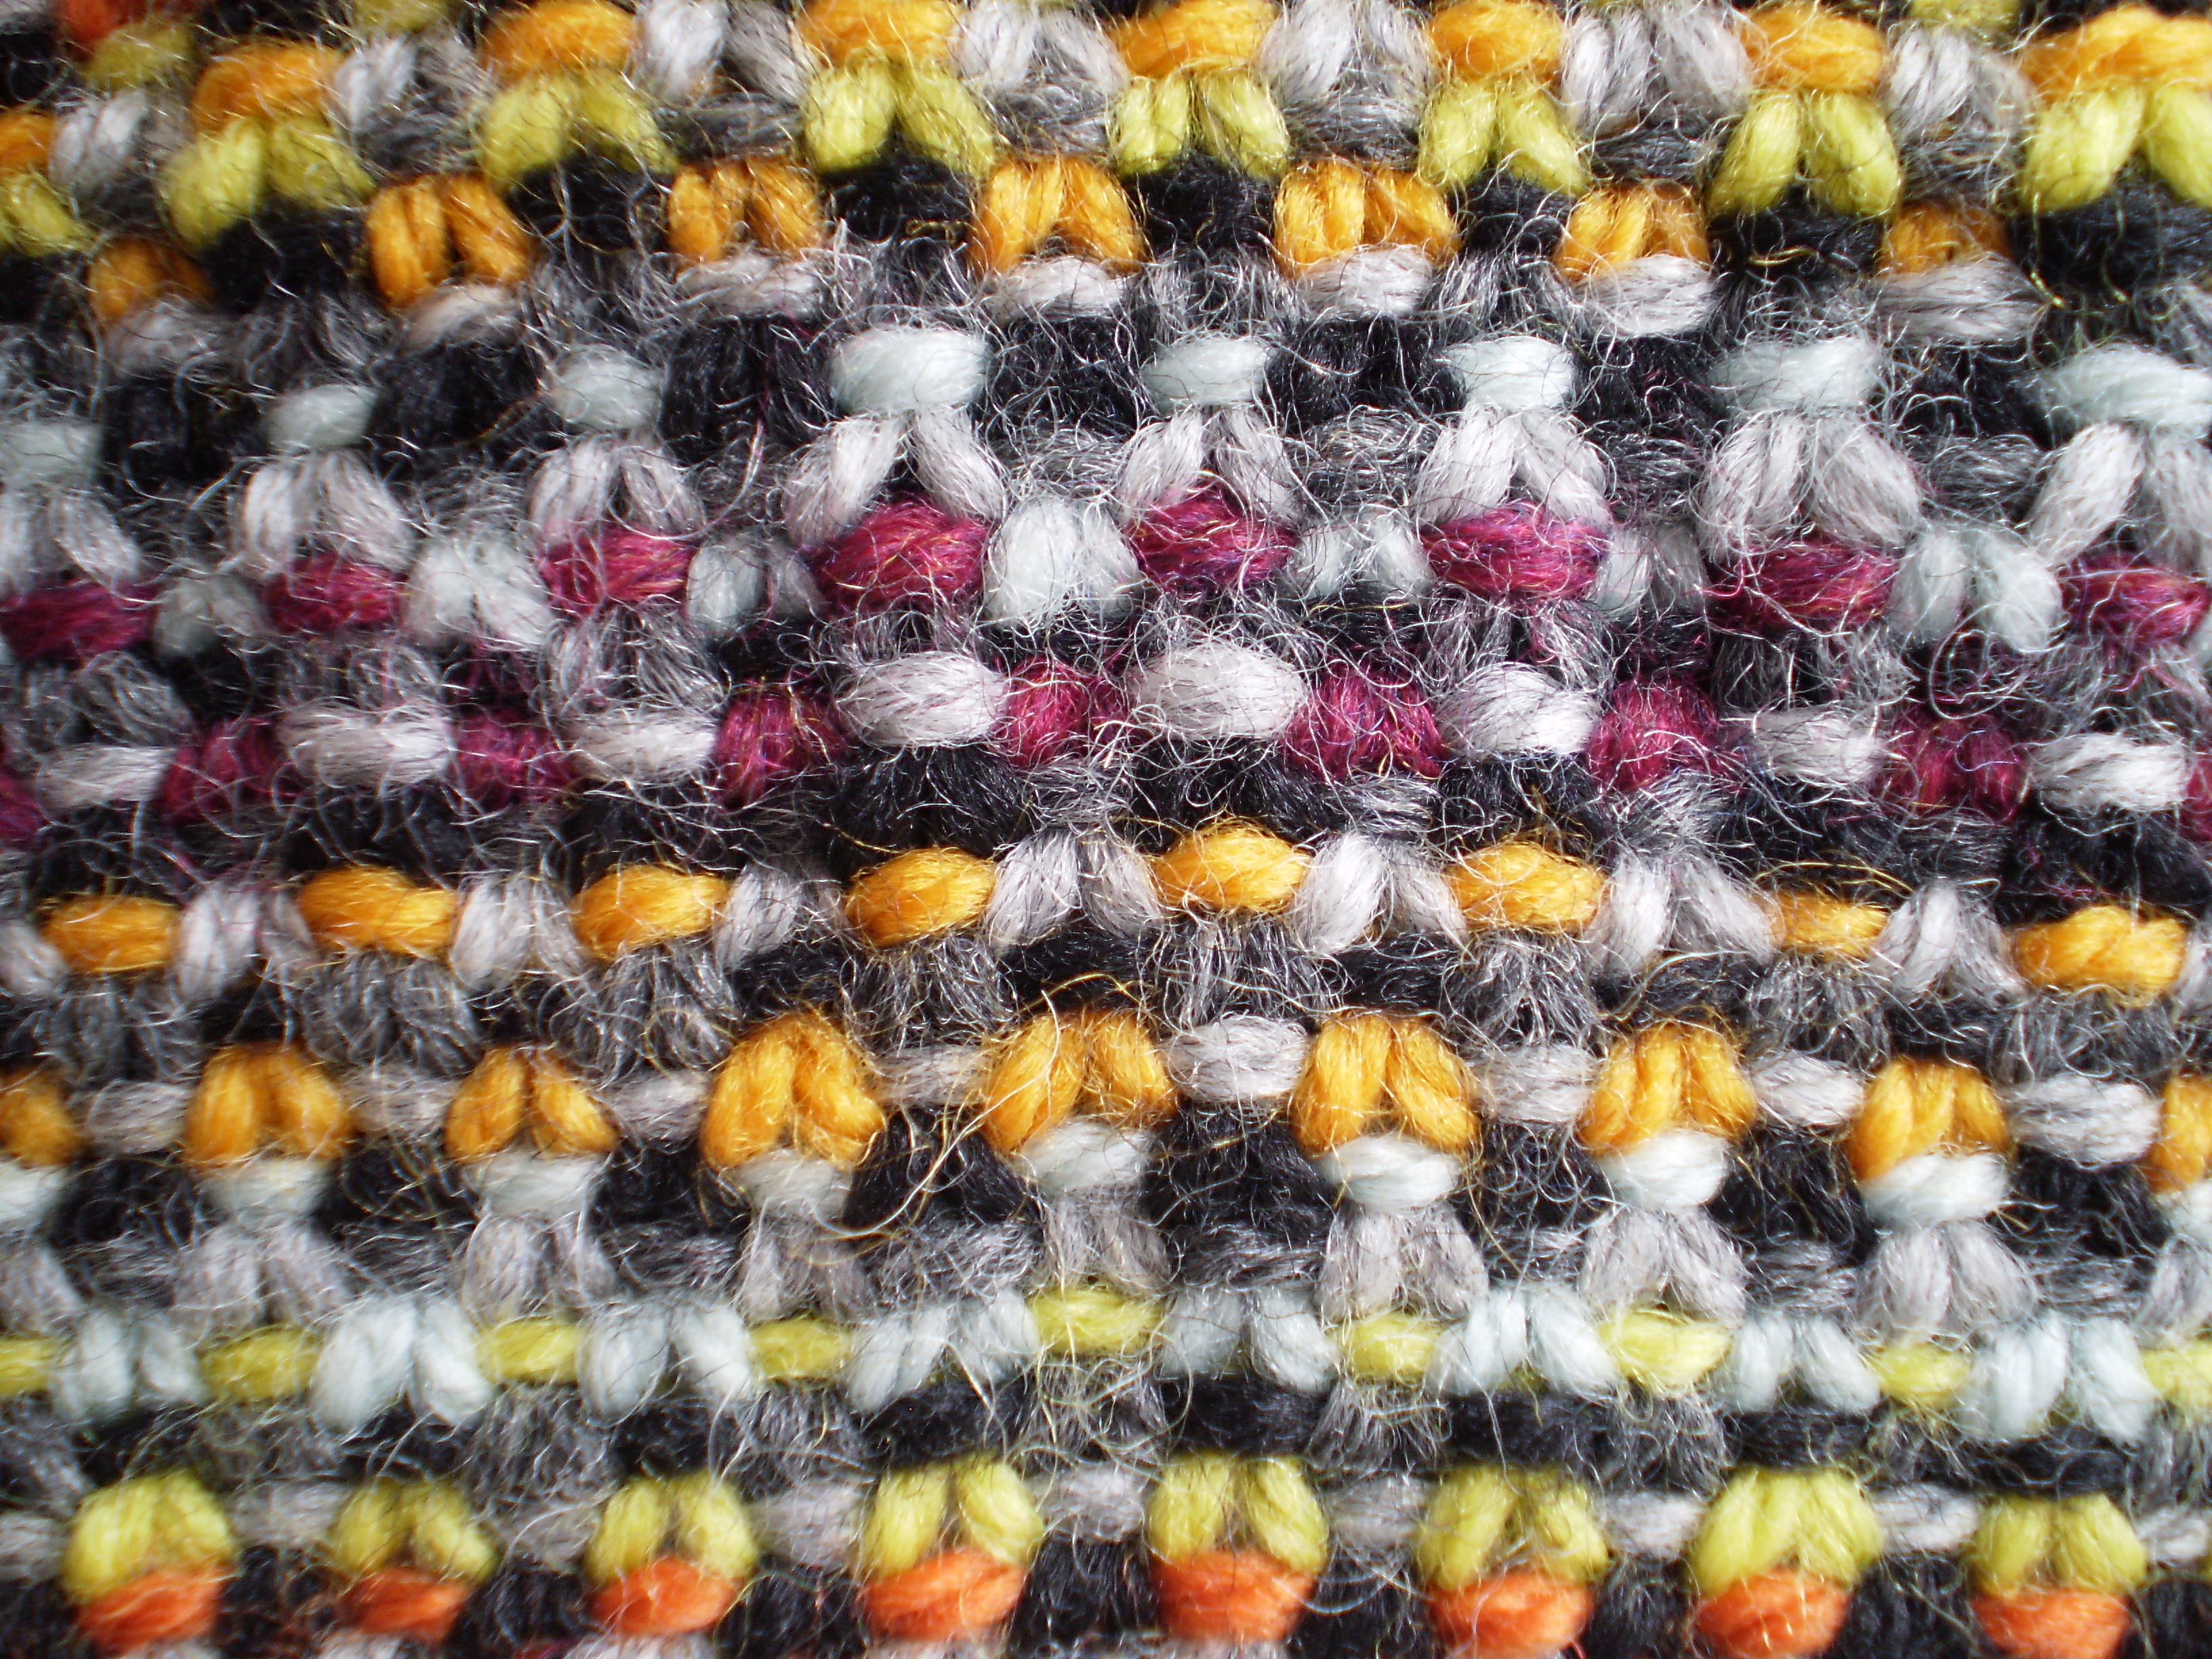
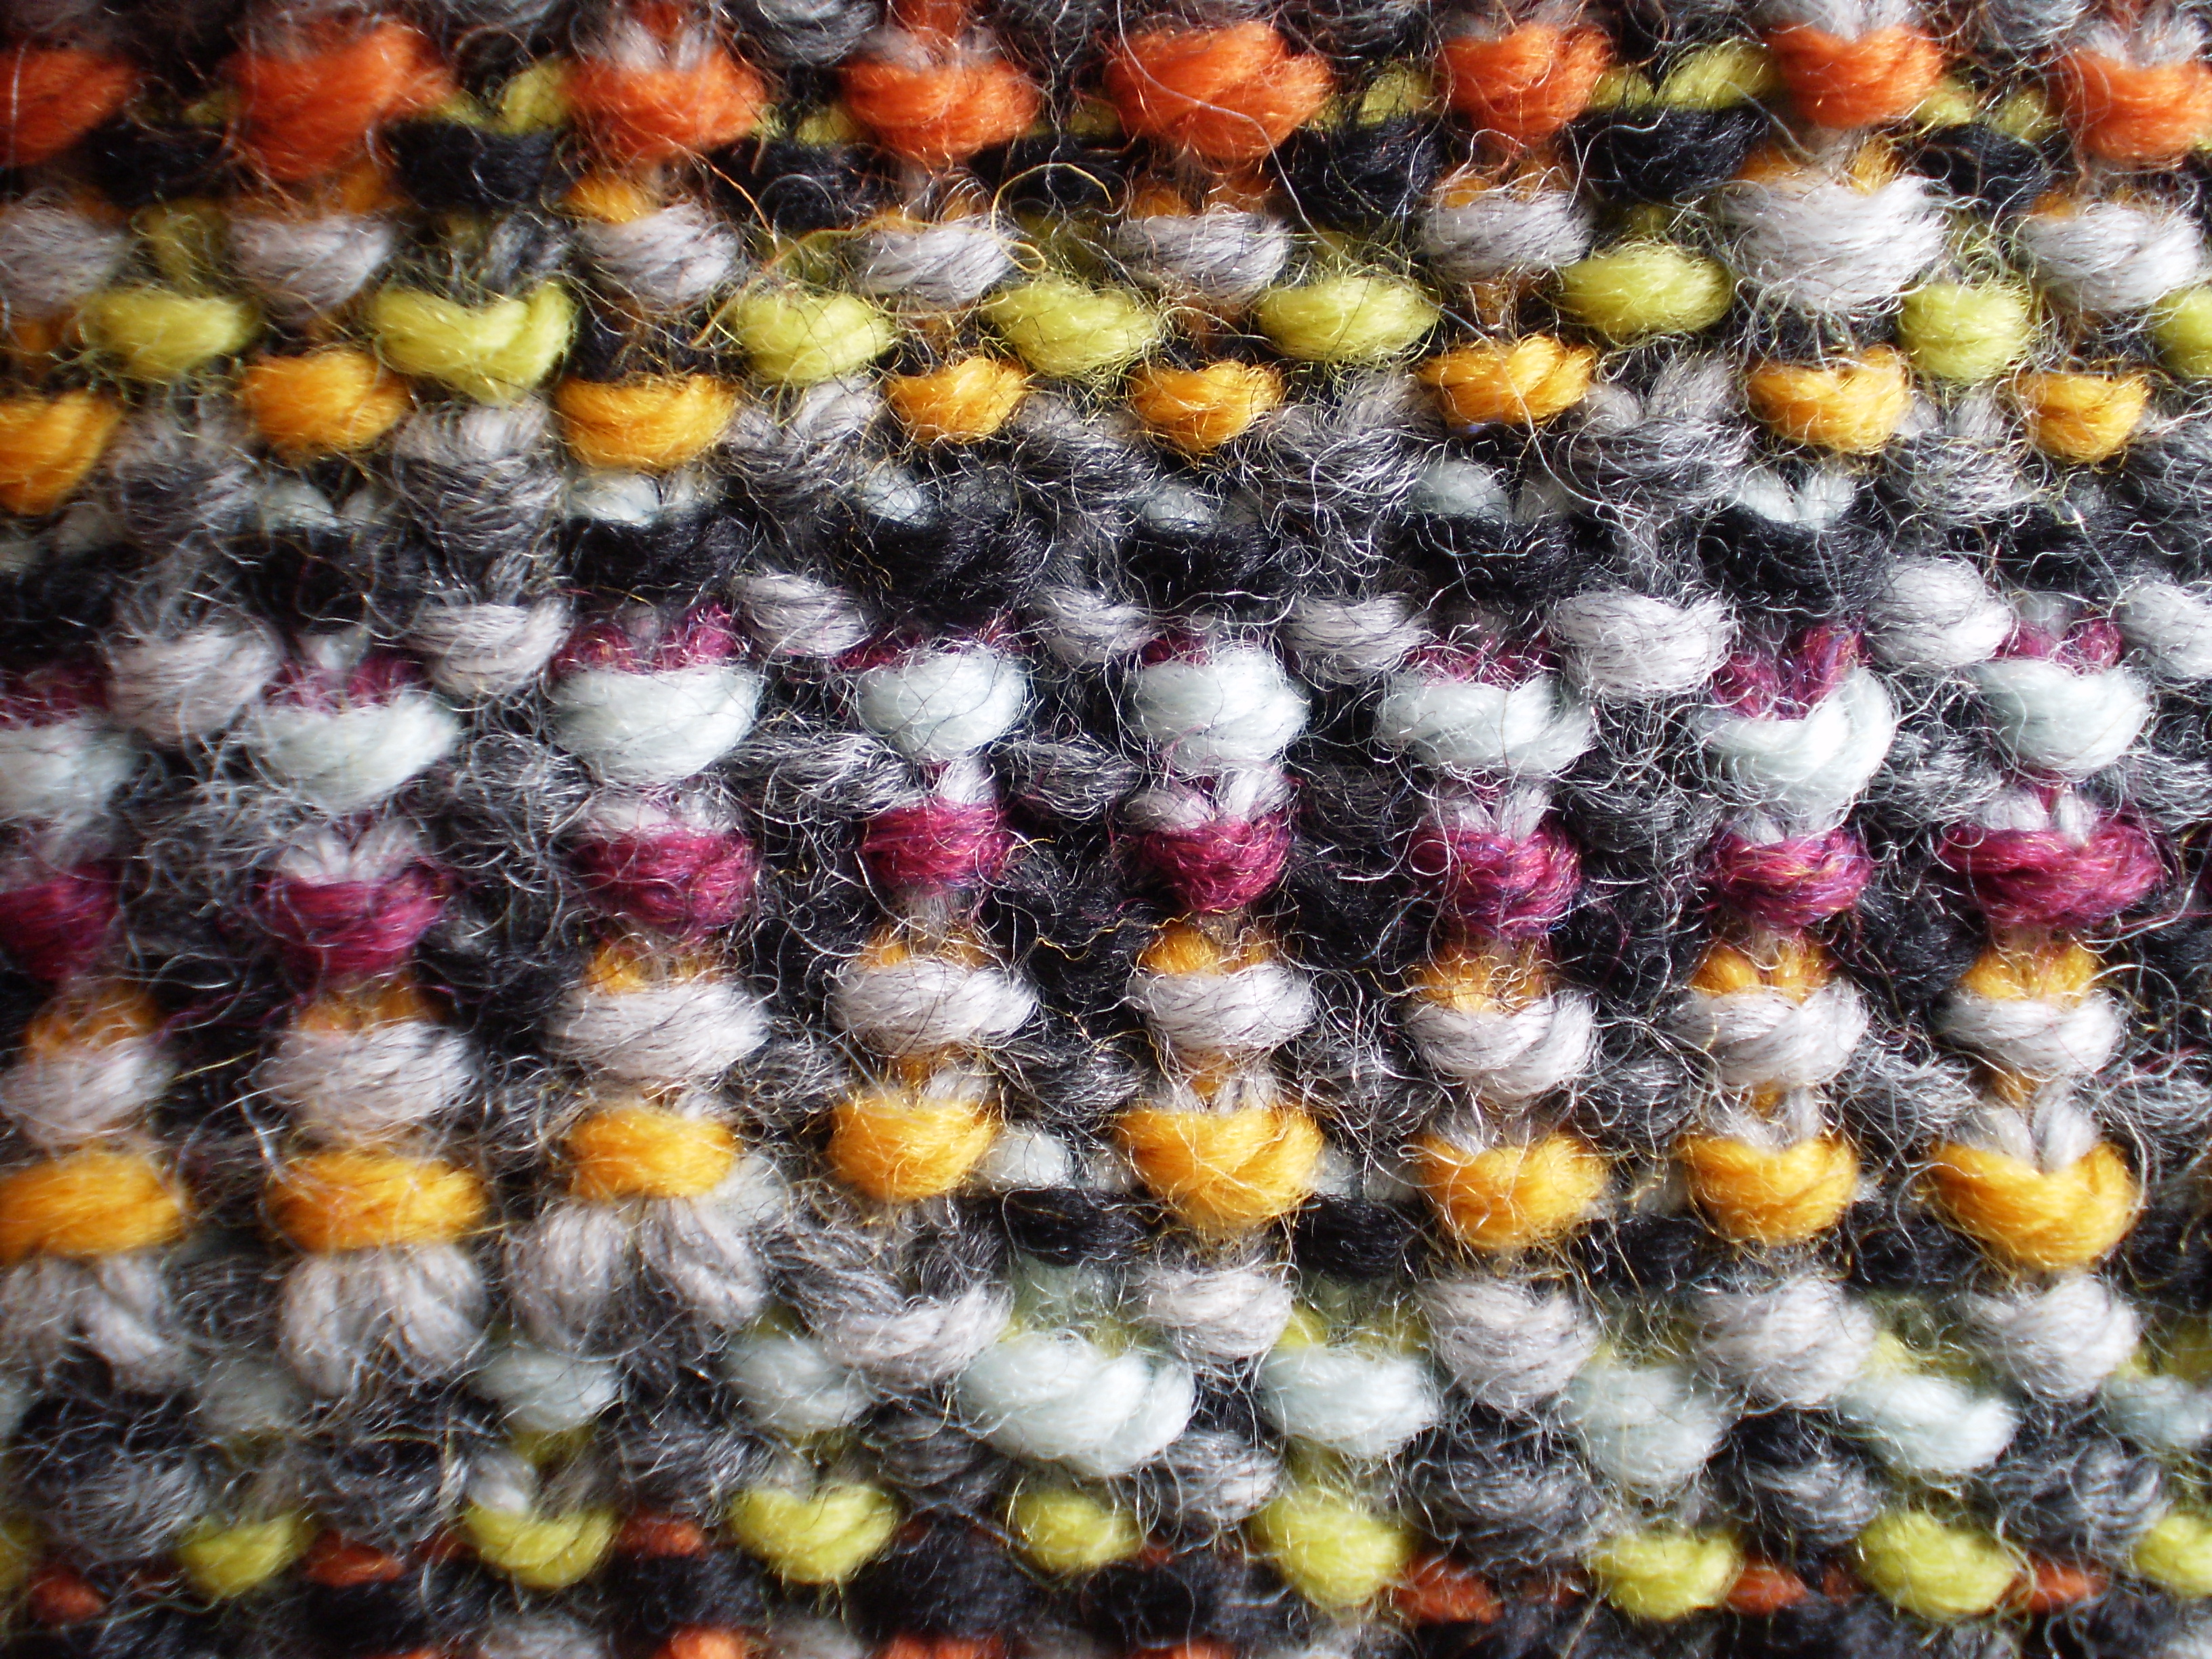
I totally used up most of the yarn I was planning on using (I got excited about another project and used up almost all the red and yellow and blue… oops!)img_3323Well, I’ve got lots of neutrals, so I guess this teapot will be more neutral than bright and colorful.  Ooh!  I can use neutrals for the stripes and colors for the dots.  That should look cute!img_3342
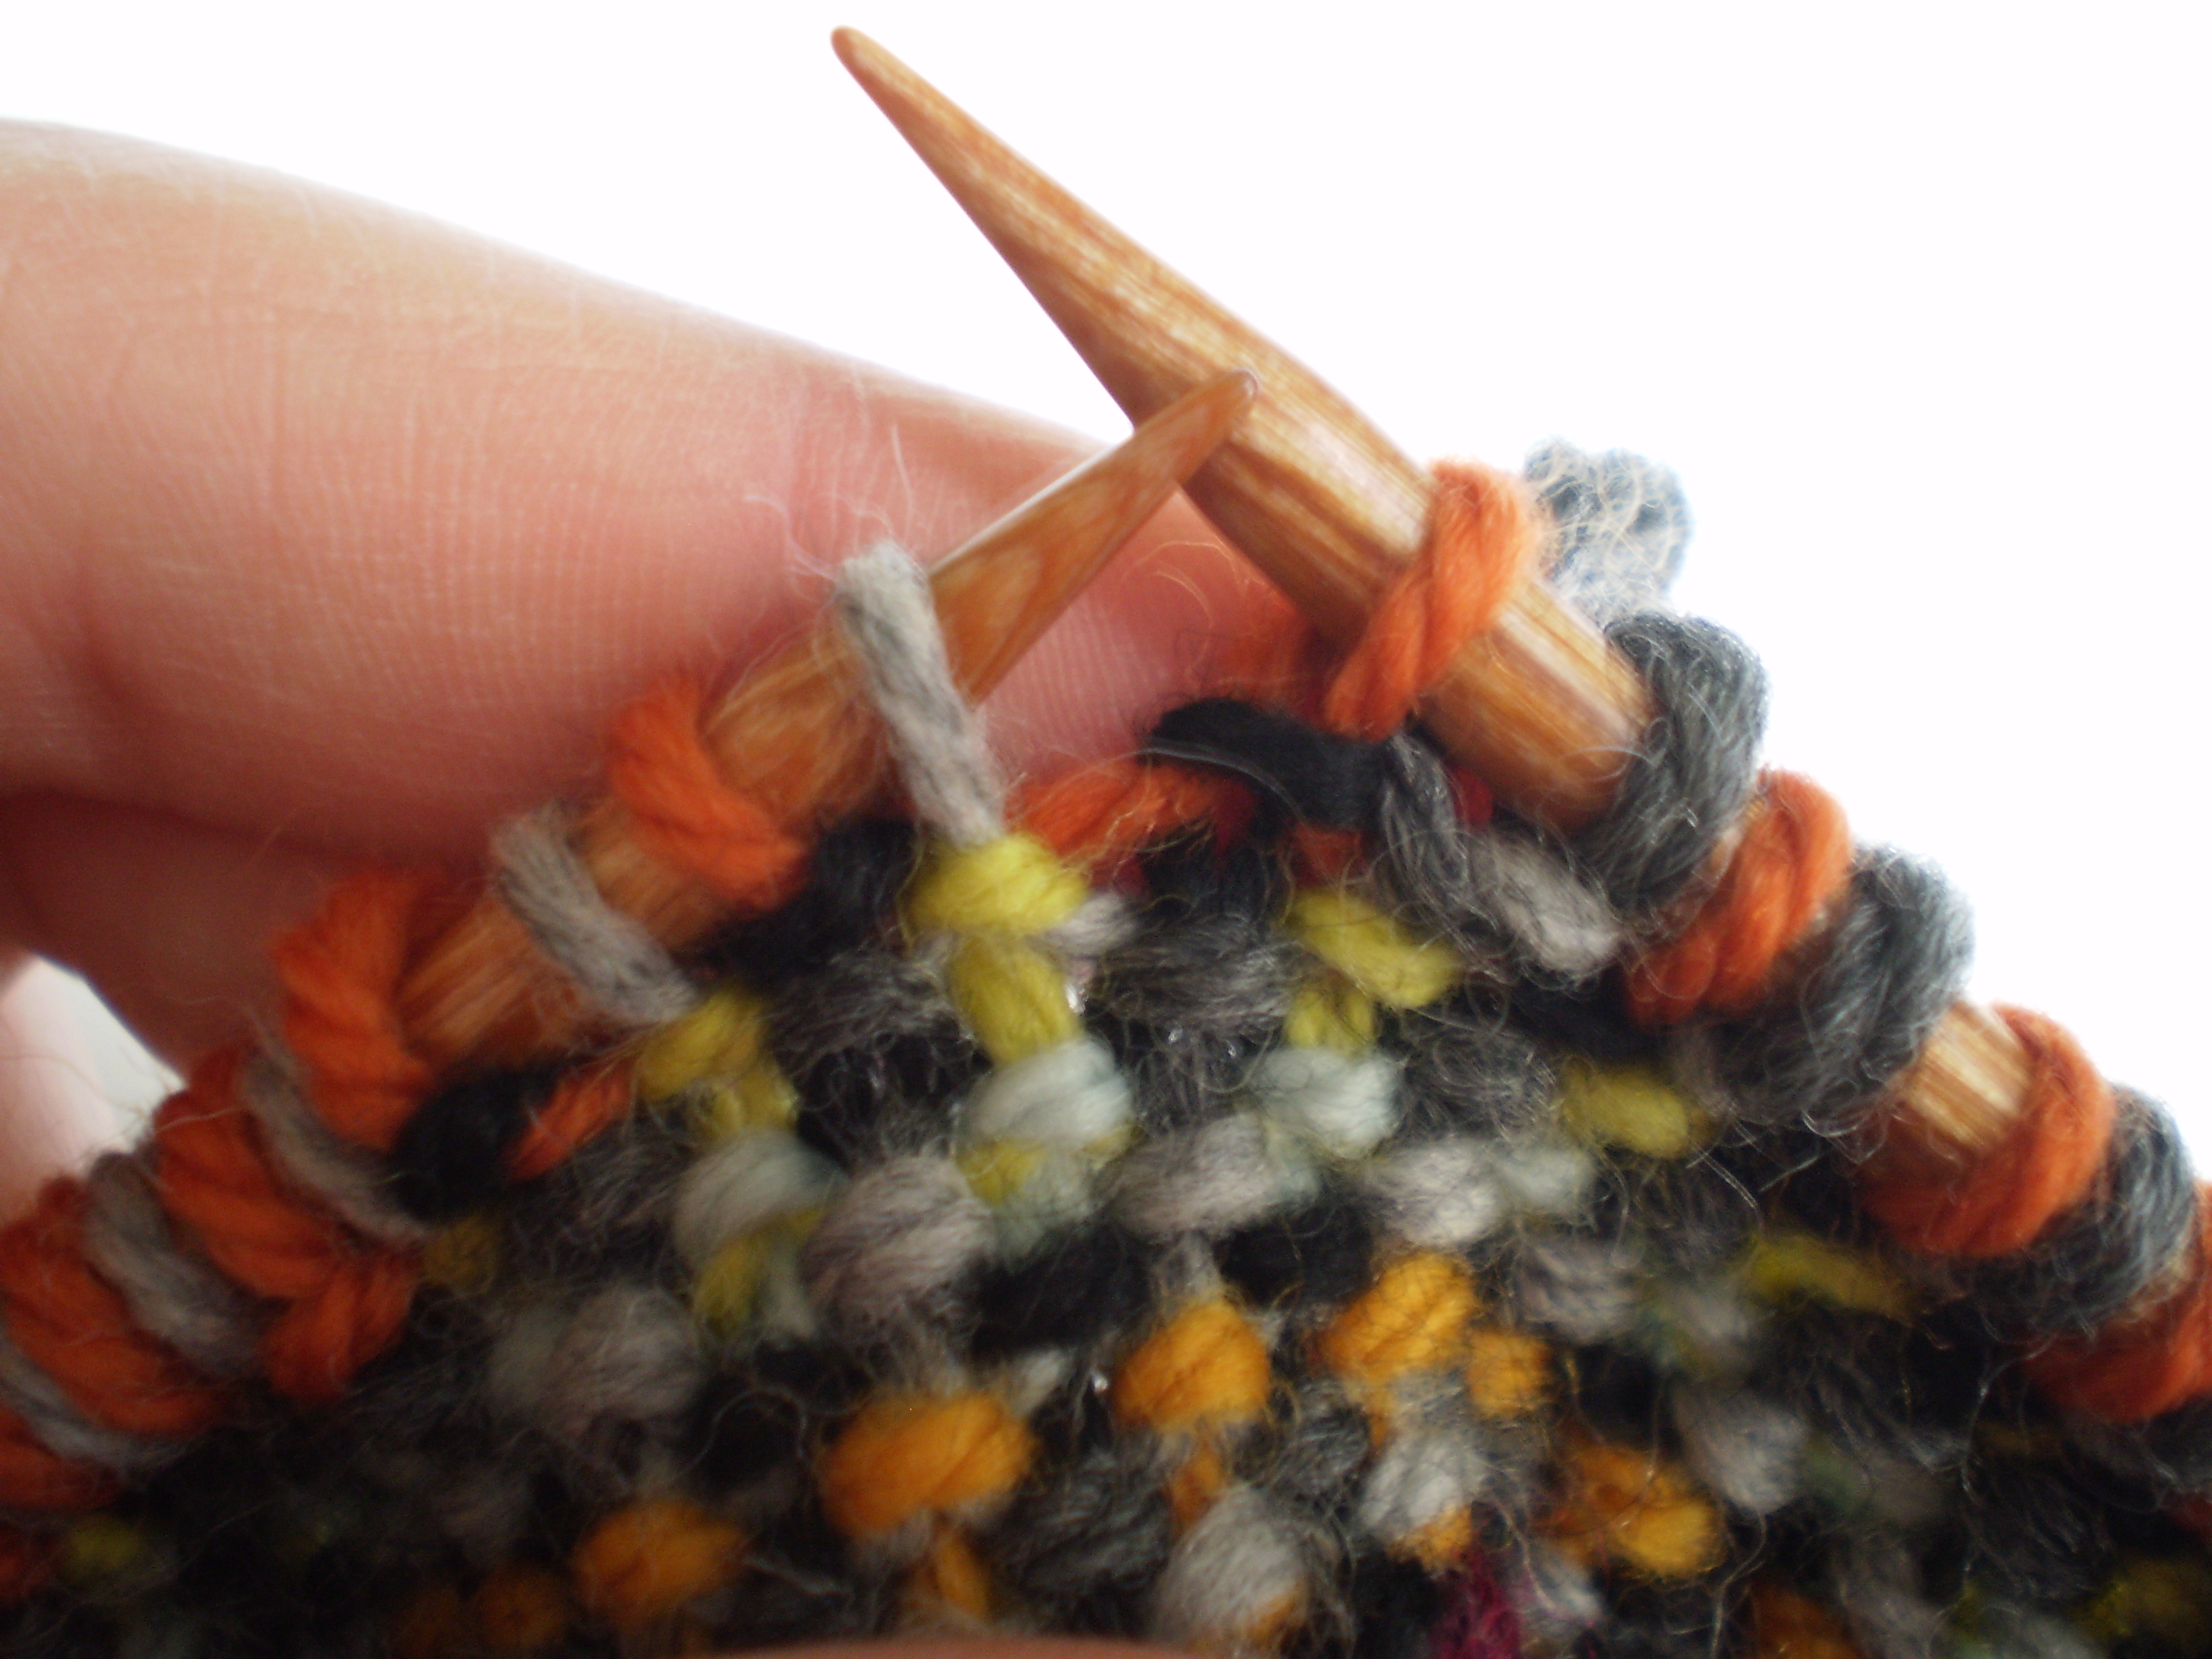
OK, now that everything’s set up and beautiful, it’s time to start knitting!  (And time to start figuring out where all my mistakes are!)

More Linen Stitch!

I’m kind of in love with the linen stitch.  It’s haunting my dreams and dancing through my head.  I may have a problem.  It’s so fiddly and such slow going, but I absolutely love how it looks.

And, even though it takes a while to work up, it’s a really simple pattern-so easy to memorize!

Cast on an even number of stitches and follow these 2 rows:

RS rows: (K1, bring yarn to front, slip 1, bring yarn to back) repeat to end.

WS rows: (P1, bring yarn to back , slip 1, bring yarn to front) repeat to end.

Easy!  Let’s do it together.

On the right side, start with the yarn in back.OLYMPUS DIGITAL CAMERAKnit 1OLYMPUS DIGITAL CAMERABring the yarn to the front, between your two needles.OLYMPUS DIGITAL CAMERASlip 1 stitch from the left needle to the right.OLYMPUS DIGITAL CAMERABring the yarn back to the back, and do the whole thing again (and again and again).OLYMPUS DIGITAL CAMERAOnce you finish your row, flip your knitting to work back and forth.  Start this row with your yarn in front.OLYMPUS DIGITAL CAMERAPurl 1.OLYMPUS DIGITAL CAMERABring the yarn back, between your needles.OLYMPUS DIGITAL CAMERASlip 1 stitch.OLYMPUS DIGITAL CAMERABring the yarn in front again, and keep repeating until you reach the end.OLYMPUS DIGITAL CAMERAAfter a while, your right side will start to look like this (which people say looks like woven fabric.  I don’t know if I agree with that, but it does look cool.)

OLYMPUS DIGITAL CAMERAAnd your wrong side will look all cool and bumpy and textured.  I almost like it more than the right side.

OLYMPUS DIGITAL CAMERAI’ve made these samples using a different, random color each row, but the linen stitch looks great in one color, knit with variegated yarn or using two or three repeating colors.  The linen stitch is a great way to play with color mixing!

Have you ever used the linen stitch before?  What did you make with it?

Tutorial: Shawl Pins

I’ve got shawls on the brain. When I wear a shawl, especially if it’s a particularly oddly-shaped one, I like to break out a shawl pin.  You can find super fancy ones, but basically a shawl pin is a stick of some kind that you use to hold knitwear in place (I’ve been known to use pencils, chopsticks and knitting needles in a pinch). There are as many kinds of shawl pins as there are shawls, all gorgeous, most expensive.

So, in the name of DIY Cheapskate-y-ness, let’s make some functional, fashionable, and simple shawl pins.  An accessory for your accessory… what’s not to love?

Here’s what you’ll need:

  • A ¼-inch dowel
  • Small hacksaw (or other dowel-cutting implement)
  • Pencil sharpener
  • Sandpaper (I used 120-grit)
  • Acrylic paint
  • Paintbrush

OLYMPUS DIGITAL CAMERAStart by cutting your dowel into pieces. I made my pins about 5 inches long, but you could go longer or shorter, depending on what you like.

OLYMPUS DIGITAL CAMERAThen, sharpen one end of each pin with the pencil sharpener.

OLYMPUS DIGITAL CAMERAGrab a piece of sand paper and sand your shawl pin until it’s nice and smooth (get rid of anything that could catch on your shawl and make a hole. No bueno). Sand the point down a little bit so that it isn’t dangerously pointy, and don’t forget to smooth out any corners on the other end, too.

OLYMPUS DIGITAL CAMERABrush off any sawdust, and break out the acrylic paints. I like how they look when they’re mostly wood with just a pop of color on the end, but feel free to experiment. How about stripes? Polka dots? Let the paint dry, and you’re ready to go.

OLYMPUS DIGITAL CAMERAGrab a shawl (or scarf, or cardigan) and pin away.

OLYMPUS DIGITAL CAMERA