I’m kind of in love with the linen stitch. It’s haunting my dreams and dancing through my head. I may have a problem. It’s so fiddly and such slow going, but I absolutely love how it looks.
And, even though it takes a while to work up, it’s a really simple pattern-so easy to memorize!
Cast on an even number of stitches and follow these 2 rows:
RS rows: (K1, bring yarn to front, slip 1, bring yarn to back) repeat to end.
WS rows: (P1, bring yarn to back , slip 1, bring yarn to front) repeat to end.
Easy! Let’s do it together.
On the right side, start with the yarn in back. Knit 1
 Bring the yarn to the front, between your two needles.
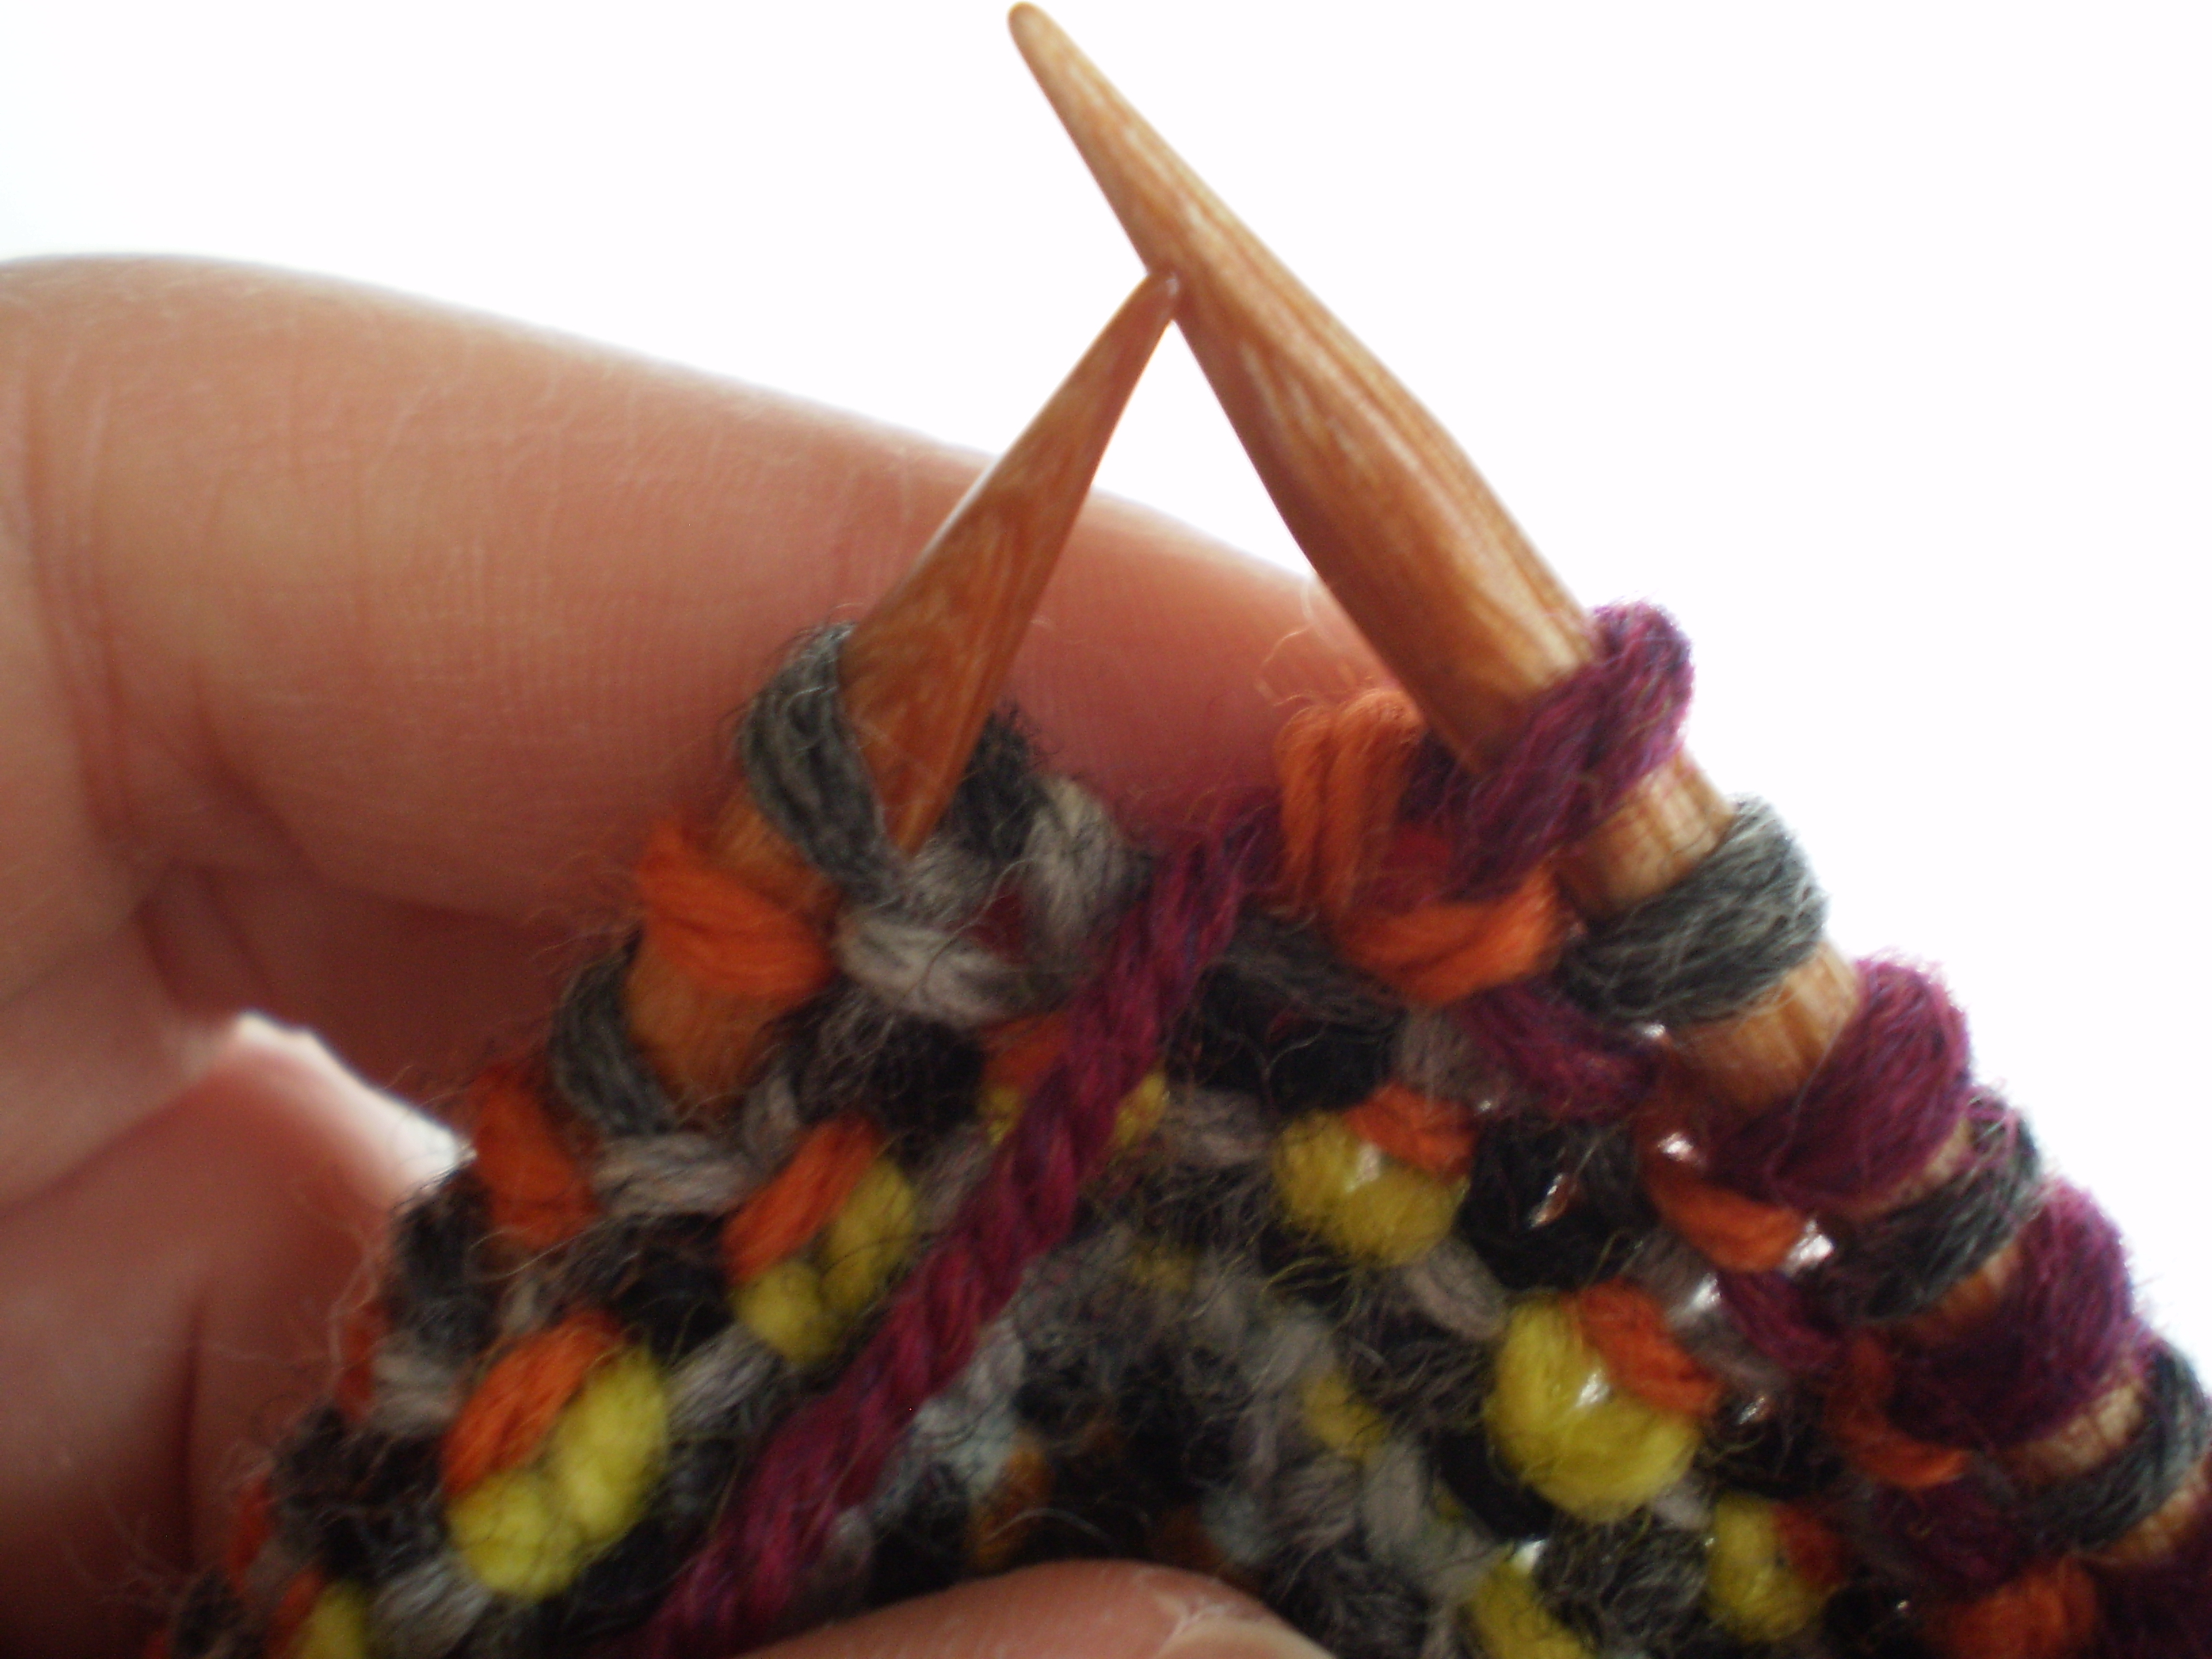 Slip 1 stitch from the left needle to the right.
 Bring the yarn back to the back, and do the whole thing again (and again and again).
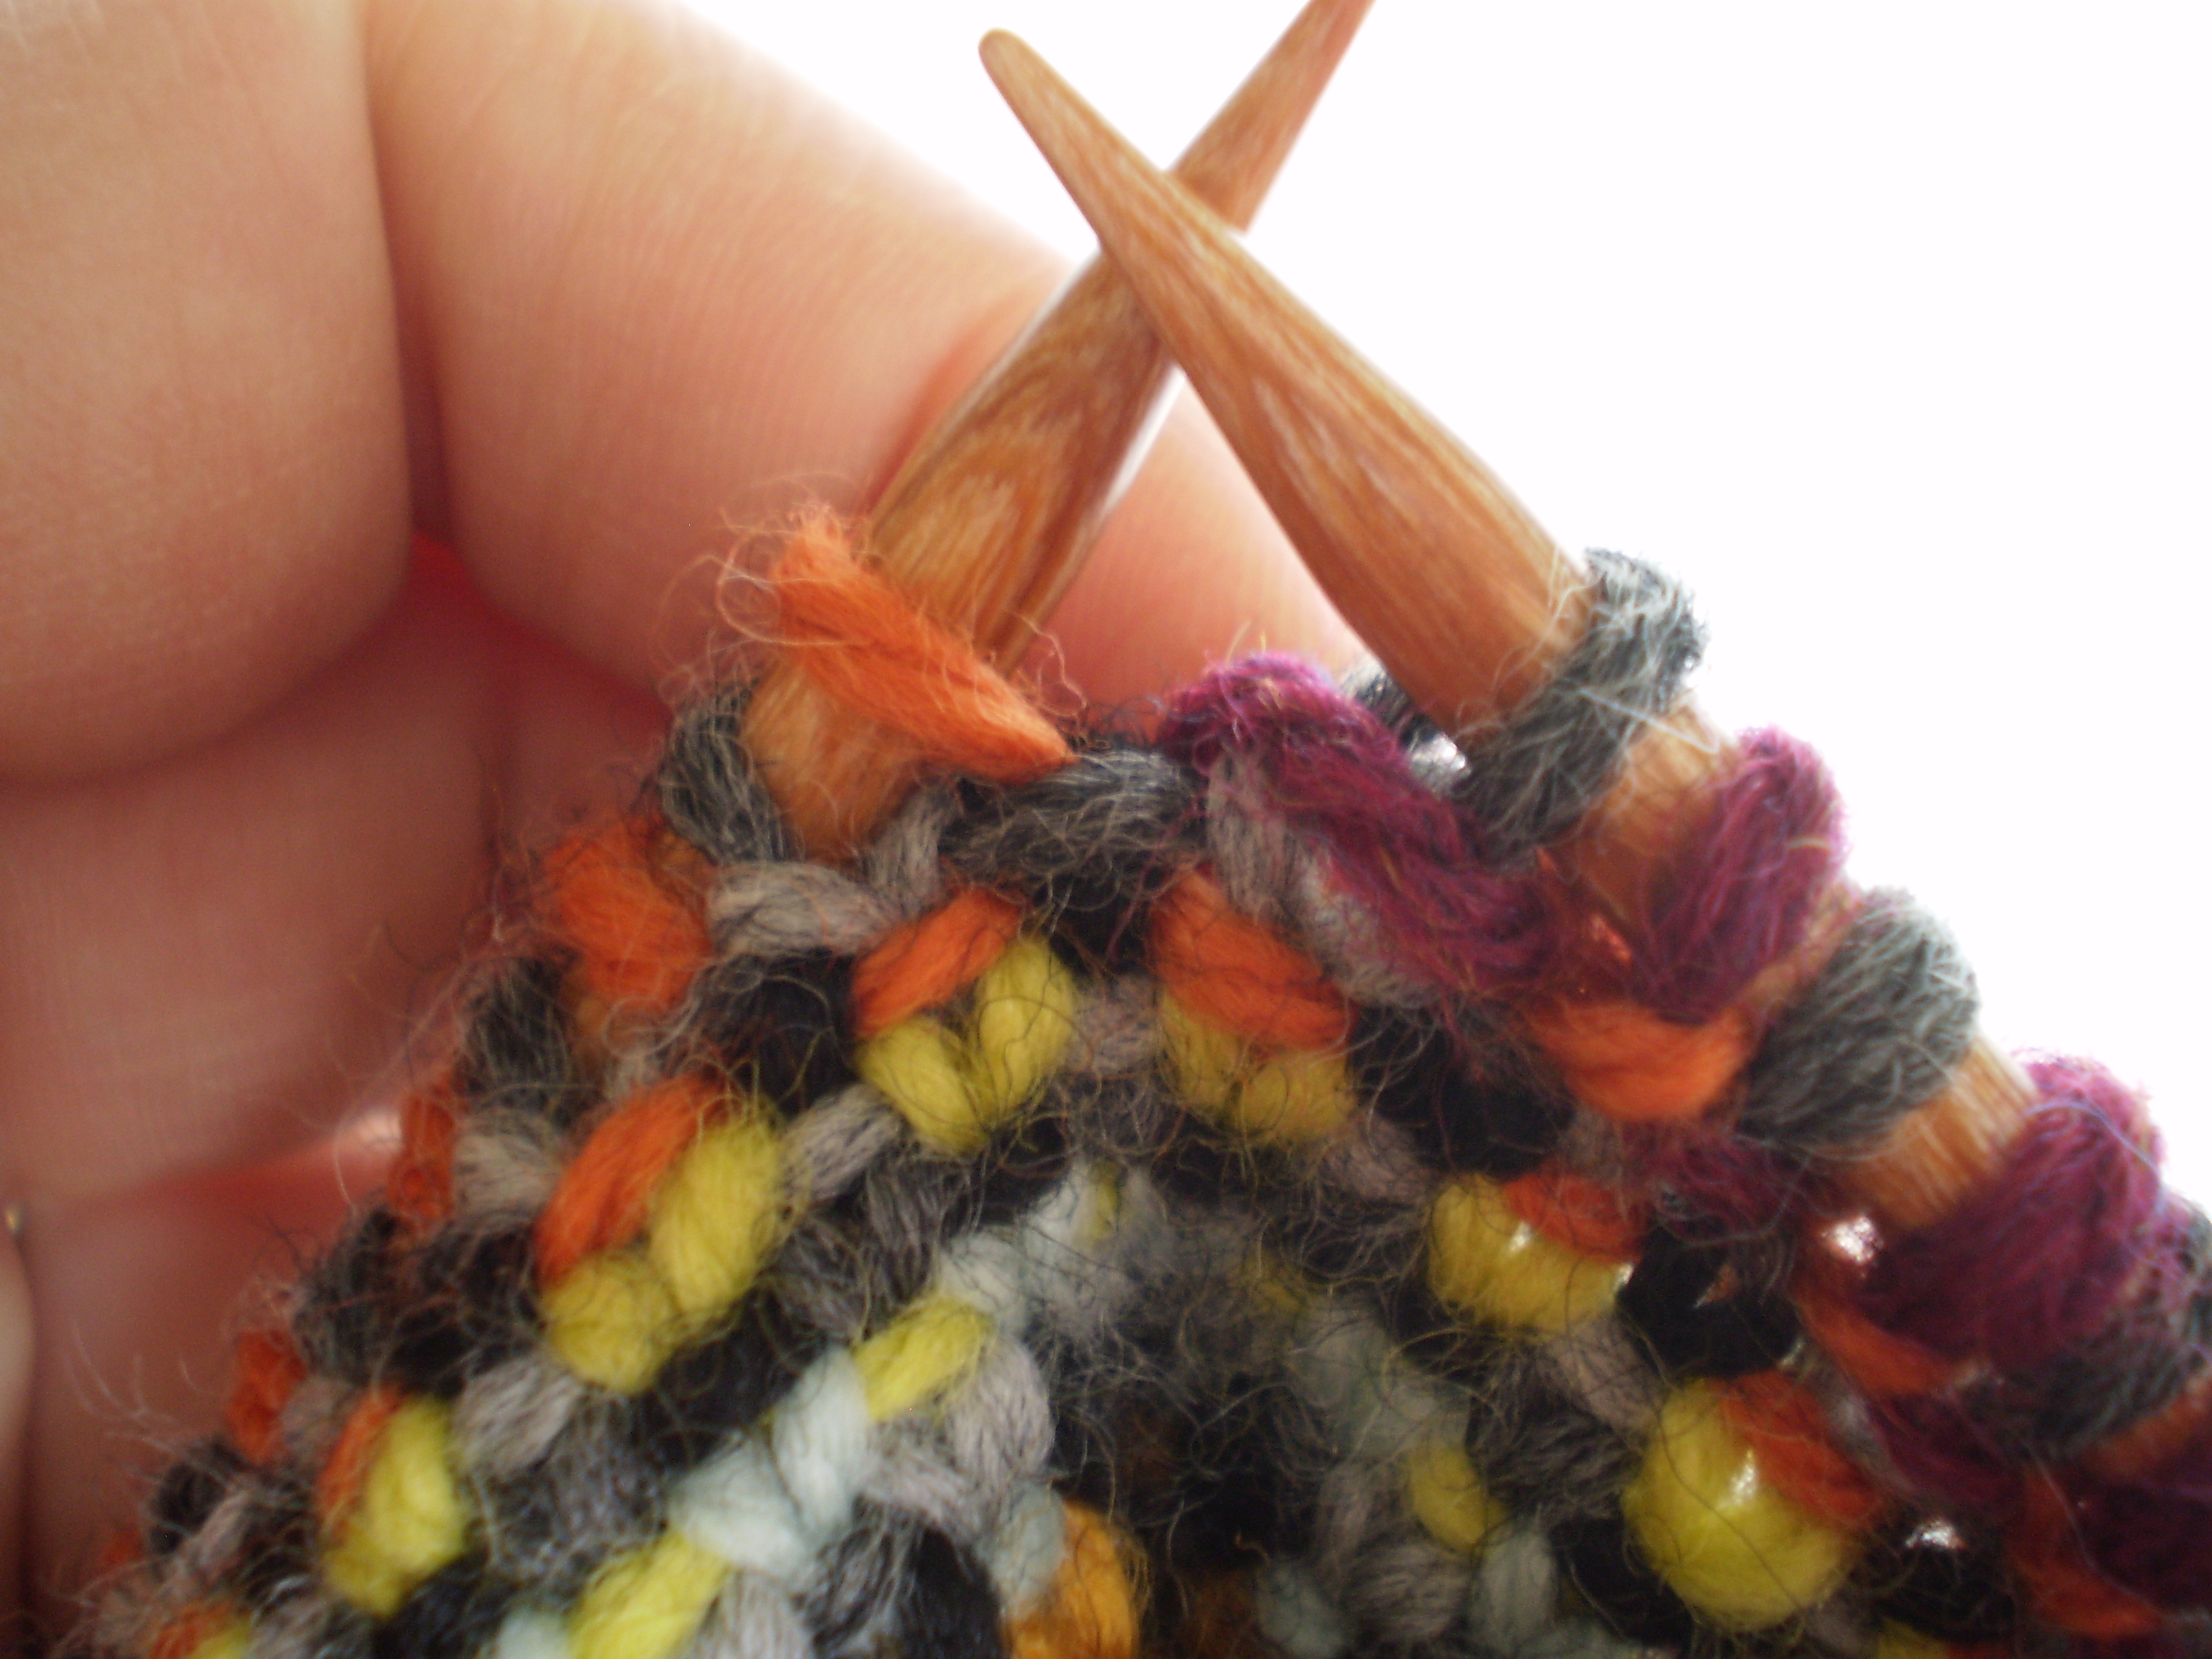 Once you finish your row, flip your knitting to work back and forth. Start this row with your yarn in front.
 Purl 1.
 Bring the yarn back, between your needles.
 Slip 1 stitch.
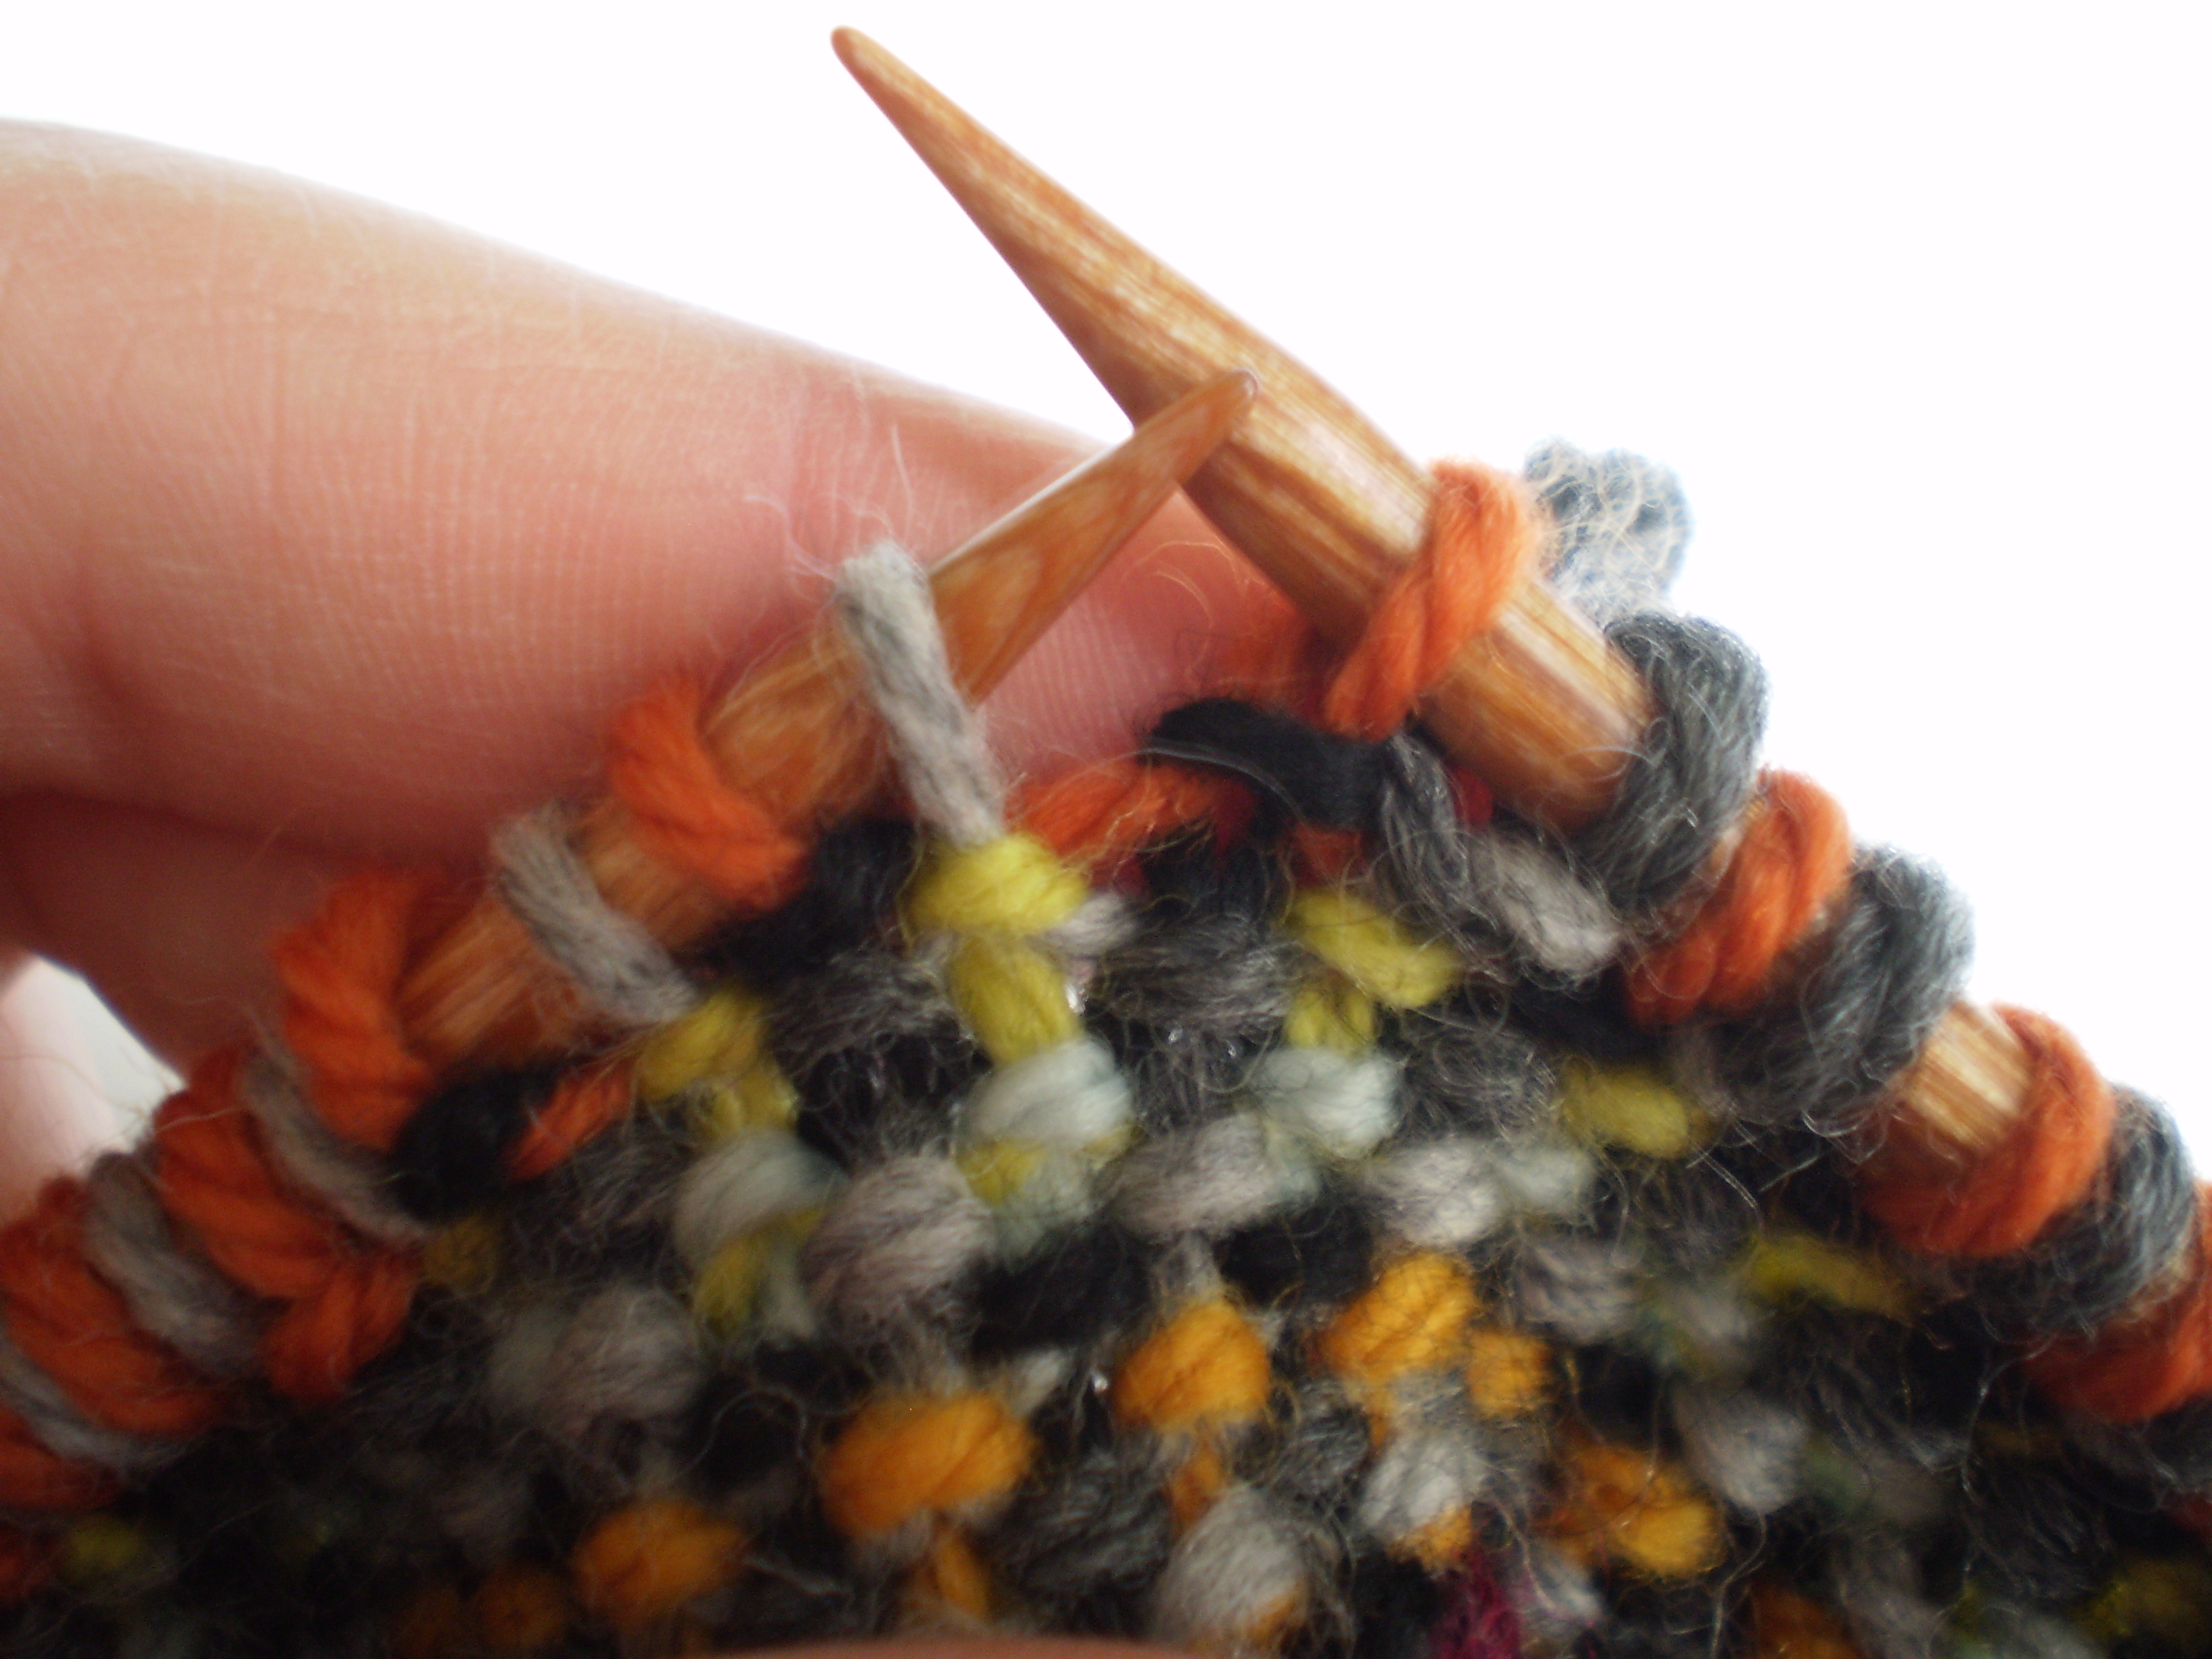 Bring the yarn in front again, and keep repeating until you reach the end.After a while, your right side will start to look like this (which people say looks like woven fabric. I don’t know if I agree with that, but it does look cool.)
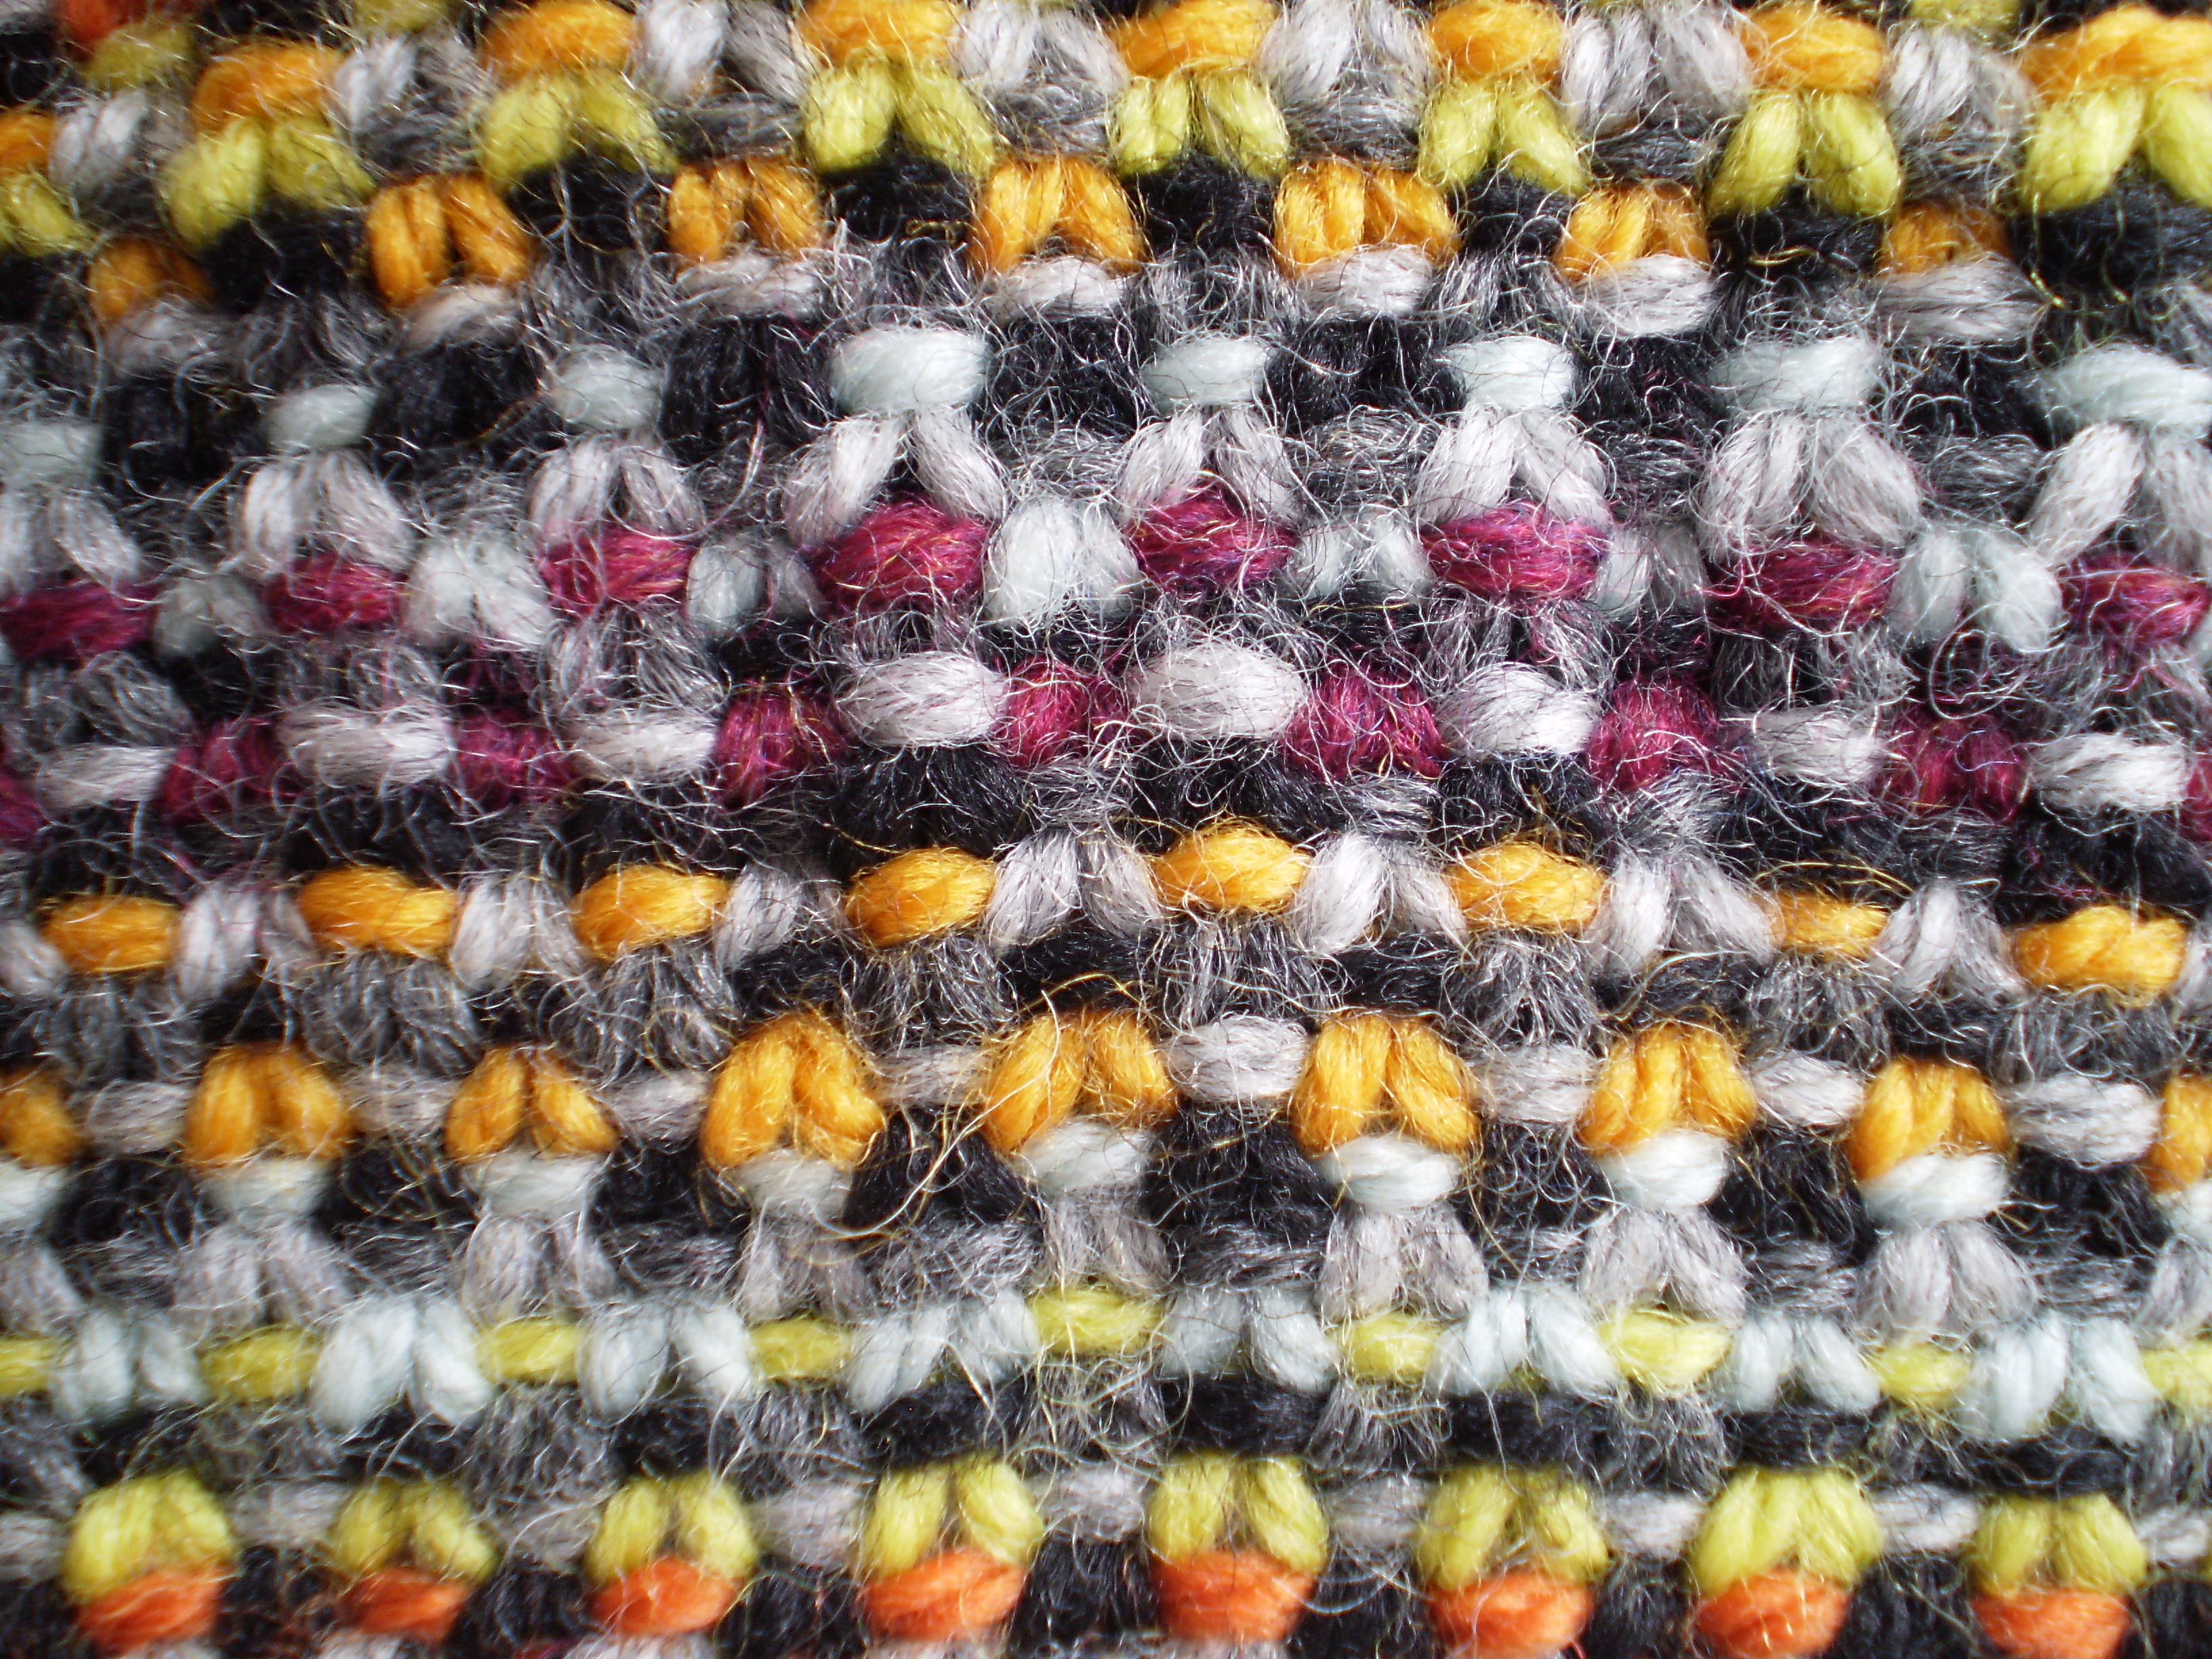 And your wrong side will look all cool and bumpy and textured. I almost like it more than the right side.
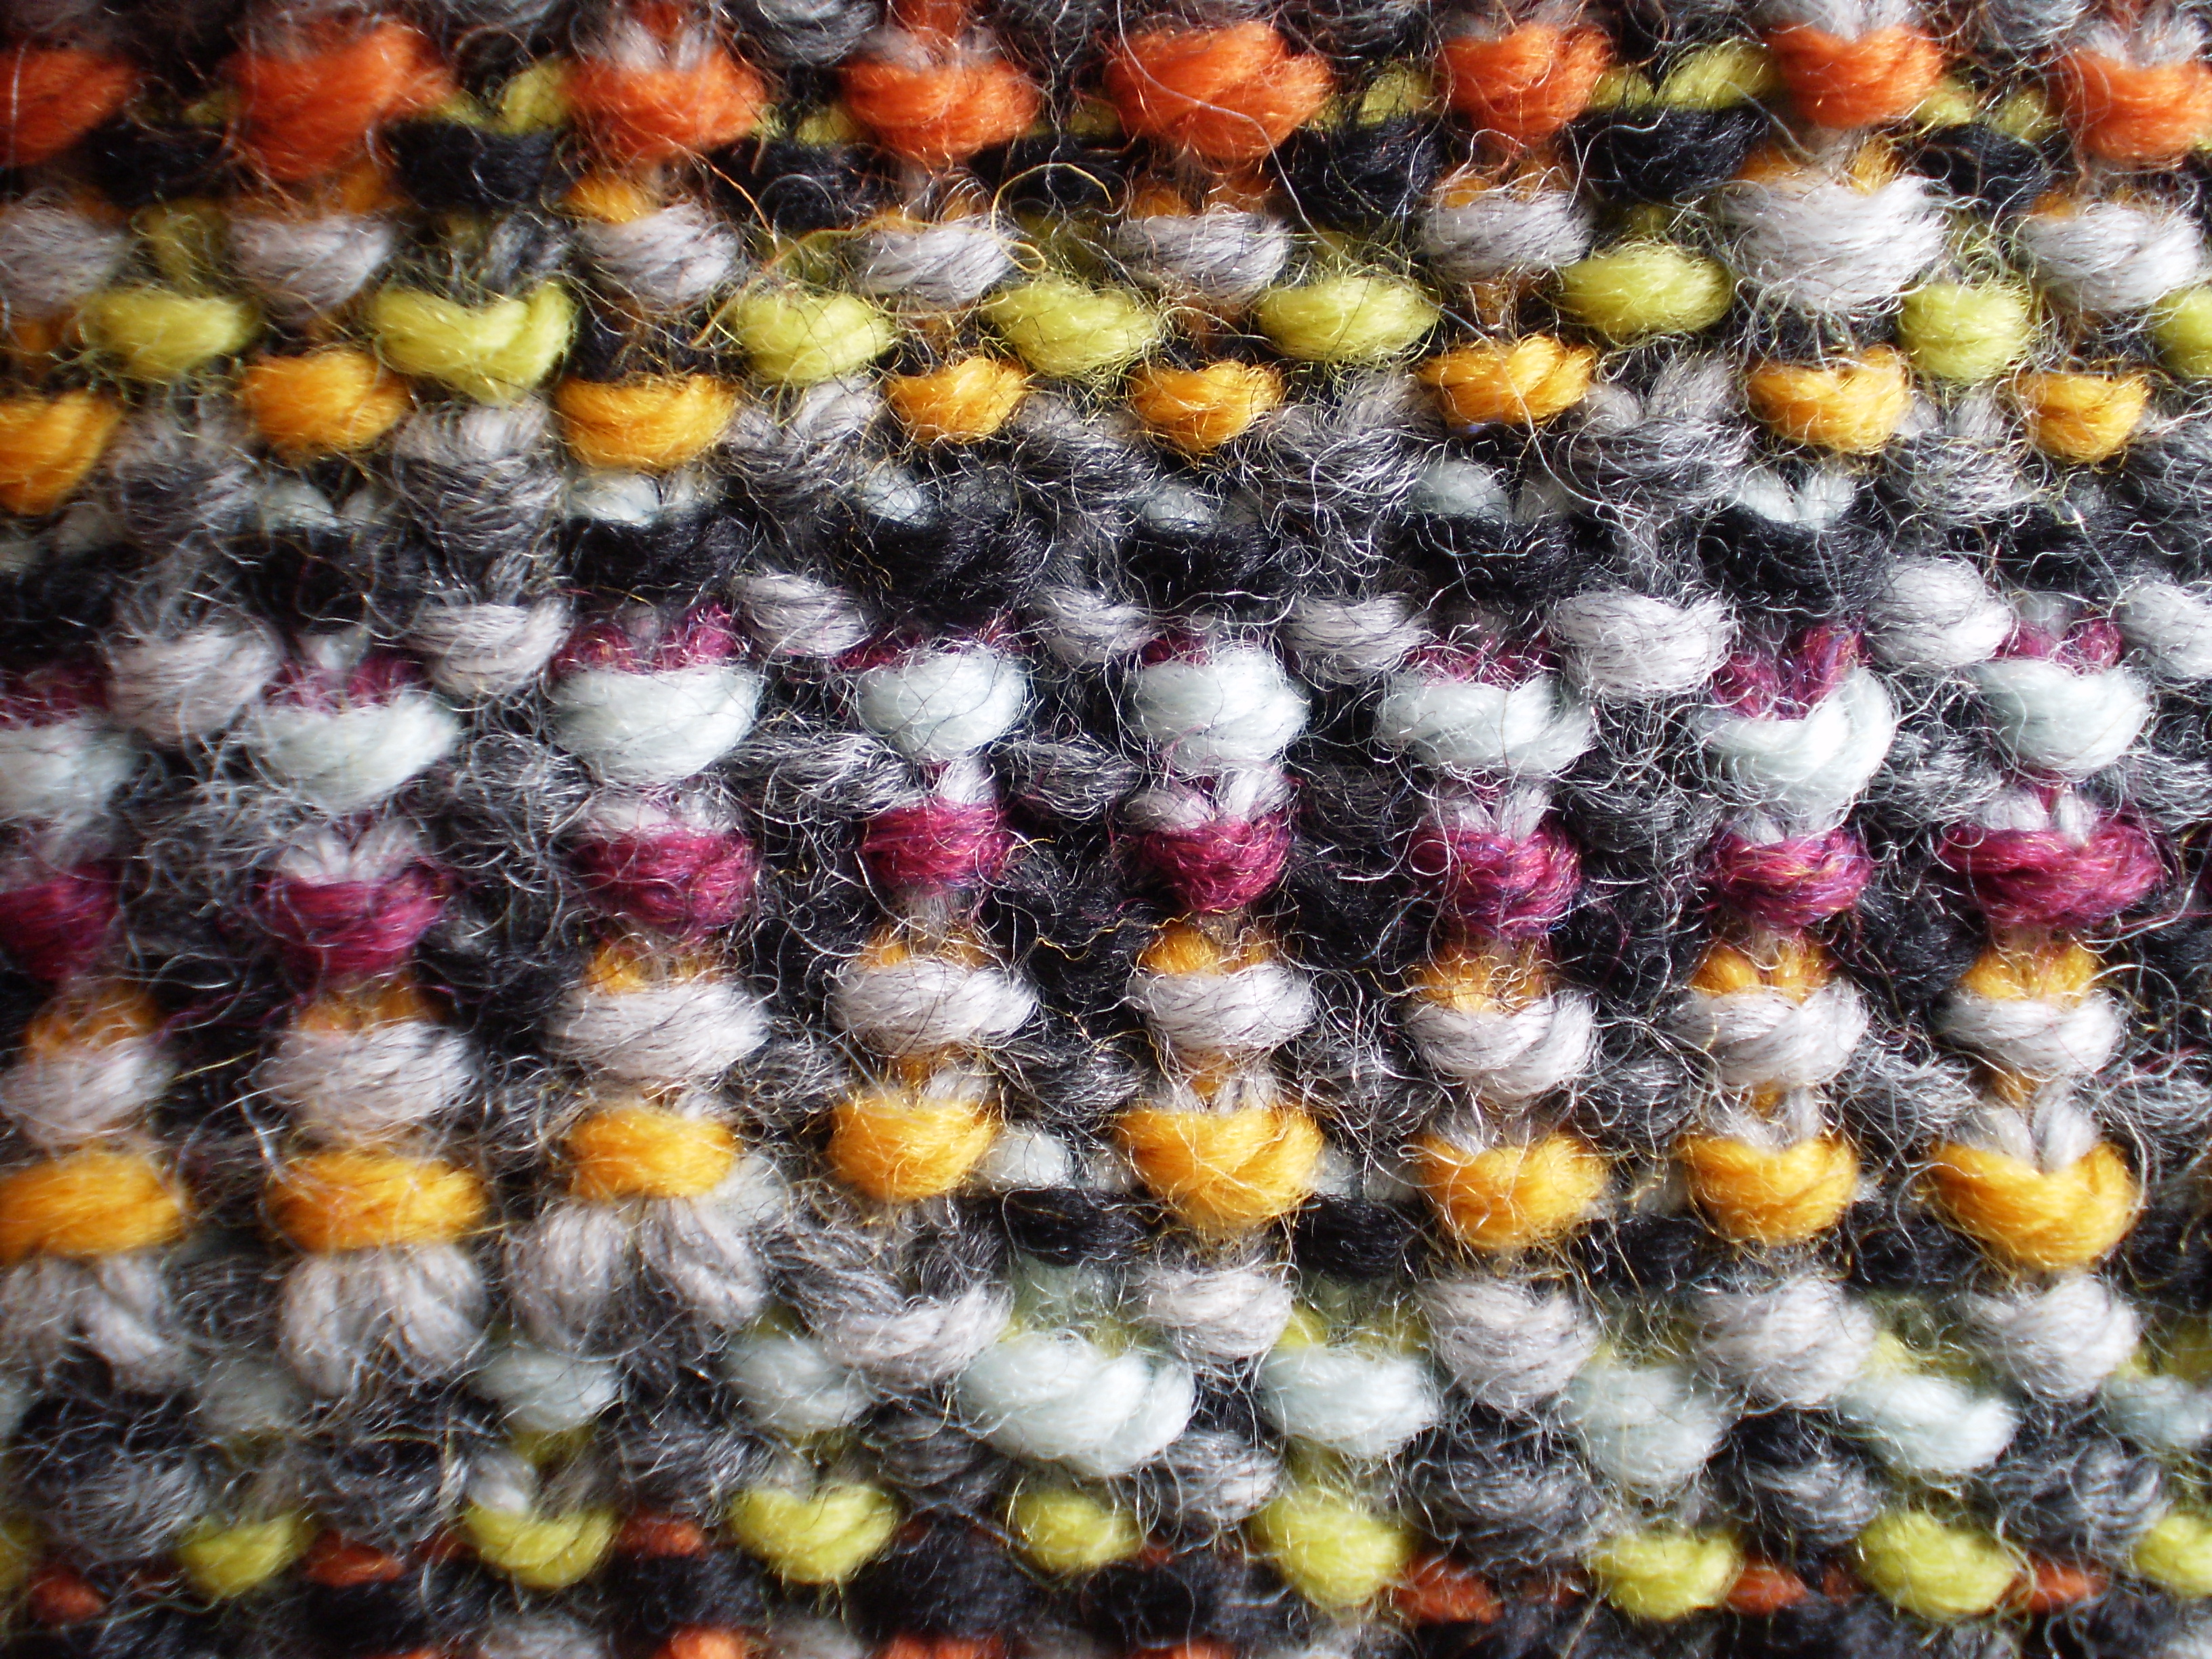 I’ve made these samples using a different, random color each row, but the linen stitch looks great in one color, knit with variegated yarn or using two or three repeating colors. The linen stitch is a great way to play with color mixing!
Have you ever used the linen stitch before? What did you make with it?
![linen_JJF_0108_medium[1]](https://ontheneedles.com/wp-content/uploads/2015/03/linen_jjf_0108_medium1.jpg)

![honey2_medium2[1]](https://ontheneedles.com/wp-content/uploads/2015/03/honey2_medium21.jpg)
![039_medium2[1]](https://ontheneedles.com/wp-content/uploads/2015/03/039_medium21.jpg)
![Linen_Stitch_Bag_medium2[1]](https://ontheneedles.com/wp-content/uploads/2015/03/linen_stitch_bag_medium21.jpg)
