Tag Archives: sewing

Ouch!

At my “day job” (which hardly even counts as a day job, because it’s too much fun), I spend several hours each afternoon hanging out with elementary schoolers and teaching them how to use a sewing machine.  It’s pretty rad.  I love talking with them (they’re seriously goofy), and helping them figure out new skills.  The best part is when they finish a project they are really proud of, and they go around, showing each other their awesome projects (I had a girl finish an owl-shaped backpack a month ago, and she’s so proud, she wears it to class each week).

But, it’s not all sunshine and rainbows in sewing class.  When you have more than a dozen 6- to 11-year-olds, sometimes things go wrong, especially with real-life sewing machines, scissors, pins and needles.  Each week, we get a couple kids who poke themselves while pinning something and need a band-aid.  Sometimes an especially tiny 6-year-old tries to carry their sewing machine and drops it on her toe.  And I’ve even had a couple kids sew through their fingers with the sewing machine, while they weren’t paying attention.  (I know… horrifying!  They’re both OK now, though.  Pro tip… always watch where your fingers go when you’re using a sewing machine.)

But usually, I manage to keep myself relatively injury-free.  Sure, I poke myself with pins as much as the next person, but nothing bad, no scars or anything.

Until last week.

I reached into a bag of fabric which I thought was pin-free.  It was not.  The pin sliced a 1-inch gouge on the side of my right index finger.  There was blood.  It freaked out the kids.  I had to step up and be all “No big deal, kids.  It totally doesn’t hurt or anything.”  But, I really wanted to be swearing like a sailor.

OLYMPUS DIGITAL CAMERA
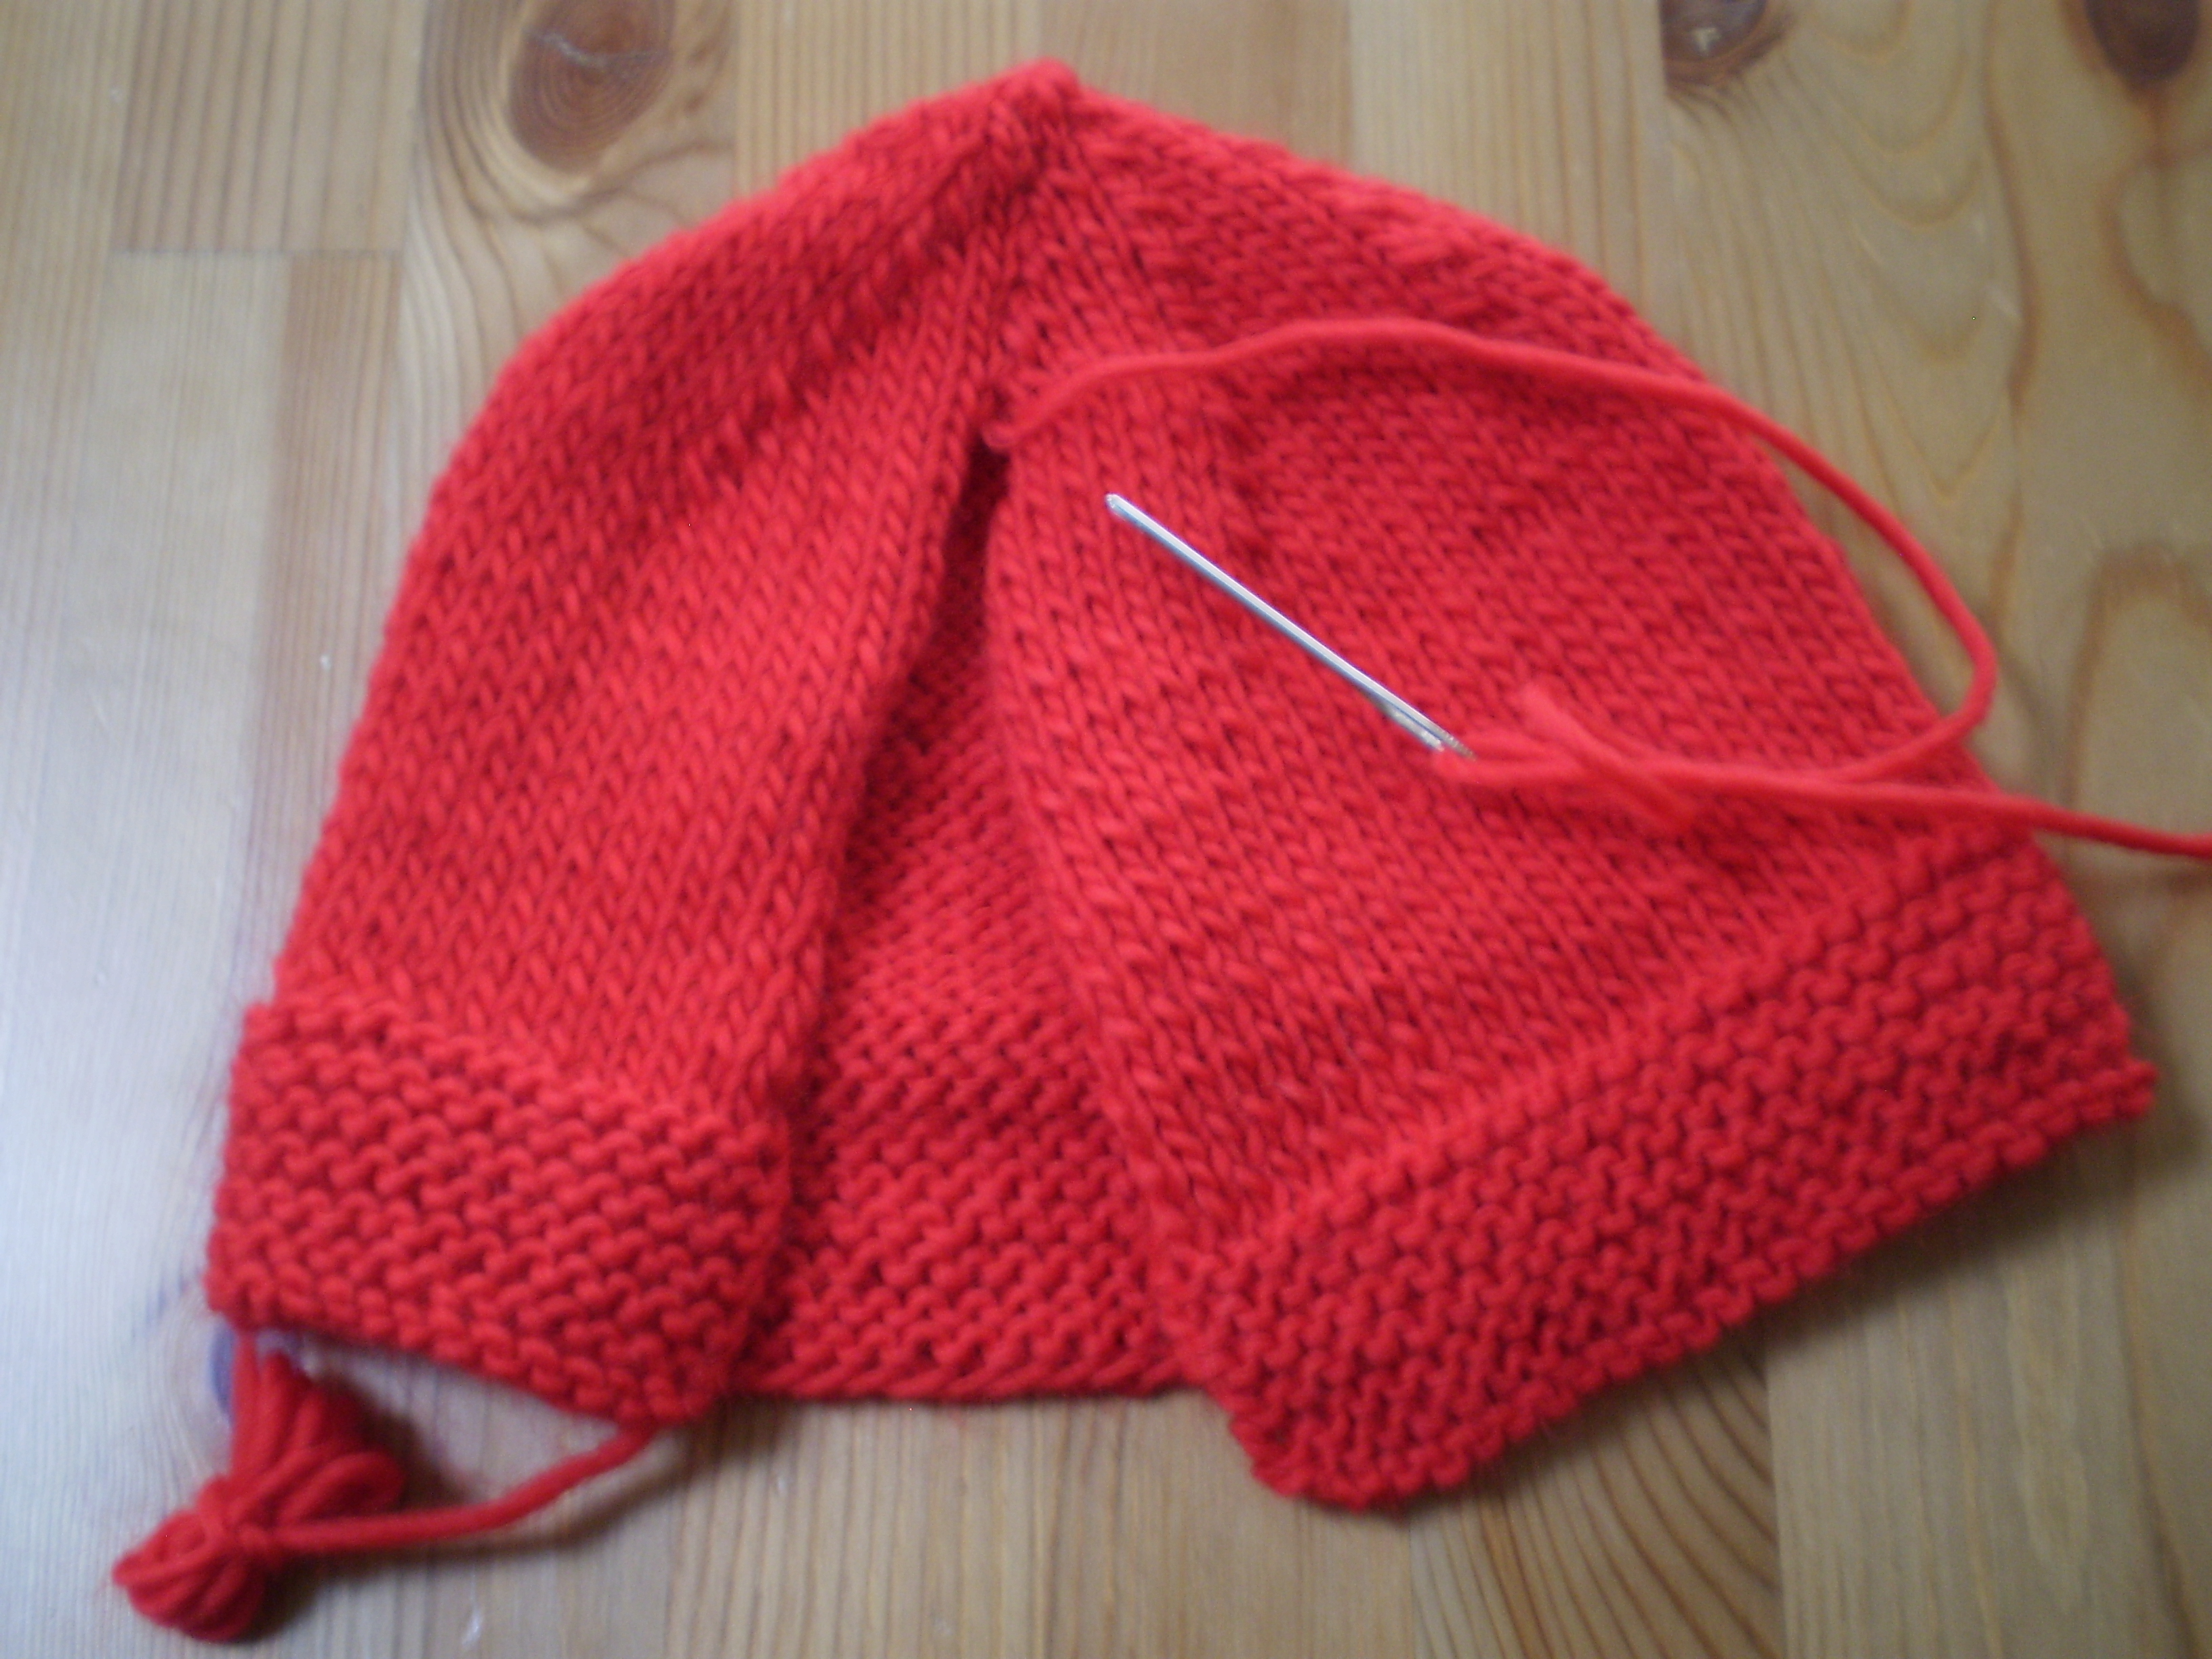
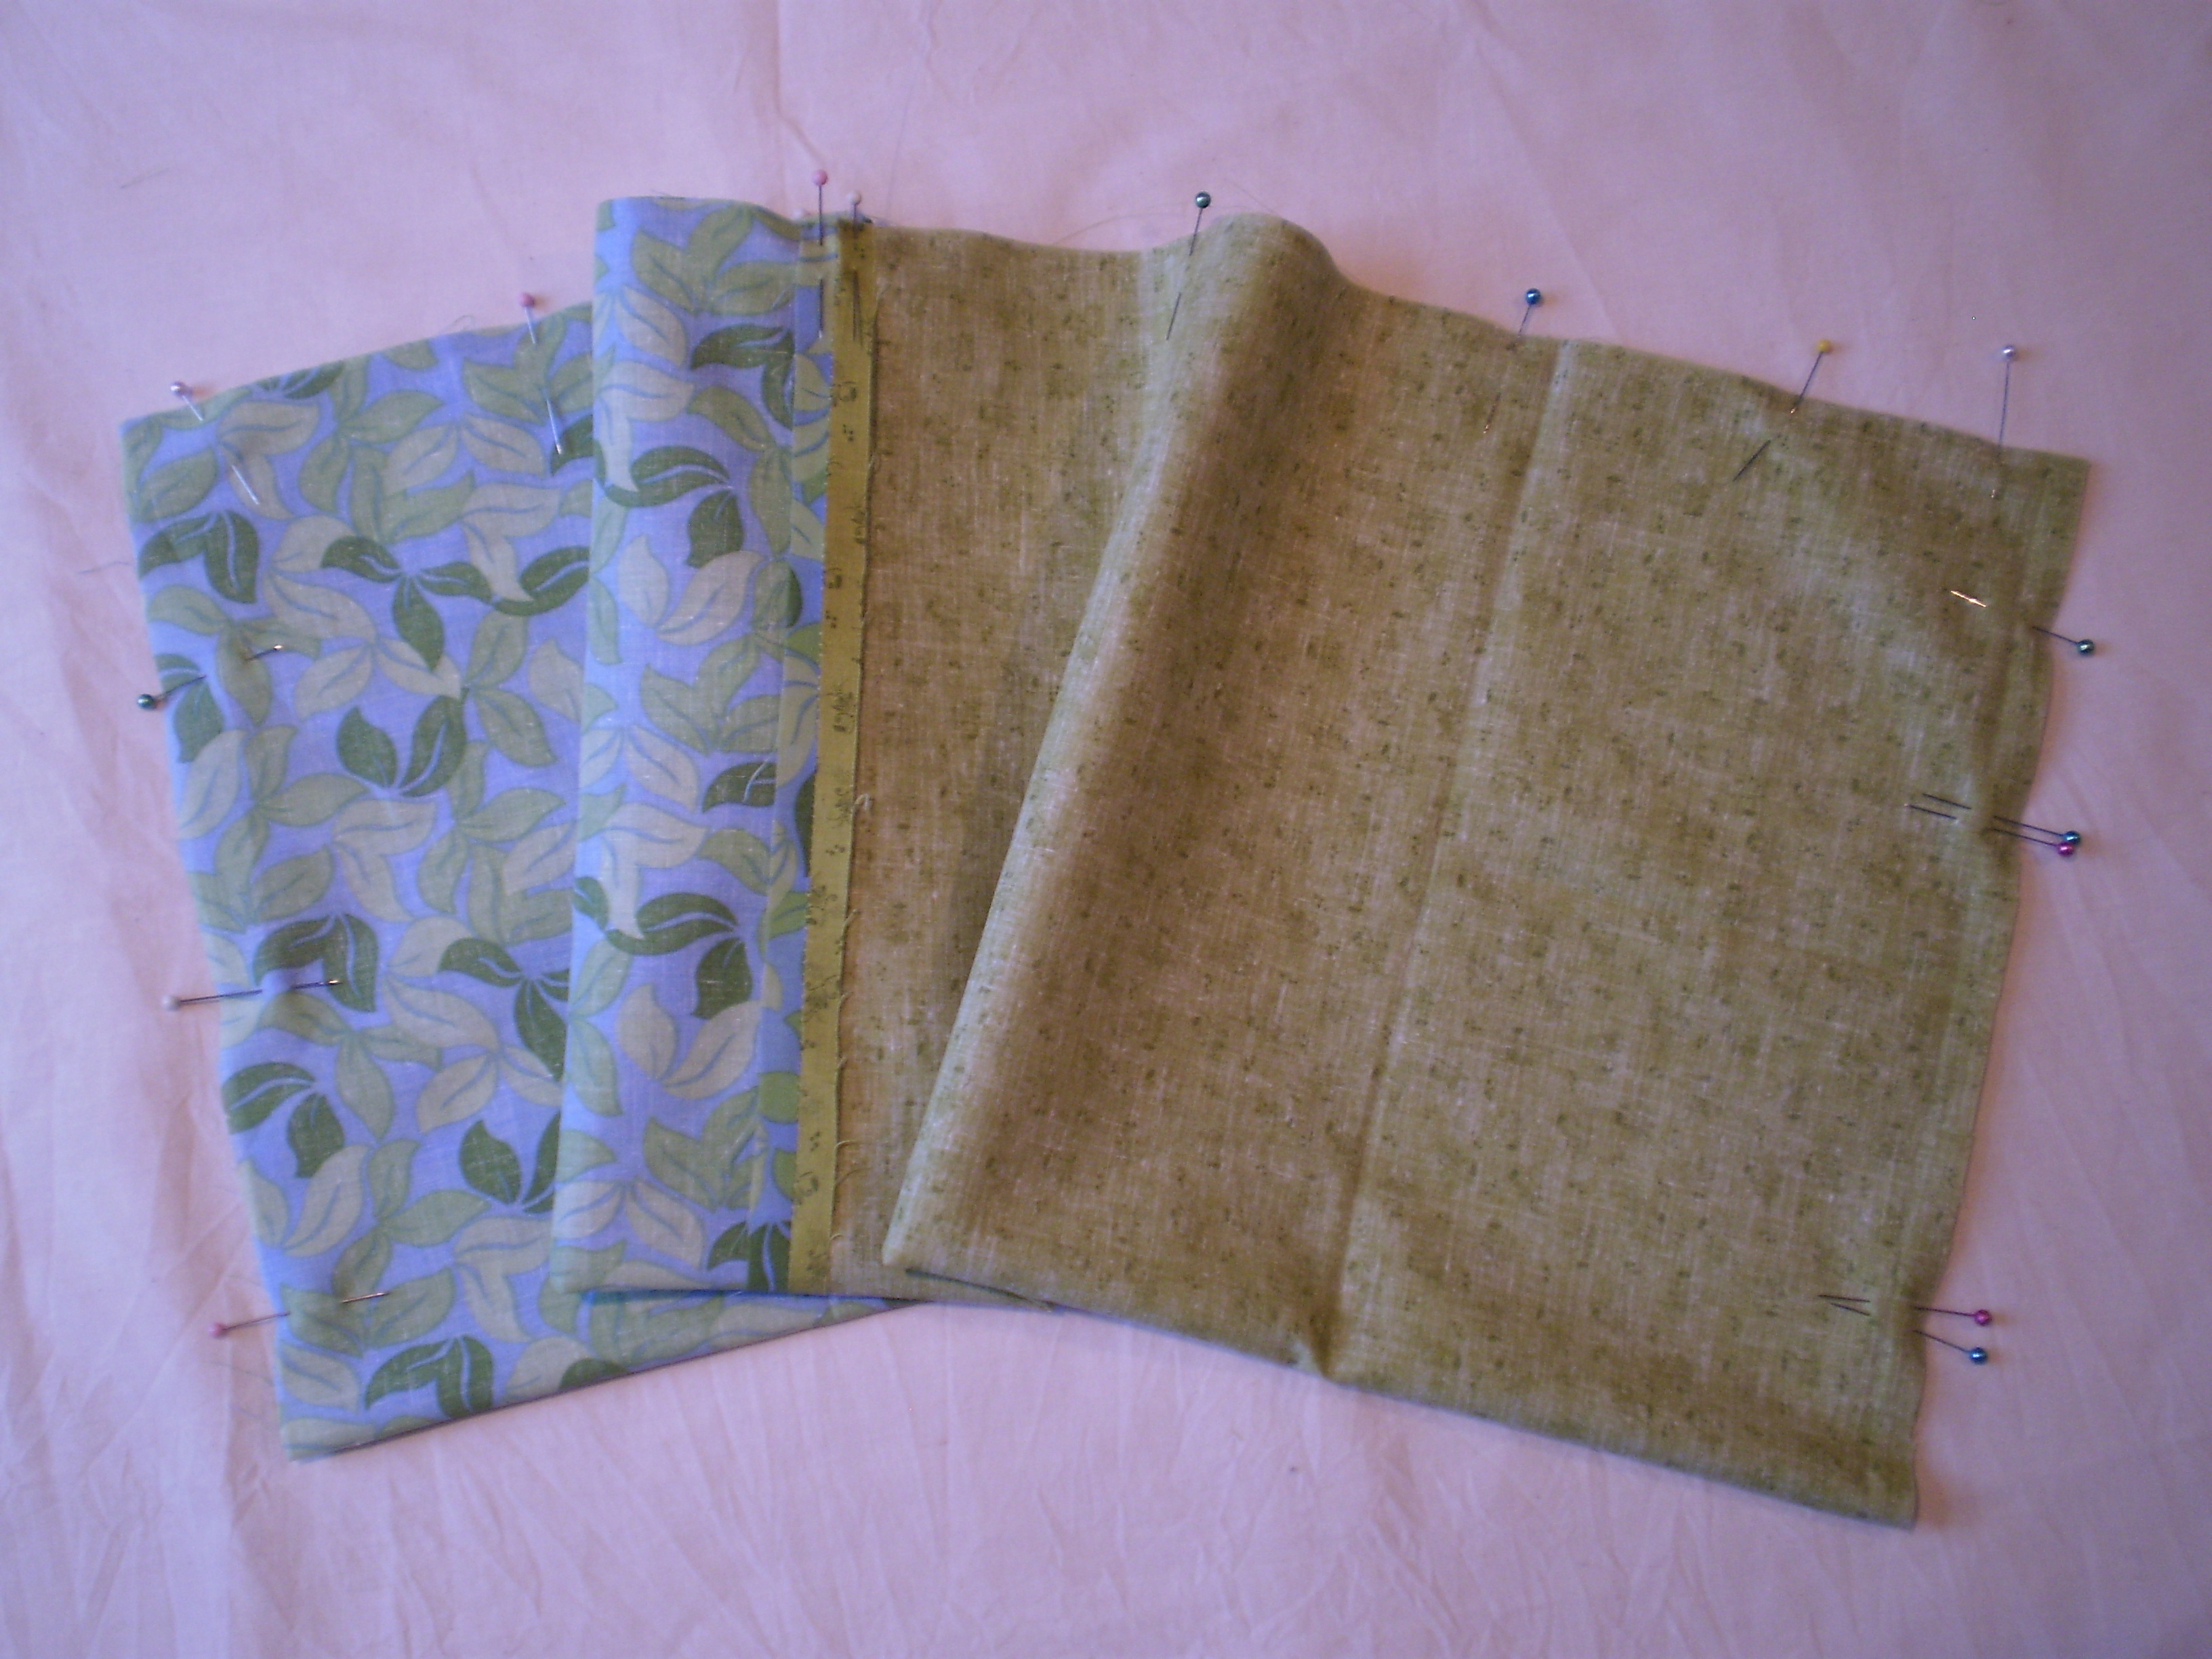
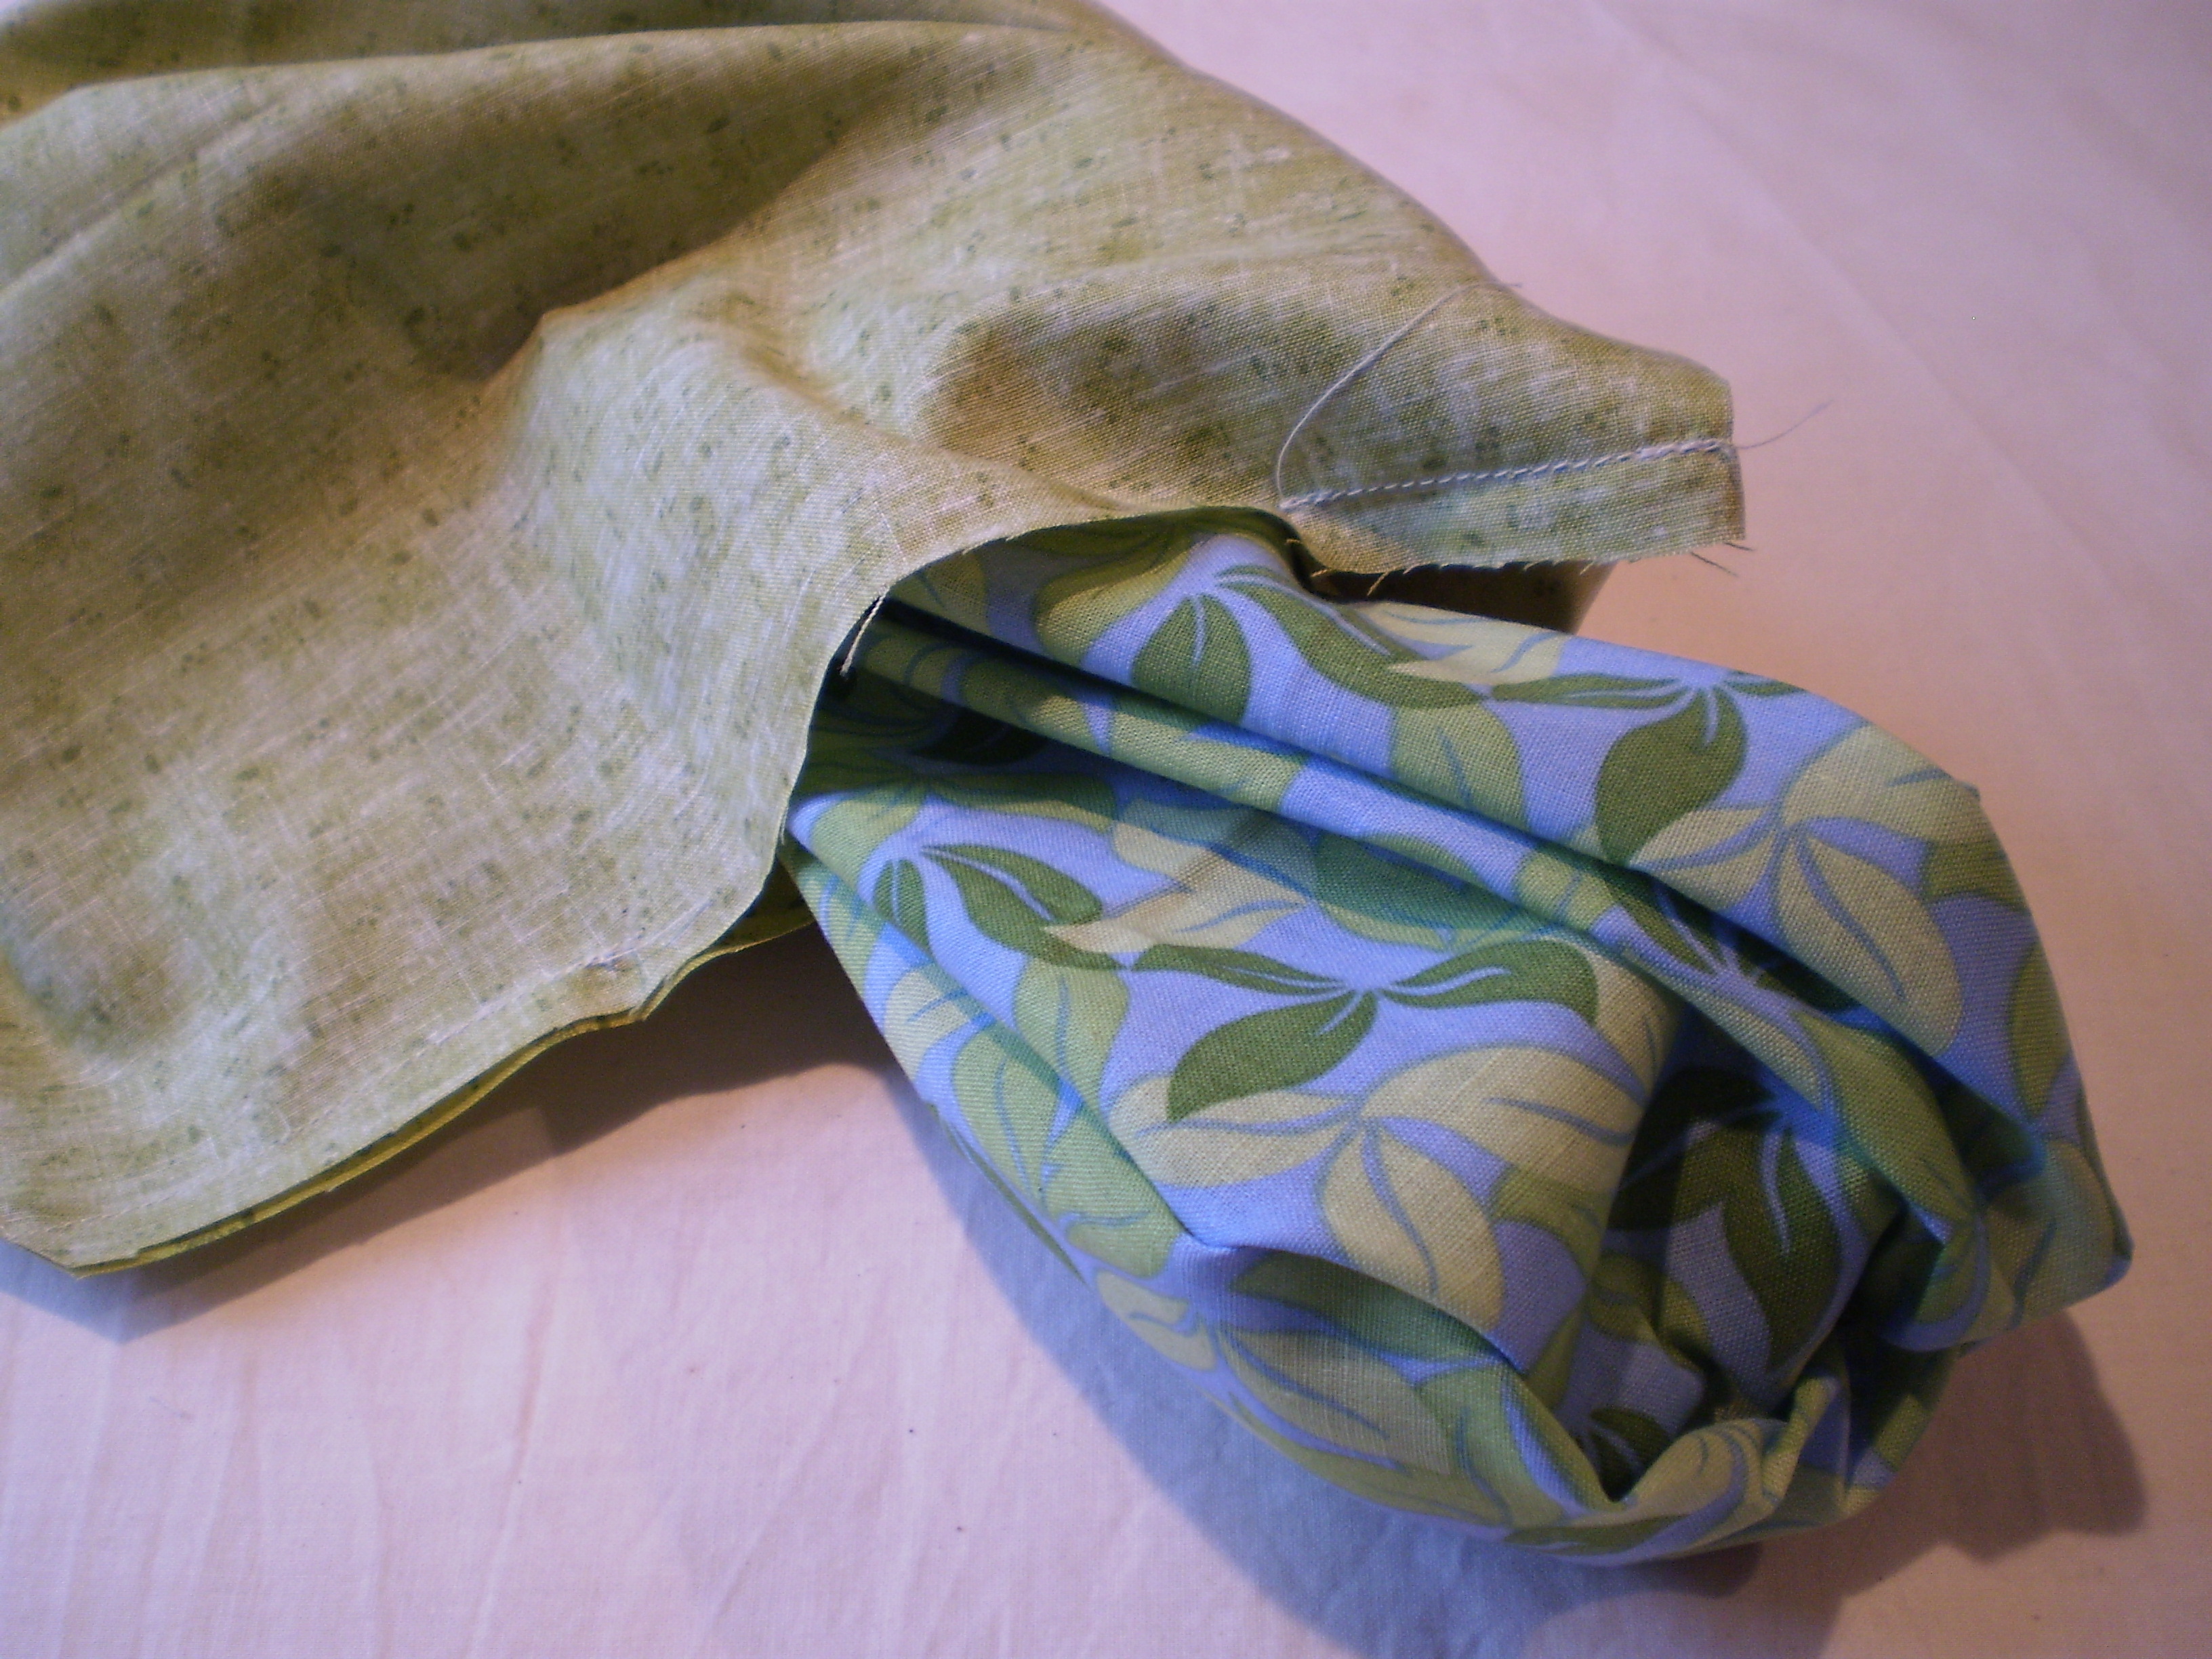
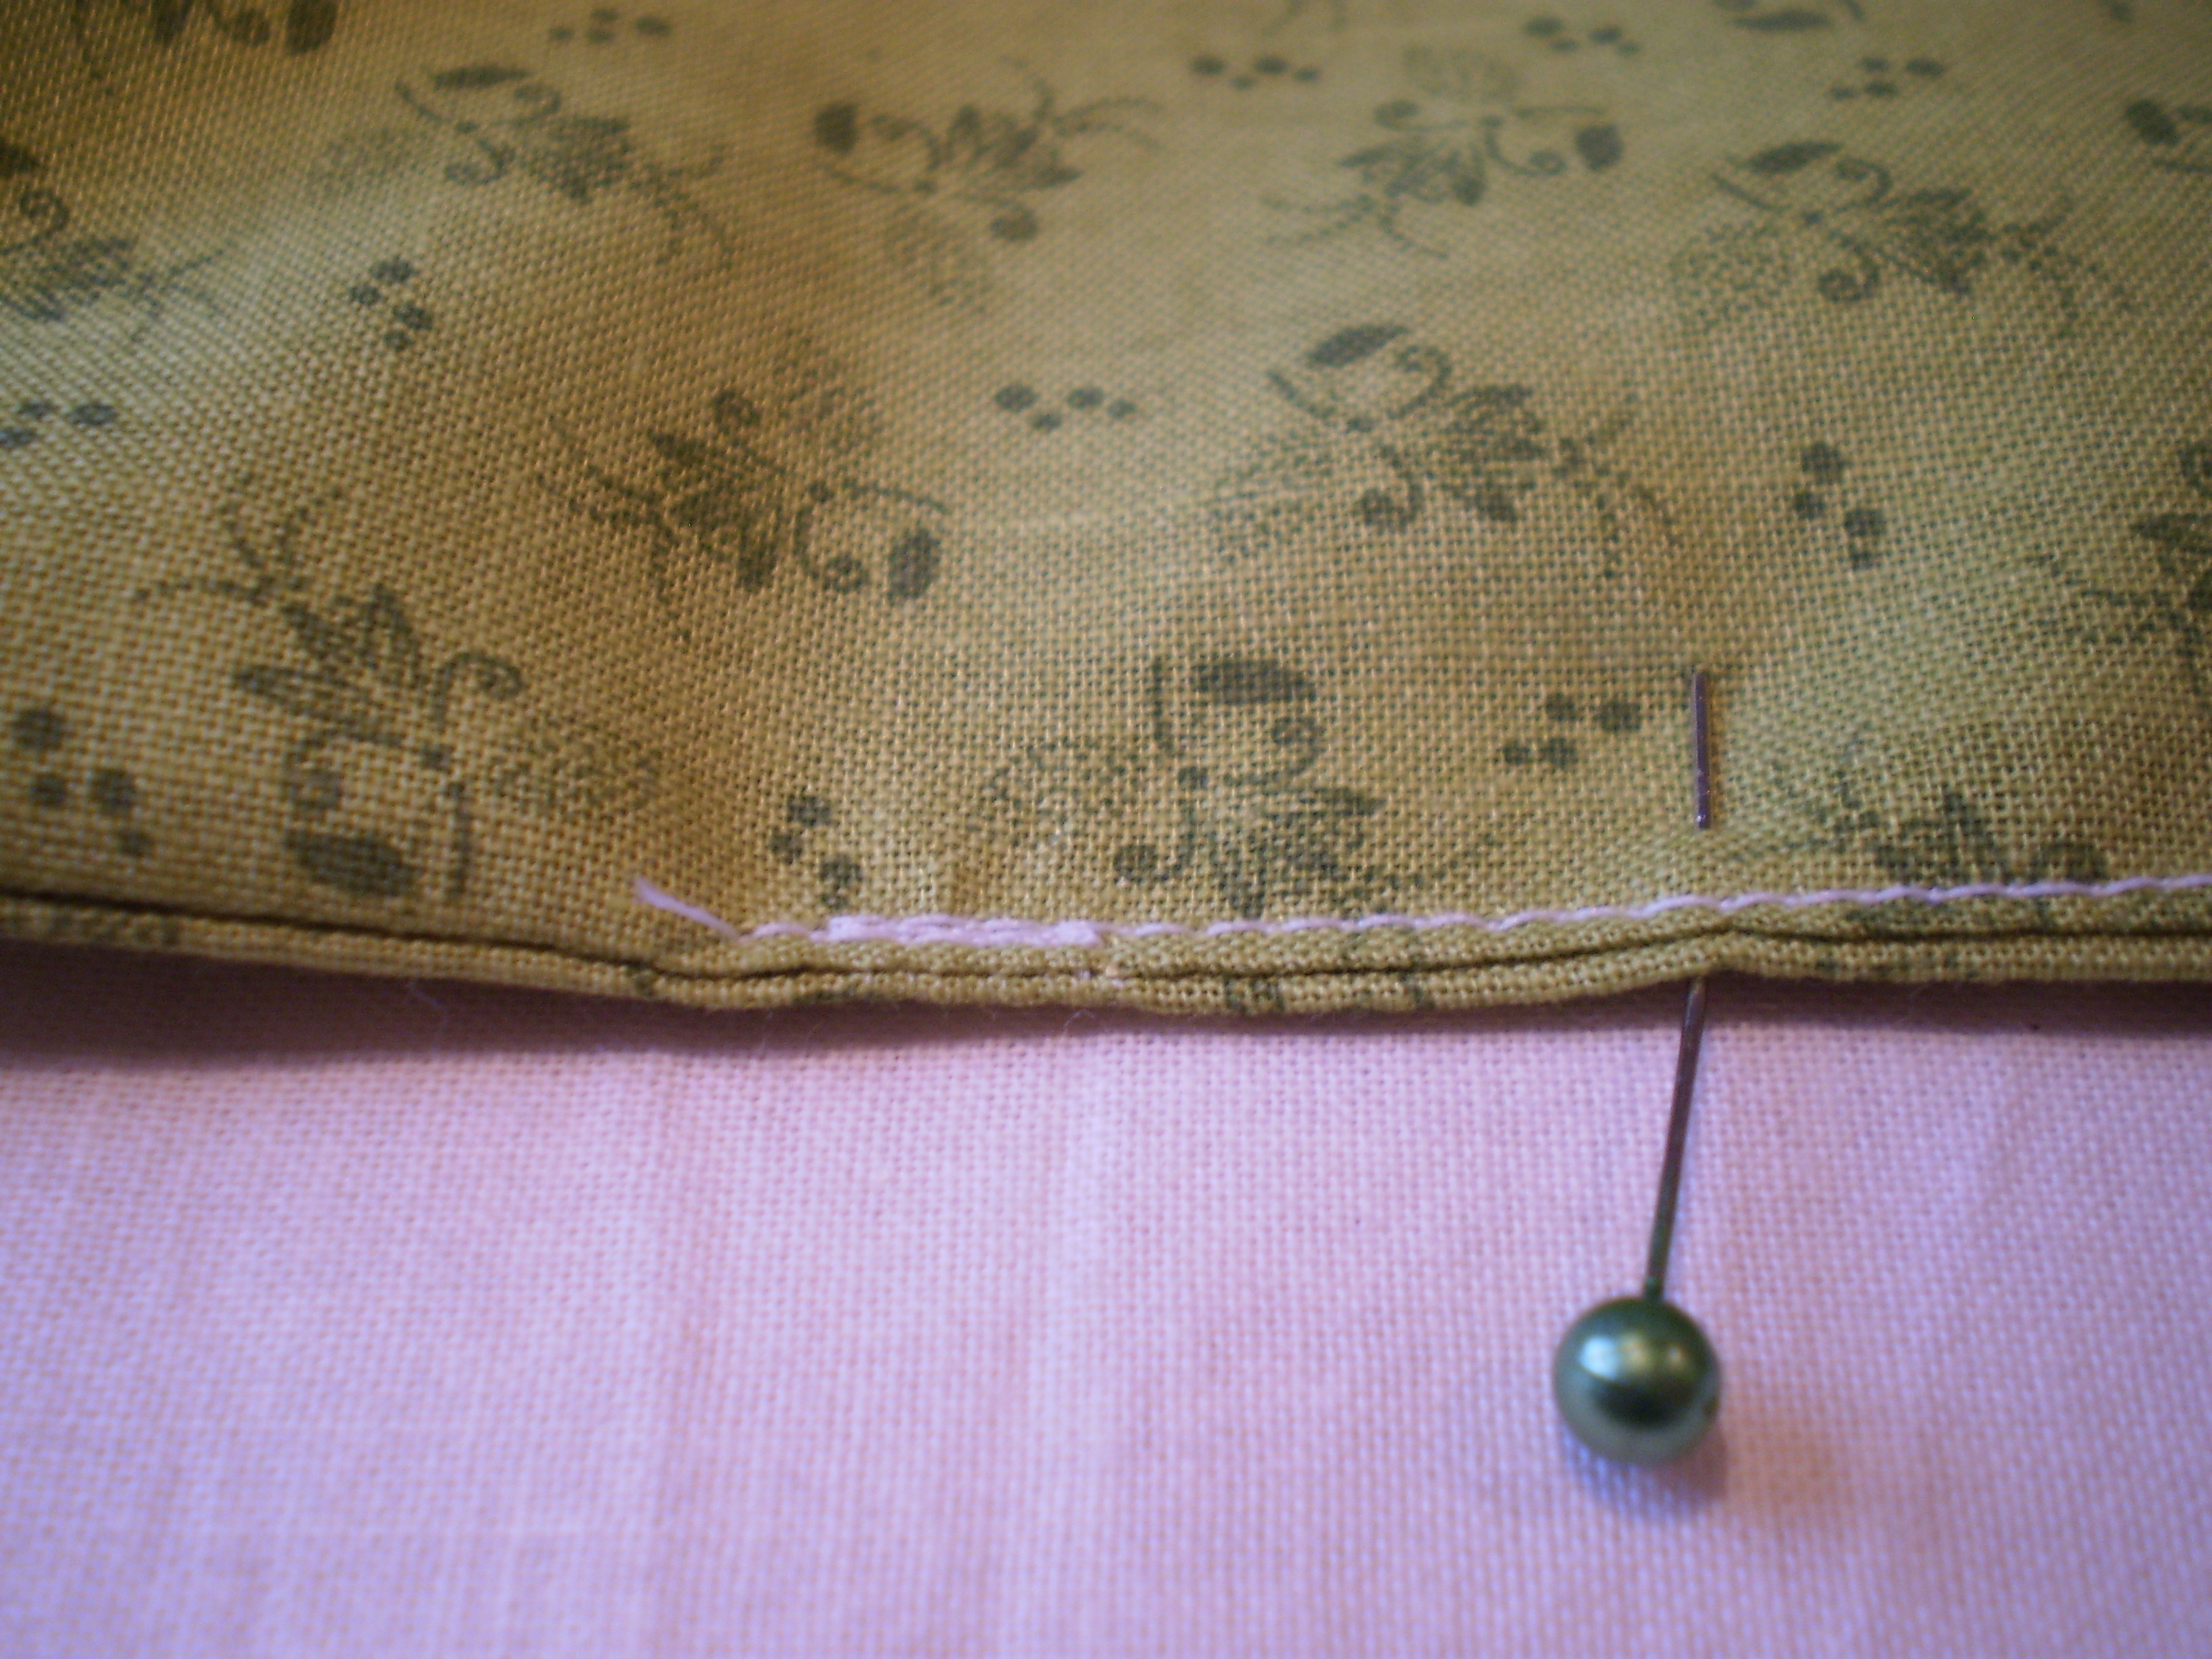
This cut is exactly where I wrap my yarn when I knit.  (No!!)  I had to forgo knitting for about a week, so I broke out a quilt that I started a while ago, and worked on that instead.  It went well.  I actually made quite a lot of progress on it.  And, my finger was healing up nicely.

Until… the needle slipped and I sliced my finger open again.  Same finger, same size injury, just shifted over about a half an inch.  (I was at home, with no little kids around, so I swore loudly this time.)

So, I’m still on knitting bedrest, until my finger heals.  And, I’ve got to say, it’s not super fun.  I’ve still got that quilt to work on, but I’m itching to get back to my husband’s sweater, and a couple other projects I’ve been neglecting.  If only it didn’t hurt so much to knit…

What do you do when you can’t knit?

(And, don’t forget to put your name in the hat for a copy of the Knit Picks Spring 2015 Collection!  You have until Wednesday morning!)

DIY DPN Holder

Here’s a neat idea from blogger the Good Weekly.  DIY felt DPN (double-pointed needle) cases.  How cute are they?  If I had a million hours to do all the cute stuff I found online, I would be a happy camper.  But this project… I might just do, even though I don’t have a million hours.

holder_group-810x537[1]Go visit the Good Weekly to see their super simple tutorial.

knit_holder[1]

n00b Hat, Part 5: Finishing

You’re so close to finishing your hat, I can smell it.  (Or maybe that’s the spiced apple cider heating up on my stove…mmm, I love fall.) In fact, you are totally done with your knitting, and all that’s left is to do your finishing.  In this case, that means sewing up the seam along the back of the hat, so that it ends up… well… hat-shaped.

Start out by cutting your working yarn, leaving a good 18-inch tail on your project.  Thread this tail onto your tapestry needle.

OLYMPUS DIGITAL CAMERAThen, turn your hat over, so that you can see the purl side facing up.  Carefully use your tapestry needle to thread your tail from the left, through  the 8 remaining stitches.

OLYMPUS DIGITAL CAMERAOnce you have your last stitches safely contained on your tail, you can remove your knitting needle (So long, knitting needle!) and pull the tail snug.  This makes a nice little rosette-dealy at the top of your hat. See?

OLYMPUS DIGITAL CAMERANow, sew the two edges of your knitting together, using your yarn tail.  I like to use a mattress stitch, but feel free to use whatever you are most comfortable with (whip stitch will also work well).  Try to make your seam as neat as possible, but don’t worry too much (since the seam is worked with the same yarn as the rest of the hat, even messy stitching won’t show up too much).

OLYMPUS DIGITAL CAMERAWhen you’ve finished sewing up the hat, it should look like this.  Very hat-like.  (Hattish? Hat-esque?)

OLYMPUS DIGITAL CAMERASee how you still have those two pesky ends?  We have to do something with them (unless you like big hunks of yarn hanging down off your hat, I suppose).  So, turn your hat inside-out.  See the seam allowance that you made by sewing the two sides of your hat together?  Sew your yarn up through that for a couple inches.  (Throw in a knot or a securing stitch, if you want.) Then, cut your tails, leaving a 1-2 inches dangling inside the hat.

OLYMPUS DIGITAL CAMERAAnd that’s it!  You’re done!  You have a great knitted cap!  Congratulations!

If you have questions, please let me know, and I’ll be happy to help!

Fat Quarter Project Bag

Now that you know the important parts of your knitting kit, you might want to put one together for yourself.  Here’s a quick and easy pattern for a sewn project bag that you can put together in an afternoon or less.  I’ve used a sewing machine, but you could totally sew it by hand, if you don’t have access to a machine.  I’ve also used eyelets and an eyelet setter to make the holes for my draw string.  It’s not a terribly expensive tool, and I’ve used mine more than I ever expected to.  But, if you don’t want to invest in an eyelet setter, you can use your sewing machine to stitch button holes to thread your ribbon through.

Materials:

2 fat quarters in coordinating colors (available at fabric and quilting stores)

Coordinating thread

Sewing machine (or needle and thread if you like to kick it old school)

Eyelet setter

8 1/4 inch eyelets (8 fronts and 8 backs)

Ruler

Pencil

Iron (optional)

1 yard of ribbon or cord

  1. Iron the fat quarters and cut 3 inches off the long edge of each piece of fabric, and trim off the selvage edge.  Discard the small pieces, or use them to make tiny quilts for mice or something.OLYMPUS DIGITAL CAMERA
  2. Lay out the fat quarters, right sides in, and sew them along one long edge with a ½ inch seam allowance.OLYMPUS DIGITAL CAMERA
  3. Fold the fabric in half long ways (like a hot dog as my elementary art teacher said) and pin along the outside edge.  You’ll have your lining fabric pinned to itself, and your outside fabric pinned to itself.  Sew around the edge, leaving a ½ inch seam allowance.   Leave a  3 inch gap on the lining end.  You’ll need this gap to turn the project inside-out.OLYMPUS DIGITAL CAMERA
  4. Clip the corners, and turn the bag right-side out.OLYMPUS DIGITAL CAMERA
  5. Press the opening  so that the edges of the opening are flush with the seam on either side.  Stitch the opening closed.  OLYMPUS DIGITAL CAMERA
  6. Push the lining into the bag and press the whole thing, making it as neat as possible.  Make sure the seam between the lining and the outside fabric is even (this is the very top edge of the bag’s opening.OLYMPUS DIGITAL CAMERA
  7. Measure 2.5 inches from the top edge of the bag.  Evenly mark 4 points across this line on the front of the bag (front or back doesn’t really matter, but just put 4 points on one side… we’ll put the others on there later).  These points will be where you put in the grommets.OLYMPUS DIGITAL CAMERA
  8. Using the instructions that came with your eyelets, install the 4 eyelets on the front of the bag.OLYMPUS DIGITAL CAMERA
  9. Lay the bag flat, and mark where your eyelets fall on the back of the bag (just poke your pencil through the front of the bag).  This makes sure that your eyelets are evenly spaced around the whole bag.  Install the remaining 4 eyelets.OLYMPUS DIGITAL CAMERA
  10. Weave the ribbon through the grommets.OLYMPUS DIGITAL CAMERA

Done!  Now go fill it with knitting or other projects.  This bag is a good size for small to medium projects (1 or 2 skeins).  If you want a bigger project bag, start with bigger pieces of fabric, but use the same technique.    Because the bag is double-layered, even the pointiest needles won’t poke through, and it’s strong enough to keep your delicate yarn nice and clean and protected.OLYMPUS DIGITAL CAMERA