Now that you know the important parts of your knitting kit, you might want to put one together for yourself. Here’s a quick and easy pattern for a sewn project bag that you can put together in an afternoon or less. I’ve used a sewing machine, but you could totally sew it by hand, if you don’t have access to a machine. I’ve also used eyelets and an eyelet setter to make the holes for my draw string. It’s not a terribly expensive tool, and I’ve used mine more than I ever expected to. But, if you don’t want to invest in an eyelet setter, you can use your sewing machine to stitch button holes to thread your ribbon through.
Materials:
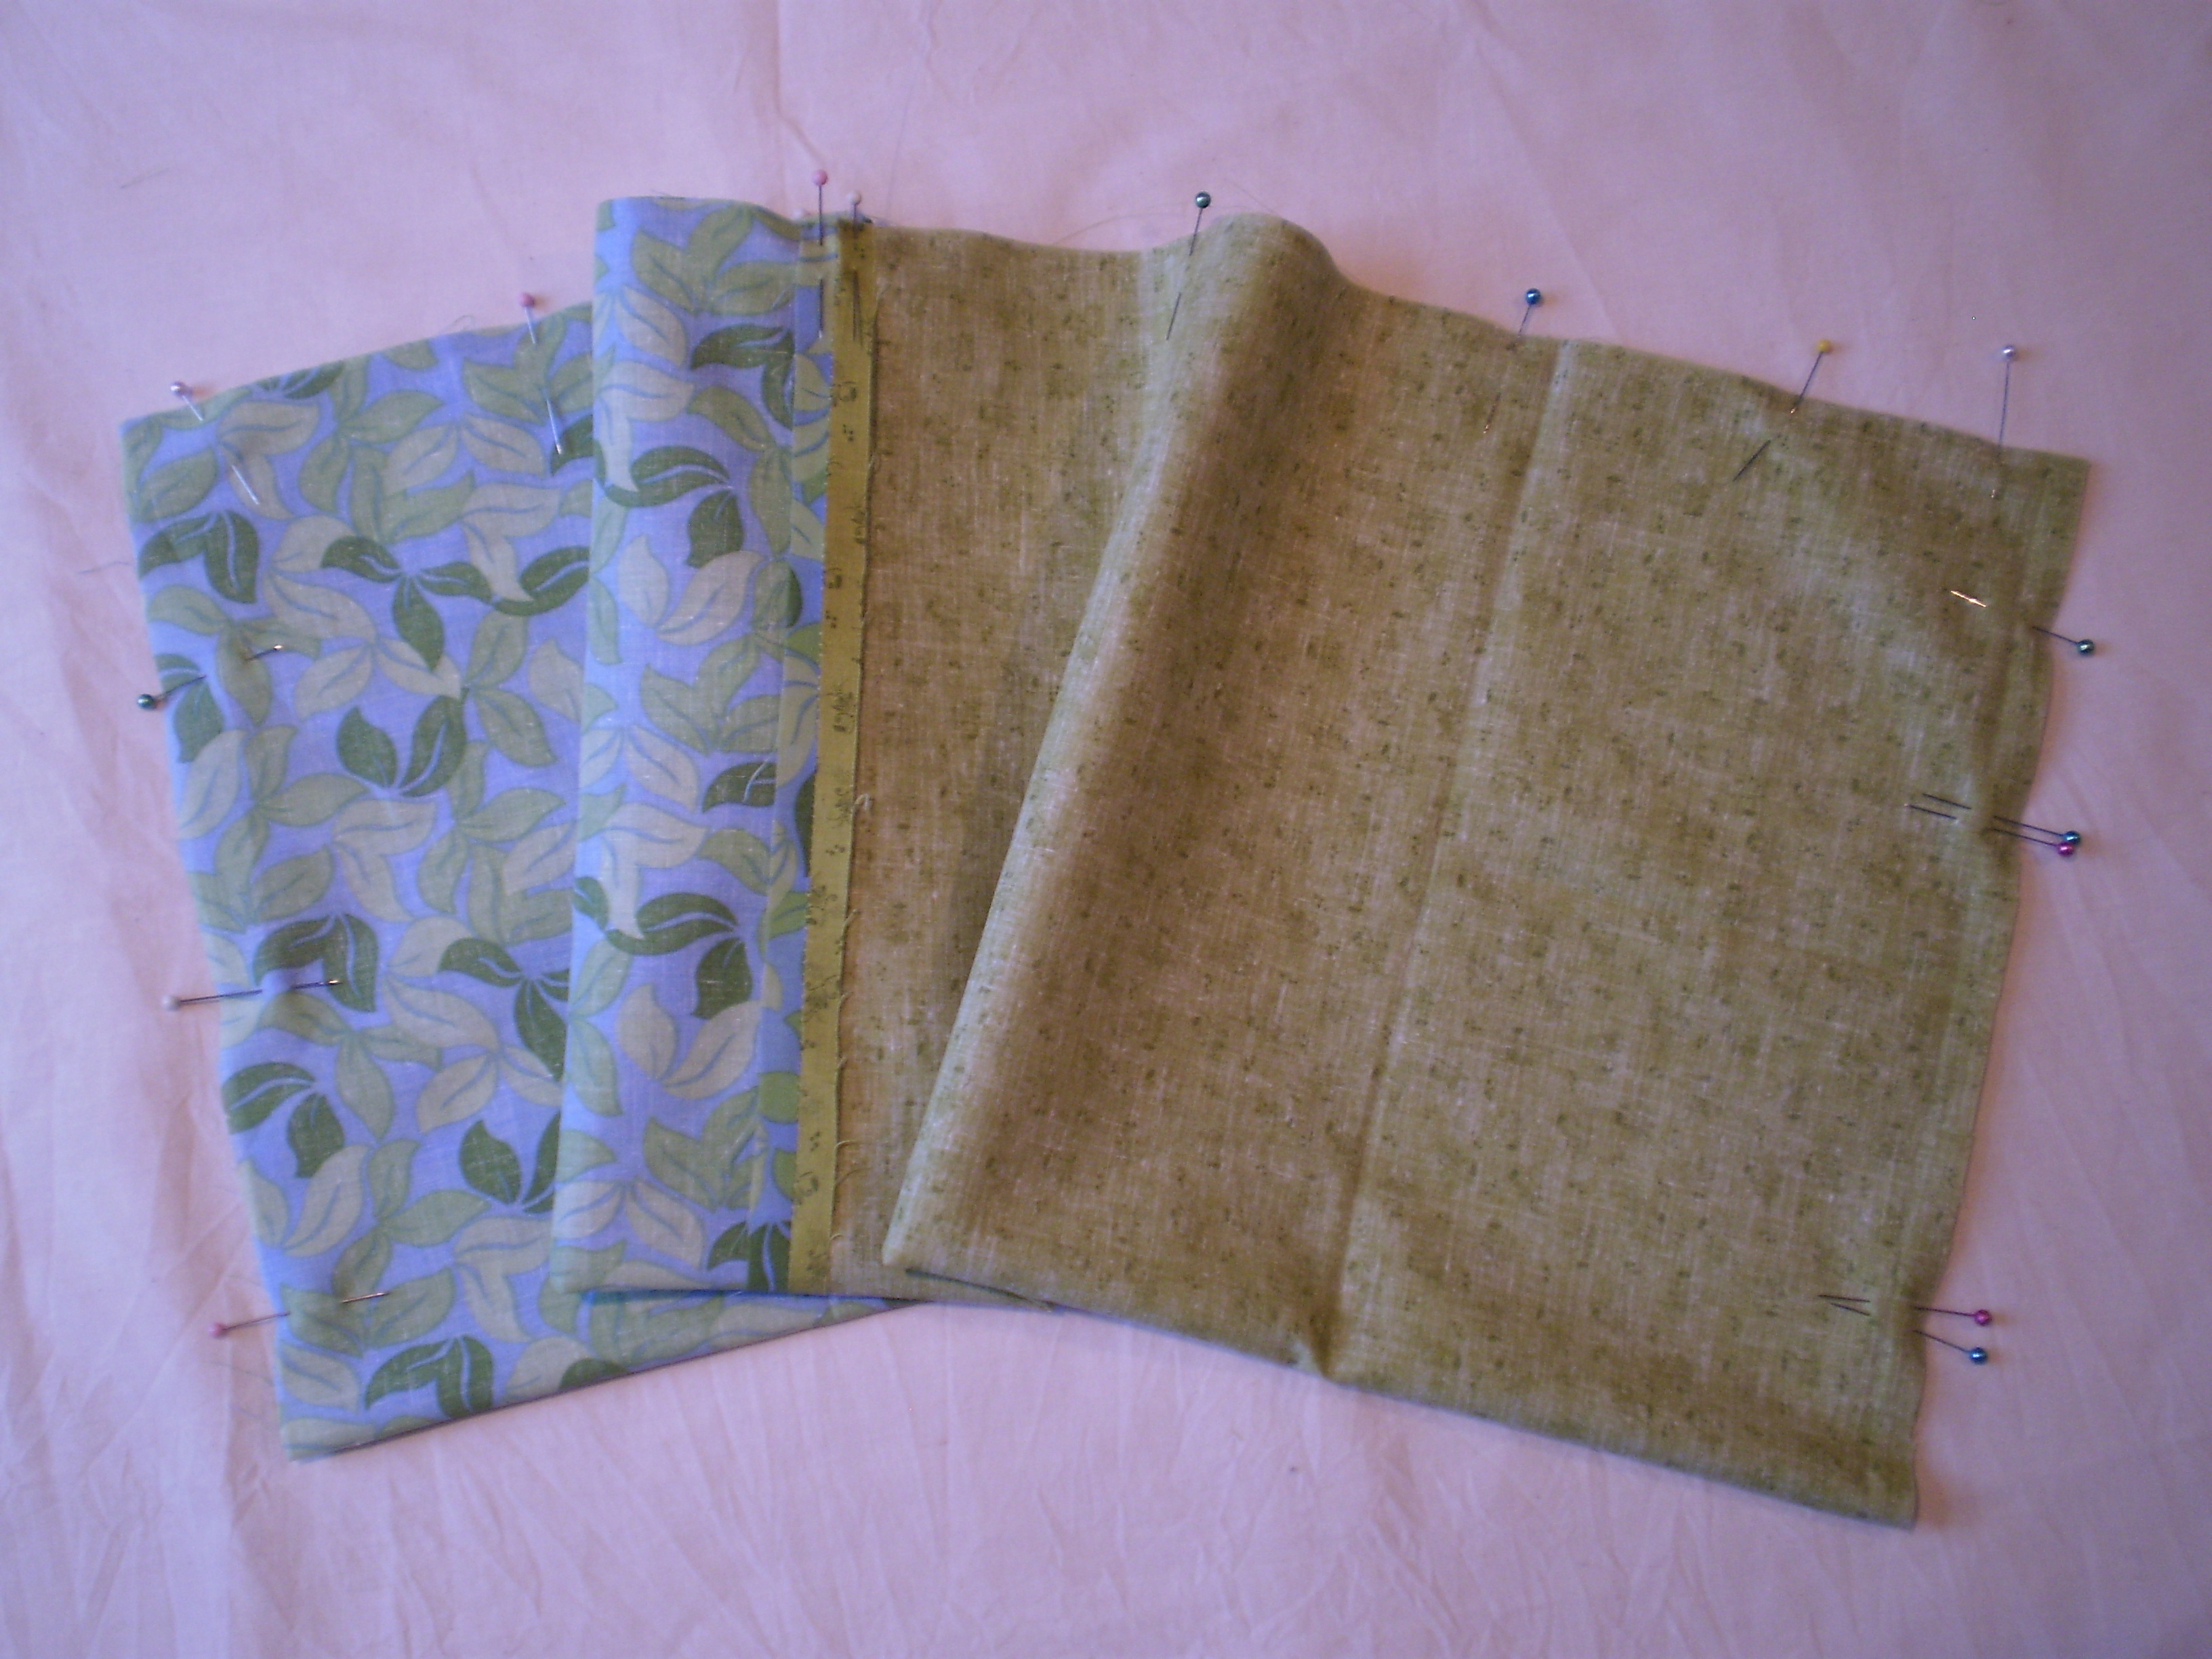
2 fat quarters in coordinating colors (available at fabric and quilting stores)
Coordinating thread
Sewing machine (or needle and thread if you like to kick it old school)
Eyelet setter
8 1/4 inch eyelets (8 fronts and 8 backs)
Ruler
Pencil
Iron (optional)
1 yard of ribbon or cord
- Iron the fat quarters and cut 3 inches off the long edge of each piece of fabric, and trim off the selvage edge. Discard the small pieces, or use them to make tiny quilts for mice or something.

- Lay out the fat quarters, right sides in, and sew them along one long edge with a ½ inch seam allowance.

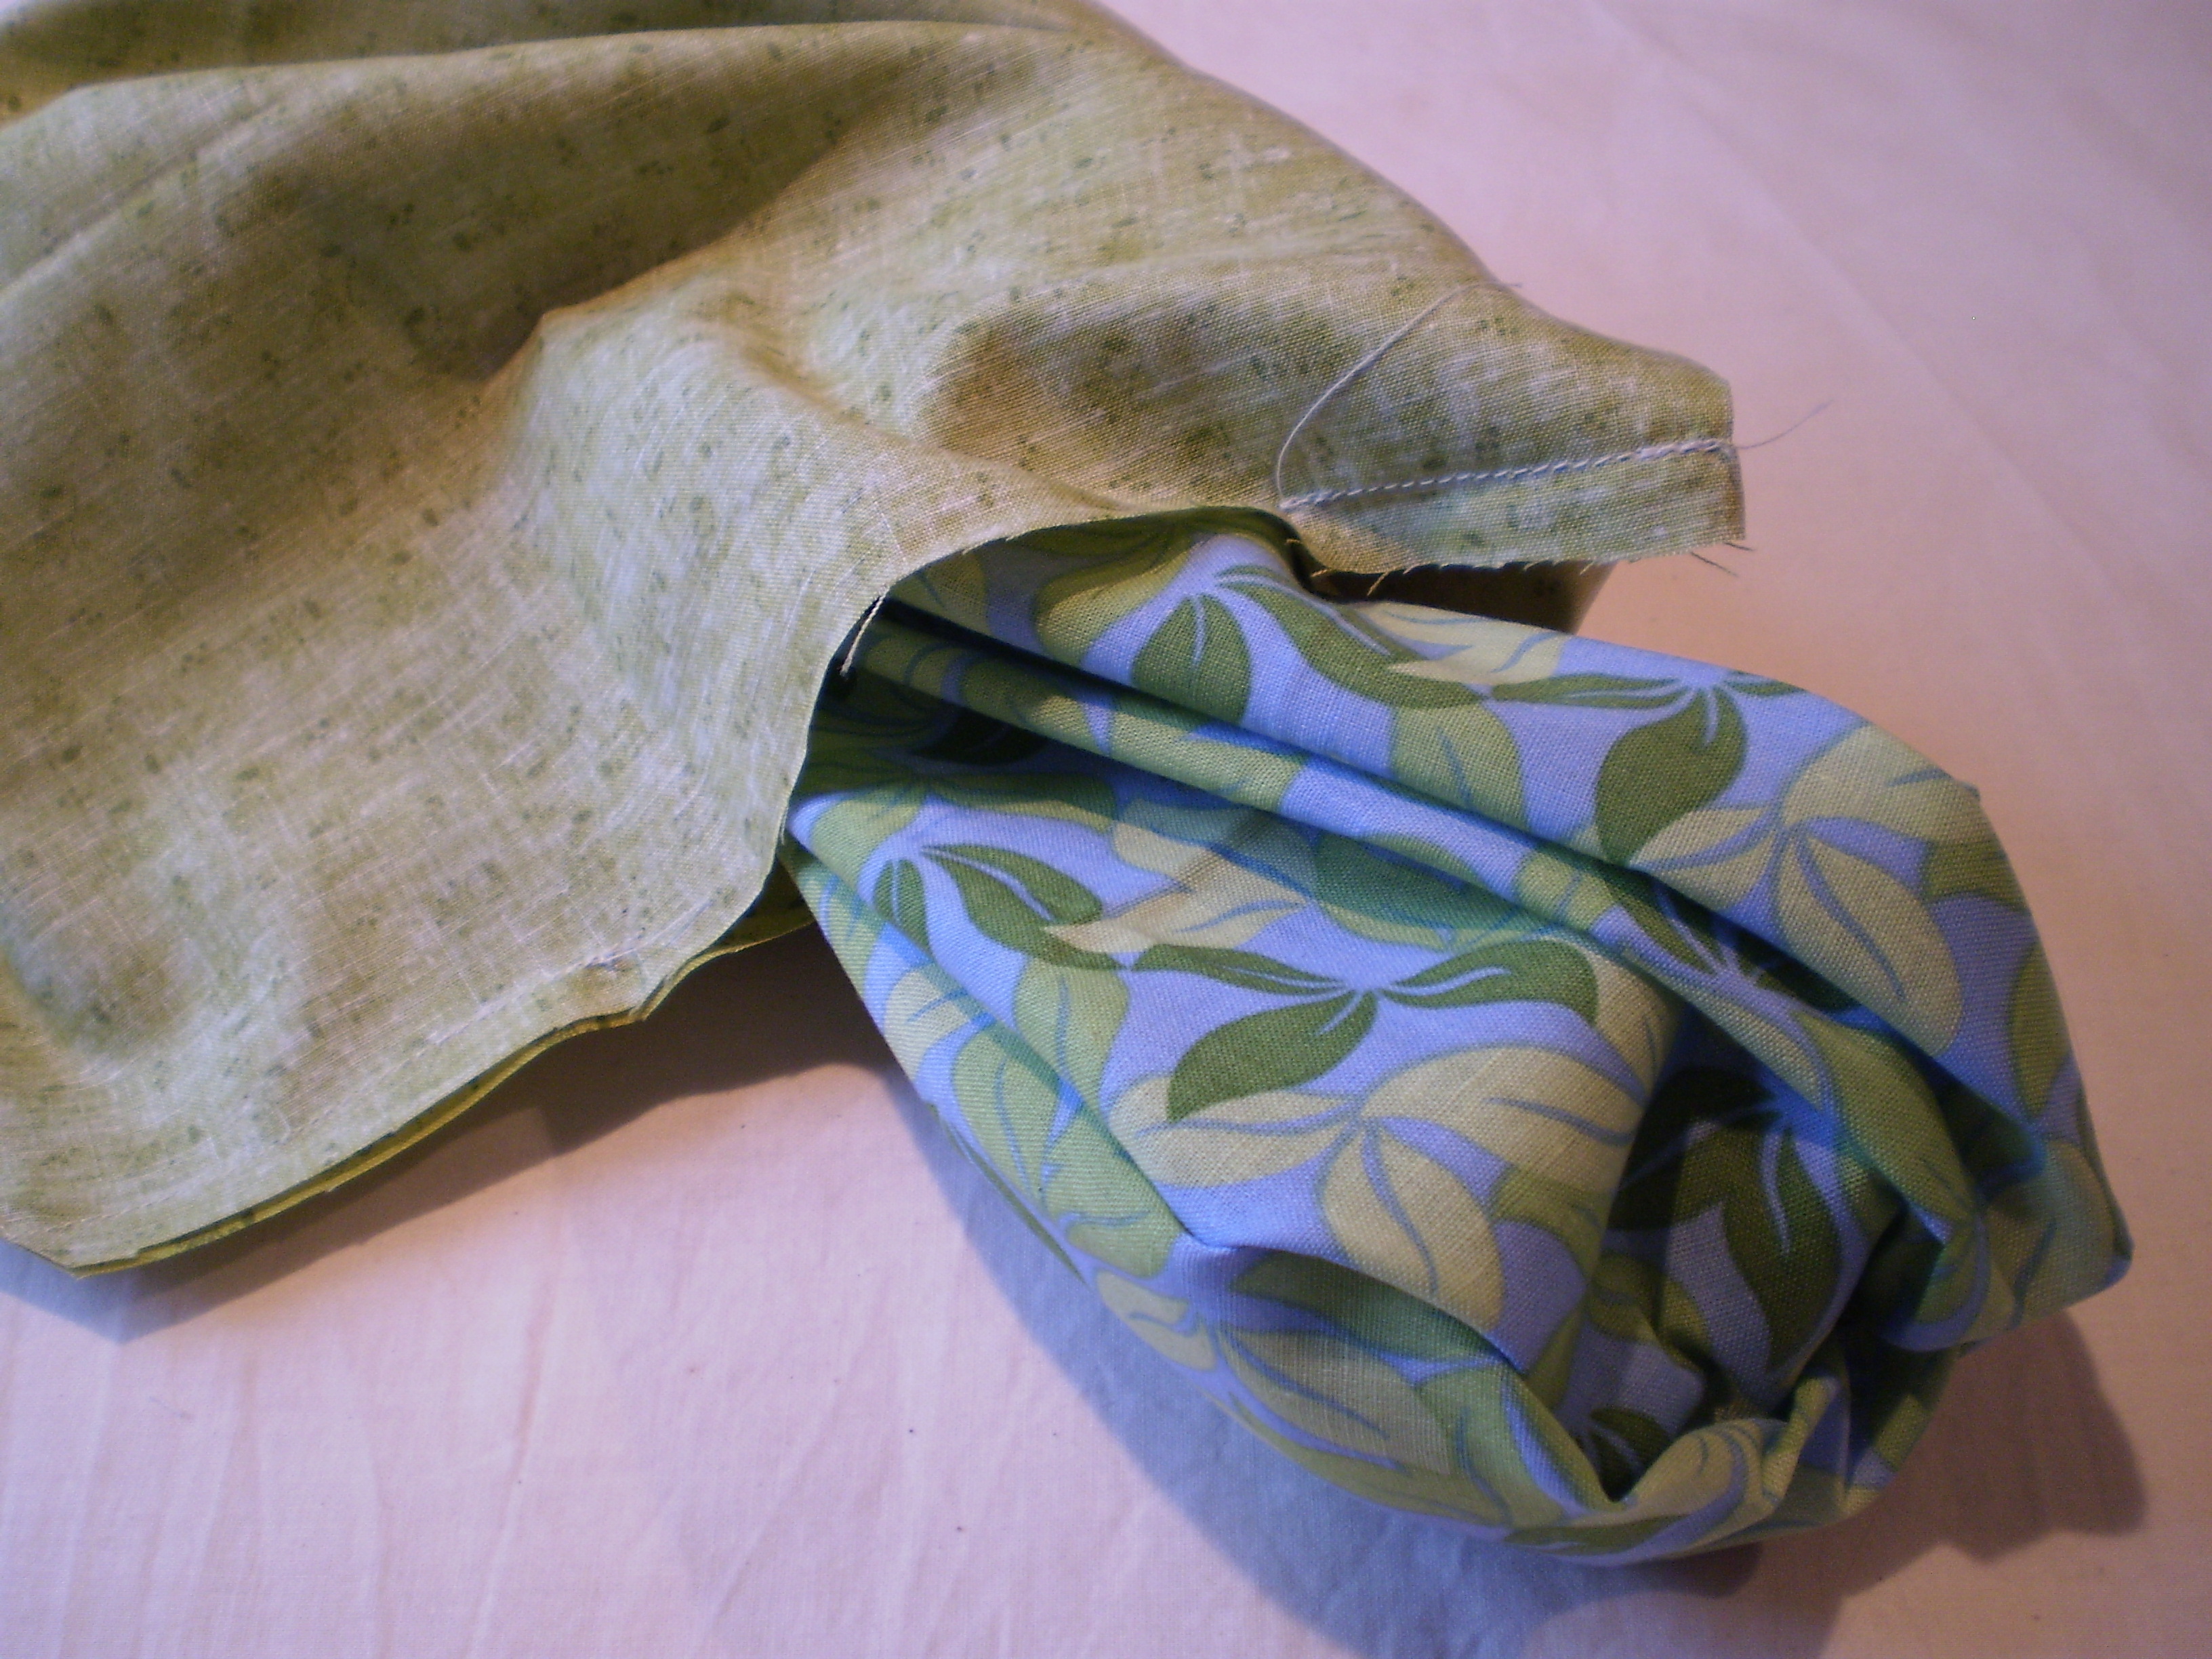
- Fold the fabric in half long ways (like a hot dog as my elementary art teacher said) and pin along the outside edge. You’ll have your lining fabric pinned to itself, and your outside fabric pinned to itself. Sew around the edge, leaving a ½ inch seam allowance. Leave a 3 inch gap on the lining end. You’ll need this gap to turn the project inside-out.

- Clip the corners, and turn the bag right-side out.

- Press the opening so that the edges of the opening are flush with the seam on either side. Stitch the opening closed.

- Push the lining into the bag and press the whole thing, making it as neat as possible. Make sure the seam between the lining and the outside fabric is even (this is the very top edge of the bag’s opening.

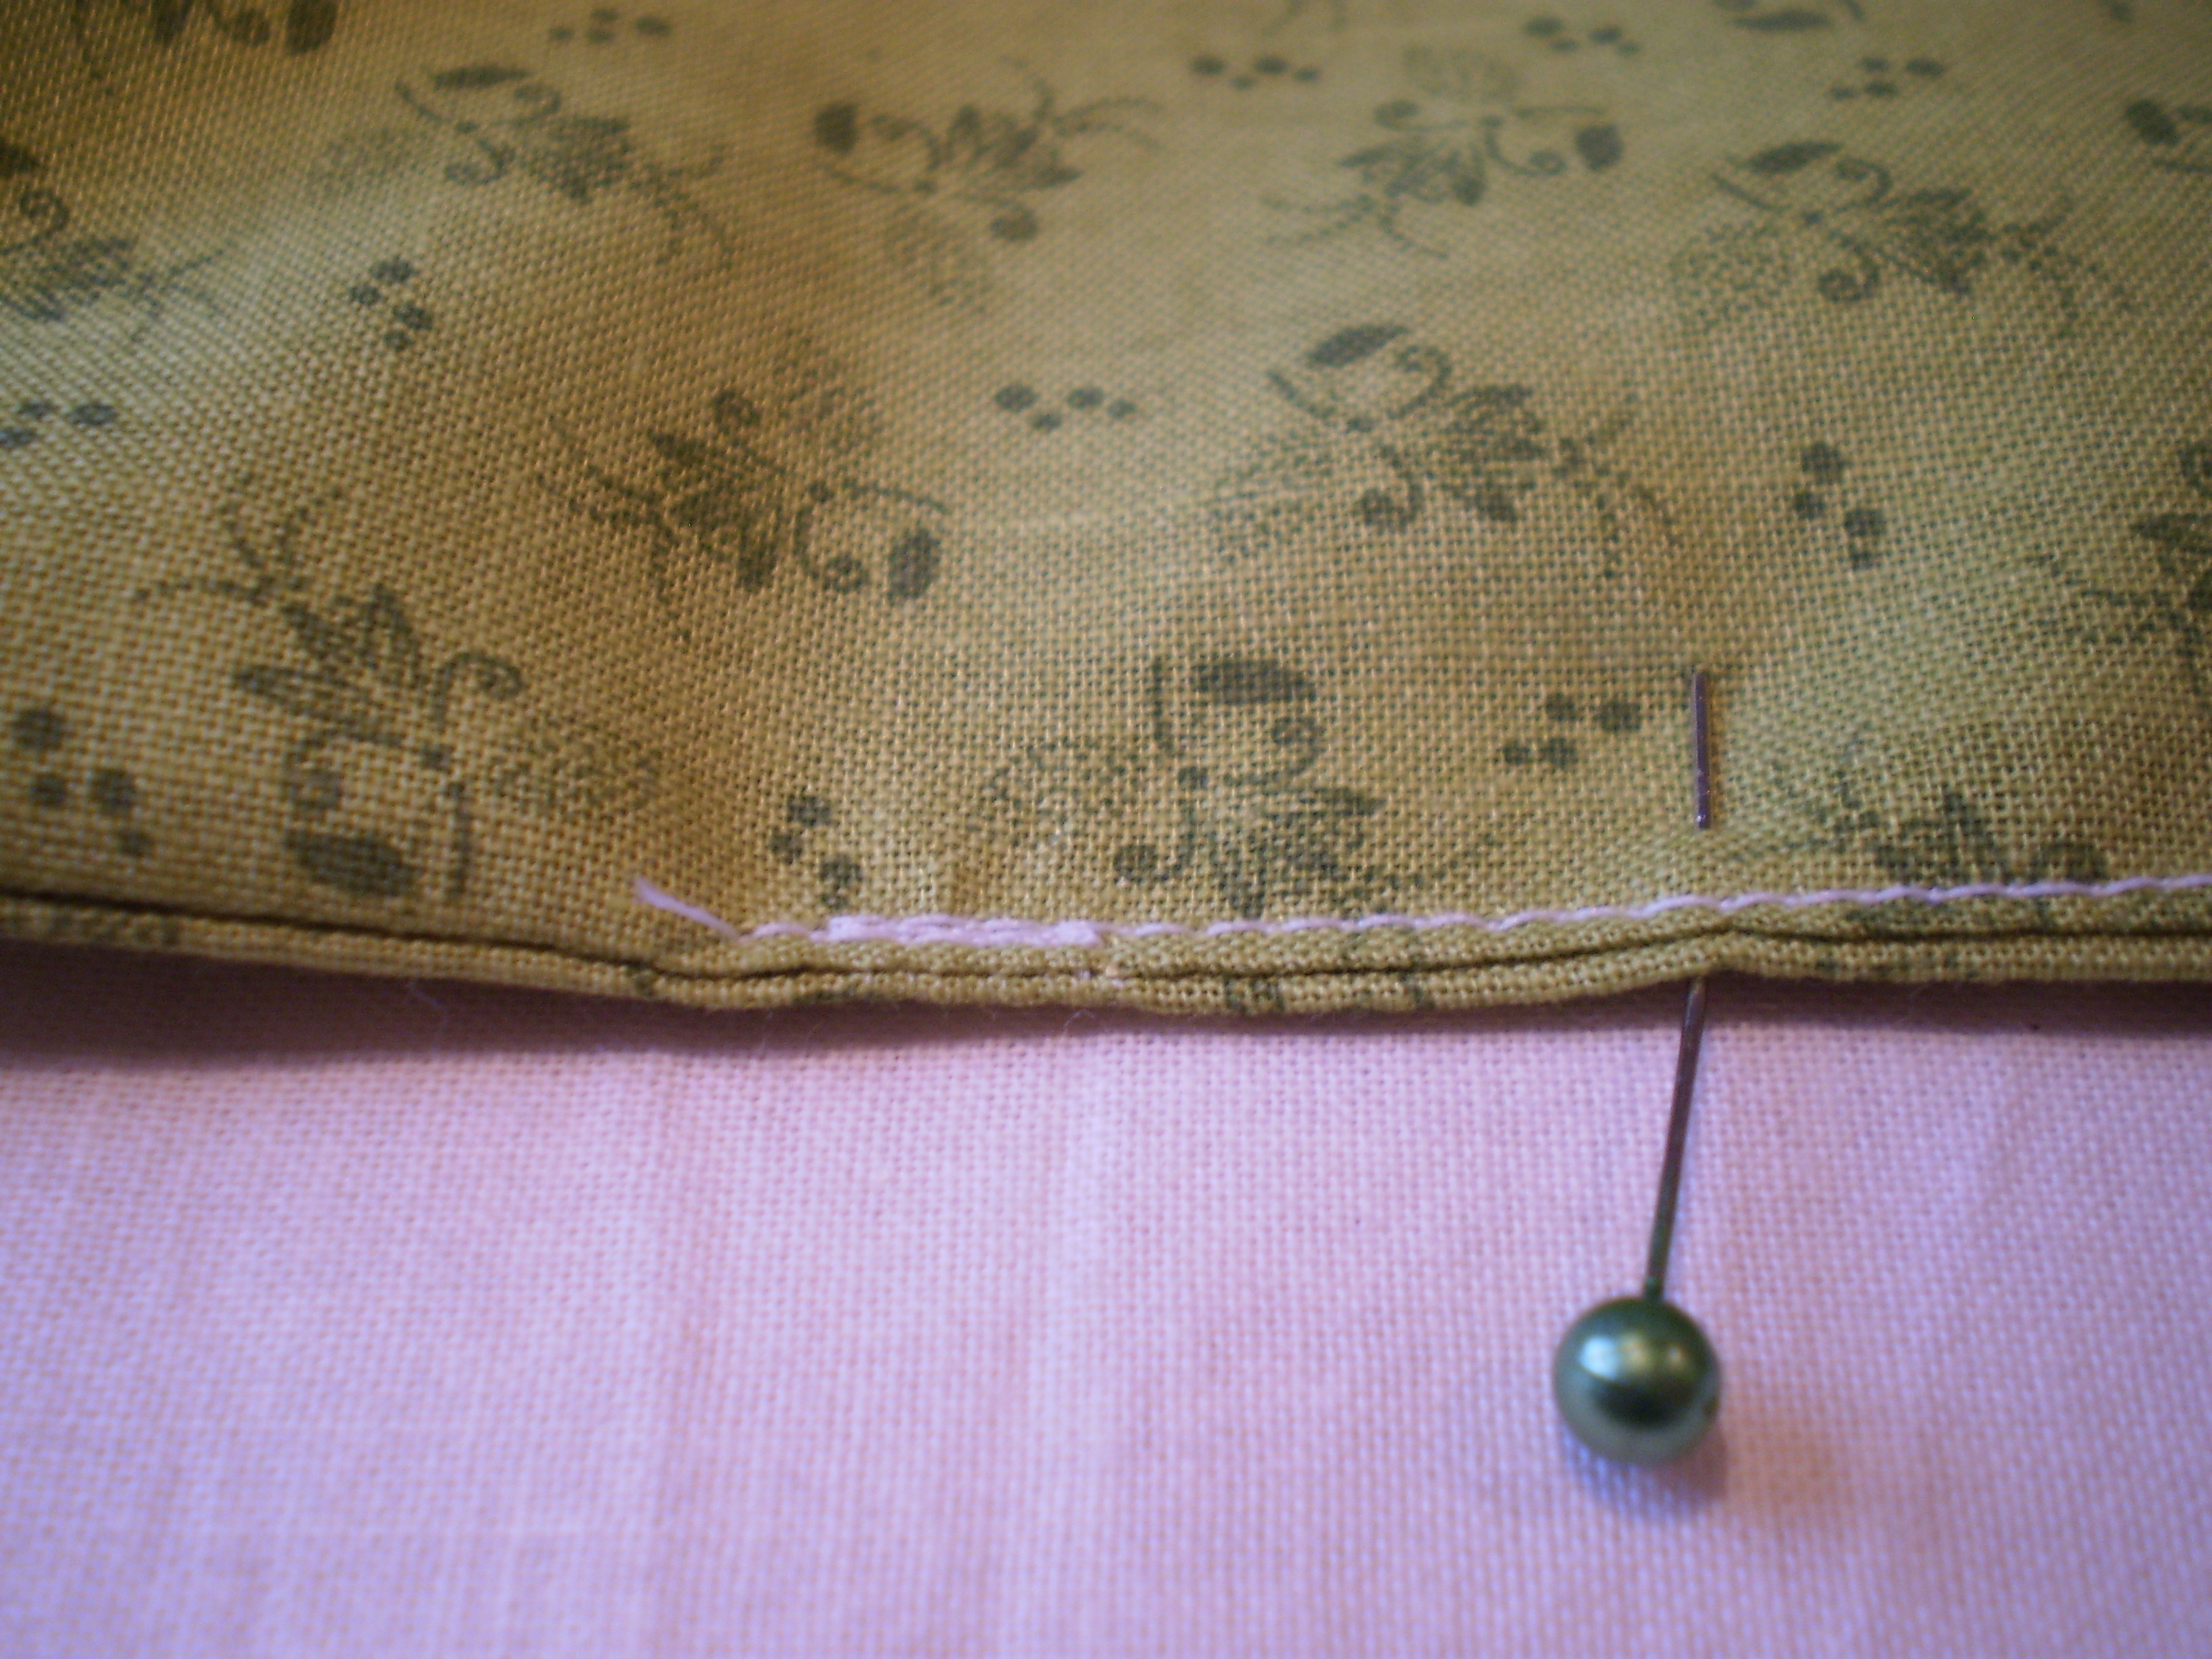
- Measure 2.5 inches from the top edge of the bag. Evenly mark 4 points across this line on the front of the bag (front or back doesn’t really matter, but just put 4 points on one side… we’ll put the others on there later). These points will be where you put in the grommets.

- Using the instructions that came with your eyelets, install the 4 eyelets on the front of the bag.

- Lay the bag flat, and mark where your eyelets fall on the back of the bag (just poke your pencil through the front of the bag). This makes sure that your eyelets are evenly spaced around the whole bag. Install the remaining 4 eyelets.

- Weave the ribbon through the grommets.

Done! Now go fill it with knitting or other projects. This bag is a good size for small to medium projects (1 or 2 skeins). If you want a bigger project bag, start with bigger pieces of fabric, but use the same technique. Because the bag is double-layered, even the pointiest needles won’t poke through, and it’s strong enough to keep your delicate yarn nice and clean and protected.

 Knit up a pair of Through the Grapevine Socks for yourself. The pattern is available through my Ravelry store for three dollars: