Tag Archives: joining

Stellar’s Jay Sweater: Joining the Sleeves

Once I had my sleeves (and body) all knitted up, it was time to join the whole thing together.  On first glance, this seems like it would be difficult to do, cumbersome and fiddly, but it’s not too tricky, actually. Just go slow, and make sure you count your stitches correctly!

The goal is to end up with the sleeves arranged on either side of the body, with active stitches all the way around (so that you can keep  knitting the shoulders).  If you are imagining looking at your sweater from the top down, it would look something like this:

Schematic
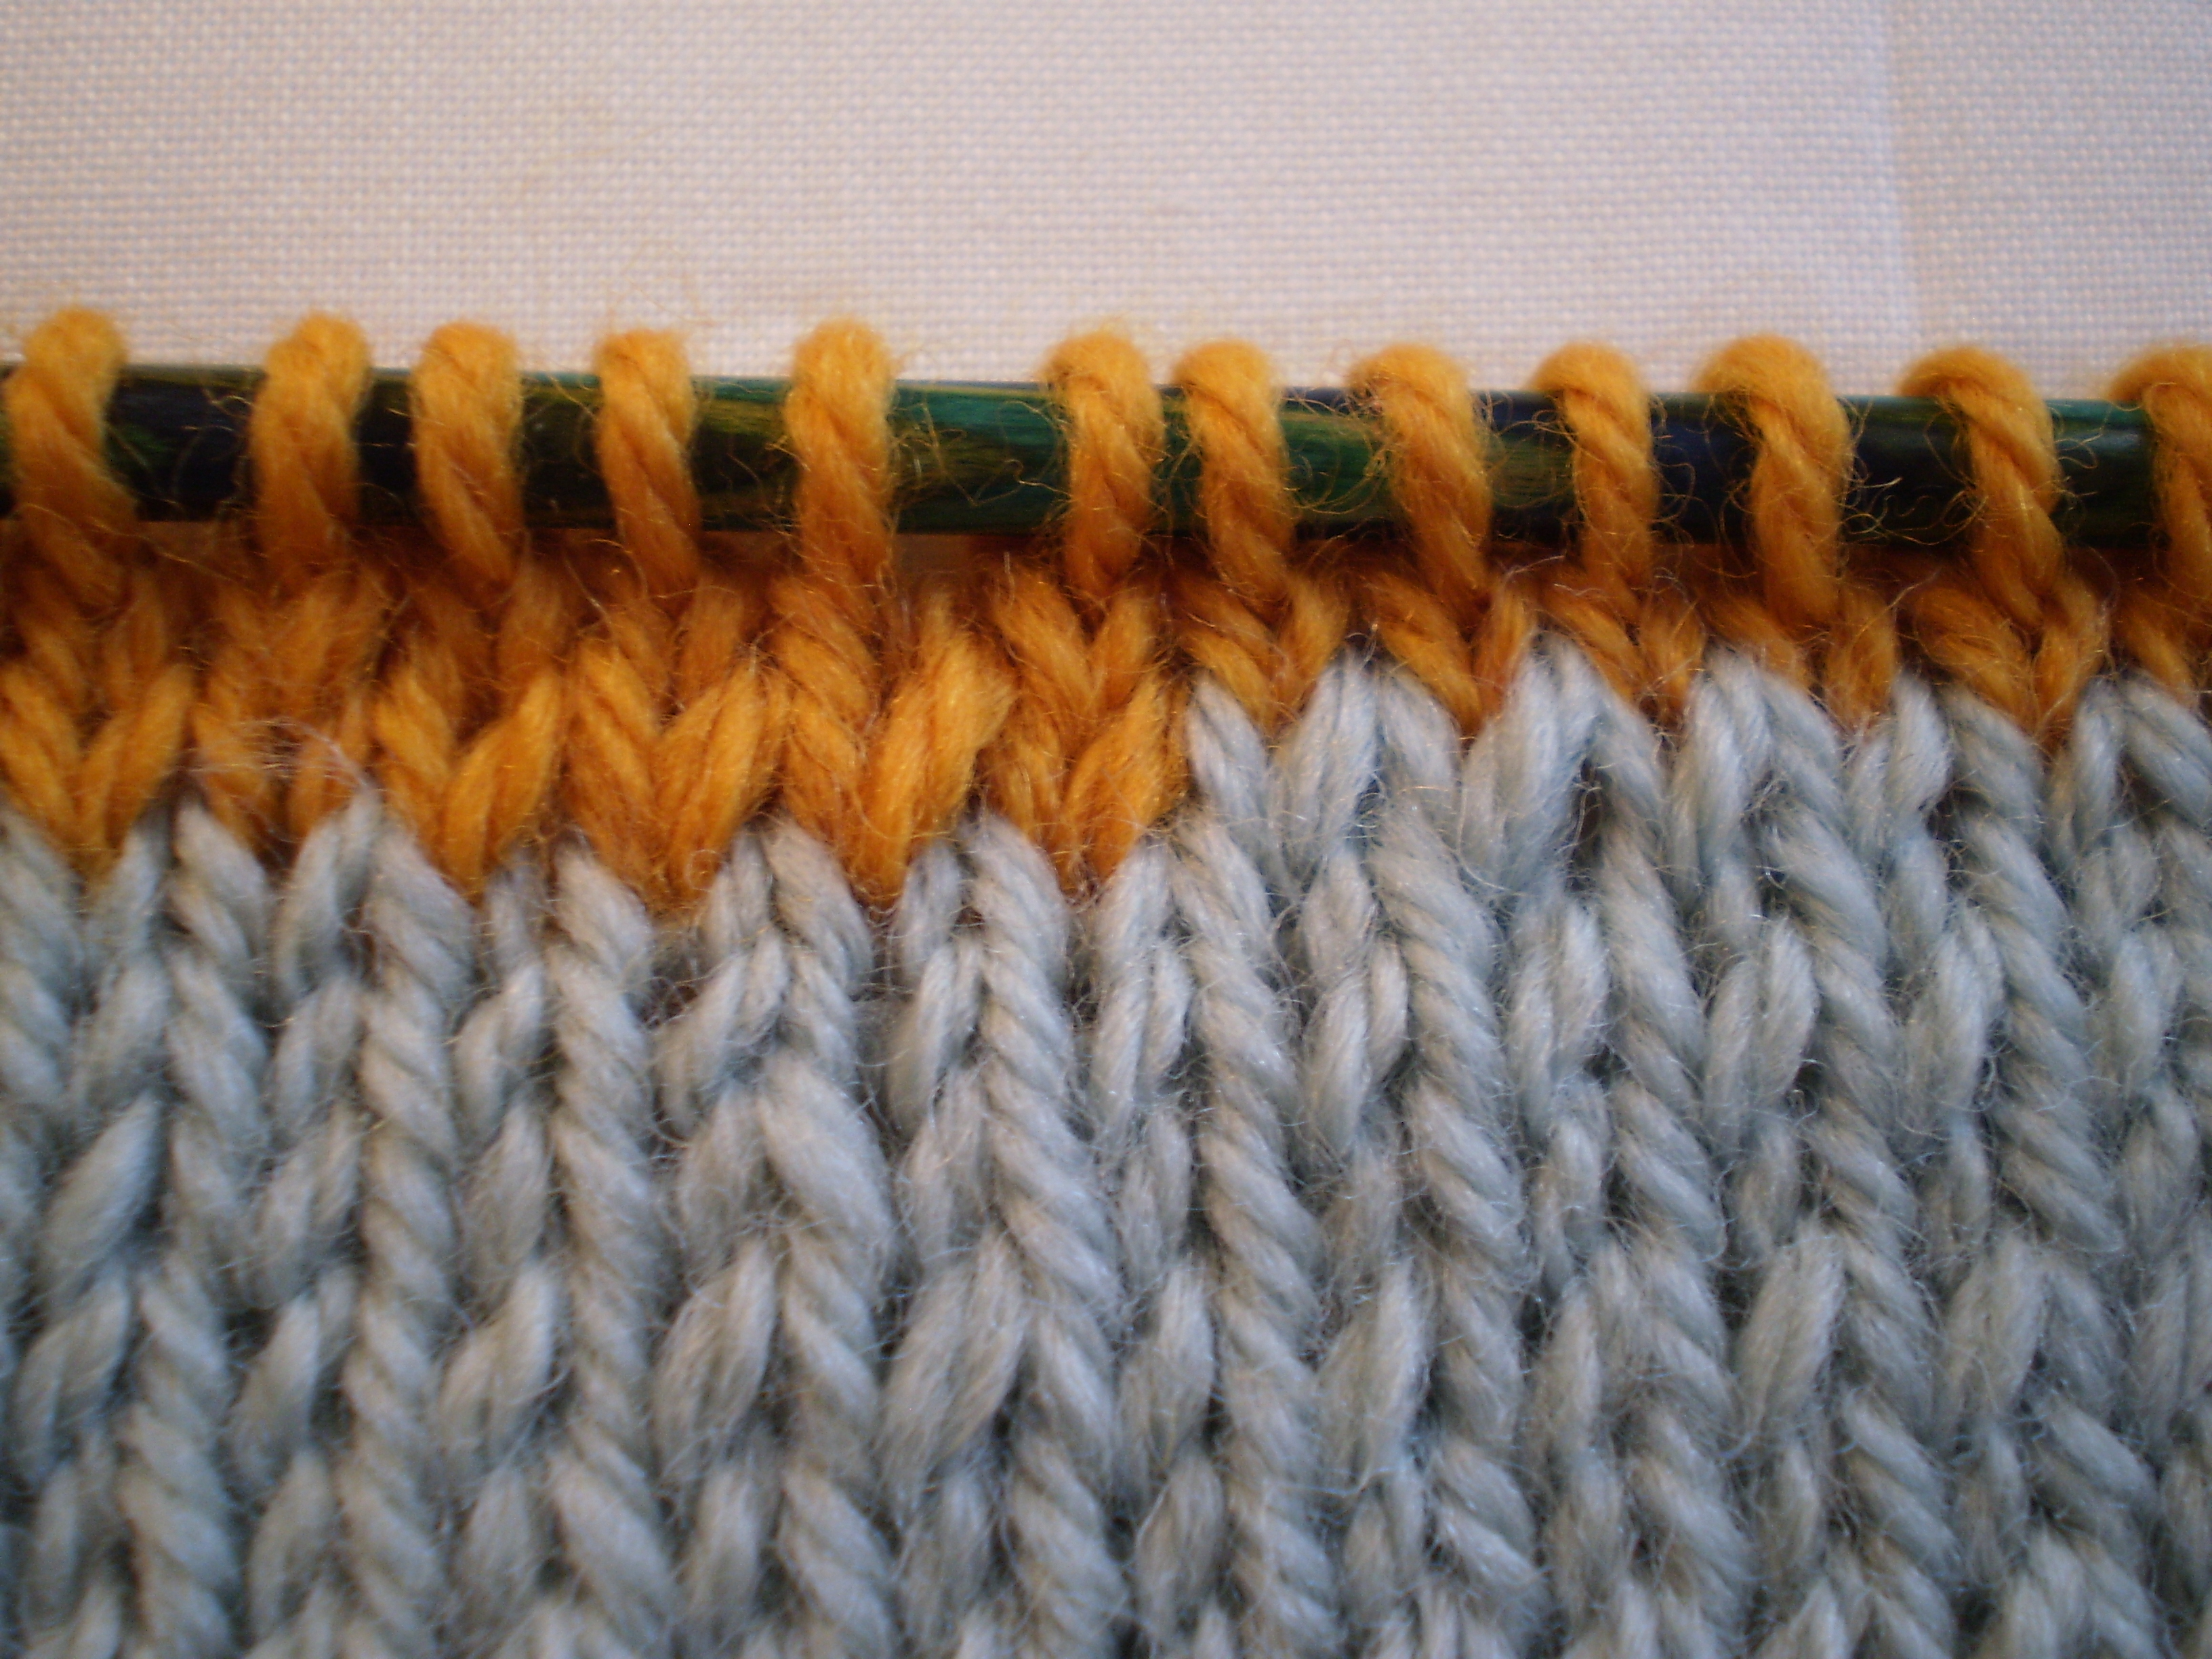
Start knitting at the beginning of your round (usually the center back of a pullover, or the center front for a cardigan).  Make sure to use a great big circular needle, or you’ll run into trouble in a few minutes! Work your way across the body of the sweater until you reach the armpit.

Schematic 1
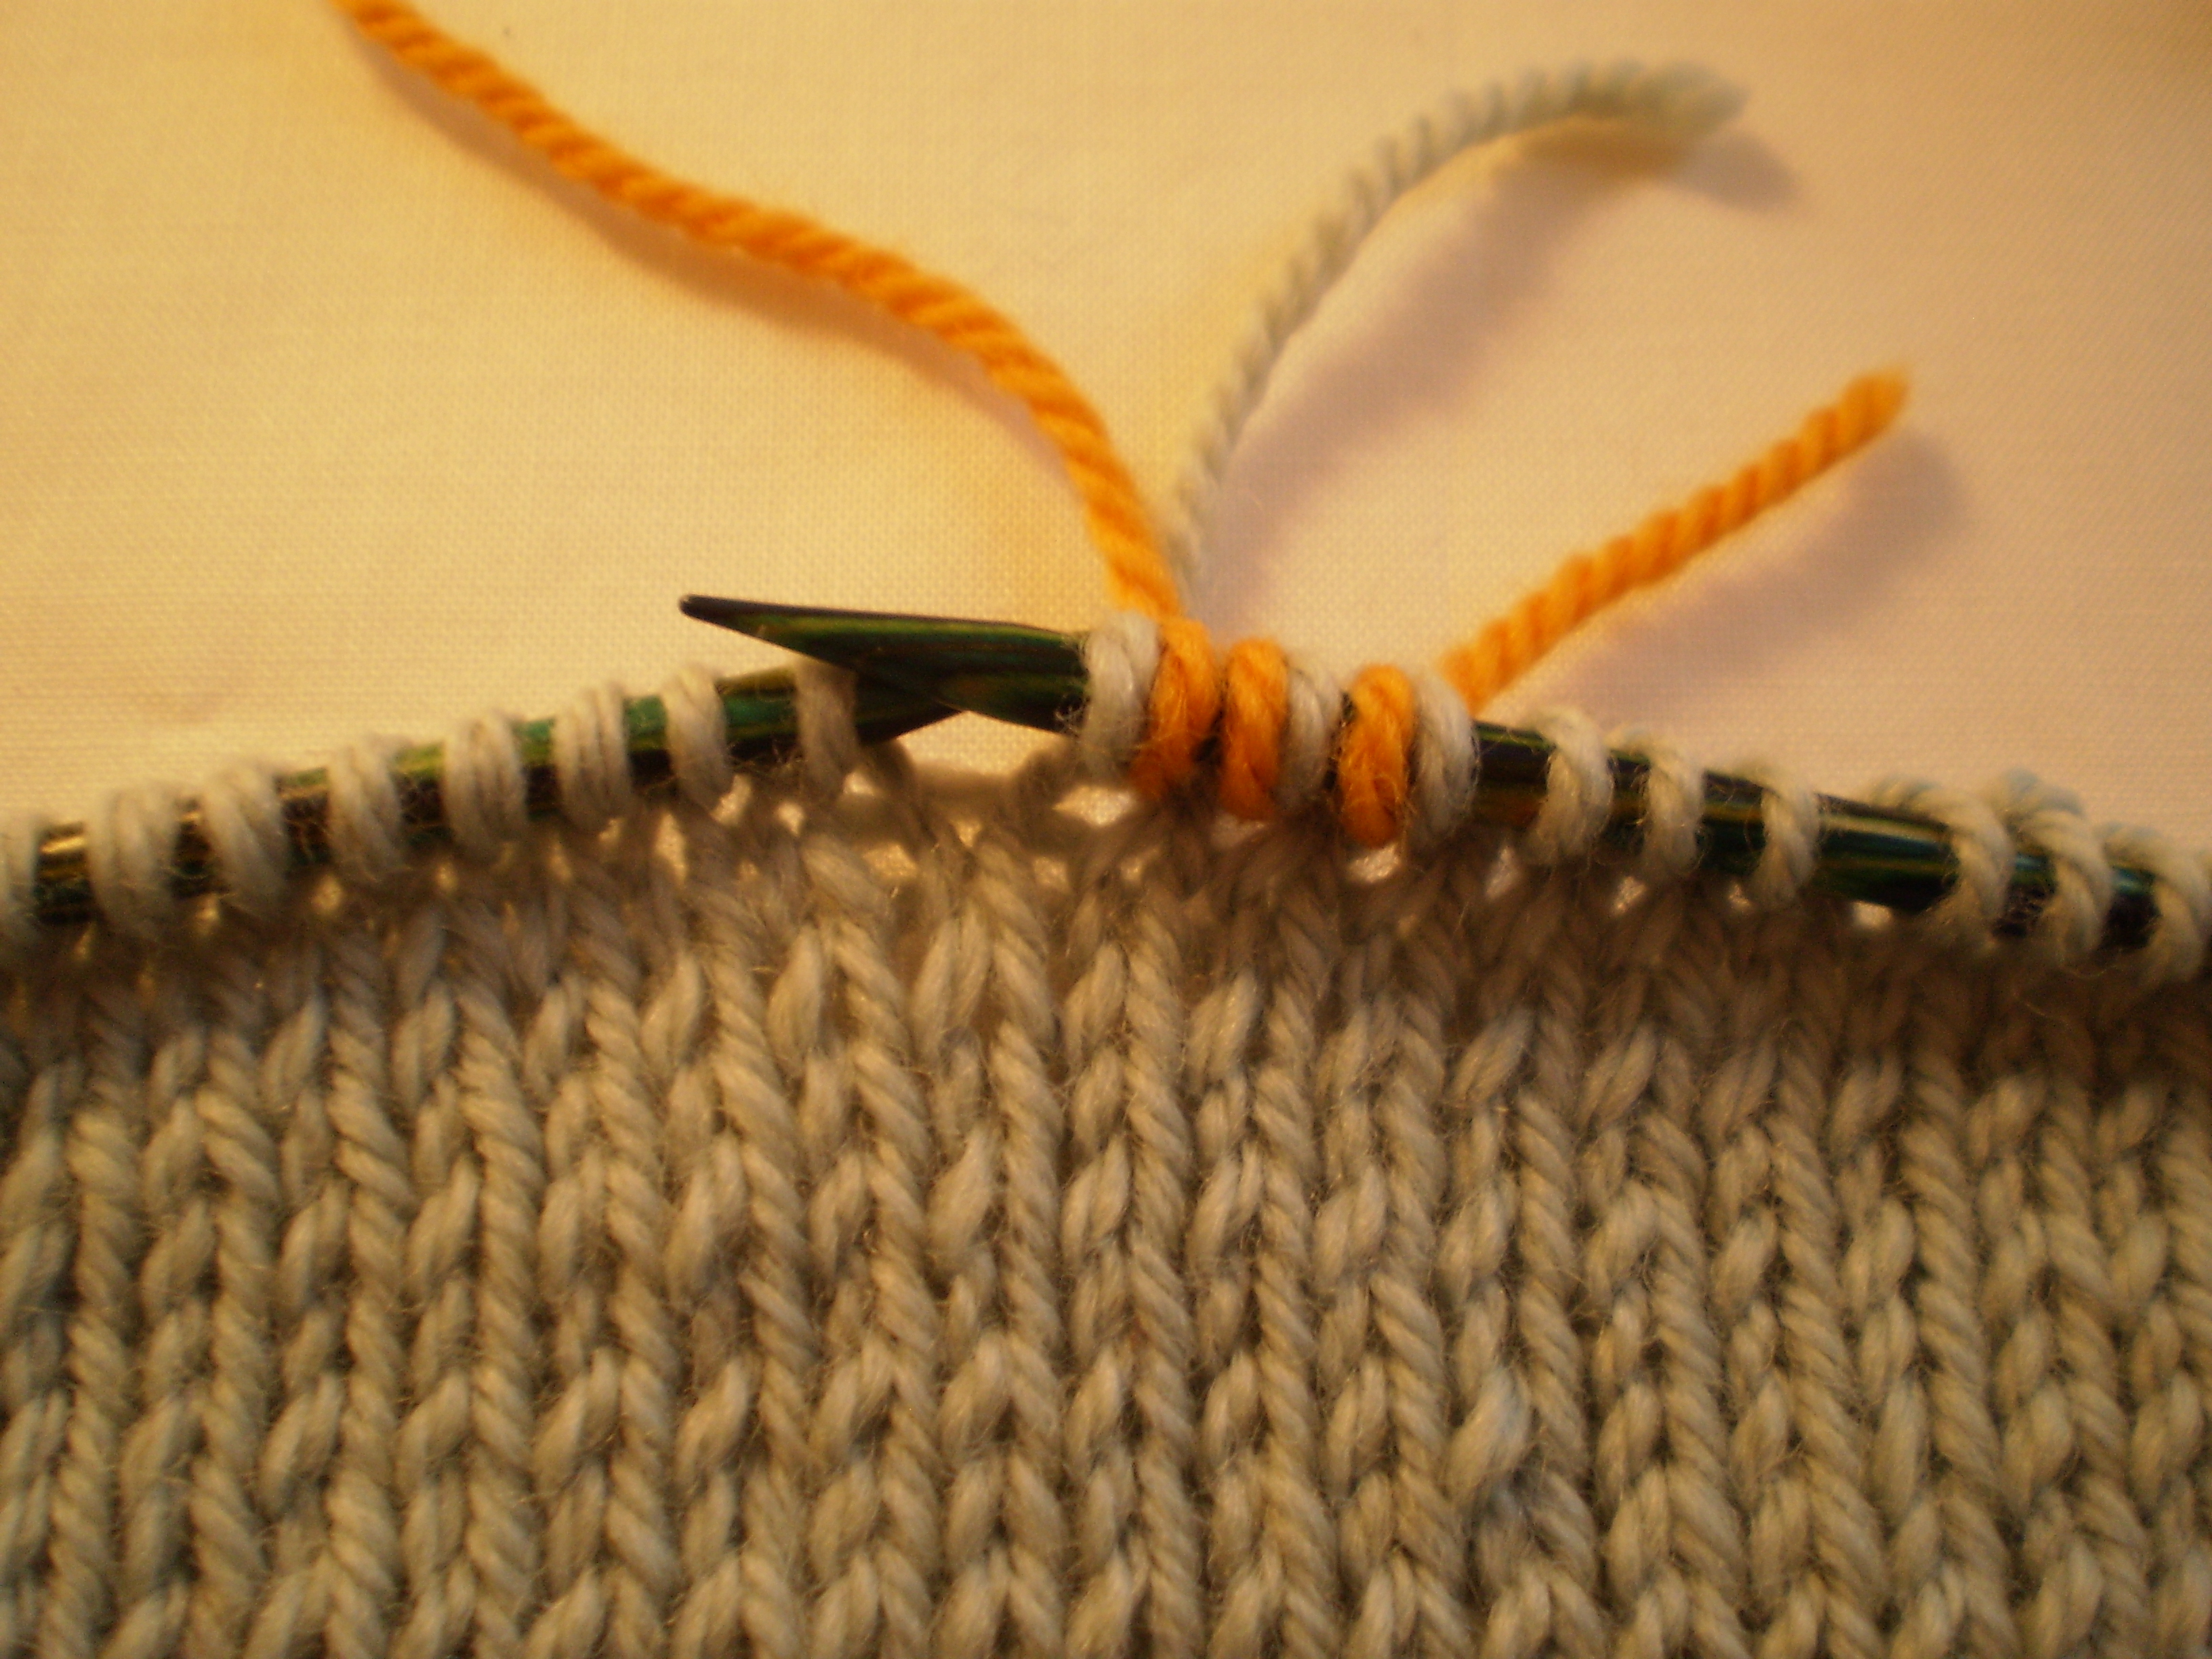
Then, pick up your sleeve and knit around the outside of the sleeve, leaving its armpit unworked.  Leave the active armpit stitches on a piece of scrap yarn or a stitch holder.

Schematic 2Switch back to knitting the body, and work your way all the way across the back (or front) of your sweater.

Schematic 3Then, repeat the process for the other sleeve, knitting around the outside of the sleeve, while leaving the armpit alone.

Schematic 4The final step is to close up the armpits.  Attach the sleeve armpit stitches to the body armpit stitches on either side.  I like to use the Kitchener stitch, but you could also use a 3-needle bind-off, if that’s your favorite.

Schematic finalNow you’re all set up for the knitting the shoulders on your bottom-up sweater!  Just keep going in the round (if you’re making a pullover), or turn the work and go back the other direction (if you’re making a cardigan).  Simple!

Don’t ever stop knitting: Joining part 2

As with everything in knitting (and I suppose, in life), having options is always a good thing.  Don’t like knitting English style?  Try continental.  Think wool is itchy?  Try acrylic.  Don’t care for aluminum needles?  Try wooden ones.

Last week we did a join where we held the new yarn double with the old yarn.  I have since learned that this is called an Overlap Join.  (Learning new things every day…)

Today, we’ll do another kind of join, sometimes called a Back Join, and sometimes called a Russian Join.  Whatever you call it, it’s pretty neat.

OLYMPUS DIGITAL CAMERAEssentially, you fold both the new and old yarns creating two 4-6 inch loops.  Then, hook the too loops around one another, like in the picture above.  And, holding the yarn carefully, you knit with the looped yarn.

OLYMPUS DIGITAL CAMERASee how you get a couple stitches of doubled-up old yarn, and a couple stitches of doubled-up new yarn?  When you knit a couple more rows, you’ll see nothing but a clean transition from old yarn to new yarn.

OLYMPUS DIGITAL CAMERAPros: Easy (although slightly trickier than the Overlap Join).  If you are careful to knit at least three stitches on either side of the join with the yarn held double, there’s no weaving-in of ends.   If you’re trying to do some sort of cool avant-garde color-work where you want crisp color definition, but don’t care exactly where the color changes go, this would be the join to use.

Cons: Doubled yarn is slightly thicker than single yarn (obviously), so if consistency is a priority, this might not be the join for you.  Yarn ends will poke out the back of the knitting, so if you need a perfect double-sided join, you’ll want to try something else.


Don’t ever stop knitting: Joining part 1

From the first time you make a project bigger than a washcloth, you realize that yarn is finite (which is sad).  When you get to the end of your yarn, you have to join another skein to keep knitting.  It’s annoying, and if you don’t do it right, it will ruin your beautiful scarf/hat/sweater/sock.

Some people just tie the old yarn to the new yarn.  I think that looks terrible.  And, it leaves you with a icky bumpy knot in the middle of your knitting.  No bueno.

Yes, tying on a new ball of yarn is easy, but there are such better options. So, over the next couple weeks I’m going to do a series of posts about joining, with pros, cons, and how-tos.

Let’s jump right in and get started!  Here’s one of my favorite super basic joining techniques.  I’ll call it Holding the Yarn Double, because I don’t think it actually has a name.  That’s how basic it is.

OLYMPUS DIGITAL CAMERAAll you do is hold the new yarn (orange in this picture, but usually you’d just use the same color yarn.  I’m using two colors here so you can see what I’m doing) next to the the old yarn (gray).  Then, using both strands, you’ll knit a few stitches (three or four is usually plenty).

OLYMPUS DIGITAL CAMERALeave an inch or two of tail from both the new and the old yarn.  Once you’ve knit a couple stitches with both strands, drop the old yarn and continue knitting like normal with the new yarn.

OLYMPUS DIGITAL CAMERAPros: Super easy.  Almost invisible (especially in stockinet and ribbing).  No weaving in of ends when you’re done with your project (just trim the ends to 1-1.5 inches when you’re done).

Cons: The joining stitches are thicker than your regular stitches, so if you’re doing any sort of openwork it can slightly mess up the look of your project (but only on a couple stitches, so as long as you put the join in a hidden spot, like an armpit or close to an edge, you won’t really notice it).  You are left with ends peeking out the back side of the project.  If you’re doing something which has two public sides (like a scarf), this might not be the joining technique for you.  If you’re making something with an obvious back side (like a sweater), this isn’t a problem.

It’s too pretty out for a real post

If the sun’s out in Seattle, you’re pretty much required by law to spend your day outside.  So, I decided to sit out in the yard with a nice iced coffee and a pile of granny squares and sew them together.  Not a bad afternoon.OLYMPUS DIGITAL CAMERA

After an hour or two of work and a few chapters of my most recent audiobook…

OLYMPUS DIGITAL CAMERA

And I’ve whip-stitched my squares together:

OLYMPUS DIGITAL CAMERA

They’re nowhere near an entire blanket yet, but they’re a start.  It’s going to end up being possibly the tackiest blanket ever (since I’m using up all my sock leftovers from over the years, and I tend to knit brightly colored socks), but I’m kind of OK with that.  It’ll be a nice project to work on a little at a time, whenever my bowl of sock yarn leftovers gets too full.