Tag Archives: food coloring

Dying Sheep and Wool

My 4-year-old and I have been playing a lot of Minecraft lately. It’s something that I’ve really enjoyed sharing with them, and it’s fun seeing them learn about how to do something as complicated as playing a whole video game. It’s pretty cool.

What does this have to do with knitting?

Minecraft is basically “Homesteading: the Game,” so there’s more overlap than you’d think. For example, you could dig up iron ore, smelt it, make shears, find a sheep, shear the sheep, pick flowers, dye the wool, and make things with the wool- carpets, beds etc. (I swear it’s more fun than I’m making it sound.)

My kid’s favorite thing to do is to dye the wool while it’s still on the sheep. We have lots of purple, blue and yellow sheep running around the woods near our house. It’s pretty funny.

So, when we were digging through my stash the other day and they saw a bag of white yarn, they immediately asked me if we could dye it. I swear I’m telling the truth, but I totally understand if you don’t believe me. What 4-year-old asks to dye wool as a fun, after-school activity? Mine, apparently.

Anyway, I didn’t have any reason to say no, and I have plenty of old food coloring in the cabinet, so I figured, “Why not?”

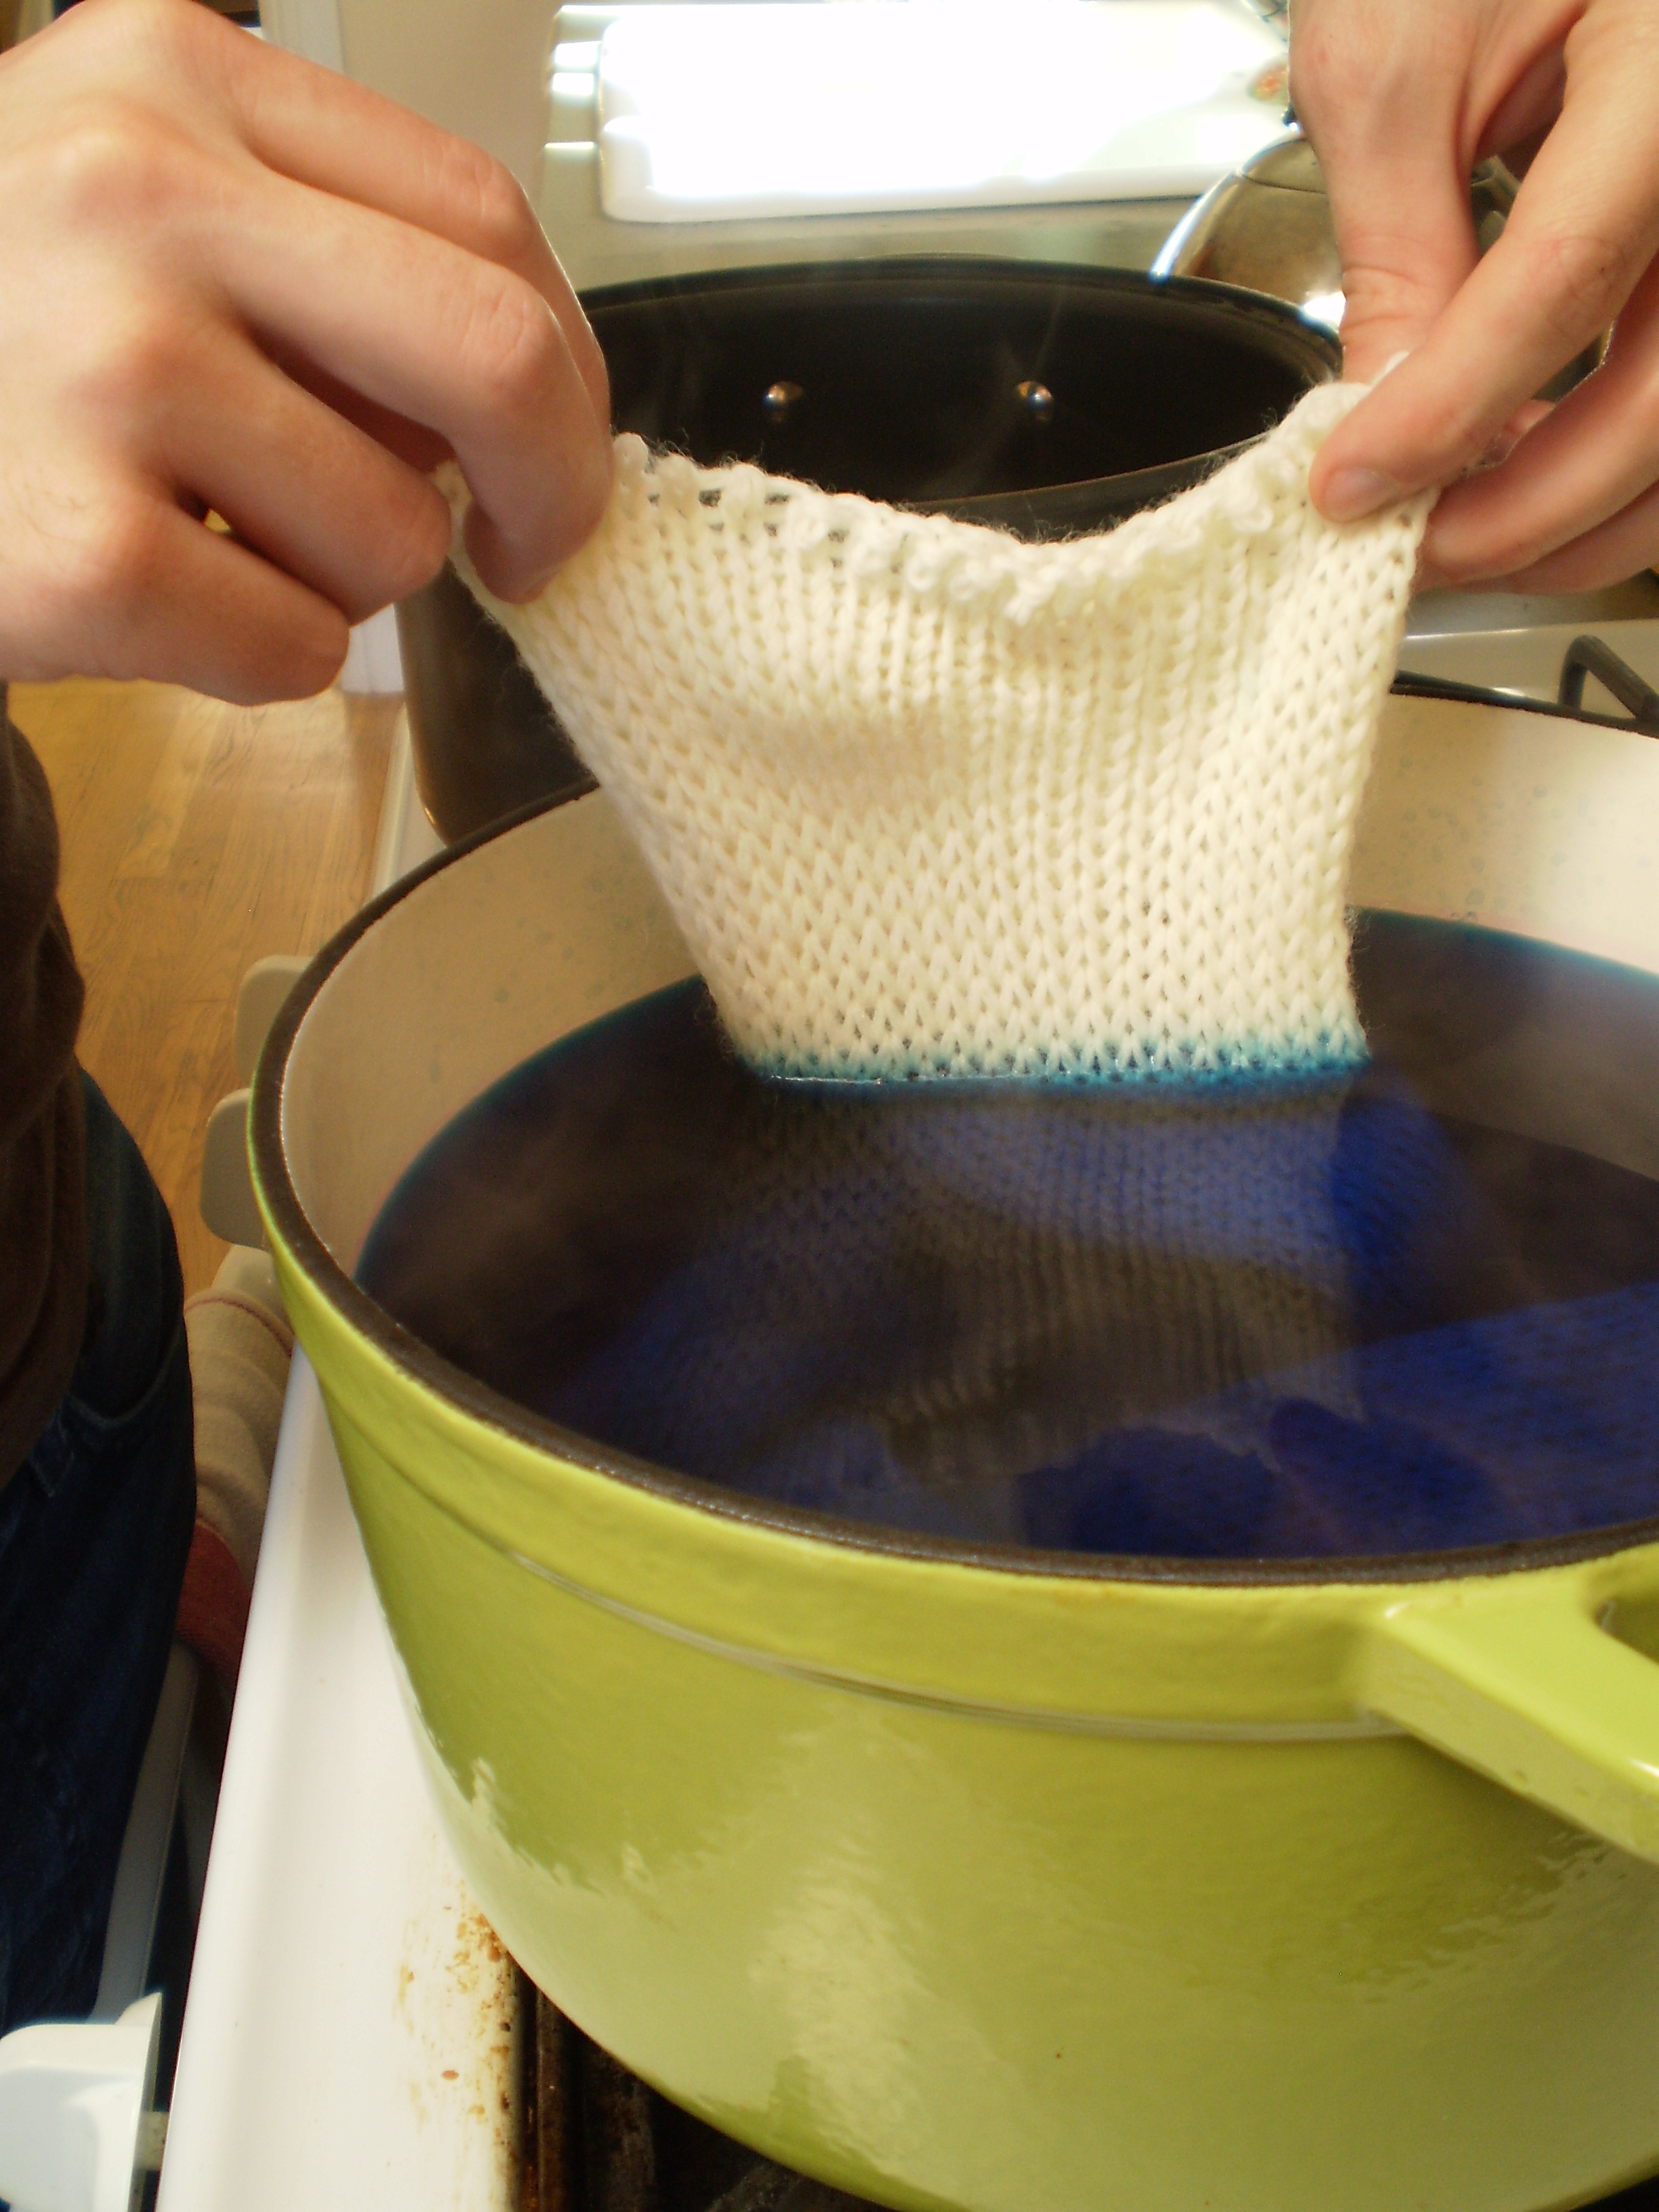
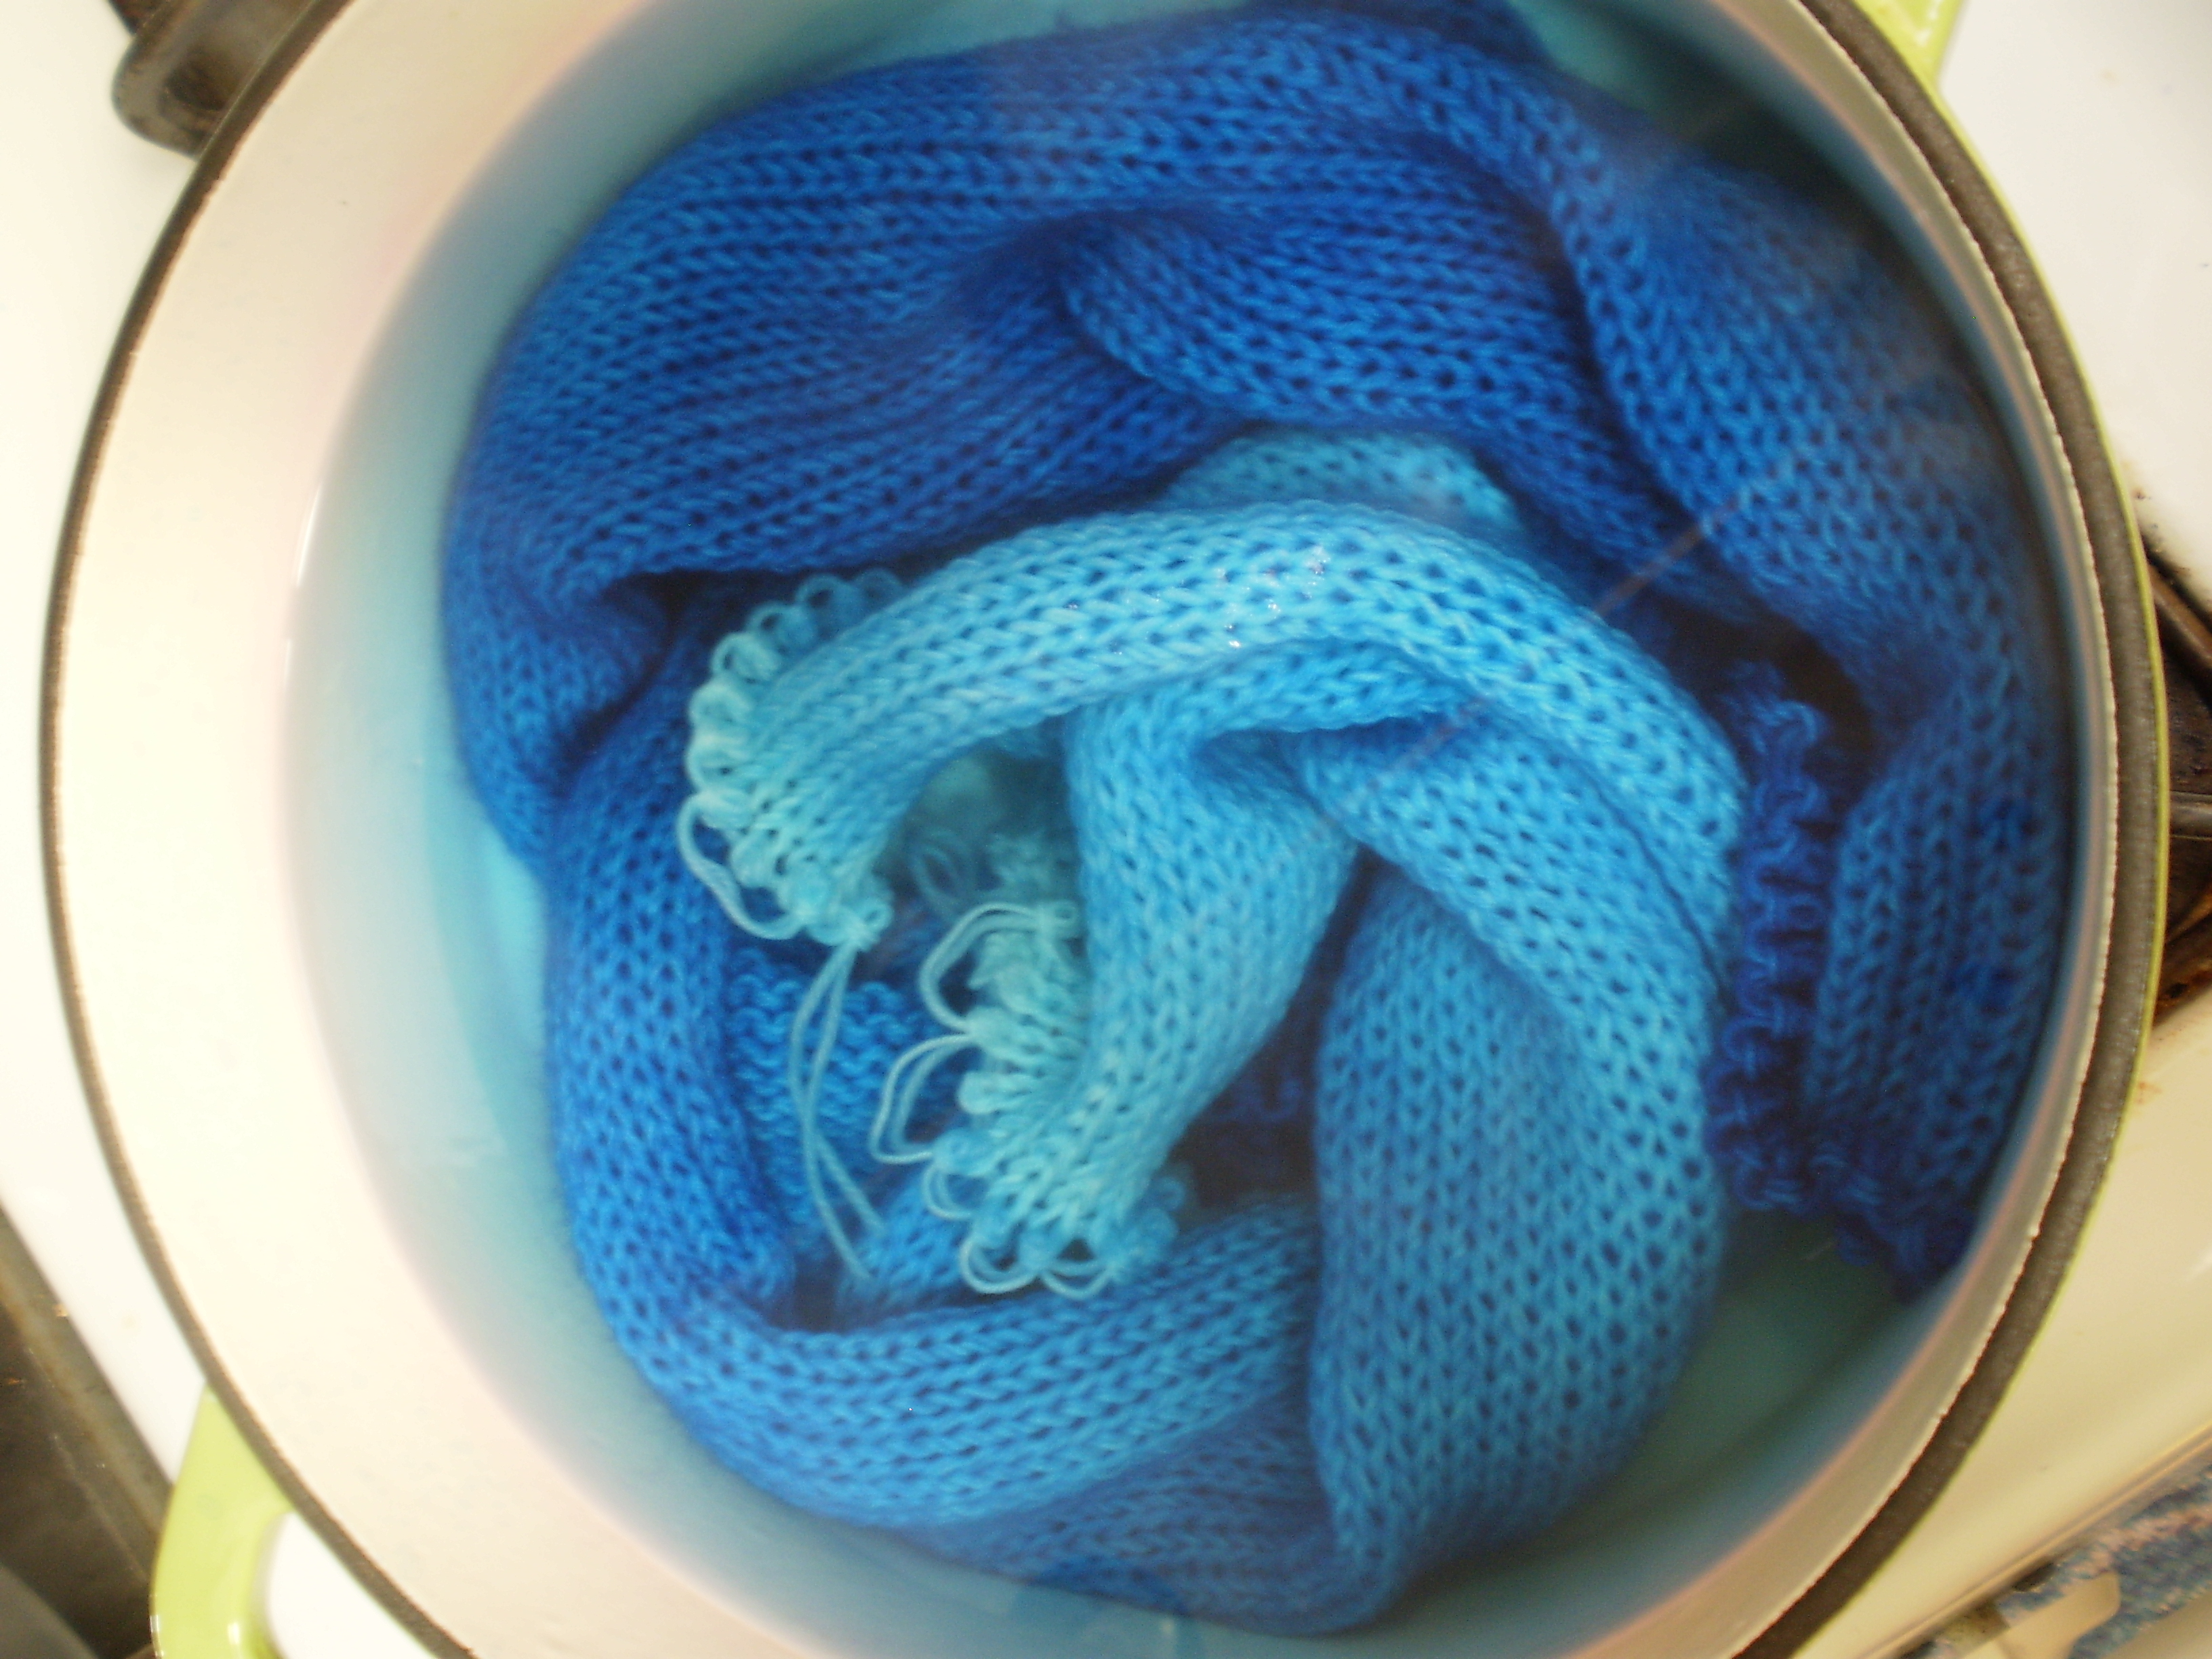
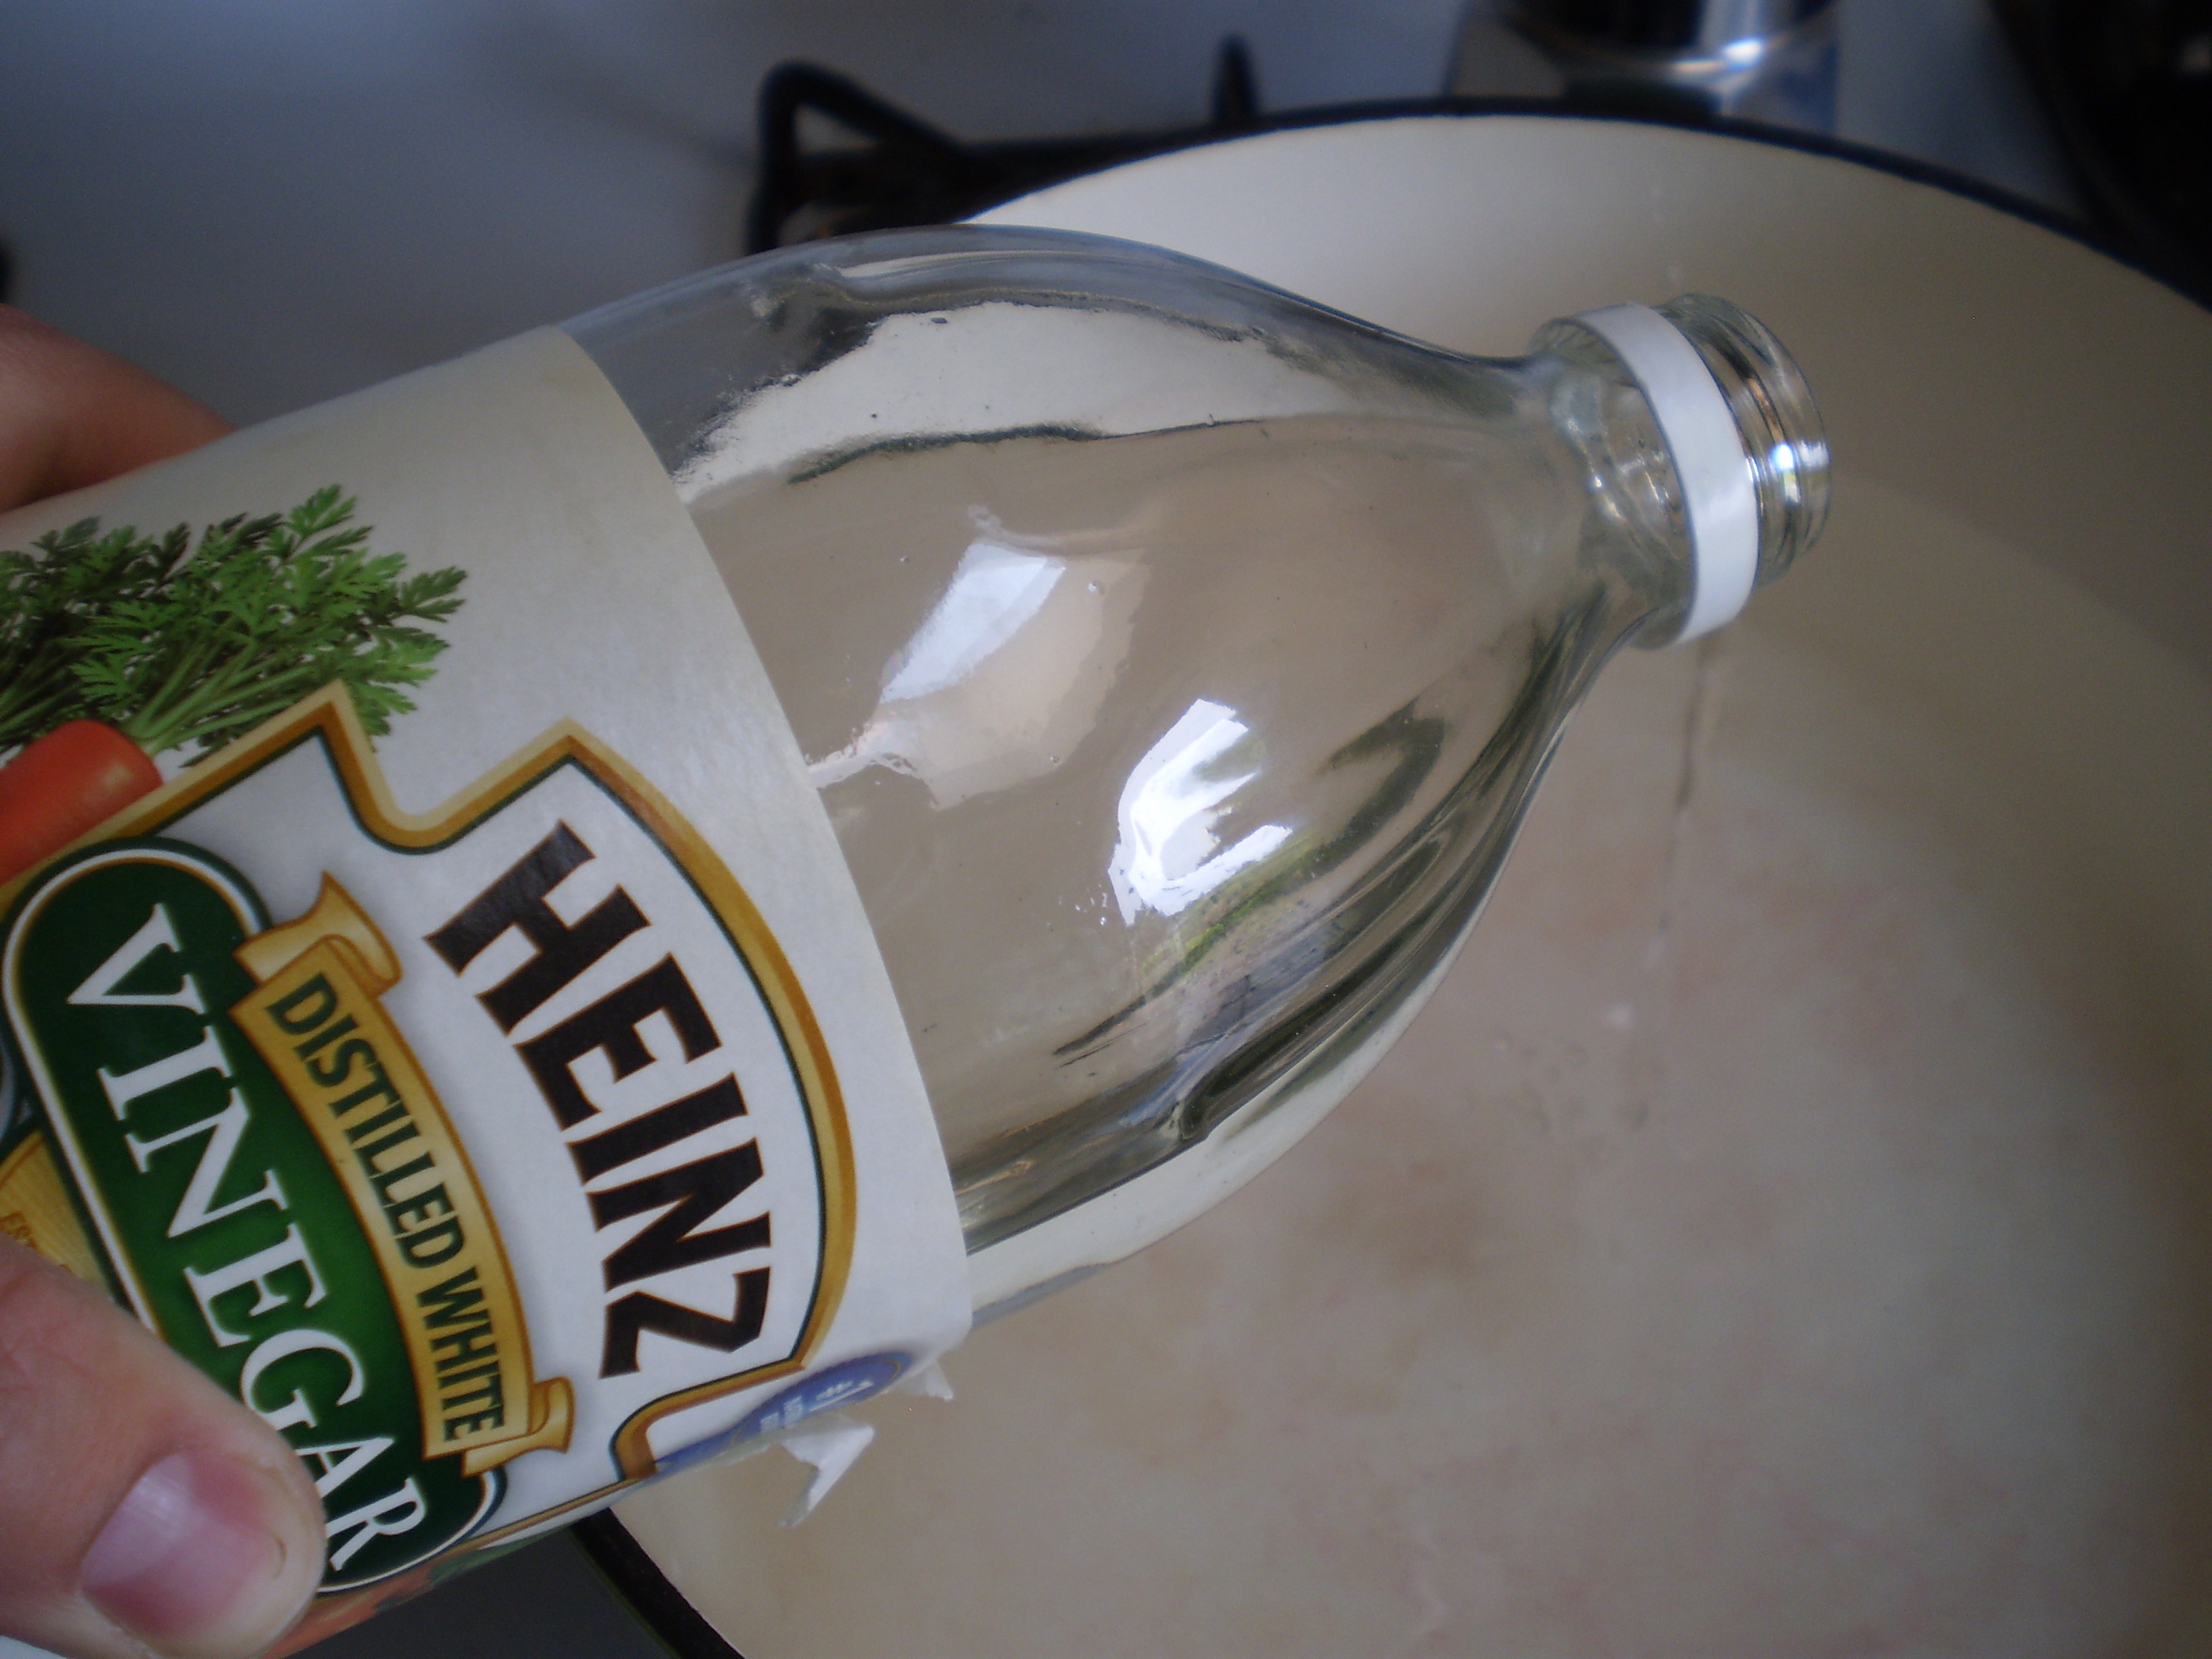
I let the kids pick out the colors they liked, and let them pour in the vinegar and mix in the food coloring. Then I boiled the kettle, added hot water into the dye, and poured the mixture onto the yarn where they told me to do it.

Is it the most beautiful yarn? No. Would I have picked those colors? Probably not. But was it a fun way to spend the afternoon with my kids? Heck yes!

And now I have a plan for Christmas gifts for them- can I make two kid-sized hats in the next 2 months? Cross your fingers for me!

Have you done any crafting with kids lately?

Dying Yarn: Ombre

Ombre is a fancy-pants fashion word for a color that changes from dark to light as you go up or down a garment.  You know what I’m talking about , even if my description doesn’t make sense.  Ombre looks like this:

ombre[1]

If you want to make an ombre project, like socks or a scarf, you can knit your project out of plain white wool yarn, then dye the finished projects.

(Or, you can start with a “Sock Blank.”  You can buy these from specialty yarn suppliers like Knitpicks.  A sock blank is a piece of stockinet knitting that is worked up with yarn held double.  It’s designed to be dyed, unraveled, and then knit into socks.  If you want to make your own, you totally can.  Just buy a skein of undyed wool sock yarn, hold the ends together, and knit up the whole thing.  Use super big needles so that the process goes quickly, and the fabric is nice and loose (if it’s too tight, the dye won’t take evenly). I’m using a sock blank, but that’s just because it’s what I had on hand.)

OK, so you have your knitted up fabric and your dye in your pot, just like normal.  Soak your knitted item in warm water and heat up your dye.  We’re ready to start dying.

Slooooooowwwwwly lower your sock blank into your dye.

OLYMPUS DIGITAL CAMERA

I’m talking tortoise slow, glacier slow, slower than the bus when you’re late for an important meeting.  S.L.O.W.

OLYMPUS DIGITAL CAMERA

Lower the project into the dye inch…by…inch.  It should take you several minutes to put the whole thing in the pot.  This gives the bottom of the fabric time to soak up more dye (and become darker), while the top part has less time in the dye (and stays lighter).

OLYMPUS DIGITAL CAMERA

Once the whole thing is in the pot, let it hang out in the hot acidic water for a few minutes to set the dye.

OLYMPUS DIGITAL CAMERA

Rinse it in fresh warm water and let it hang dry.  (Then, if you’re using a sock blank, unravel it and wrap into two balls of yarn.  Use these two identically dyed balls of yarn to knit up some kickass ombre socks.)

OLYMPUS DIGITAL CAMERA

Dying With Food Coloring, Part 3

Now let’s really have some fun!  Variegated yarn is my favorite to make… it’s sort of like finger-painting, or tie dying.  But with yarn.  Fabulous!


Start out by soaking your yarn in some nice warm water (like usual).  When it’s thoroughly soaked, get out a big baking dish and line it with a piece of plastic wrap (mine is pink, because it’s left over from Christmas, when, apparently, you can buy pink plastic wrap).  Then, arrange your yarn neatly in the dish, so that it’s all nicely laid out.

OLYMPUS DIGITAL CAMERA

Set your yarn aside for a couple minutes while you put together your materials for your dye.  This is going to be a little different than how we’ve done it before, so it helps to have everything ready.

Here’s what you need to get out:

-A glass measuring cup with a spout.  If you don’t have one, that’s OK.  You can use a mug or something else heat-proof, but having a spout keeps everything neat.

-A bottle of vinegar

-Food coloring of your choice

-A spoon or butter knife for mixing

-A kettle (or pot) of boiling water (the boiling part is important)

OLYMPUS DIGITAL CAMERA

Ready to start?  You’ll have to work kind of fast, so you might want to read over the instructions before you begin.

Mix your dye.  The dye needs to be much more concentrated than the dye we used before, since we’re hardly using any water.  Here’s what I used (more or less.  You know me, I like to eyeball my measurements):

-1/2 cup of boiling water

-1/2-1 tsp of vinegar

-Food coloring to make the shade I want.  For this colorway, I probably used about a 1/4 teaspoon of each color… more or less.

Mix it together with your spoon.  If you’re using the gel food coloring, try to get rid of any lumps or chunks (but it’s not the end of the world if you miss some).

OLYMPUS DIGITAL CAMERA

While the dye is still super hot, dribble it artistically over your yarn.  (You want to move fast, so that the residual heat from the boiling water sets the color right away.  If you wait for the dye to cool, you’ll end up with muddier, mixed up colors.  Of course, if you want to go for a mushy, water-color look, then feel free to experiment.)  When you dye a section of the yarn, try to dye all the strands in the bundle.  This way your whole skein will end up with more or less the same color pattern.  But, again, feel free to experiment.

OLYMPUS DIGITAL CAMERA

Add your other colors one by one:OLYMPUS DIGITAL CAMERA

And keep going until you like how the yarn looks (or until you run out of white spaces… whichever comes first):

OLYMPUS DIGITAL CAMERA

So, assuming you did everything right, most of the dye has already been taken up by the yarn.  But, as you can see above, some dye might still be hanging around in the liquid.  We can’t have that.  So, we’ll use the microwave to add a little more heat and finally set the colors.   Bundle the plastic wrap around the yarn, making a fiber-arts burrito:

OLYMPUS DIGITAL CAMERATransfer your burrito to a microwave-safe plate or bowl.  Pop the whole thing in the microwave, and zap it for 1 minute at a time.  Every time you pull it out of the microwave, let it sit for a minute or two, then check to see if the water has turned clear.  Once it has, rinse out the yarn with warm water, and hang it up to dry.

Fun, right?

OLYMPUS DIGITAL CAMERA

Dying With Food Coloring, Part 2

Let’s start at the beginning, and make us some semi-solid yarn.  I’m going to try to make some black yarn.  Now, when you shoot for black yarn, you usually end up with really really really really dark purple or blue, but I’m OK with that.

The process is really similar to dying yarn with Kool-Aid, with a few small differences.

OLYMPUS DIGITAL CAMERA

When you go to make up your dye bath, fill your non-reactive pot with plenty of water and a good glug of vinegar.  I’ve probably got about a half gallon of water, and about a tablespoon of vinegar.  You don’t really have to measure.

OLYMPUS DIGITAL CAMERAThen, add in your food coloring.  Add as much or as little as you want.  I’m trying for a really dark color, so I probably added just under a teaspoon.  If you’re going to try to get a couple skeins of the same color, you’ll want to measure carefully.  But, I’m just making the one, so I can play loosey-goosey.

OLYMPUS DIGITAL CAMERASoak your yarn in warm water.  When your dye bath is steaming and just on the verge of simmering, turn the temperature down to medium/medium-high.  Add the wet yarn all at once and give it a gentle stir with a spoon.

OLYMPUS DIGITAL CAMERALet your yarn hang out in the dye bath until all the color is taken up.  I used a TON of food coloring for this yarn, so it probably took a good half hour to take up the dye.  (Also, it’s almost impossible to take a good picture of yarn in a dye bath.  This was the best one of about 15 photos.  Frustrating.)

When the water turns clear, tip the yarn into a clean colander in the sink and rinse it out thoroughly with clean, warm water.  Make sure you get all the vinegar out.

OLYMPUS DIGITAL CAMERAHang your yarn up to dry!

Dying with Food Coloring, part 1

I’ve been getting requests to do a dying with food coloring tutorial for a while now (Hi Mom!), so let’s do it.  Dying with Kool-Aid is fun and all, and leaves your knitwear smelling fruity fresh, but there is a very limited color selection with it.  And, unless you’re six years old, you probably don’t want a “Blastin’ Berry Cherry” colored sweater.

Here’s what you need:


OLYMPUS DIGITAL CAMERA

-Food Coloring.  I like the gel concentrate stuff from Wilton.  It’s super concentrated, so you can use just a little bit and still get really bright colors.  And, it comes in approximately a million shades.  I bought this box of 12 colors for about $10 (with a coupon from JoAnn’s), and it’ll last me years.  You can use the regular liquid colors from the grocery store, but you’ll have to use a lot more volume to get brightly colored yarn.

-Vinegar.  To set the color into your yarn, you have to add an acid, and plain white vinegar works best.  It’s dirt cheap, and you probably have a bottle of it in the back of your cupboard.  (We didn’t use vinegar when dying with Kool-Aid, since it already has citric acid added to the powder, so you don’t have to add any more. Science!)

-Yarn.  Just like with the Kool-Aid, this kind of dying only works with animal fibers (wool, alpaca, angora, silk).  It has to do with the protein makeup of the yarn, but I don’t know all the science behind it.  I just know that if you try it with acrylic or cotton, it’ll never take up the color.  I’m using Paton’s Classic Worsted.  It’s a 100% wool yarn, and it’s easy to find at your local Jo-Ann’s/Michael’s/Hobby Lobby.

-Water.  Duh.  From the tap is fine.

-A non-reactive vessel.  (Just like with dying with Kool-Aid)  Stainless steel, enamel, glass or non-stick/Teflon work well.

Collect up your gear, and meet me back here next week when I’ll show you how to dye semi-solid and variegated yarn. And (if the time management gods smile upon me), I’ll give you a pattern to use your newly dyed yarn!

OLYMPUS DIGITAL CAMERA