Tag Archives: purl

The Library is Open-Part 1

The other day, I was kitting with a friend, drinking coffee and working on my cabled sweater, when I noticed her watching what I was doing with a look of vague concern and puzzlement.

“What’s up?” I asked her.

She responded, “How do you to that?”

“Do what?”

“How can you make such a complicated project without making a million notes and keeping track of all your rows and looking at a pattern constantly?”

I replied,  “Well, it’s mostly just knitting the knits and purling the purls, and keeping track of my rows.”

She looked at me like I was crazy, and I realized that no one had ever taught her how to read her knitting.

I am here to fix that today, in case anyone else out there in internet-land hasn’t been reading their knitting, either.  Because, there is nothing so useful as being able to look at your knitting and figure out where you are in your pattern and what you need to do next (or, to be able to look at your knitting and figure out where you went wrong).

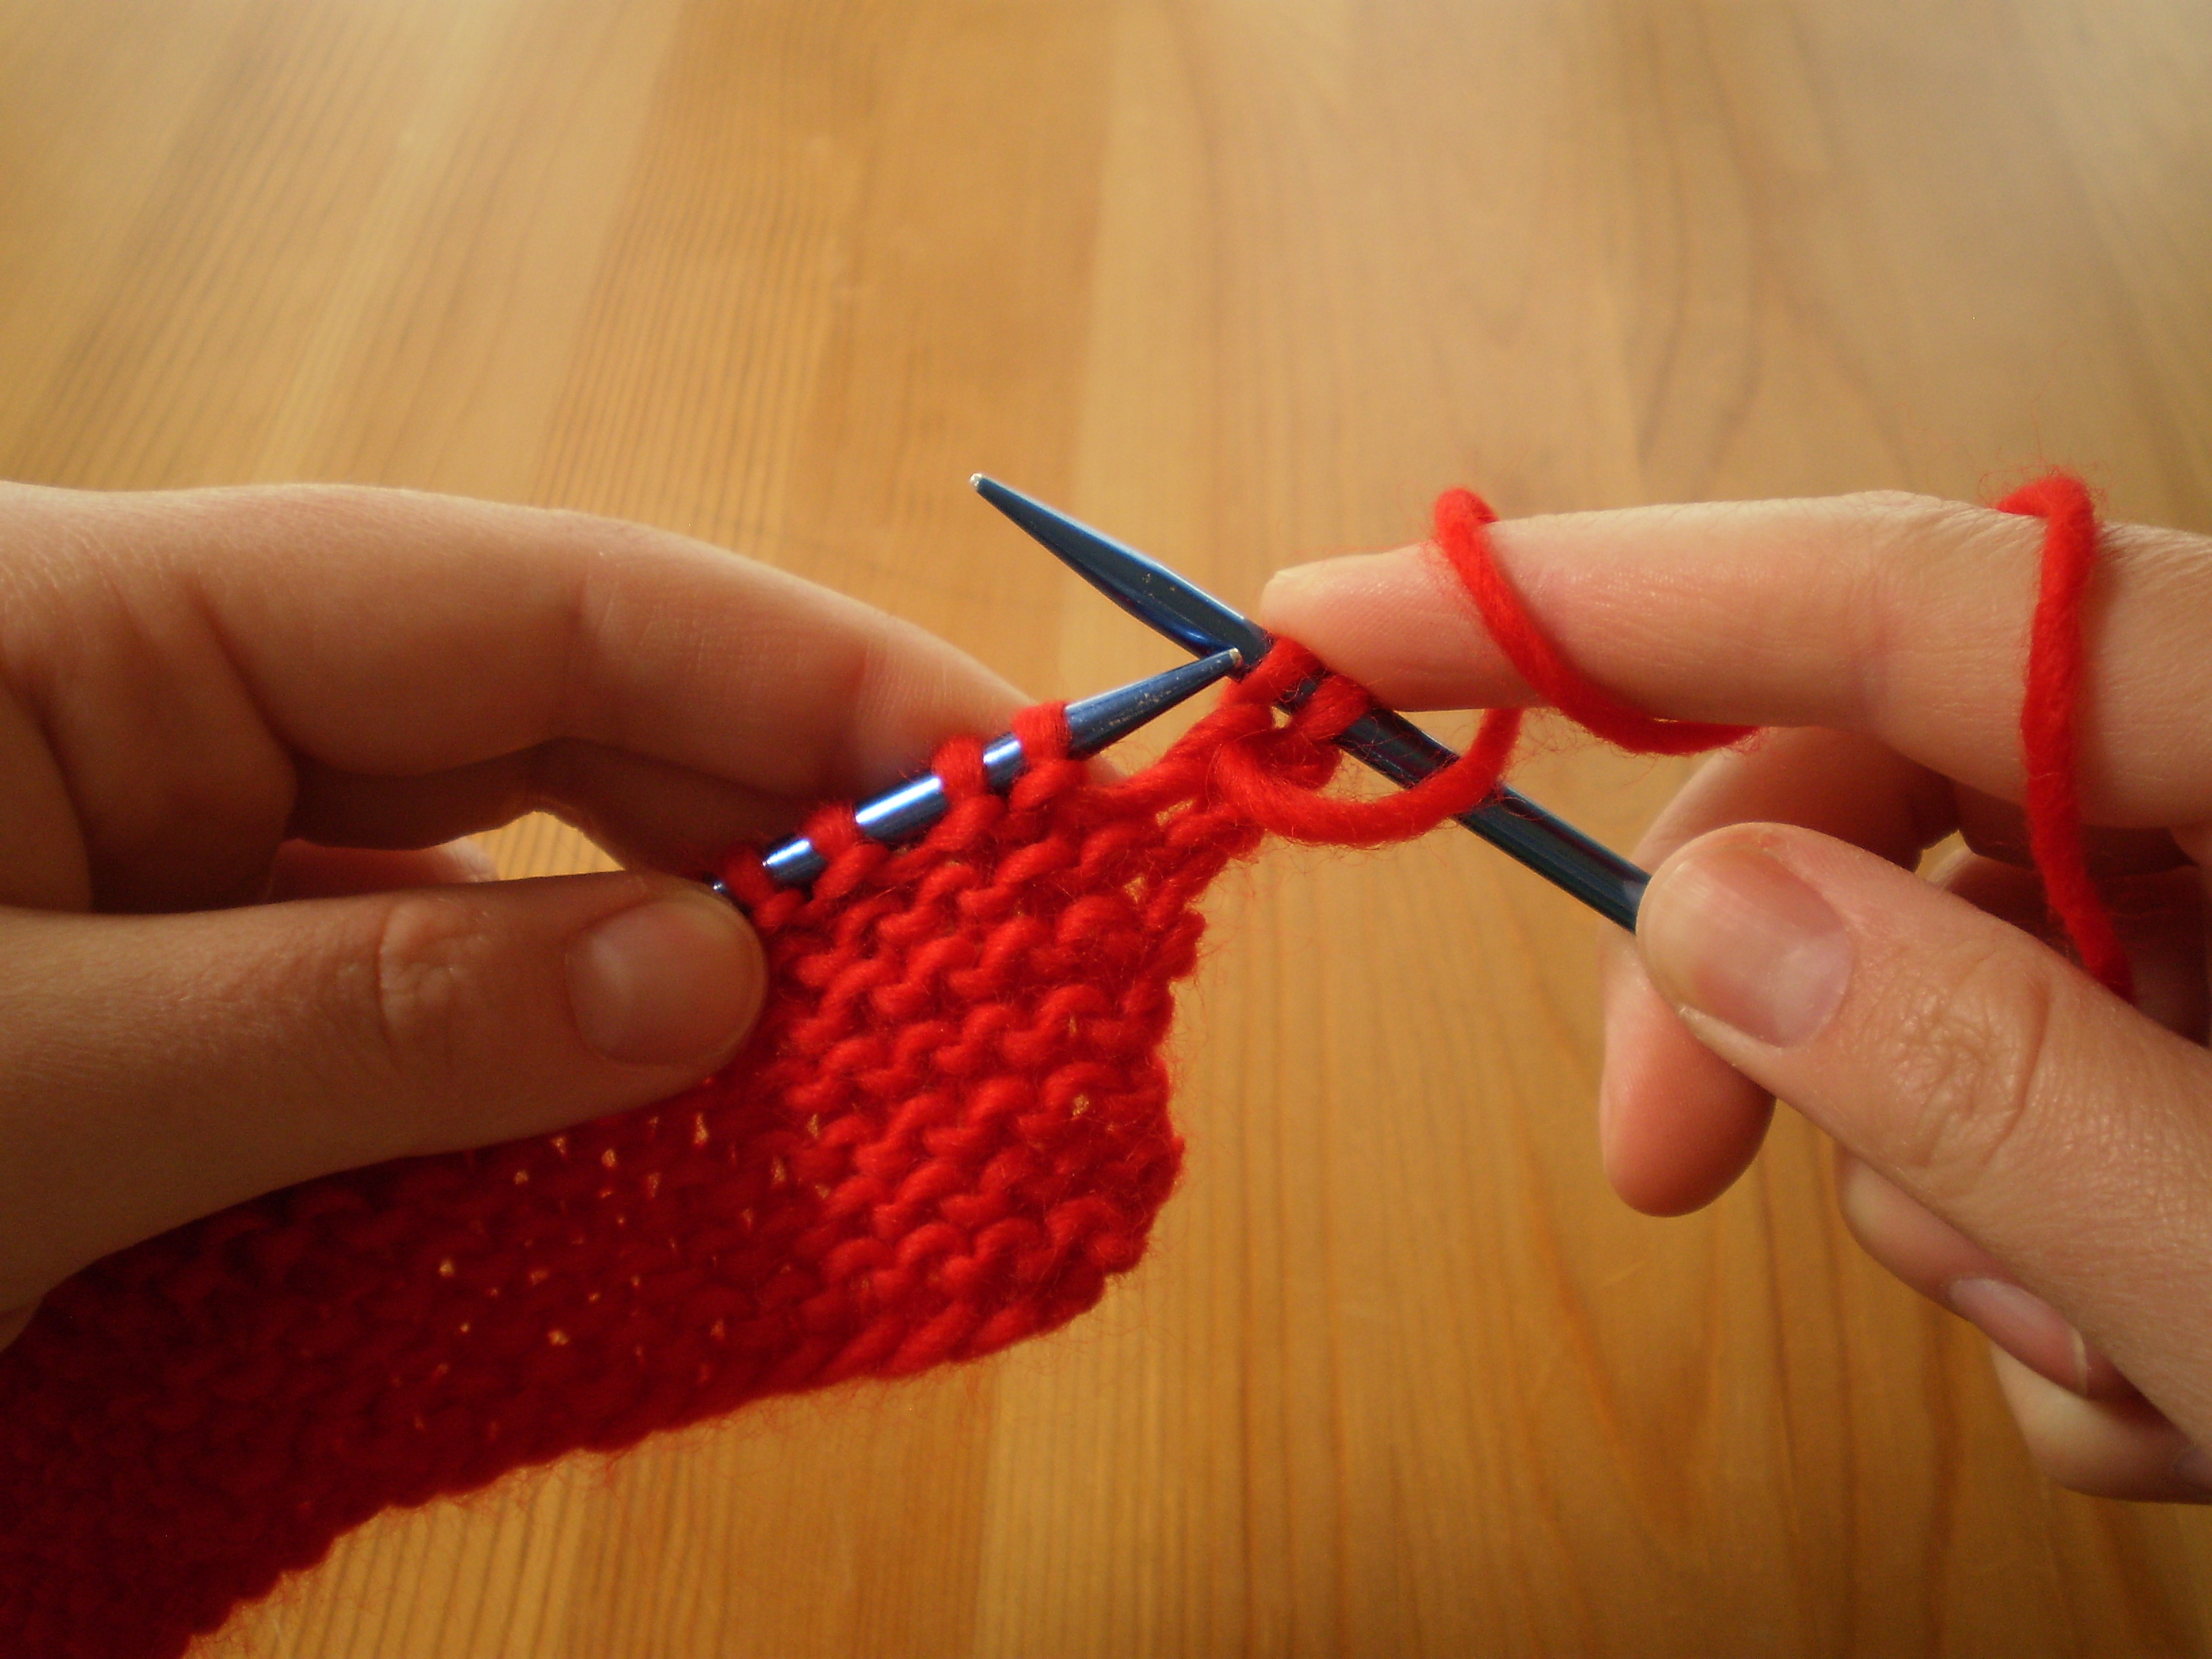
We’ll start with a very simple example, just knits and purls.  OLYMPUS DIGITAL CAMERAAt minimum, reading your knitting will let you know the stitches you need to work next to remain “in pattern,” and will tell you how many rows you’ve already worked.

To look at your stitches, look at the row directly underneath your needle.  There, you’ll see either little V’s (knits), or little bumps (purls).  If you want to stay “in pattern” (for example, if you’re doing ribbing), you’ll knit when you come across a knit in the row below, and you’ll purl when you come across a purl in the row below.  (This is what people refer to as “knitting the knits and purling the purls.”)

In our example, I’ve highlighted the stitches in the example below:sts(Note:  I’ve worked the first and last 2 sts in garter stitch, which means that you just knit every row, so I don’t have to worry about reading those 4 sts!)

The other basic skill in reading your knitting is figuring out how many rows you’ve worked.  Of course, you can use a stitch counter or paper and pencil to keep track of your rows, but you’ll inevitably get caught up in the episode of Law and Order you’re watching and lose track of your count.  (What?  That’s just me?)

Rows are easiest to count in stockinette.  This sample is ribbed, but you can think of the knit portion of ribbing as just a skinny little section of stockinette.  You’ll again look for the V-shaped stitches, and then count down the whole column (don’t count the stitch that’s on your needle).  Like this:

rowsSo, I can tell that this swatch has been worked for 8 rows, because there are 8 little V’s.

See, not so bad!  I use these techniques all the time, and I bet they’ll totally help you, too.

Next time, I’ll talk about reading your knitting while making cables!

n00b Hat, Part 3: the Purl Stitch

Have you got your garter stitch brim done?  Awesome!  Send me a photo, if you like.  I’d love to actually see it, instead of just pretending to see it.

So, your hat should look something like this:

OLYMPUS DIGITAL CAMERAIf it’s a little longer or shorter, no worries.  If it’s a little lumpier, also no worries.

Today we’re going to start working on the middle part of the hat, which we’ll work in stockinet stitch.  Stockinet stitch is a simple knitting pattern where you alternate knitting one row, and purling one row.  When you imagine a basic knit sweater, the smooth-looking parts are stockinet stitch.

You already know how to do knit stitches, so I guess it’s time to learn how to do purl stitches.  The purl stitch is worked very similarly to the knit stitch, except that it’s mirrored (don’t worry… it sounds worse than it is).

Just like before, you’re going to start with your knitting on your left side and your empty needle on your right.  Take the tip of your right-hand needle, and poke it through the back of the first stitch.  Keep your yarn in front of your knitting.  (See how it’s backwards from working a knit stitch?)

OLYMPUS DIGITAL CAMERAThen, wrap your yarn around the tip of your right-hand needle.

OLYMPUS DIGITAL CAMERAAnd pull the new stitch through the old stitch, from front to back.

OLYMPUS DIGITAL CAMERAOLYMPUS DIGITAL CAMERAAnd, just like before, you slip the old stitch off the left needle.

OLYMPUS DIGITAL CAMERA

Does that make sense?  Let’s try it again.

Keep your yarn in front of your knitting.  Insert the tip of your needle into the back of the stitch. Wrap your yarn around the tip of your needle, and pull the new stitch through.  Drop your old stitch off the left-hand needle.

OLYMPUS DIGITAL CAMERAOLYMPUS DIGITAL CAMERAOLYMPUS DIGITAL CAMERAOLYMPUS DIGITAL CAMERAKeep going!  Purl the whole row.

Now that you’ve purled a whole row, do you see how knitting and purling are very similar?  For both, you insert your right-hand needle, wrap your yarn around, pull the new stitch through, then drop the old stitch off.  Here’s a quick summary of the differences between knitting and purling:

Knitting: Insert your needle into the front of the stitch, keeping your yarn behind the knitting.  Wrap your yarn around the needle tip, and pull the new stitch through from back to front.

Purling: Insert your needle into the back of the stitch, keeping your yarn in front of the knitting.  Wrap your yarn around the needle tip, and pull the new stitch through from front to back.

OK, so, since we’re doing the stockinet stitch pattern, it’s time for another knit row.  (Remember, knit one row, purl one row.)  So, turn your knitting around and knit back.

Then purl a row.

Then knit a row.

Then purl a row.

Simple!

But, what if you have to (I don’t know) sleep or something?  How will you remember what to do next?  Easy; just “read” your knitting.  “Reading” your knitting means that you look at the stitches you’ve already worked to figure out what to do next.

After a few rows of stockinette stitch, you’ll see that your hat has two different textures.  The bumpy and squishy garter stitch at the bottom, and the smooth stockinet at the top.

OLYMPUS DIGITAL CAMERAStockinet has two different sides.  The “right side” is the side with the little V-shaped stitches.  When you see this side facing you, it’s time to knit.

OLYMPUS DIGITAL CAMERAThe “wrong side” is the side with little bumps.  When you see this side, it’s time to purl.  (You can think of the bumps as “pearls,” if that helps.  Get it? Pearls=purl.  Clever clever.)

OLYMPUS DIGITAL CAMERAKeep going, knitting one row and purling one row until your whole hat measures about 5 inches from the cast-on edge.  If you have a smaller head, you can make your hat a little shorter, if you have a bigger head (or lots of hair) you can make your hat a little longer.  I like to err on the too long side, since you can always roll up the brim, if it’s too big.

OLYMPUS DIGITAL CAMERANext week, we’ll make the crown of the hat, and I’ll show you how to do decreases.