Tag Archives: blocking

Blocking: Sweaters

You understand how to block something simple (a scarf, a coaster, or maybe even a blanket).  Now, it’s time to do something more complicated.  Something with sleeves.

Let’s block a sweater!  (In this case, a baby sweater, but the same process works for a grown-up sweater, too.)

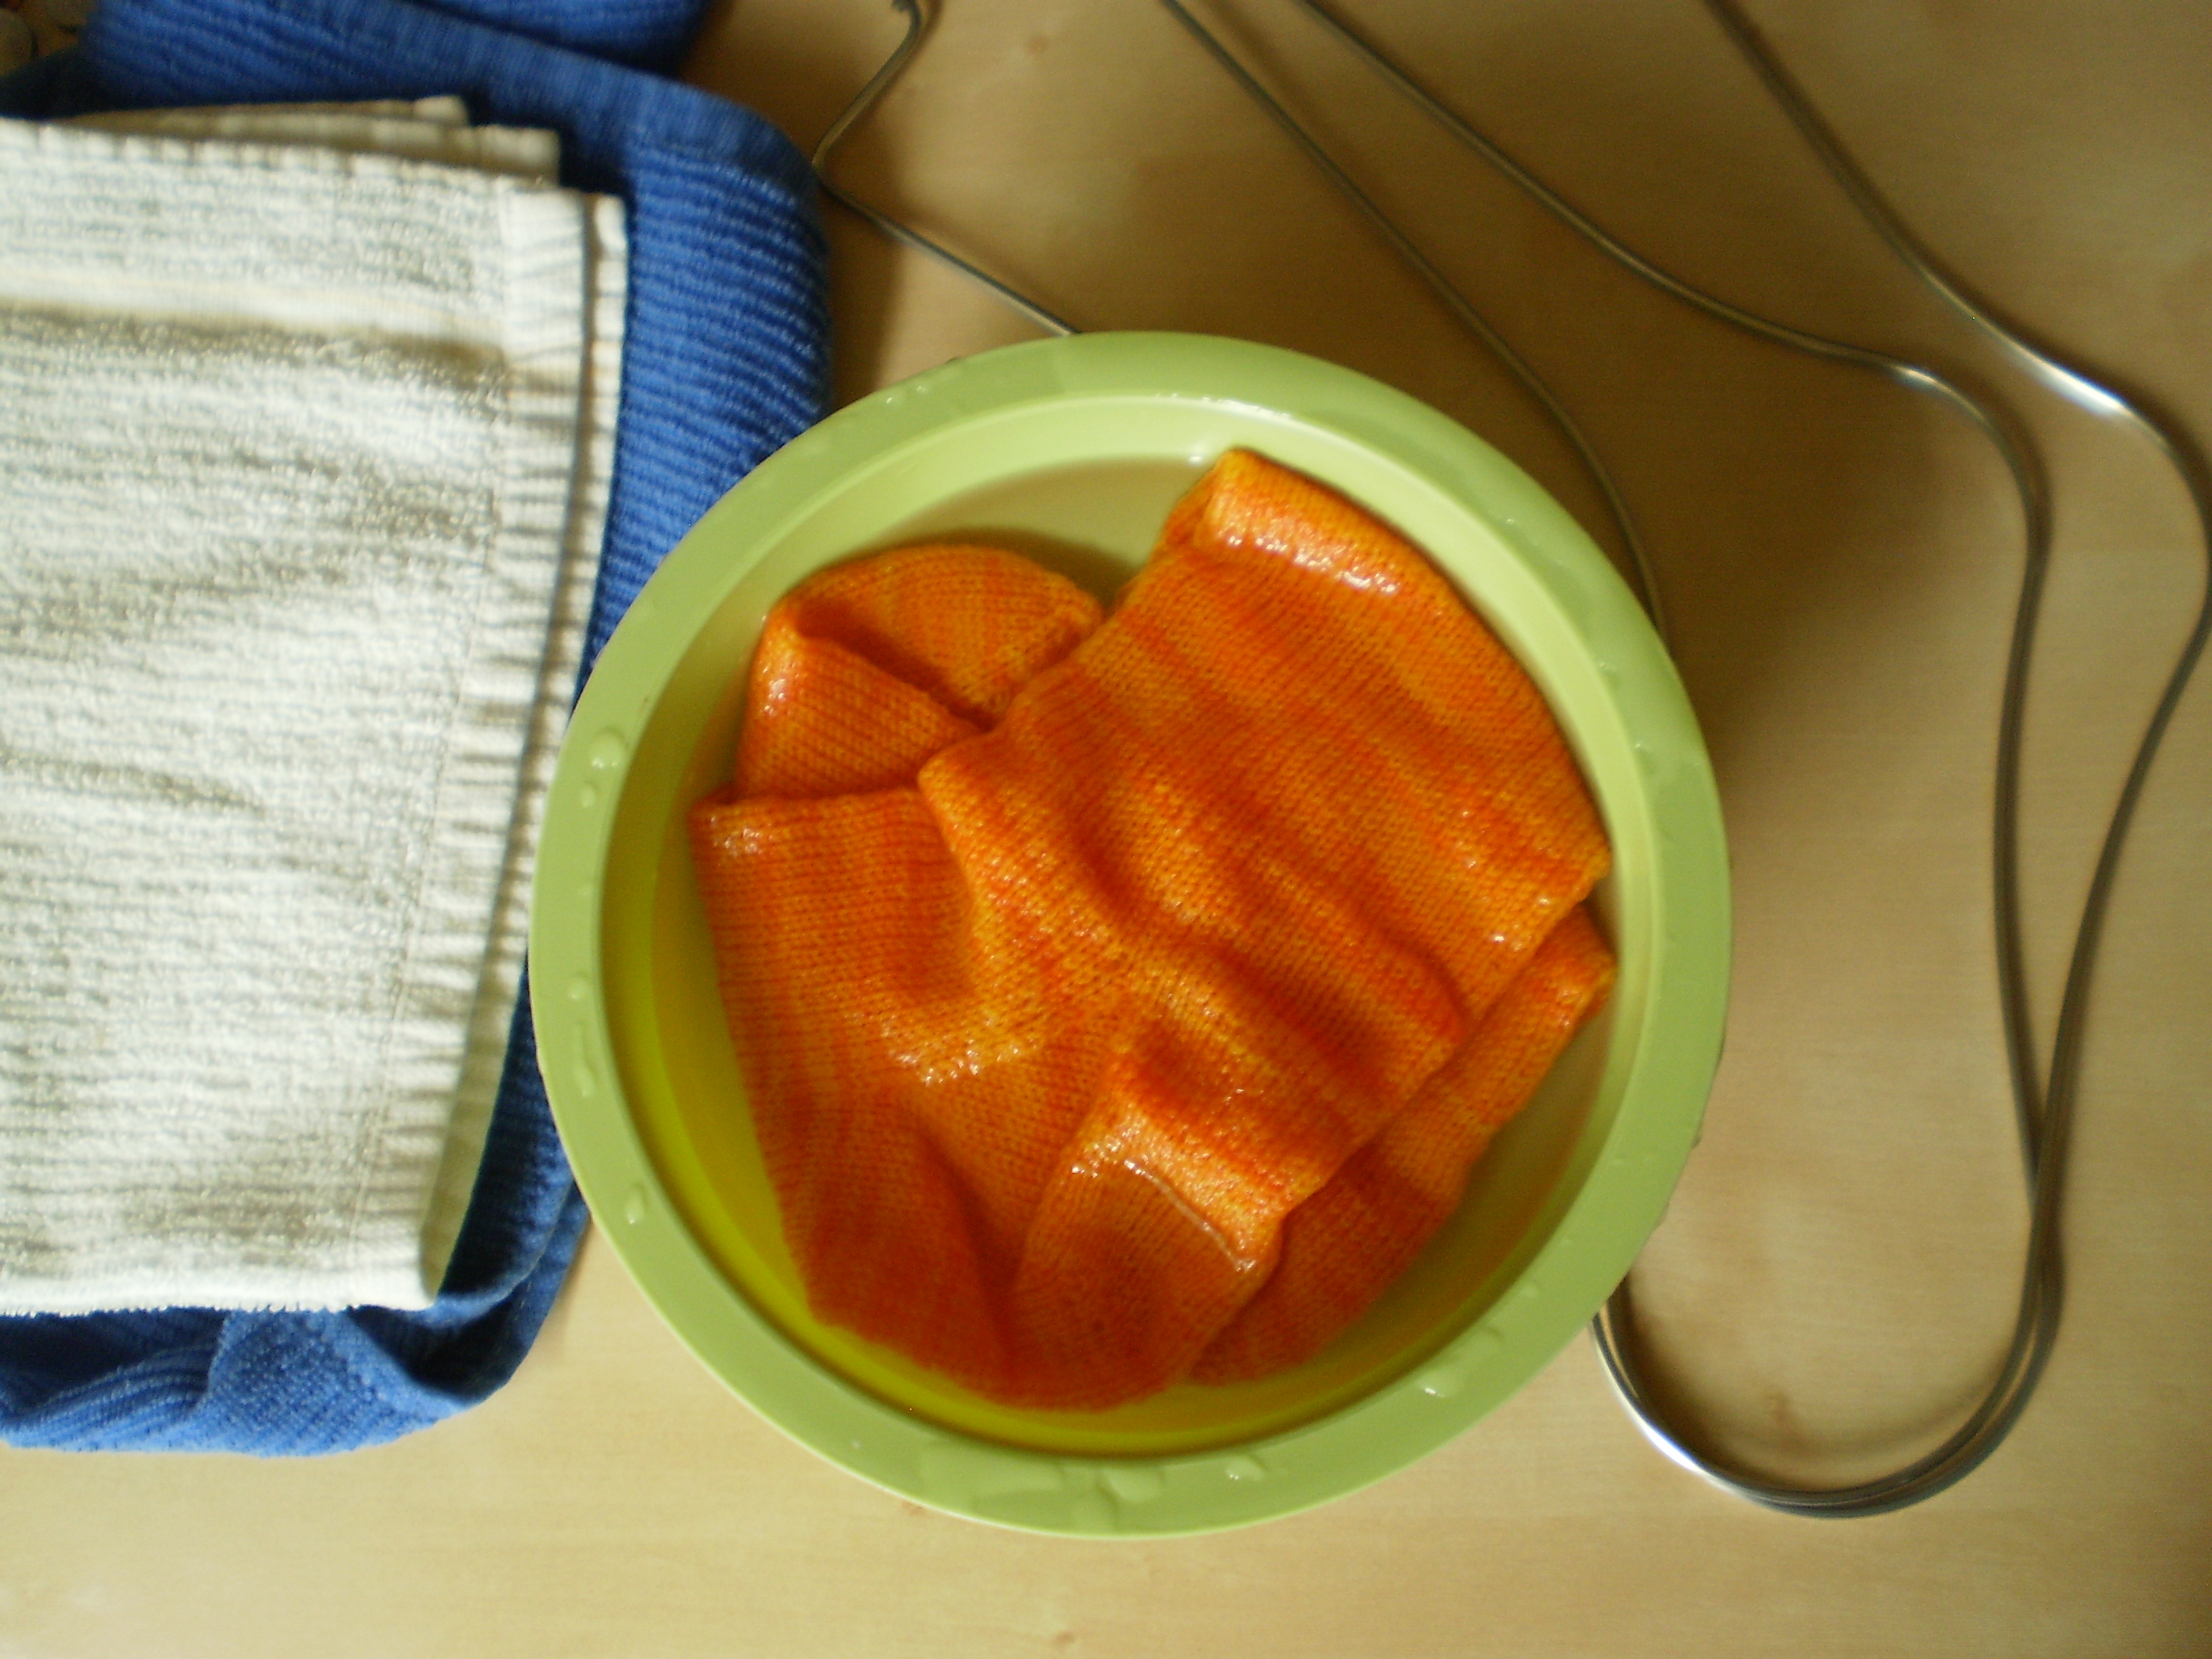
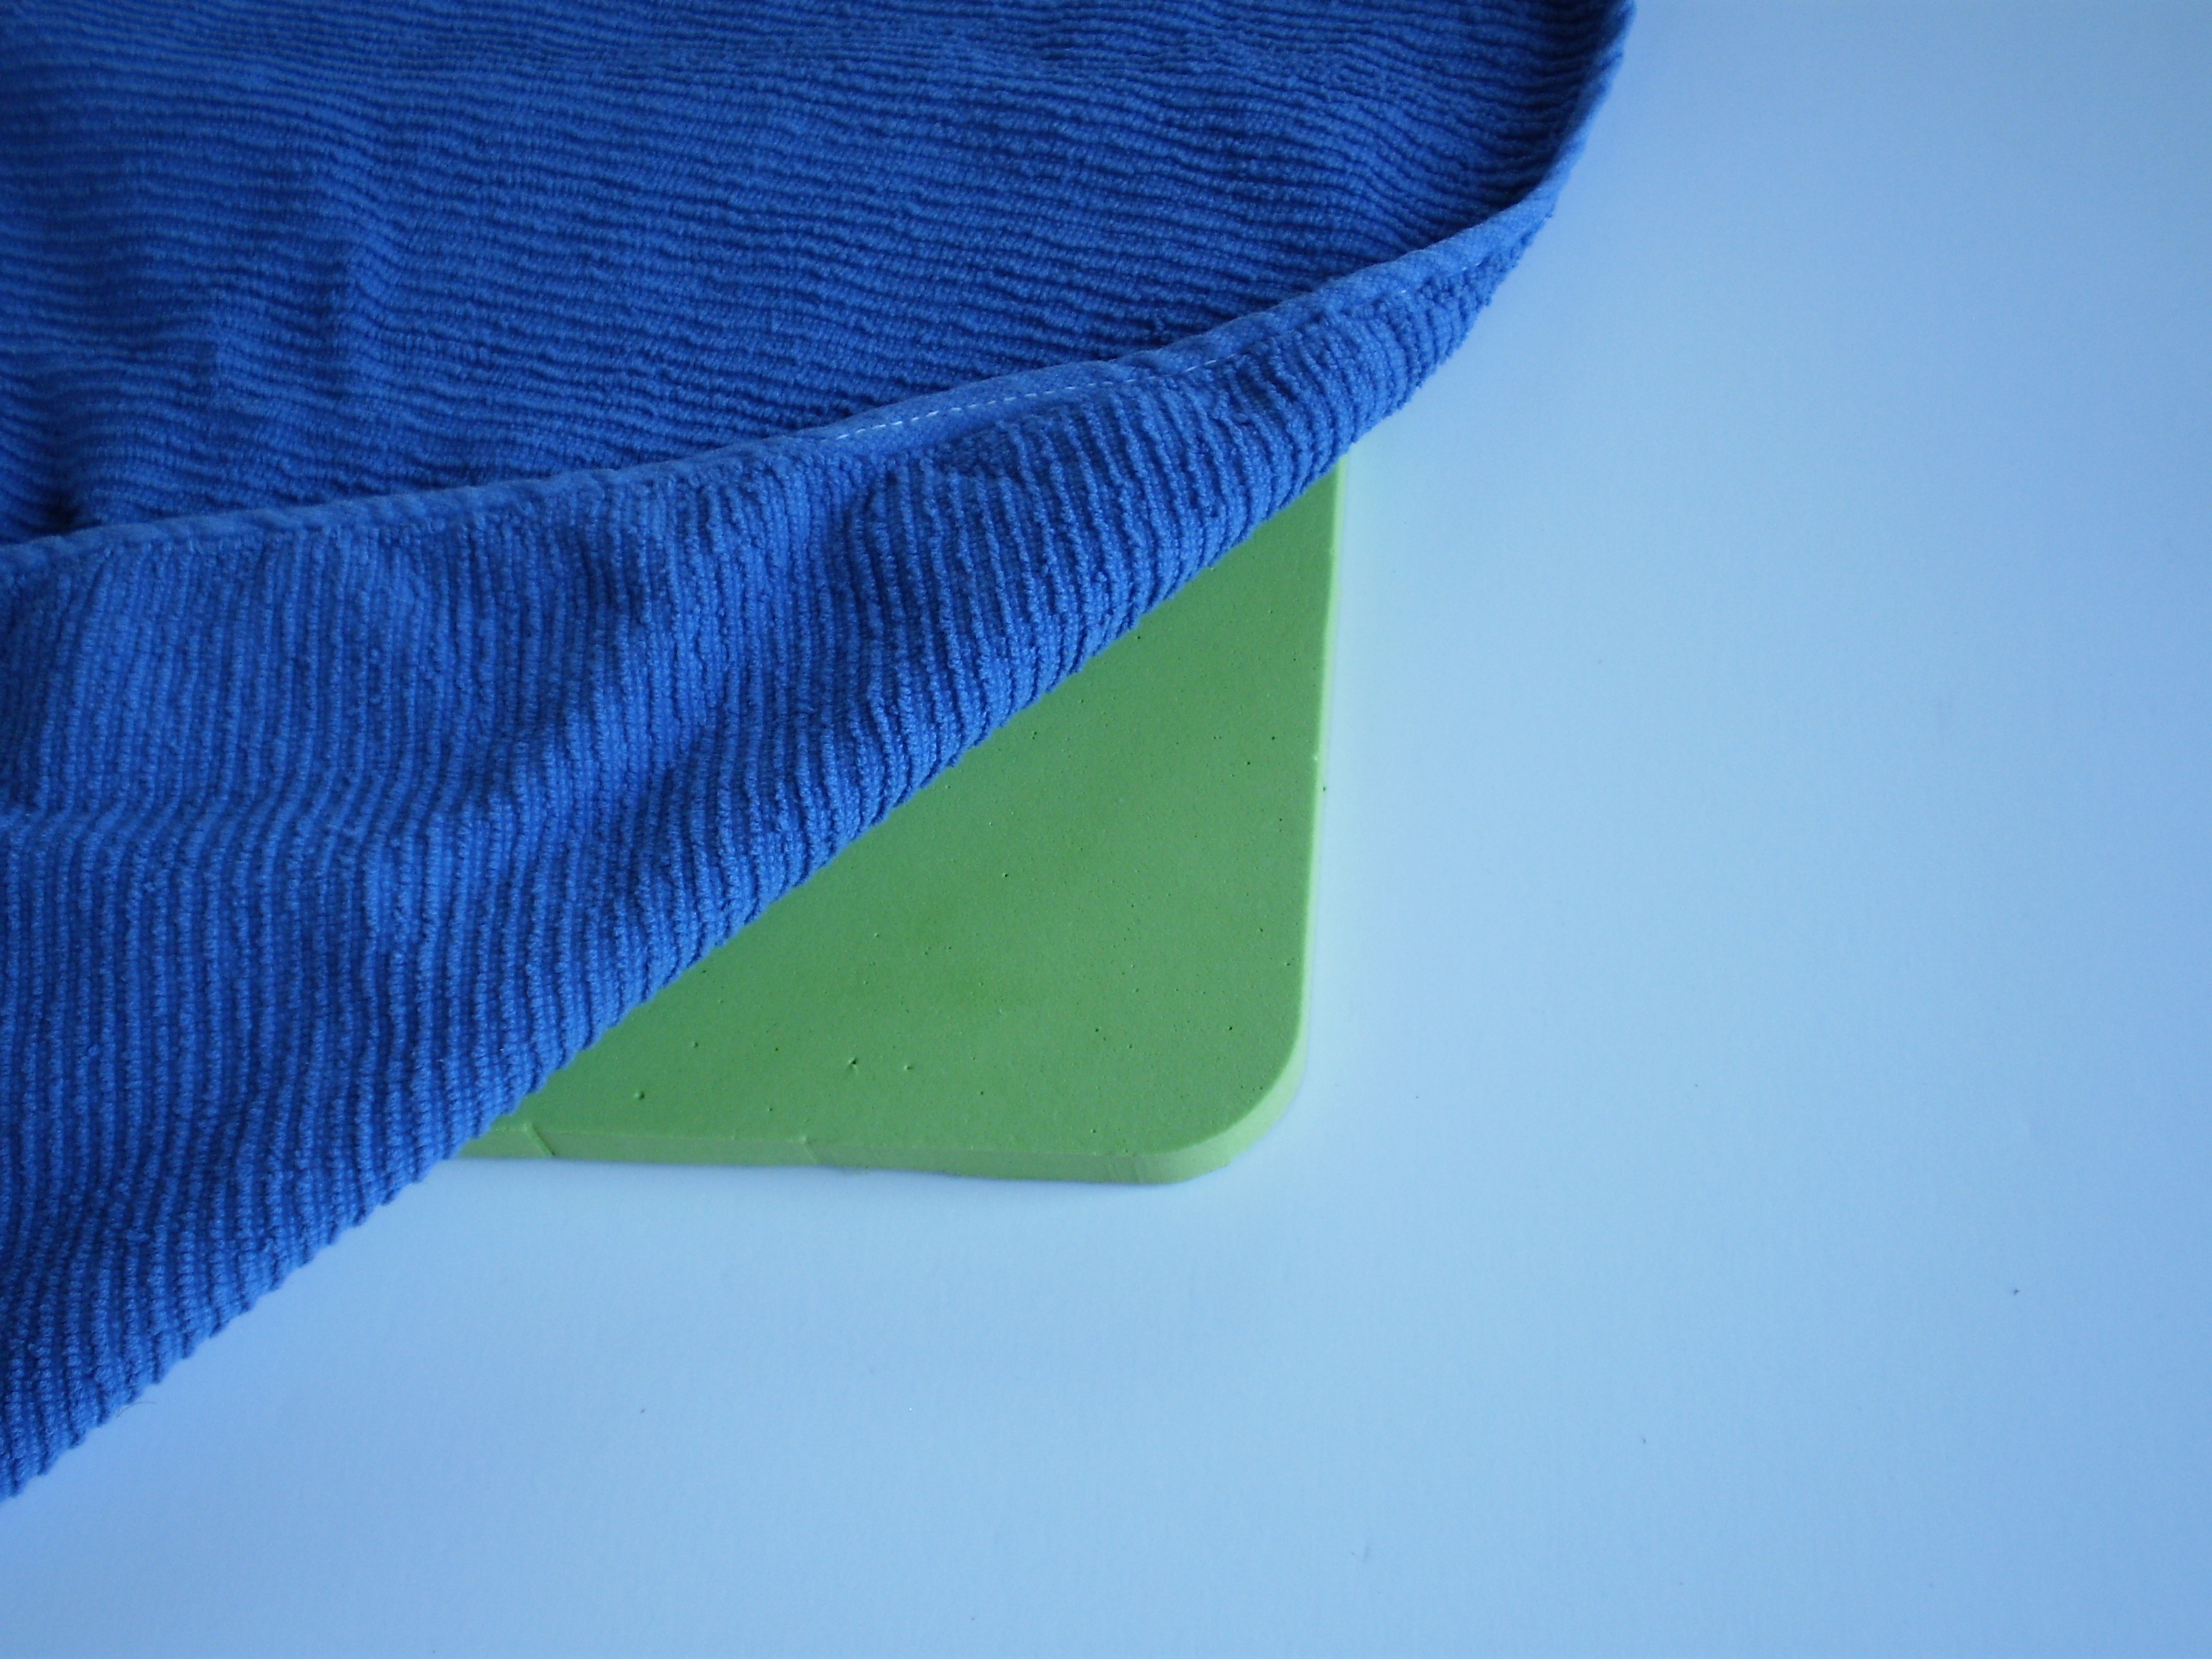
We’ll start by soaking the sweater in a bowl of warm water for 10-20 minutes.  Make sure it’s nice and soaked through.OLYMPUS DIGITAL CAMERAThen, just like last time, roll it up in a nice clean towel and squeeze out most of the moisture.  Put out your foam tiles and cover them up with a new clean, dry towel.

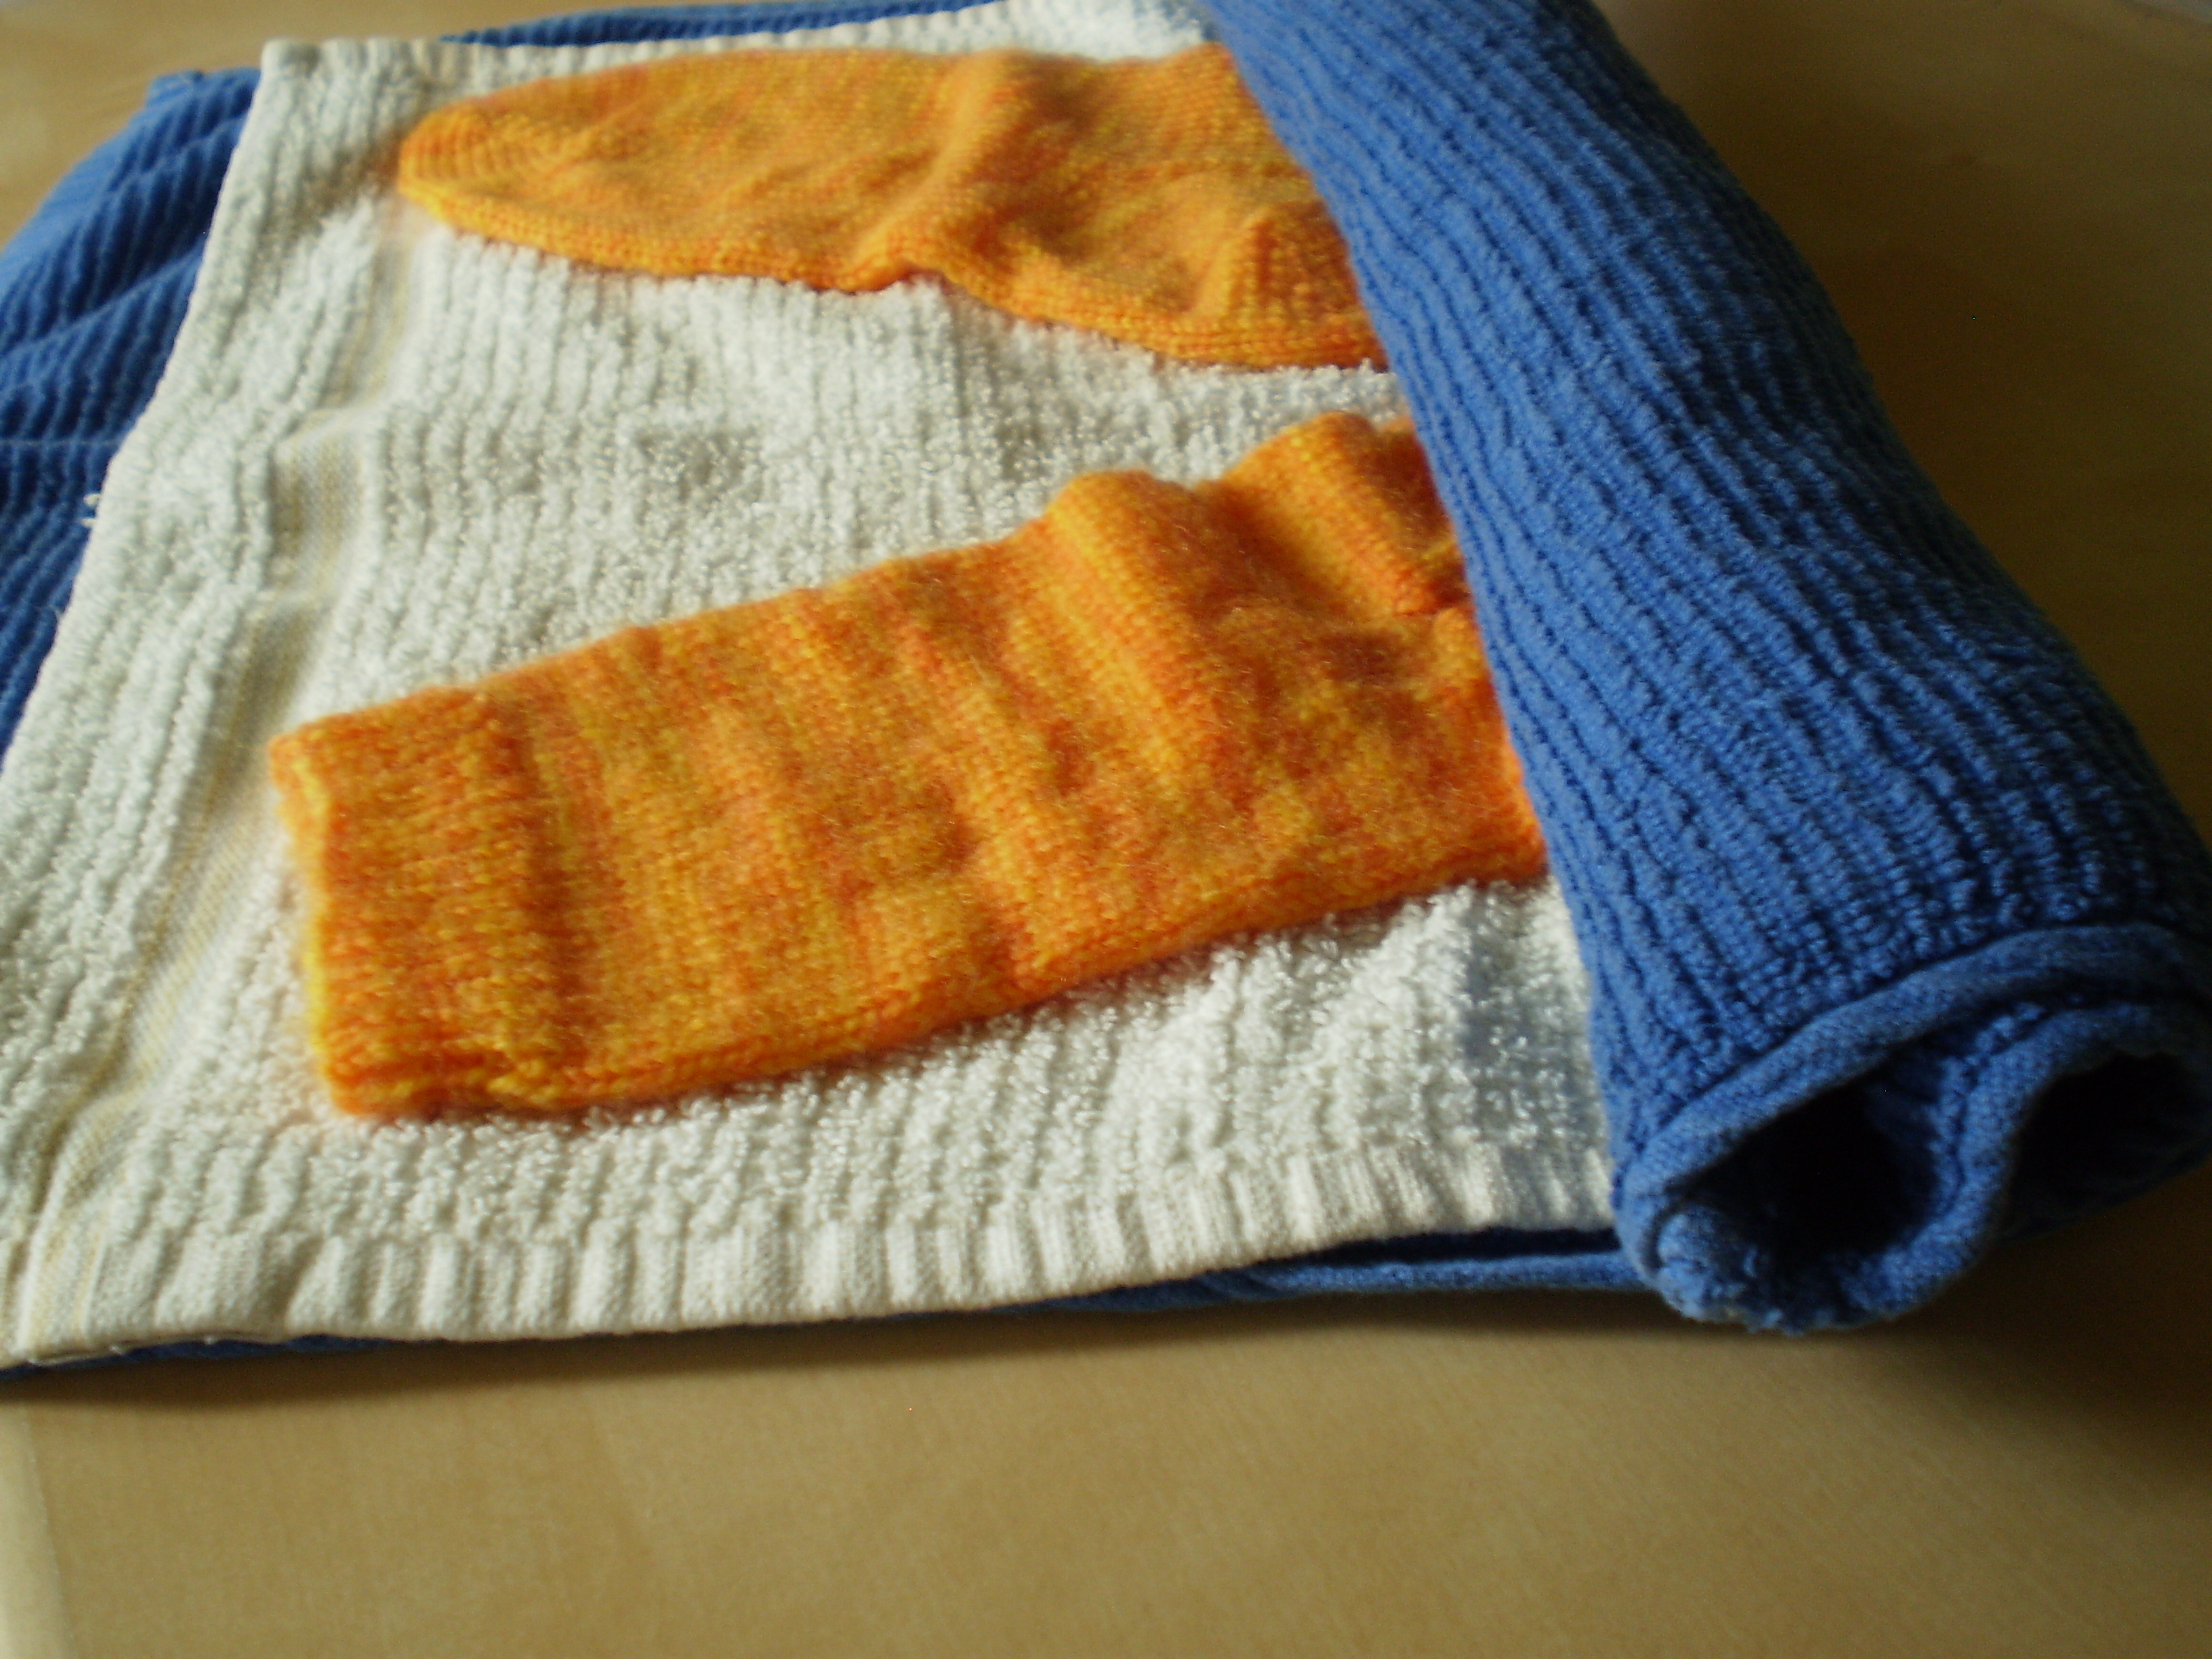
Lay out your sweater as best you can  to roughly the right proportions.  When you’re working with a grown-up sized sweater, it can be kind of tricky.  Don’t worry if you don’t get it right away-we’ll rejigger everything in a minute.  Just eyeball it.

OLYMPUS DIGITAL CAMERA

Now, it’s time to measure the sweater and make sure it ends up the size you want it.  Begin with the chest measurement.  Now, since this is a baby sweater, I want the chest to be 9 inches across.

OLYMPUS DIGITAL CAMERA

Close enough.

Now that the chest measurement is about right, I’ll stretch out the body to the right length,  double-checking that the chest measurement doesn’t get stretched out of shape.

OLYMPUS DIGITAL CAMERA

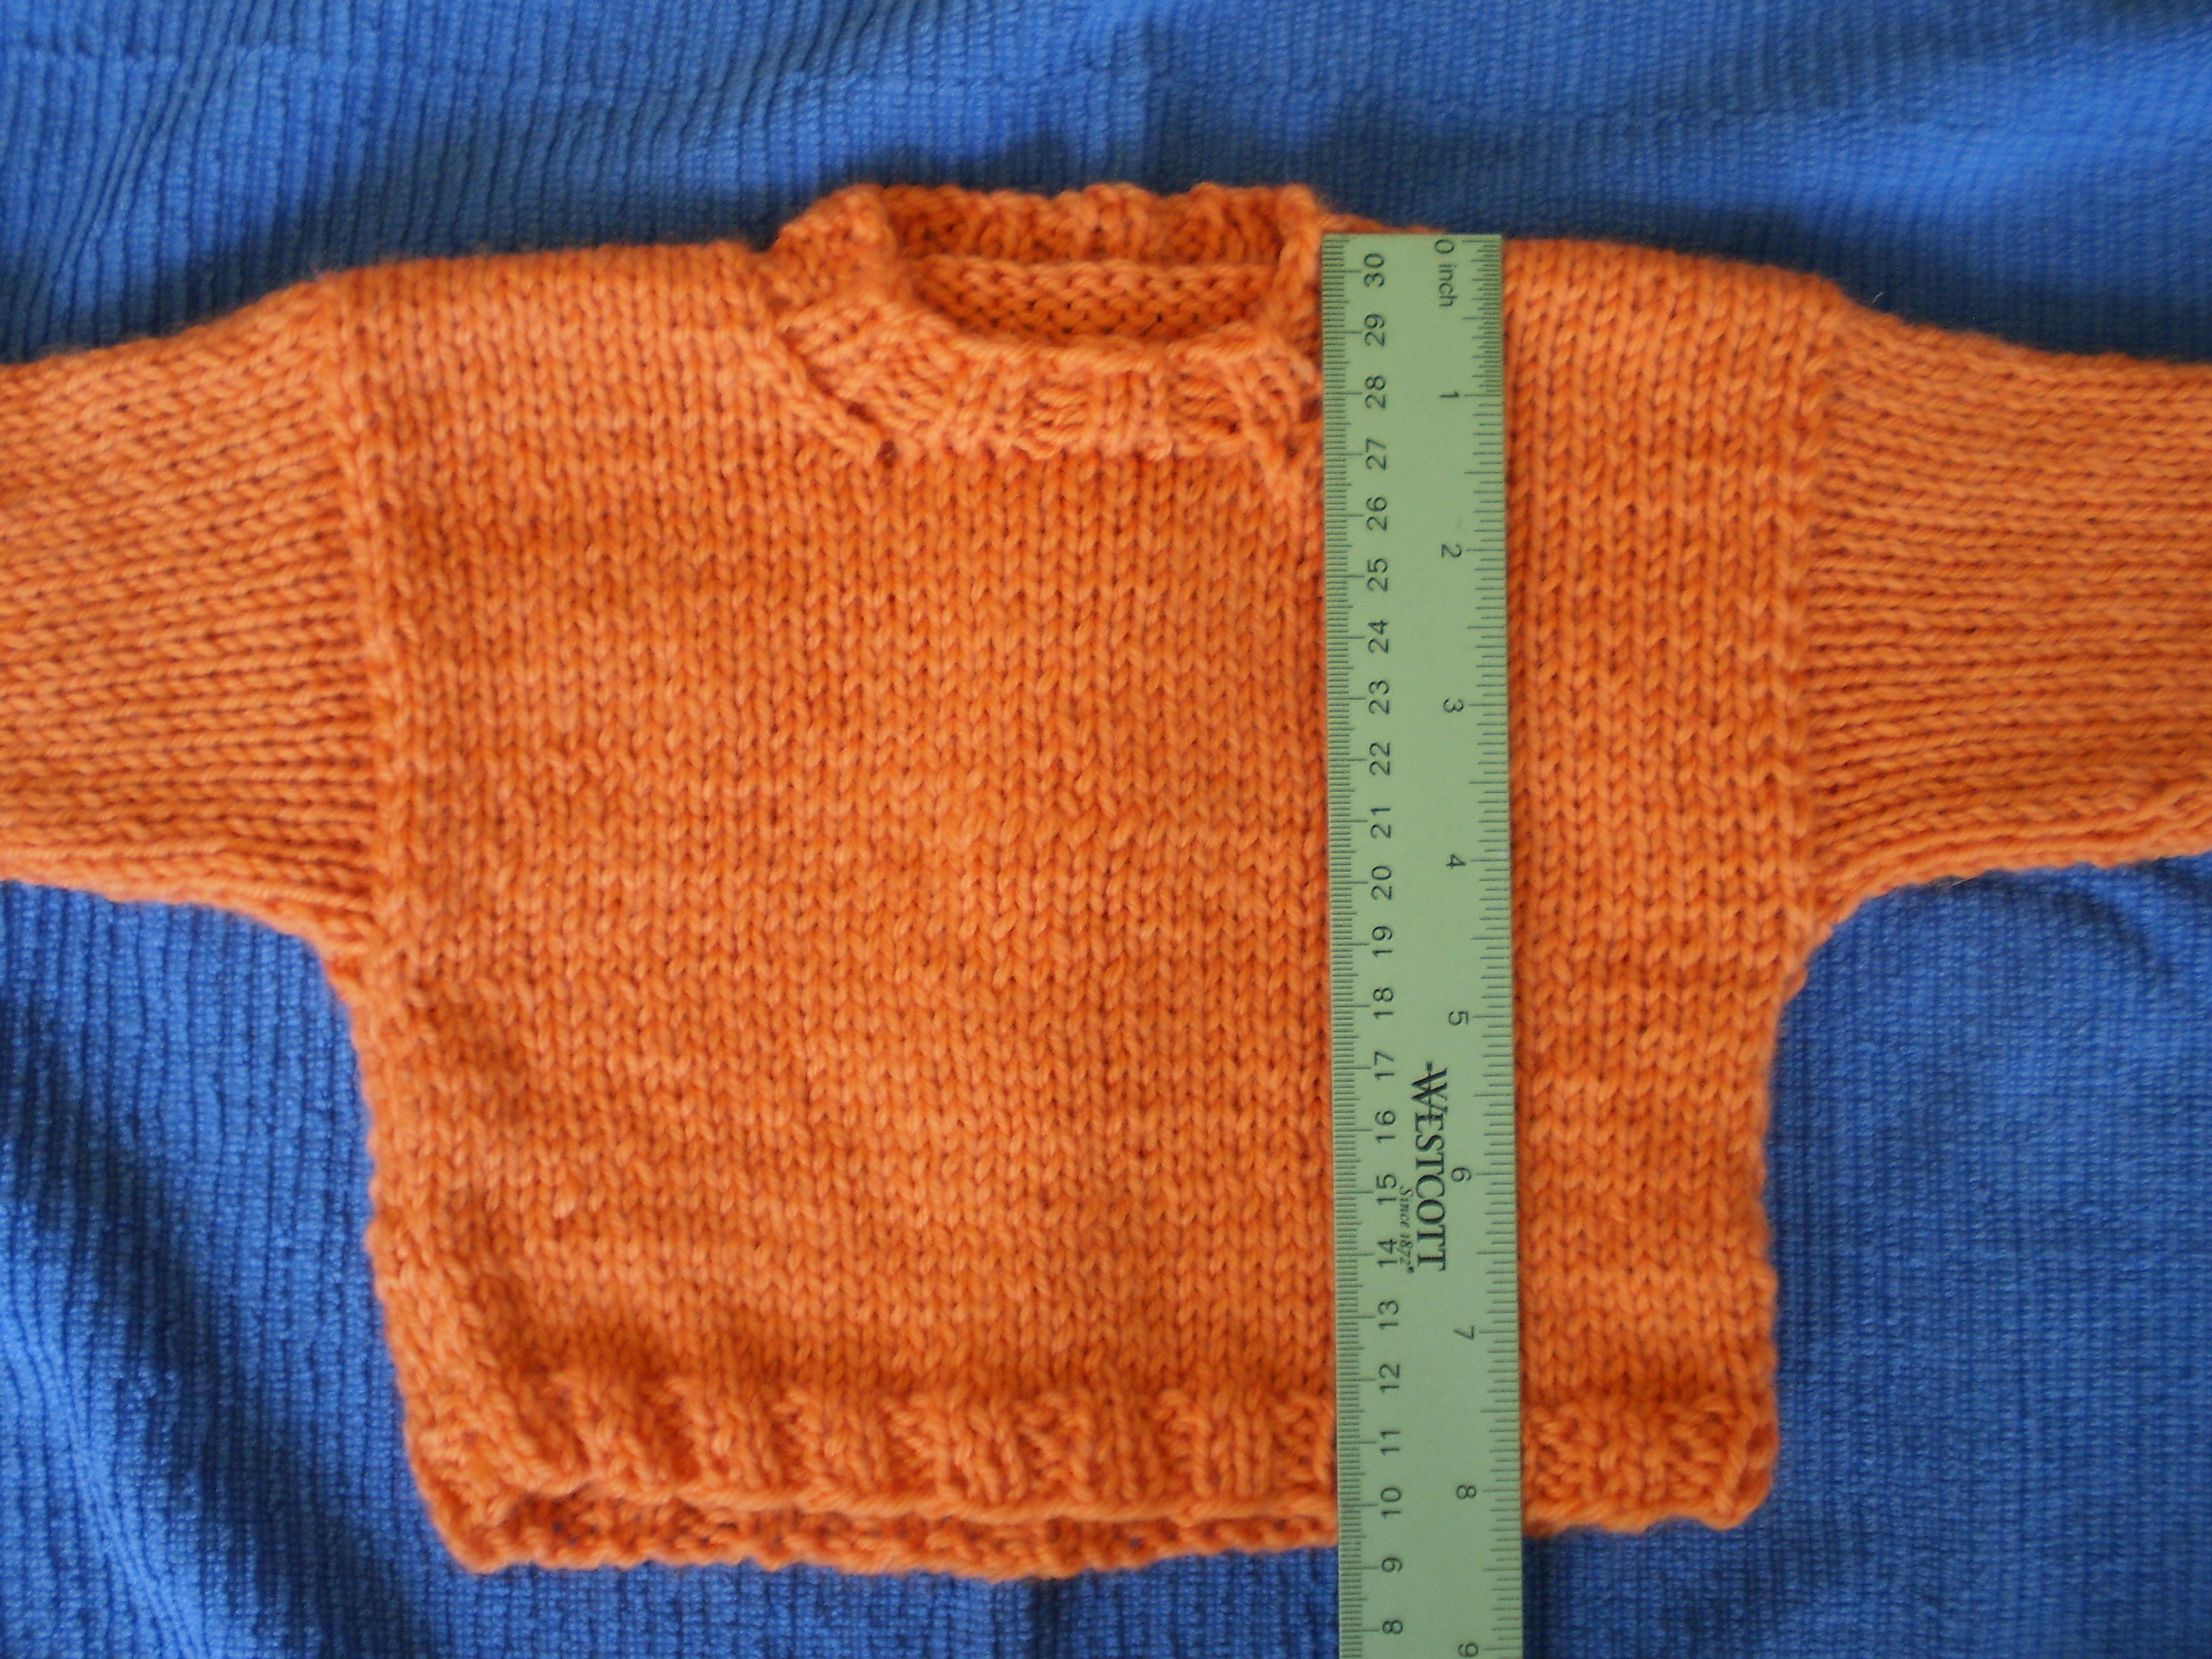
(Did you notice how I’m not using pins for this sweater?  That’s on purpose.  I try not to use pins on sweaters, because they can create little points and weird bumps on a garment like this.  And, in the case of this particular sweater, I’m not far off from my desired size, so I can just stretch the sweater a little bit and count on the friction between the yarn and the towel to keep it in shape.  If I was trying to use blocking to fix something, I would use pins.  For example, if I needed to add more than an inch to the body length, I would stretch the wet sweater out with pins.)

The body is all arranged correctly, so now let’s do the same thing with the sleeves.

OLYMPUS DIGITAL CAMERA

These sleeves should be about 6 inches long. With the sleeves, it’s really important to make sure both sleeves match one another- no one likes lop-sided sleeves.

Once your sweater has the right measurements, stop fussing with it!  Just leave it!  (And make sure any kids/dogs/cats/gremlins you have running around your house don’t mess with it, either.)

Something small, like this baby sweater, won’t take long to dry, but big, adult sweaters can take a while (especially if you live somewhere humid).  So, to speed the process along, try pointing a fan at it for a day or two.

Once the sweater is completely finished, put it on and do a twirl in front of the mirror, admiring your awesome work!


Blocking: The Basics

OK, so if you’ve blocked before, this’ll be a refresher for you.  If you haven’t tried wet blocking before, you’re in for some excitement (but maybe it’s just me that’s excited about blocking…).

I’m using a little bitty swatch for this example, but you can use this technique for just about any shape for basic blocking.  This swatch is a little piece of stockinette.  Stockinette is super curly when it’s unblocked, so I definitely need to block it.OLYMPUS DIGITAL CAMERAThis is a tiny little project, so I’m just using a little cereal bowl to soak my knitting.  I’ve filled it with warm (think bathwater) water, and I let the swatch hang out for a bit (about 20 minutes) or until its completely soaked through.  If I’m in a hurry, I’ll squeeze the knitting gently to get all the air out and really soak the fibers.

OLYMPUS DIGITAL CAMERANext, I’ll get out a clean towel and roll up my wet knitting, squeezing it to get out the extra water.  You want your knitting to be damp, but not dripping.  Sometimes, I’ll even step on the rolled-up knitting (like squishing grapes for wine), especially if it’s a really big project.OLYMPUS DIGITAL CAMERAOnce most of the water is squeezed out, I’ll break out my foam blocks (or your carpet, if you have carpet) and lay a new, dry, clean towel on top.

OLYMPUS DIGITAL CAMERAThen, I’ll take the damp knitting and pin out the corners to the dimensions I want.  I want this square to be nice and, well, square.  So I’ll start here.  The sides will pull in at first, but that’s OK.  We’ll fix that in the next steps.

OLYMPUS DIGITAL CAMERANext, I’ll grab more pins and tack down the center points of each side. OLYMPUS DIGITAL CAMERAAnd then I’ll add another pin in-between each existing pin.  Since this swatch is so small, I’ll stop here.  If I was blocking something larger (like a scarf), I’d keep adding pins until I had surrounded the whole item and gotten rid of the little swoopy edges.

OLYMPUS DIGITAL CAMERAYou’ve finished the hard part! (If you can even call it hard.)  Let your knitting dry completely (if you’re in a hurry, point a fan at it or put it in a sunny window), and remove the pins.

And, voilà la! A perfectly finished project! (Or at least an almost perfectly finished project.)OLYMPUS DIGITAL CAMERANext time, we’ll talk about blocking something a little more complicated- sweaters!

Blocking: Gear

A lot of people love shopping.  To them, there’s nothing more exciting than starting a new project and collecting all the gear they’ll need.  They enjoy dropping a couple hundred bucks on top-of-of-the line tools and professional-grade materials.

I am not one of those people.

It’s probably because I was raised in the Midwest, that most pragmatic portion of the country.

I like to get the bare minimum, and, if I can use stuff I already have around the house, all the better.  (After all, the money I save can go to buying more yarn!)

Sure, you can go buy fancy blocking wires, specialty blocking pins and expensive, nice-smelling blocking detergents.  I’m sure they’re all nice to have, but when you’re just beginning to block your knitting, do you really need these things?  No.  (And, frankly, even now, I use these materials for 90% of my projects.)

Here’s what you really need:

(And, FYI, these are all materials for wet-blocking projects.  It’s what I do for almost all my projects, and so far it’s served me well.)

1. Something to put water in.  Do you have a sink, a bowl, a bathtub?  Is it clean?  That’s all you need.  If it can hold warm water, and isn’t gross, you’re good to go.stainless-steel-bowls[1]2.  Pins.  I just use regular sewing pins.  They’re dead cheap, and you probably already have a little box of them squirreled away.  If you don’t, you can get a pack of a couple hundred for a few bucks at your local fabric store.  Some people will tell you that sewing pins will rust and discolor your knitting.  But, I haven’t seen that happen; the amount of time a pin is in contact with moisture is too short for rust to develop.  Of course, I wouldn’t use a rusty pin to block my knitting, but that’s just common sense.sewing-pins-new[1]3.  Something squishy to stick pins in.  For years, I actually used a clean towel, spread out over the Berber carpet in our attic.  The carpet held pins in place nicely, and was free.  But, our new house is unfortunately all wood and tile.  I know some folks block on a spare bed, or the back of a couch, but that’s a pain.  Instead, I went to the kids’ section of Target and got a $20 pack of foam tiles (the kind you’re supposed to put out on the floor so kids don’t crack their head when they fall).  They lock together into whatever shape you need, and work great.  You can get foam tiles that are specifically made for blocking, but they cost a bunch more.

81xrtGJjGNL._SL1500_[1]4. Your knitting.  Obviously.  FYI, wet blocking works best with animal fibers (wool, alpaca, etc.).  I have blocked some cotton things, which works a little, but blocking plant and man-made fibers never has the same amazing results.OLYMPUS DIGITAL CAMERANow that we’ve gathered the things you need from around your house (or maybe a quick trip to the store), next week we’ll start with blocking something simple!

Blocking!

I’ve gotten a few questions recently about blocking.  And it is kind of mysterious, so I understand the confusion.  It actually took me several years of serious knitting before I started regularly blocking my projects.  And let me tell you, it was amazing how much nicer my projects looked once I started blocking them.

OLYMPUS DIGITAL CAMERA


Think of blocking like adding a squeeze of lemon or a dusting of powdered sugar to your project.  It’s a flourishing touch that turns a good project into a great one.  Sure, your sweater will fit, even unblocked, but it will be so much better if you do.  Blocking makes your stitches more even, straightens out any little pulls and makes your knitting look more professional.  And (and this is a huge bonus), it lets you cheat a little bit on the size of your finished project.  Did the scarf turn out a little too small?  Are your sweater’s sleeves a little too long? Blocking can fix (or at least kind of fix) it.

Over the next couple weeks, I’ll talk about how I block (of course there are as many ways to block projects as there are knitters),  what you need to block a project, and what blocking can do for you.

Stay tuned!


Blocking Blocks

I love our new house, but it has one deficiency: no carpet.  Which, I suppose, really isn’t a deficiency (I hate hate vacuuming), but as a knitter, it causes me problems.  I have always blocked projects by laying towels out over the carpet, and then pinning my wet project on top.  You can’t really do that with wood floors.

So, I took a trip to Target the other day and I found a substitute in the baby section:

OLYMPUS DIGITAL CAMERAThese foam puzzle pieces are meant to protect babies from dangerous floor bacteria (or something, I don’t really know).  They’re about about 16 inches square and about a half inch thick, and they interlock.  They are perfect for blocking.  I lay them out on the floor, throw a towel on top and block away to my heart’s content.  They run about 20 bucks for a set of 6, which gives you plenty of real estate for smaller projects like scarves, shawls, and probably even most sweaters.  You can also find similar foam blocks in sporting goods stores (for doing yoga or weight lifting on), but I am a sucker for bright colors (like babies, apparently), so I went with these.

OLYMPUS DIGITAL CAMERAThese work super well, so if you don’t have a floor you can pin into, I highly recommend you invest in a set or two.

Sock week: Sock Block Rock

There’s been a heck of a lot of sock talk around here lately.  So, I have some more!

Once you’ve finished your second sock, you could just say “Hey!  I’ve got some socks.  Yay!”

OR, you could guild the lily and go one more step and block the suckers.  Your socks will fit just fine without blocking them, so if I’m just making socks for myself, I won’t do it.  But, if I’m making the socks as a gift, I’ll block them.  Blocking just makes the toes and heels lay nicely and fixes all those little weirdnesses that happen during knitting.

Here’s what you need:

1 pair of socks.

A clean bowl (or a clean sink) filled with bathwater-warm water.

A couple clean towels

Sock blockers (optional)

OLYMPUS DIGITAL CAMERADrop your socks into the bowl of water, and let them soak for about 20 minutes. They need to be completely saturated.  Don’t scrub or squeeze them or anything, just lay them nicely in the bowl of water.  If you mess with them too much, they’ll start to felt, which is not ideal.  You can poke them a bit until they go underwater, if you feel it’s necessary.

After your socks are thoroughly saturated, take them out of the bowl and squeeze them gently to get rid of a good portion of the water.  They should still be wet, but not drippy.

OLYMPUS DIGITAL CAMERA

Then, lay out the towel (or towels) and arrange your socks nicely on top.  Roll the whole mess into a damp towel-and-sock burrito.  Squeeze it as much as you can, to get out most of the water.  (I know, first I tell you to get them wet, then I tell you to dry them out… I can’t make up my mind.  I’m terrible.)

OLYMPUS DIGITAL CAMERA

Now you have two options.  The easiest way to block socks is to use sock blockers (duh).  Sock blockers are sock-shaped forms that you put your wet socks on to dry after you’re done knitting them.  You can find them at your local knitting store, or you can buy them here.  Basically, you put the damp socks on the sock blockers, and let them hang to dry.  (My socks are a skotch too big for my blockers, so I use clothespins to keep them on the blockers.)  If you don’t own blockers, not to worry.  You can get out another clean, dry towel and lay your socks out nicely on the towel and leave them out to dry.

OLYMPUS DIGITAL CAMERA

Now, your beautiful socks are completely, totally and 100% DONE!  How exciting.  And, just in time for summer (because nothing says summer, like wool socks).