An Amazing Surprise

A friend of mine, Heather, has been threatening to give me “a bag of knitting junk” for a really long time.  Apparently a friend of her mother’s had been about to donate all her knitting things to Goodwill, when my Heather’s mom took the bag to give to her daughter, who is an occasional knitter.  Unfortunately, Heather lives in a tiny apartment with a dog and two cats, and thus, did not really want the big bag of “knitting junk.”  So, she decided to give it to me.  (Woo.)

I tried not to take it, since these sorts of situations usually result in me having to pretend to ooh and aah over a half-dozen skeins of fun fur and three mismatched knitting needles.  But, Heather was persistent and last Thursday she brought along the big trash bag  full of craft supplies to our evening practice.  I tried to appear appreciative as I opened up the bag. 

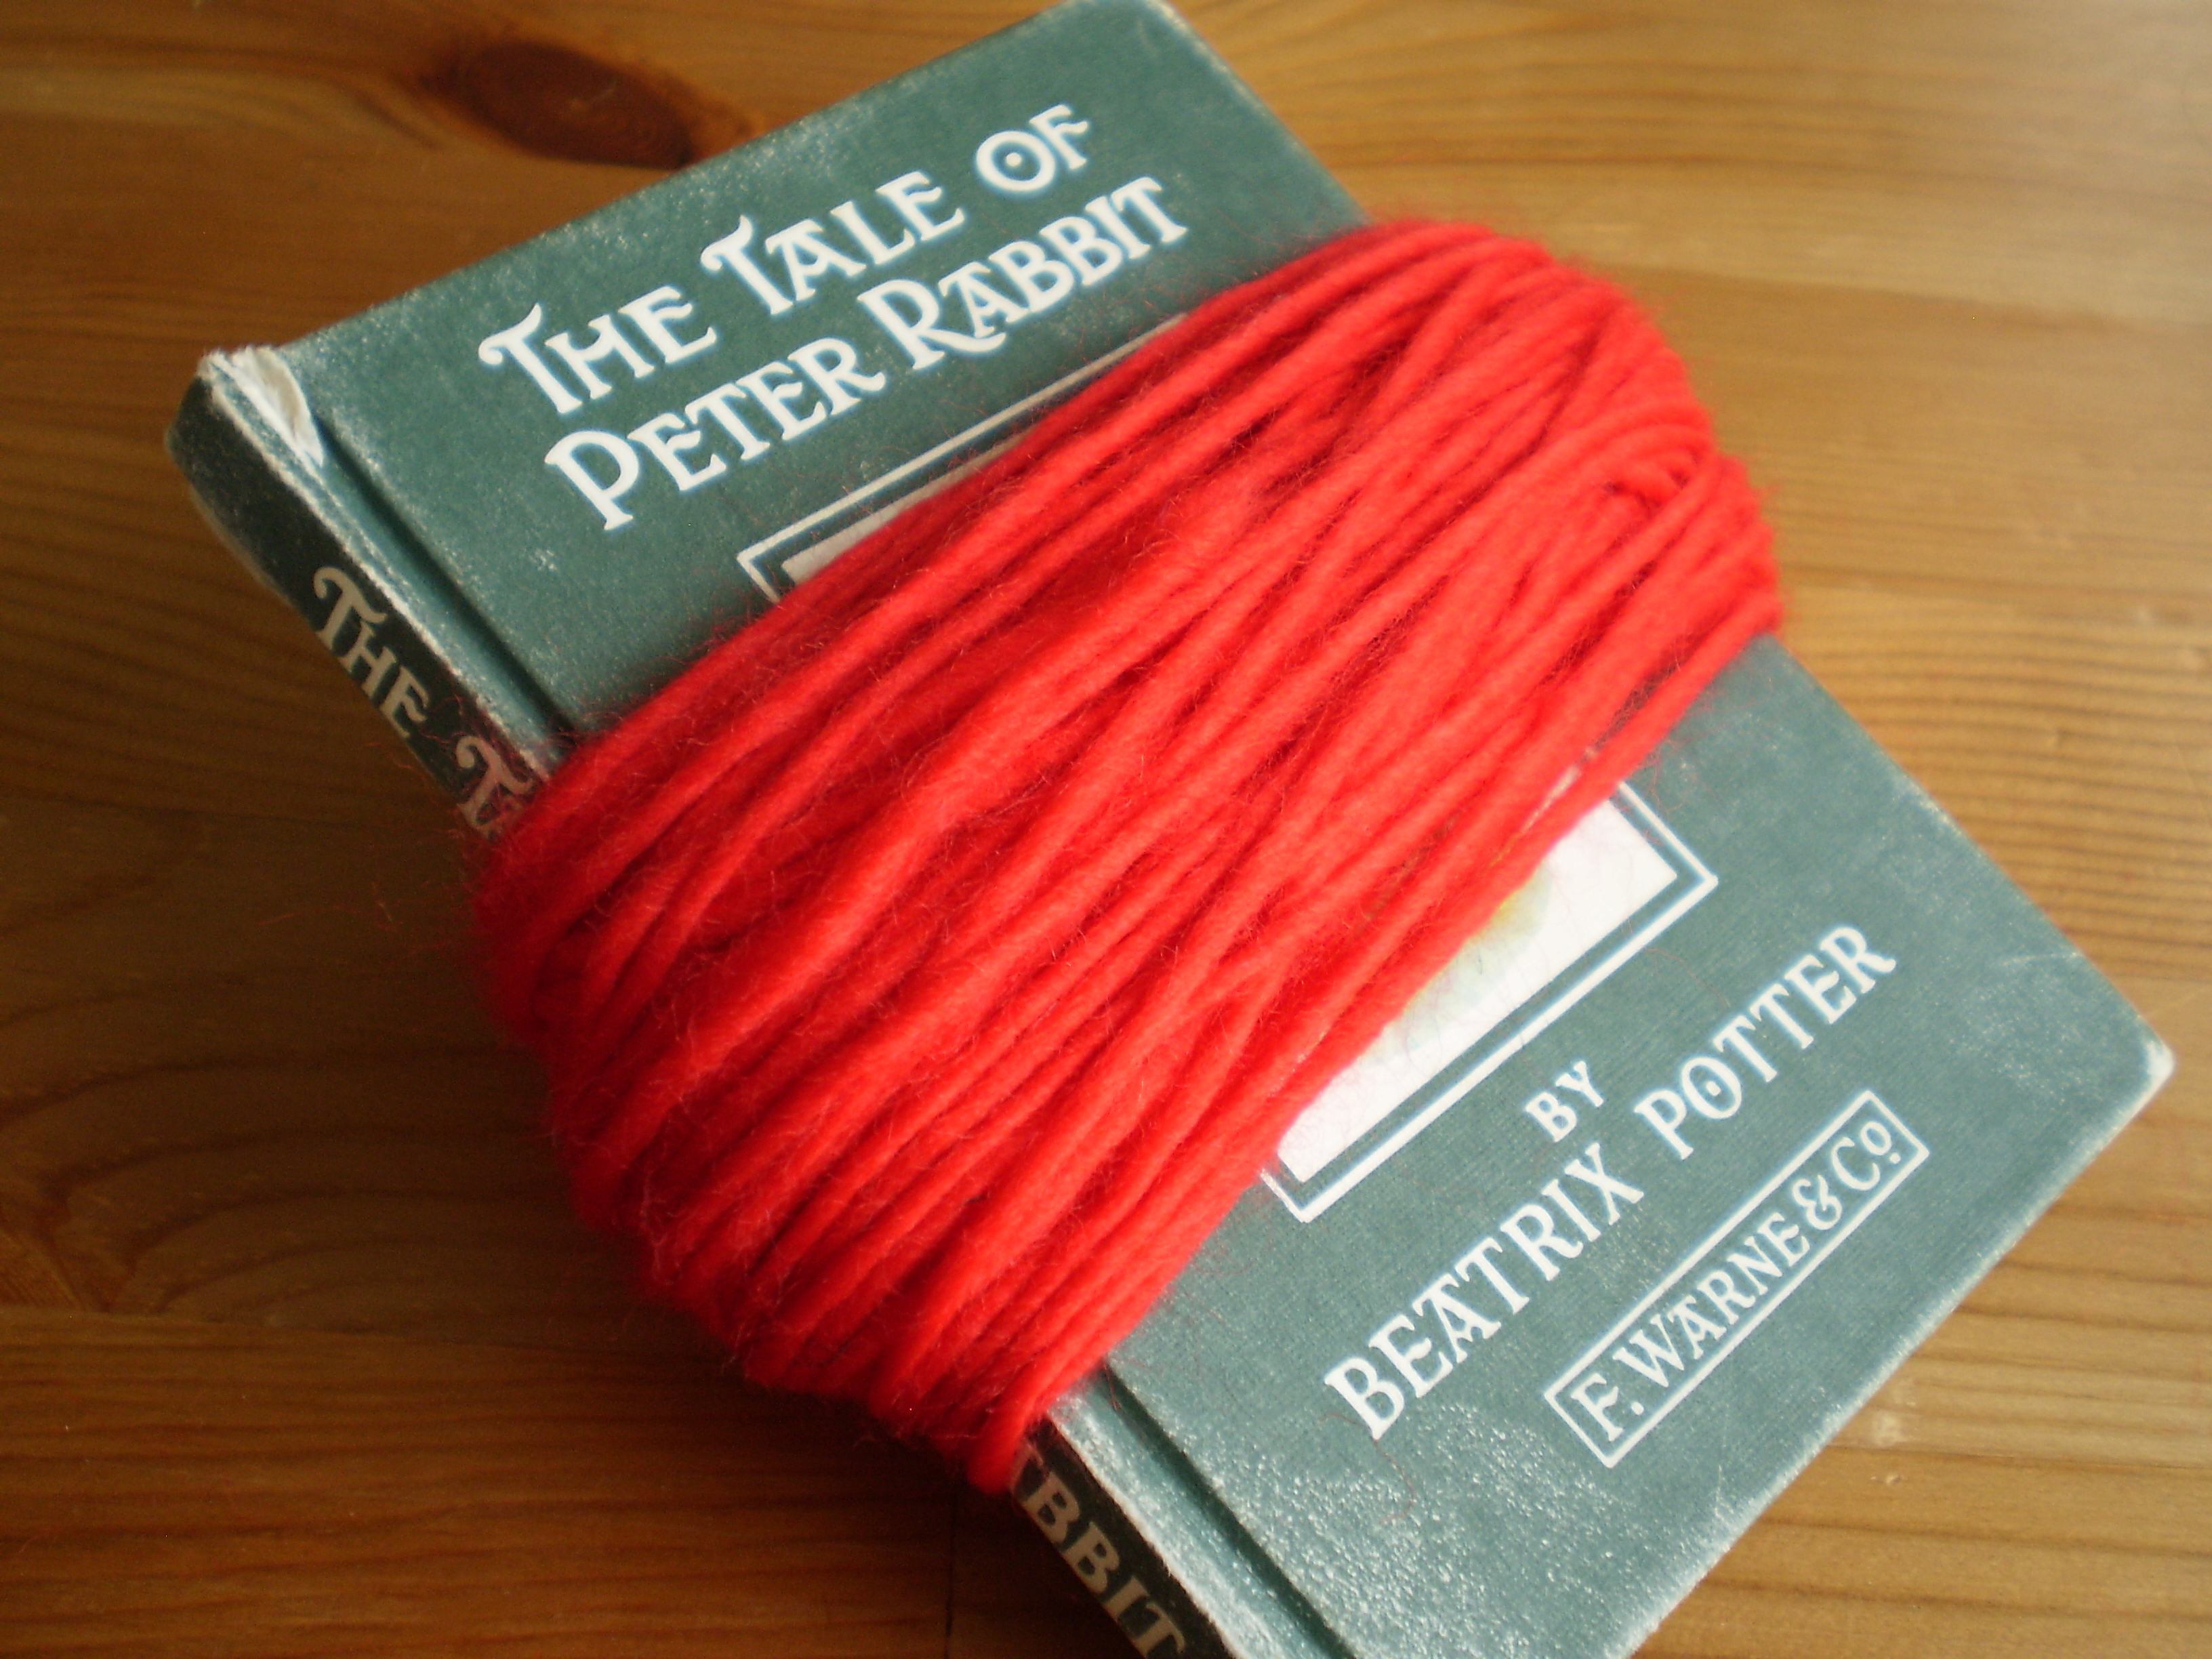
When I actually looked inside, I was totally floored.  More than a dozen almost-full balls of crochet cotton, about 20 pairs of antique knitting needles, and the best gift I have received in a really long time:  The Bantam Step-by-Step book of Needlecraft by Julie Brittain.

OLYMPUS DIGITAL CAMERAIt’s an amazing all-encompassing needlecraft book with pictures that are awesomely eighties, but instructions that are totally timeless.  It’s got knitting, crochet, embroidery, tatting… everything.  It covers the history of needlework, as well as including patterns and techniques.

And best of all (this is actually  making me tear up a little), it’s the same book that my mom had when I was a kid.  I spent hours and hours (probably days… maybe even weeks) pouring over this book.  I taught myself so much from its pages.  It’s the reason that I know what Turkish Crochet is, how to do the Bobble stitch, and the recipe for my favorite mittens.  It was simply amazing to receive something so dear to my heart, and that I had totally forgotten about for years.  I’m pretty sure the rest of my team thought that I was a little crazy, the way I was carrying on.

But, you knitters understand!  Here are some of the fantastic knitting contents of this book:

OLYMPUS DIGITAL CAMERAAwesome eighties sweaters!

OLYMPUS DIGITAL CAMERA
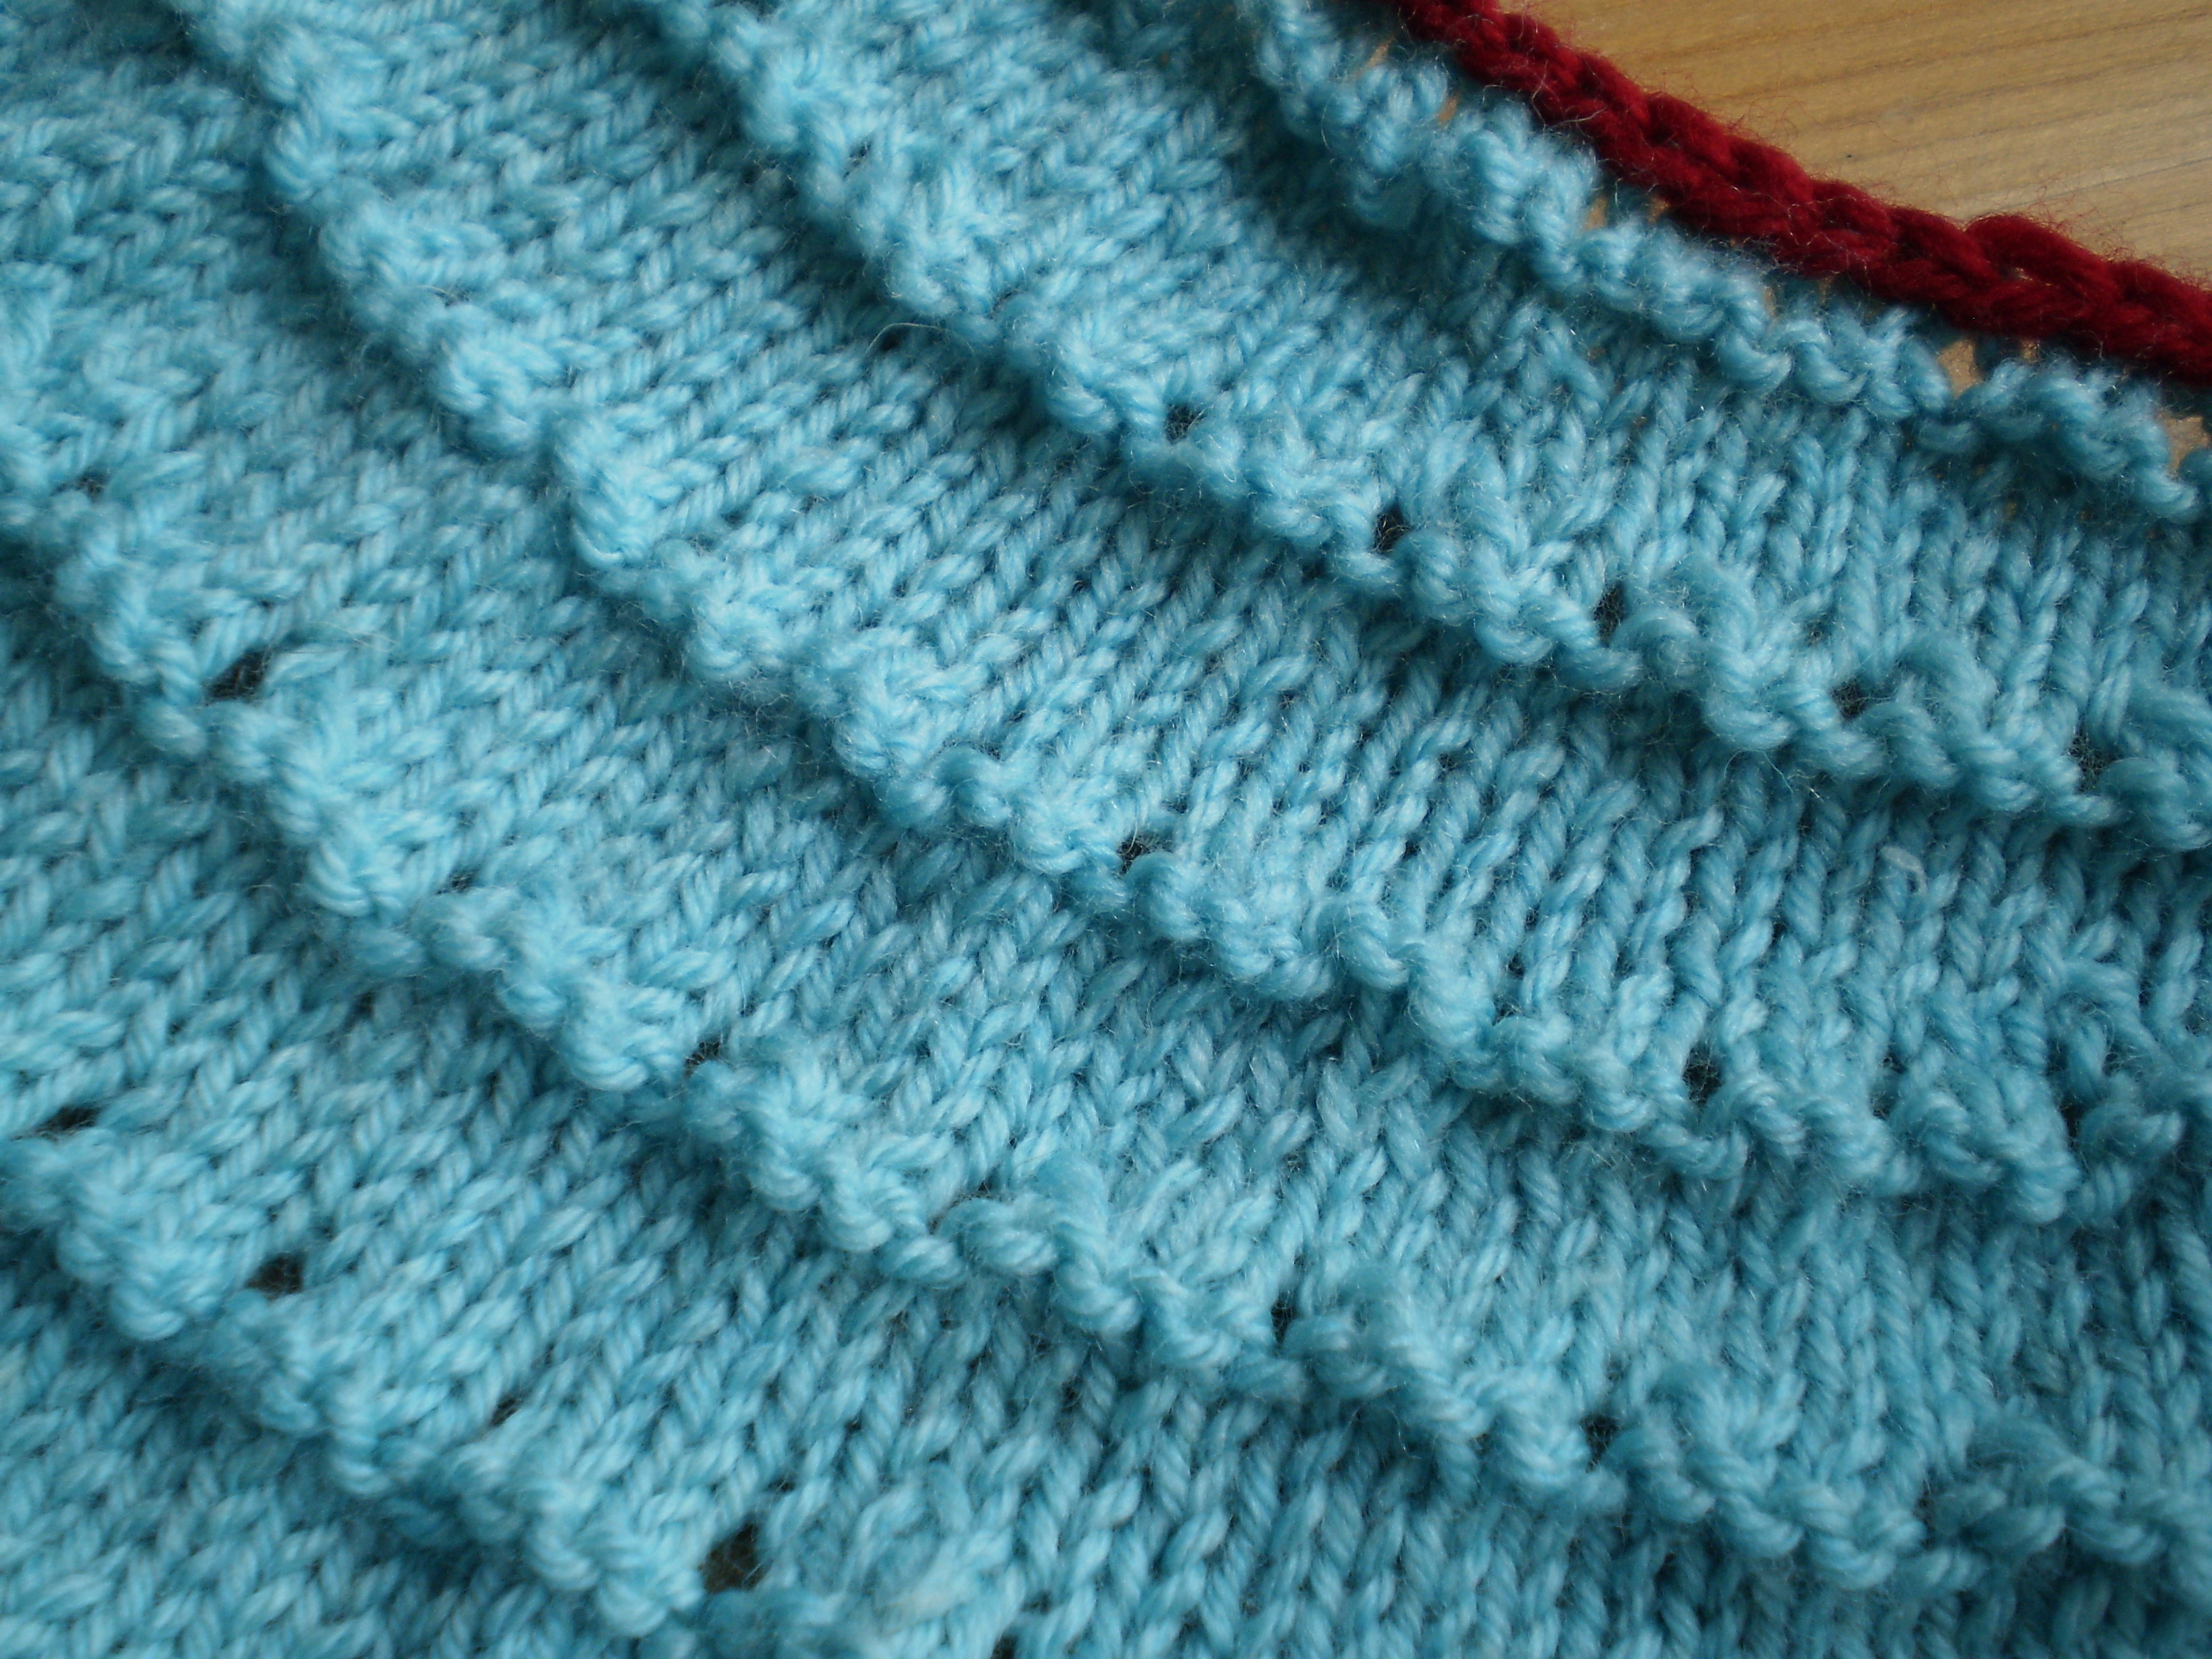
Delightful lace patterns!

OLYMPUS DIGITAL CAMERAClassic mitten and glove recipes!

Do you have a pattern or book that is particularly close to your heart?

Inspiration: Pumpkin Patch

I spent a wonderful afternoon last Saturday at the local pumpkin patch with my husband and a few of our friends.  We ran through a corn maze, picked out pumpkins and gourds to decorate the house, drank apple cider and ate too many apple doughnuts.  It was absolutely delightful (even if it was a little damp, being the Pacific Northwest and all).  I haven’t gone to a pumpkin patch like that since college, and it was just so fun to do again.

Now that fall is truly in full swing, I’m inspired to break out the autumnal knits:

Pumpkin Patch Socks by Maggie van der Stok

DSC00480_medium2[1]Pumpkin Patch by Anna Richardson

PP_wrapped_full_medium2[1]Autumn Nuts and Berries Hot Water Bottle Cosy by Leila Caroline Design

3602423447_968dc85a79_z[1]Autumnal Mitts by Jo Bangles

IMGP1414_medium2[1]

Pattern: The Sculptor’s Scarf

OLYMPUS DIGITAL CAMERA

I designed this scarf as a Christmas gift for my boss, who is a ceramics artist.  It’s inspired by some of his most recent works which are big chunky sculptures inspired by themes of of antiquity and archeology.  He creates great big thick slabs of clay, textured to look like weathered stone, and stands them up with brightly-colored legs.  (I’m describing it poorly, they’re actually really cool.)

This scarf is my interpretation of his sculptures, but in wool.  It’s a big, chunky scarf that’s manly enough for guys to actually wear, but is technically challenging enough to keep a knitter’s attention.  The scarf is knit shortways, on great big needles with bulky yarn, so you only have 16 stitches per row, which will get you screaming along in no time!  The background is textured in seed stitch, which will keep the scarf lying flat.  Intarsia is used to work the bright red 2×2 cable running up the middle of the scarf.   Finishing is minimal, and the final project is sure to please.

Sculptors Scarf

This is Where the Magic Happens

We (my husband and I) just moved to a new house!  It’s very exciting.  And, while the process was crazy stressful and we still have several (maybe more than several) boxes to unpack, I’m so happy with our new place.

One of my favorite things about the new house is that I get to use the spare bedroom as a craft room (if this knitting thing ever turns into a real job, I’ll get to call it a studio, but for now, it’s a craft room).

In the old house, I kept all my craft things up in the finished attic, which was also nice. The only problem with the attic was that I am 5’10”, and the attic was only about 6 feet tall at the highest point (I don’t know what the word is for that kind of roof, but it was all slanty, and constantly threatened me with concussions).  Needless to say, I didn’t use the attic craft room as much as I should have.

But, here, in all its new crafty glory, is my new craft room.  The nerve center of all things On the Needles.  This is where the sausage gets made (or rather, will get made, once I finish unpacking the rest of the house). OLYMPUS DIGITAL CAMERA

Behold: old issues of knitting magazines, a pile of finished (and unfinished) knitting projects that need to get photos for the blog, bins of random craft supplies that I can’t bear to throw away because “I might need them some day.”  A bookshelf complete with not one, but two copies of Stitch-n-Bitch (that I received as Christmas gifts from two different friends the same year, but I still haven’t given away for some reason).  A comfy old hand-me-down chair from my folks, and a desk that we salvaged from a dumpster more than 15 years ago (and is still perfectly good).

OLYMPUS DIGITAL CAMERAOh yes, I will spend many happy, productive hours here, with my needles (and my keyboard) clicking away to bring you lots of knitterly goodness.

Where do you do your crafting?

DIY DPN Holder

Here’s a neat idea from blogger the Good Weekly.  DIY felt DPN (double-pointed needle) cases.  How cute are they?  If I had a million hours to do all the cute stuff I found online, I would be a happy camper.  But this project… I might just do, even though I don’t have a million hours.

holder_group-810x537[1]Go visit the Good Weekly to see their super simple tutorial.

knit_holder[1]

Because I Haven’t Got Enough on My Plate

nanowrimoHave you guys heard about this cool group of online nerds called NaNoWriMo?  It’s short for National Novel Writing Month, and it’s an organization of folks that get together (in real life and online) during the month of November and they write first drafts of their novels.  It’s 50,000 words in 30 days and it’s kind of insane.  But also, amazingly popular.  This year there are almost 300,000 participants (of course, not everyone finishes, but still).

I heard about it years ago, back in high school (which is now more than 10 years ago…eep!), when a friend of mine attempted it.  I thought it was sort of crazy, sort of cool, and promptly forgot about it.  But, this year, I thought hey, why not?  I’m only working part time, after all, and I do like to write.  And, I thought, it might be a good way to exercise some creative parts of my brain that I don’t use too often.

Anyway, if you notice the blog being a little neglected this month, comments going unanswered, a few less patterns going up, that’s what’s happening.  I’ve only just started, and I don’t know if I’ll reach my 50,000 words by November 30.  And even if I do, I have no doubts that story will be way to terrible to let other people see it.  But, I thought it was a cool concept, and a great way to get my creative juices flowing in a totally non-crafty way.

What do you do to stretch your creativity?

Inspiration: In the Fog

Usually fall in Seattle entails rain.  And drizzle. And more rain.  And overcast skies.  And more rain.  Delightful, no?

But, for some reason, this year, Seattle looks like this:

grey_square[1]It’s been crazy foggy for approximately two weeks, and I’m about ready to go crazy up in here.  It’s pretty much the worst.  It’s gray and never really gets any brighter than sort of a wan pre-dawn kind of light.  And, driving is terrifying!  You can’t see more than a block or two ahead of you with any sort of clarity.

But, I suppose, when life gives you lemons (or fog), you make lemonade (or fog-inspired sweaters).

So, here’s what I would like to knit to hold the fog at bay:

Fog Sweater by Tiennie

2183219713_e49a79cf80_z[1]Seattle Fog Beanie by Julie Grantz LeFrancois

6668403171_02b1682249_z[1]Patchwork in Fog, by Mimi FautleyKSH_Stripe_for_pattern_medium2[1]

She’s got the World on Her Shoulders

Let’s talk about shoulders.

80s-Shoulder-PadNot those shoulders (although they are impressive).  Sweater shoulders!

I’ve been thinking about shoulders lately (because that’s what I do).  They’ve been on my mind especially since I’ve been wrestling with the Sweater-Formerly-Known-As-Peggy-Sue.

It’s important to know the types of shoulders when you’re planning out a sweater, since they totally change the look of a sweater.  Different sleeves/shoulders flatter different people.  I know that I have narrow (ish) shoulders, so raglan sweaters aren’t the best look on me (so why I chose to make a raglan-sleeve sweater, I’ll never know).   But my husband looks great in raglan-sleeves.  Go figure.

Anyway, here are some of the different types of sweater sleeves that you’ll come across in the wild, illustrated by yours truly (so forgive the lopsided-ness).

Set-in Sleeves

sweater set-inThese are your typical shoulders, they’re made to resemble the shoulders of a dress shirt.  They are a bit futzy to make, since you usually have to knit your sweater flat, then sew all the pieces of sweater together, but they end up looking really nice.  If you don’t like seaming, these might not be the way to go.

Raglan Sleeves

sweater raglanYou’ve probably seen shoulders like these on baseball t-shirts, and some hoodie sweatshirts.  They’re fun to make in a seamless sweater (although it is possible to make raglan sleeves on a pieced sweater, too).  For a seamless raglan sweater, you simply stack your increases or decreases (depending on if you are doing a top-down or bottom-up sweater) at the four points in front of and behind both shoulders.  They’re super easy.

Drop Shoulders

sweater dropThese are even easier than raglan shoulders.  Drop shoulders are the kind of shoulders you get if you make a sweater out of nothing but squares.  These are super good if you’re a new knitter, or if you want a cozy, slouchy sweater.  But, if you’re worried about looking sleek or sophisticated, drop shoulders probably wouldn’t be the way to go.

Yoke Shoulders

sweater yokeA yoke makes it look like your whole sweater is one single piece, with no obvious increases/decreases or seaming.  They’re really nice if you want to have a cool pattern or something wrapped around your shoulders (think about beautiful fair-isle sweaters).  However, they can look a little janky as you work them up, so make sure you block the sweater when you’re done to make sure it looks its best after all your hard work.

Of course, there are about as many variations of sleeves/shoulders as there are knitting patterns, but most sweaters you’ll find will fit into one of these categories, at least a little bit.  And, now you will be able to identify sweater shoulders when you see them in the wild.

Going with the Flow

Peggy Sue is dead.  (Not the person, the cardigan.)  I tried to fix it.  I wanted the pattern to work so much!  But, alas, it was not meant to be.  I started off with the wrong gauge (I knew this was going to happen.  I took a swatch and everything.  I’m just dumb.), and didn’t compensate accordingly.  My sweater was turning out much too small.  I got all the way to the armpits (it’s a top-down sweater) before I realized the error of my ways.

I ripped it out, and tried again on bigger needles, but the fabric just didn’t look right.  This time I only got halfway through the shoulders (thank goodness). I ripped it out again.

Then I got pissed and threw it in a corner of my craft closet.  It sat there for a while gathering dust while I sulked.

Now, I’m knitting up my pretty blue yarn again.  It’s still going to be a girly blue cardigan, but this time I’m sort of making my own pattern.  I’m using my new favorite sweater book, the Knitter’s Handy Book of Top-Down Sweaters.  It’s a Seamless Yoke Cardigan, based in part on her Feather and Fan Flare sweater.  It’s at a nice fine gauge (or at least fine compared to sweaters I’ve made before).  I like to make my sweaters with chunky yarn and big needles, but I wanted this sweater to turn out a little fancier and girlier than my usual projects).  But, instead of the fussy little cables on Peggy Sue, I’m using decorative increases and garter ridges around the yoke, hem and cuffs.  And, since it’s a yoke sweater, not a raglan, I think it will be more flattering on me.

OLYMPUS DIGITAL CAMERAThe funny thing is, though, that now that I’ve got it growing on my needles, I really like the contrast between the red yarn of my provisional cast-on and the pale aqua blue.  It’s making me think that I want to use red or maroon buttons on the sweater.  Which is ridiculous, since the whole point of making this sweater in the first place was to use my pretty blue buttons.

OLYMPUS DIGITAL CAMERABut, I suppose that takes me back to my original point: It’s important to stay flexible when you’re knitting.  It’s so easy to get bogged down in the details, and keep slogging through a project that you no longer love, or something that you figure out won’t work for you.  And, it’s so hard to abandon a project that you’ve poured hours and hours of your life into. But, it’s so much more satisfying (and fun!) to make something that you love than to slave away, determined to finish the project as you planned in the beginning.  Just because you start on a project, doesn’t mean that it’s the one you have to finish.

How have you had to be flexible when you work on a project?

Icing on the Hat Cake

I love my little red hat, and I bet you love your hat, too.  But, I feel there is something missing… something extra… something… fluffy.  Also, I have some leftover yarn that I want to use up.

OLYMPUS DIGITAL CAMERAI’m going to make a pompom to put on top of my hat!  (I realize that pompoms are something of a polarizing subject for folks, but I enjoy a good pompom from time to time, and this is definitely one of those times.)

Pompoms are easy to do, but probably the messiest project you’ll ever do involving yarn…the little scraps of yarn tend to go everywhere and stick to things if you’re not careful (that static cling will get you every time).  You have been warned.

Here’s what you need:

Yarn (The fluffiness of your pompom depends on the amount of yarn you use.  The more yarn, the more fluff.)

A book, coaster, cell phone, box or other small, rigid object that you can wrap yarn around.  The object should be slightly longer than the desired diameter of the finished pompon.  I’m using a tiny copy of Peter Rabbit that I have on my bookshelf for some reason.  It’s about 4 inches wide.

Scissors

A great big mixing bowl, pot, trash can, or drop cloth (optional, but recommended. Use his to keep your schnipples neat while you work.)

Step 1: Cut a piece of yarn about 2 feet long and tie a slip knot in the middle of it.  Set it aside.

OLYMPUS DIGITAL CAMERAStep 2: Wrap the rest of your yarn around the book approximately 1 million times.  Try to get the yarn to build up into a big clump.  Stop when you get bored, or when you think that you have enough.  It might be possible to wrap too much yarn around the book, but I haven’t done it yet. Cut the yarn when you have enough wrapped around the book.

OLYMPUS DIGITAL CAMERAStep 3: Carefully slide the yarn off the book, being sure to keep the clump nicely together.  Slip the piece of yarn you set aside earlier over the clump, and pull the slipknot tight.  Wrap the ends of the knotted yarn tightly around the clump a couple times and secure with a square knot.  See how the clump has now become a neat bundle of yarn?

OLYMPUS DIGITAL CAMERAStep 4: Cut all the loops, and use your fingers to fluff out the ends.

OLYMPUS DIGITAL CAMERAStep 5: This is the messy step.  With your scissors, carefully trim the ends of your yarn until the pompom starts looking nice and round. Go slowly, since you can always trim off more yarn, but can’t add any back in.  Try to avoid cutting the long tails of the tie-off yarn.

OLYMPUS DIGITAL CAMERAStep 6: Attach the pompom to your hat.  Use a tapestry needle to pull the long tail ends of your pompom through the crown of your hat, right at the top.  I like to just tie the ends together using a bow or other removable knot, so that if I’m having a pompom-ish day, I can wear my pompom hat, but if I’m having a curmudgeonly day, I can remove the pompom and wear the hat plain.  But today, is totally a pompom day!

OLYMPUS DIGITAL CAMERA