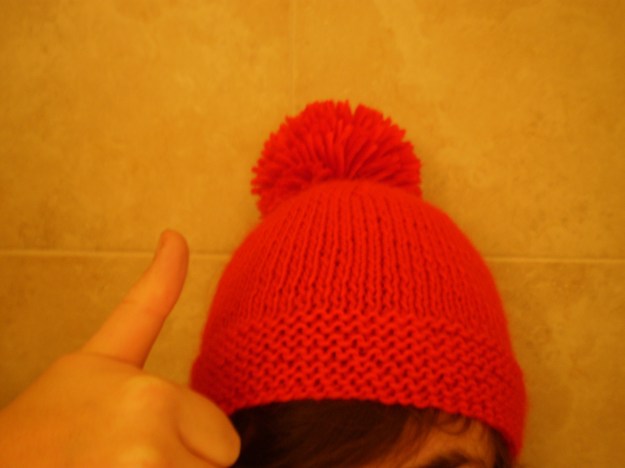
I love my little red hat, and I bet you love your hat, too. But, I feel there is something missing… something extra… something… fluffy. Also, I have some leftover yarn that I want to use up.
 I’m going to make a pompom to put on top of my hat! (I realize that pompoms are something of a polarizing subject for folks, but I enjoy a good pompom from time to time, and this is definitely one of those times.)
Pompoms are easy to do, but probably the messiest project you’ll ever do involving yarn…the little scraps of yarn tend to go everywhere and stick to things if you’re not careful (that static cling will get you every time). You have been warned.
Here’s what you need:
Yarn (The fluffiness of your pompom depends on the amount of yarn you use. The more yarn, the more fluff.)
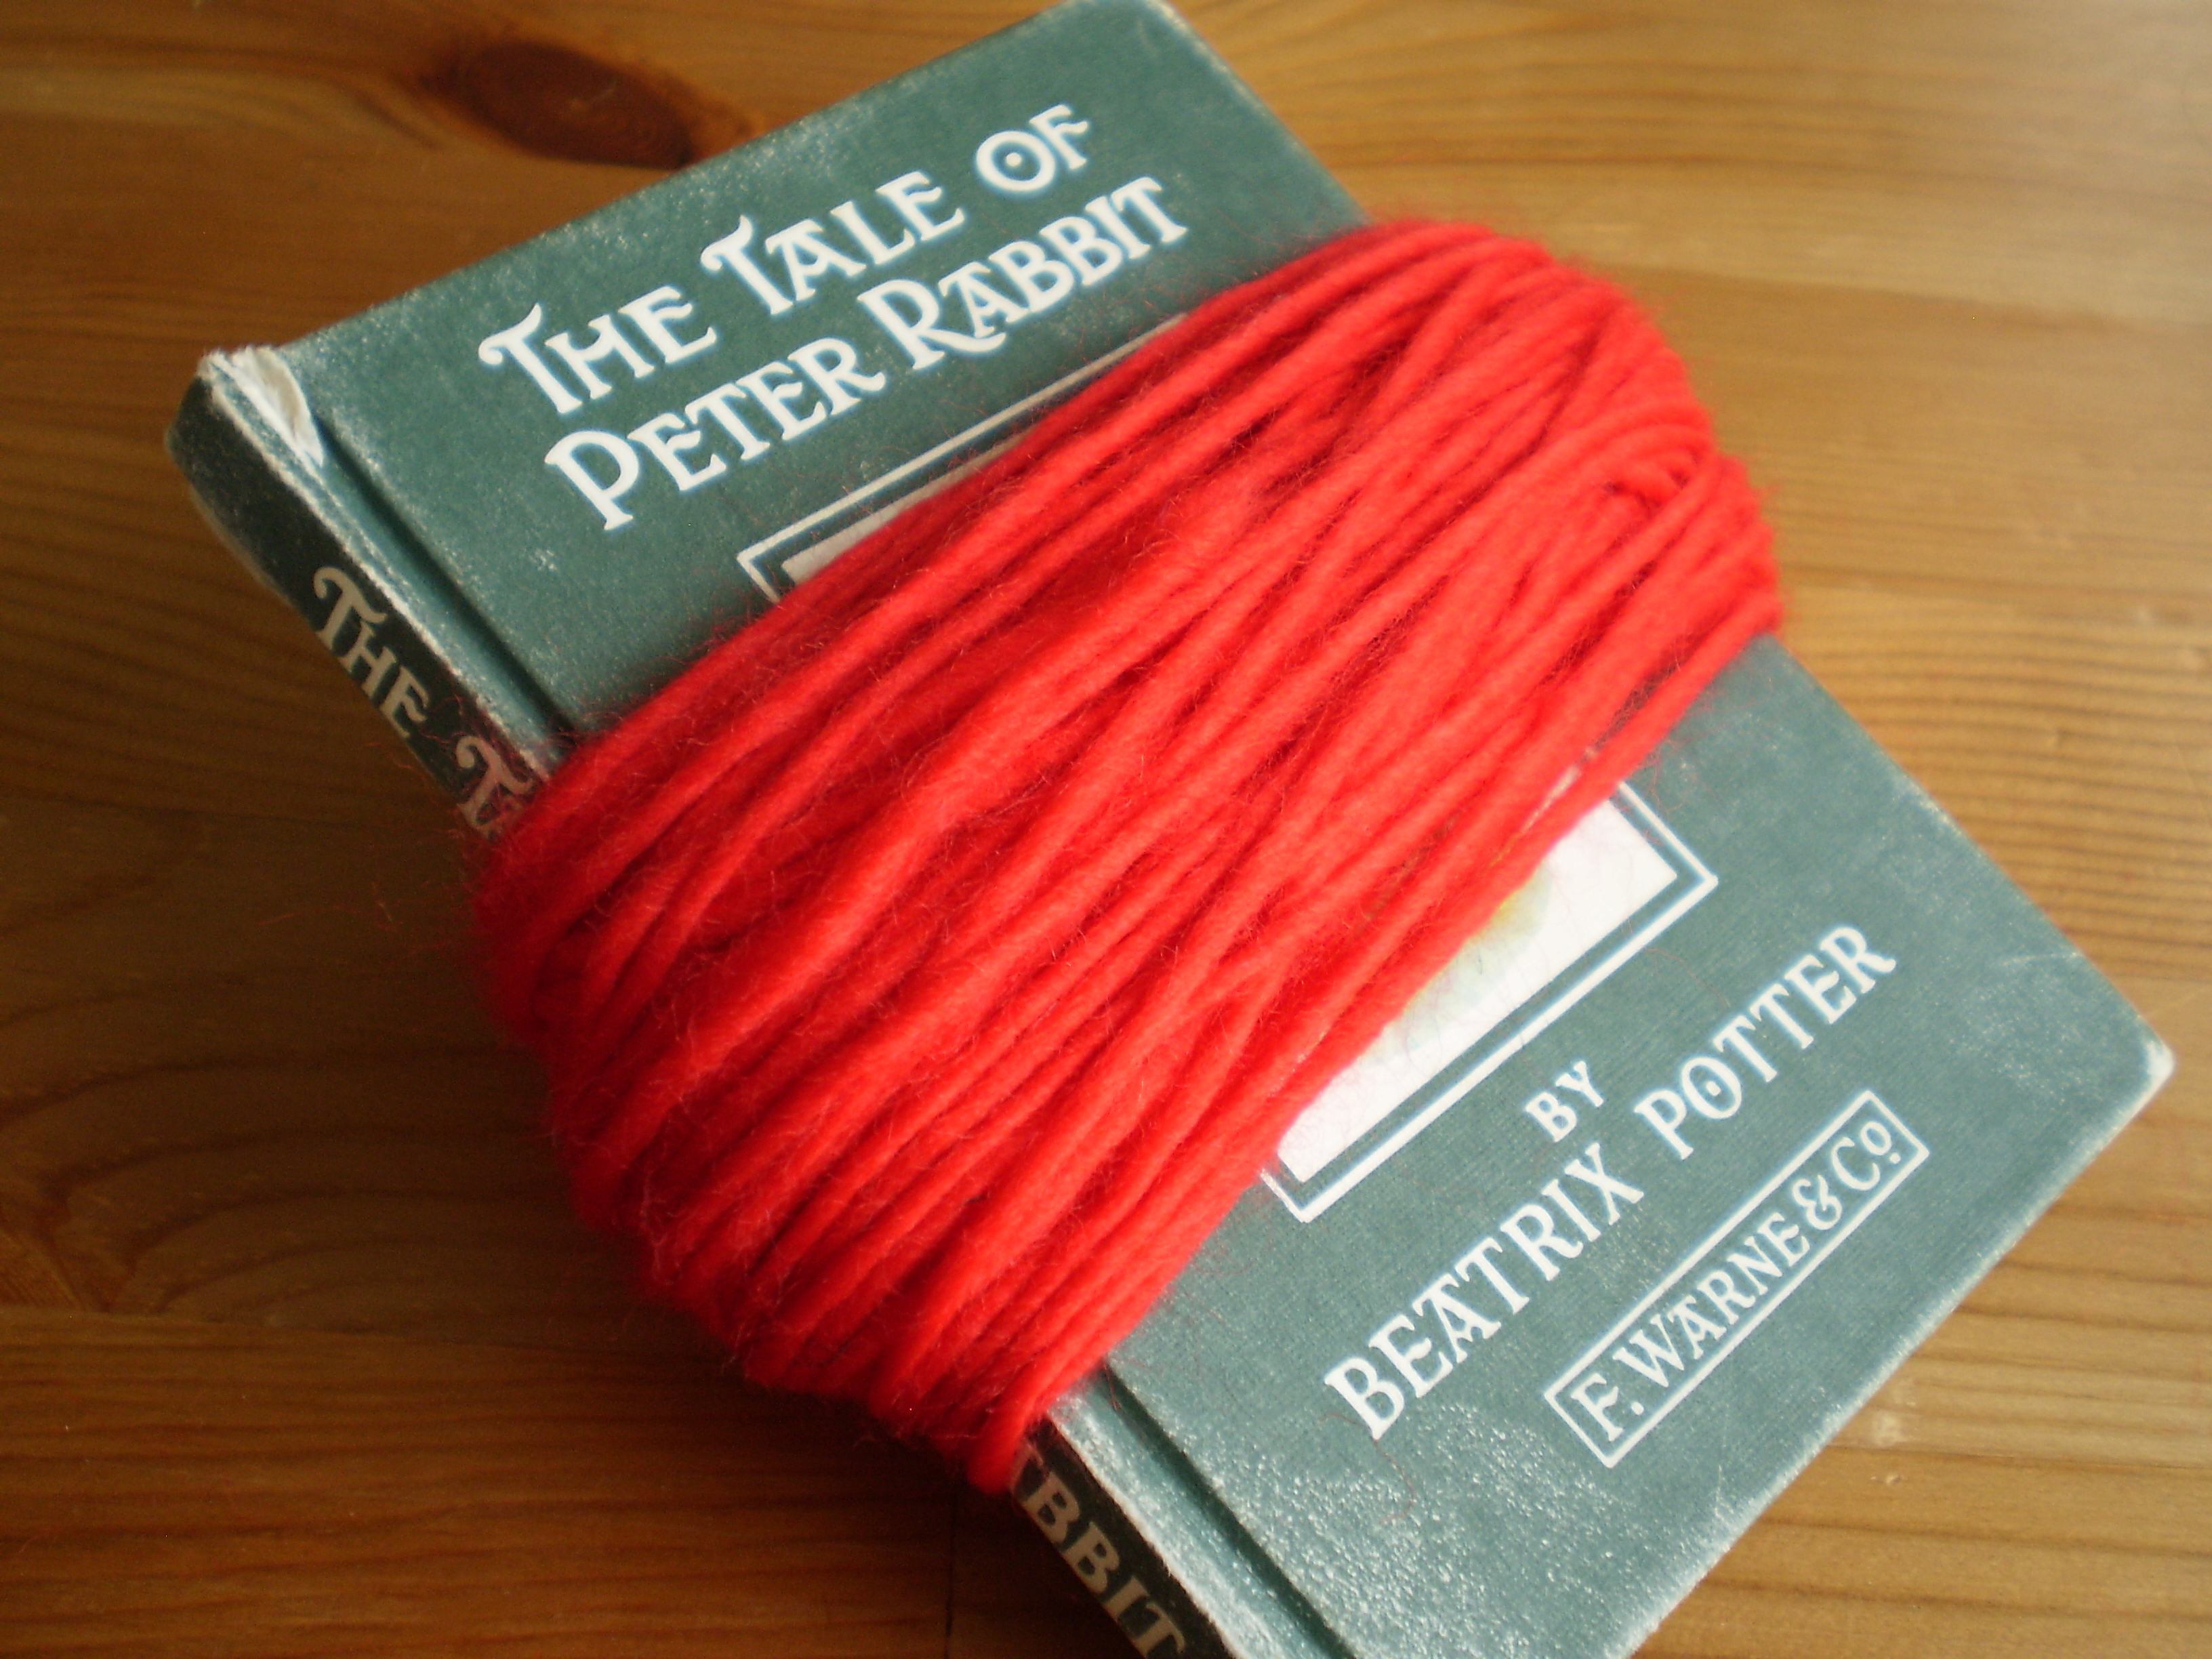
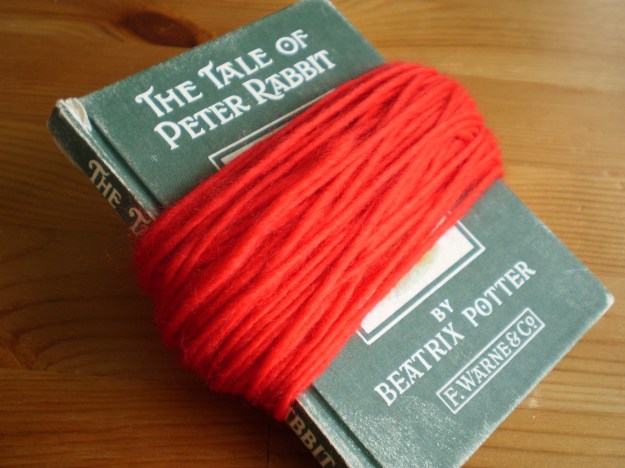
A book, coaster, cell phone, box or other small, rigid object that you can wrap yarn around. The object should be slightly longer than the desired diameter of the finished pompon. I’m using a tiny copy of Peter Rabbit that I have on my bookshelf for some reason. It’s about 4 inches wide.
Scissors
A great big mixing bowl, pot, trash can, or drop cloth (optional, but recommended. Use his to keep your schnipples neat while you work.)
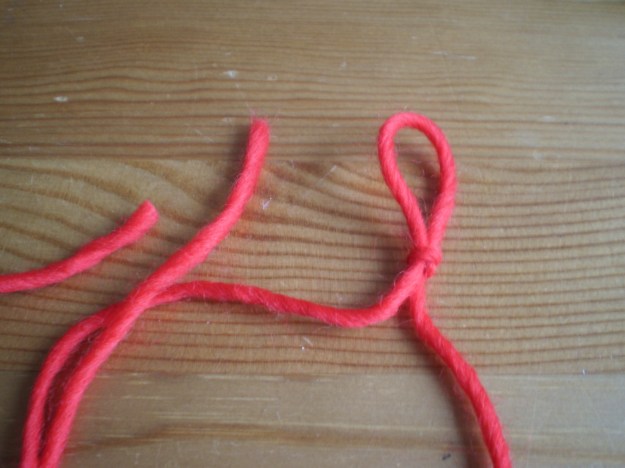
Step 1: Cut a piece of yarn about 2 feet long and tie a slip knot in the middle of it. Set it aside.
 Step 2: Wrap the rest of your yarn around the book approximately 1 million times. Try to get the yarn to build up into a big clump. Stop when you get bored, or when you think that you have enough. It might be possible to wrap too much yarn around the book, but I haven’t done it yet. Cut the yarn when you have enough wrapped around the book.
 Step 3: Carefully slide the yarn off the book, being sure to keep the clump nicely together. Slip the piece of yarn you set aside earlier over the clump, and pull the slipknot tight. Wrap the ends of the knotted yarn tightly around the clump a couple times and secure with a square knot. See how the clump has now become a neat bundle of yarn?
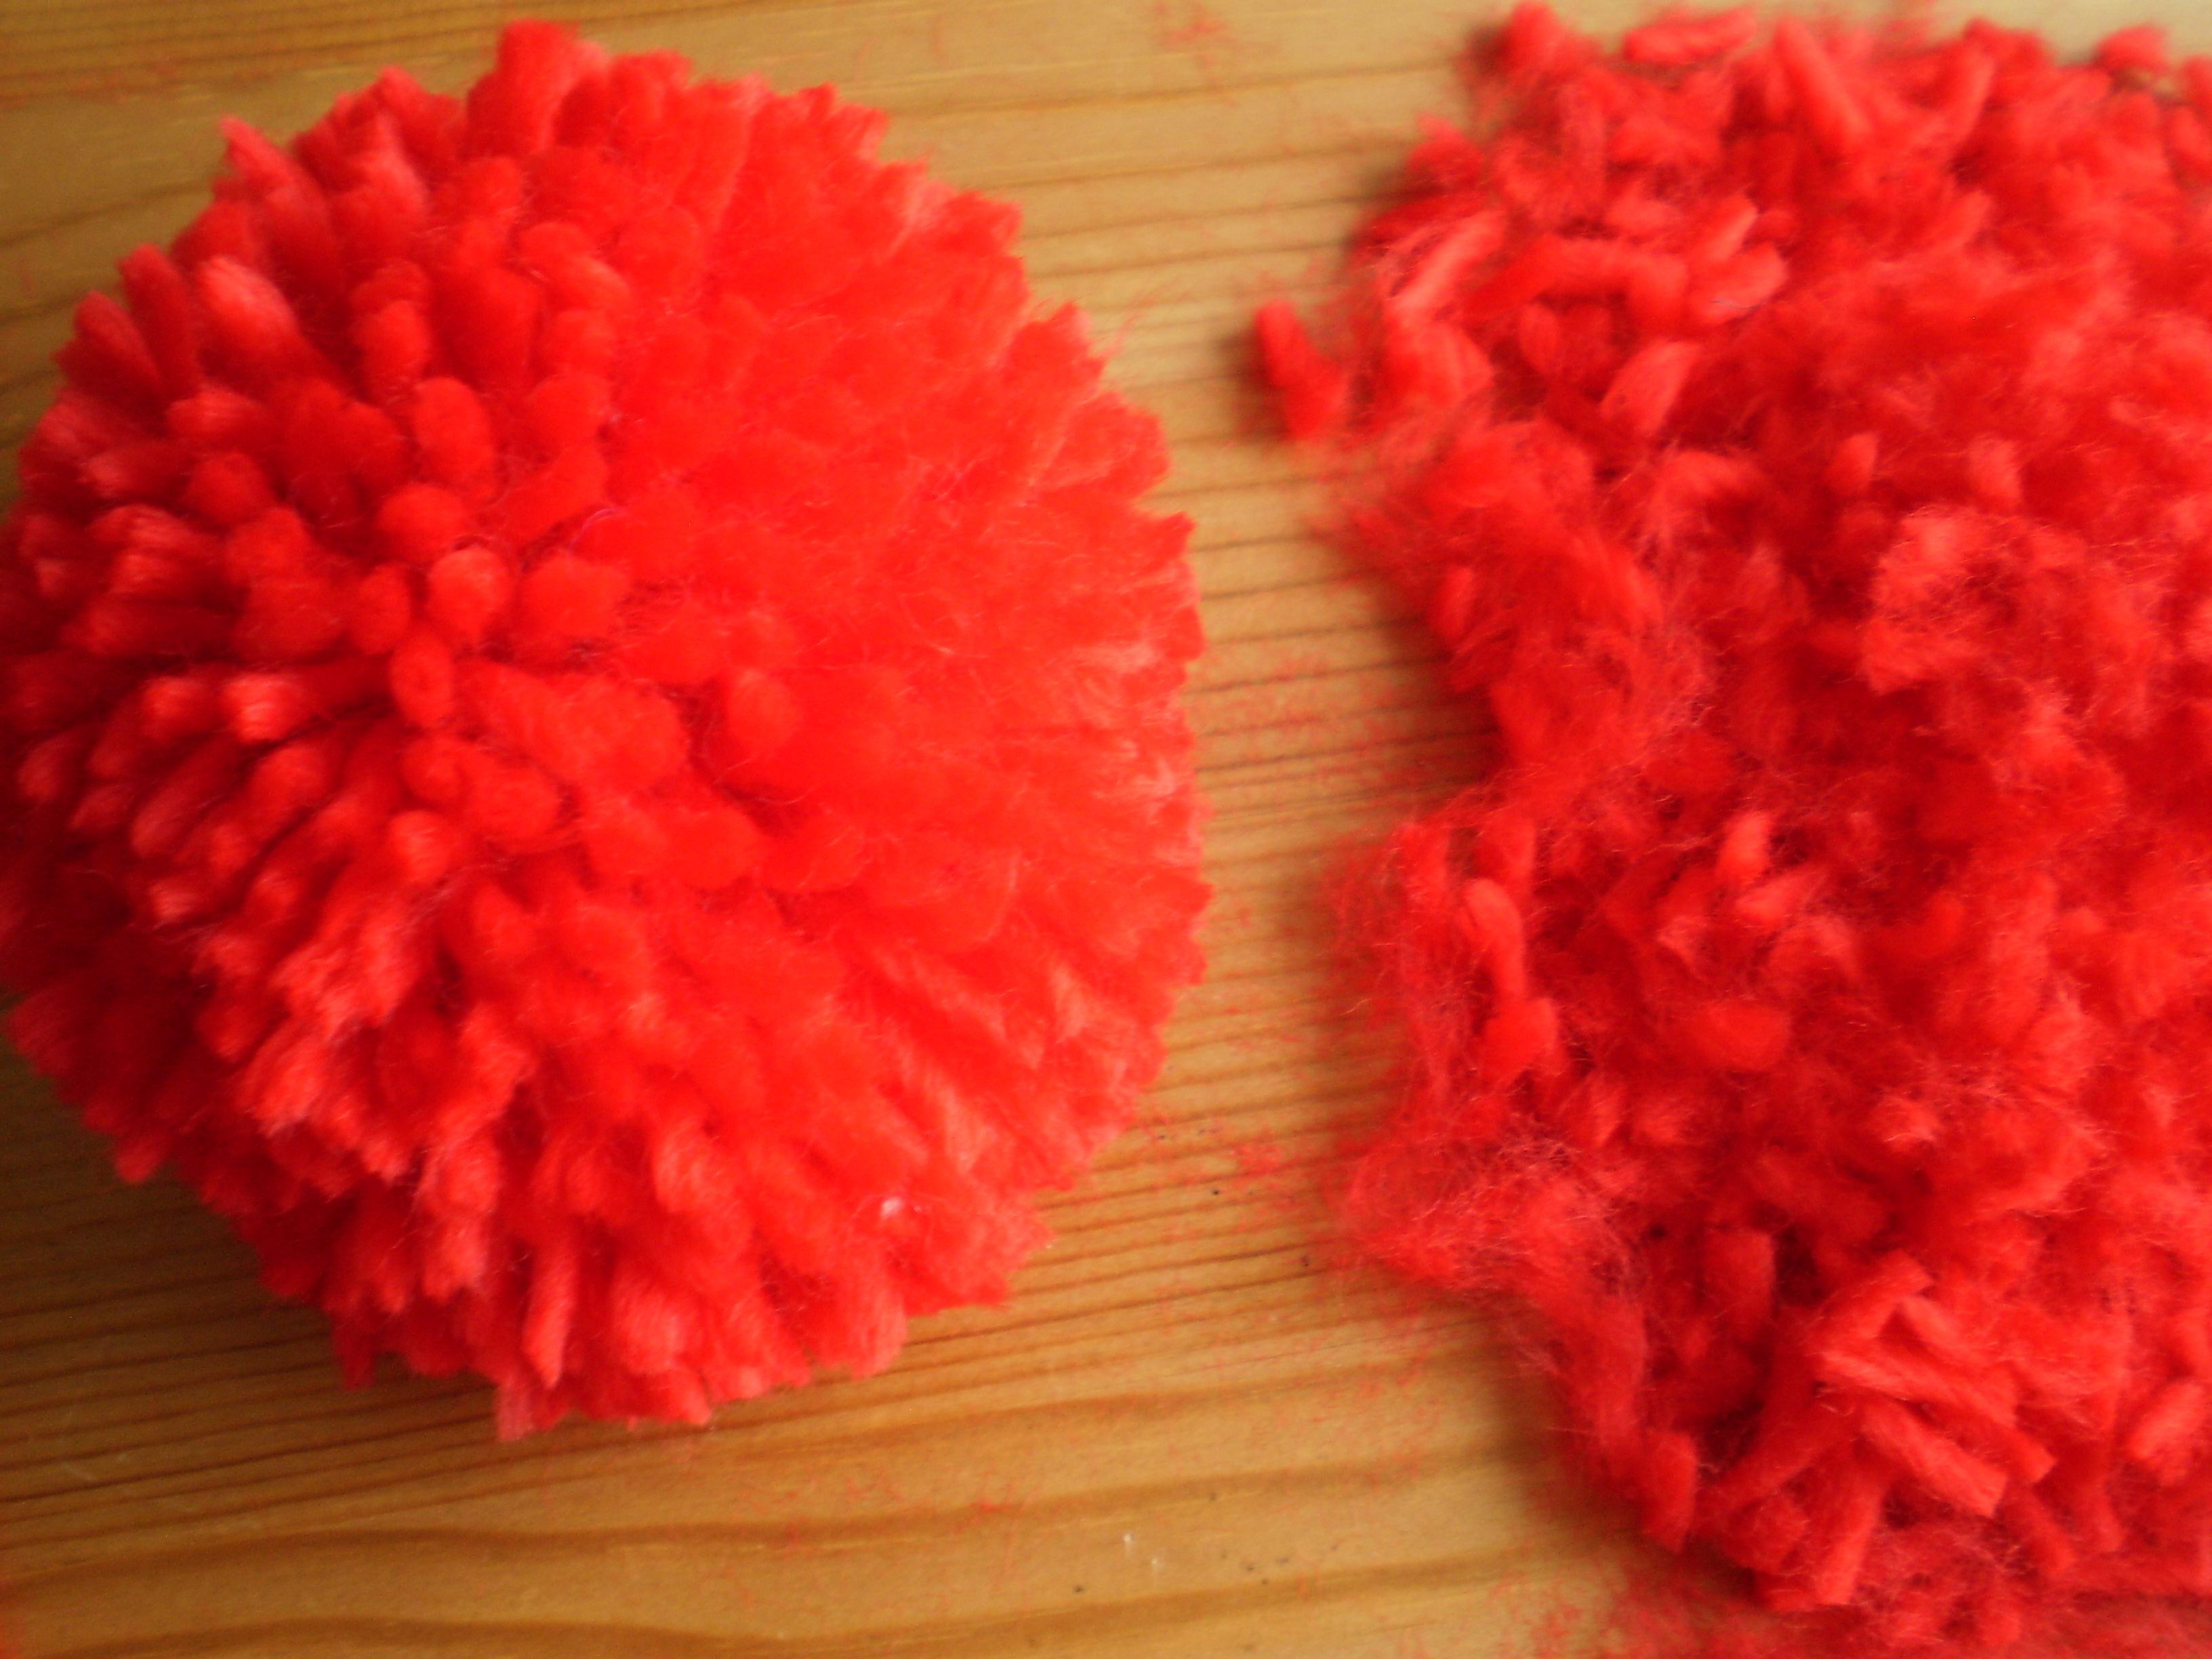
 Step 4: Cut all the loops, and use your fingers to fluff out the ends.
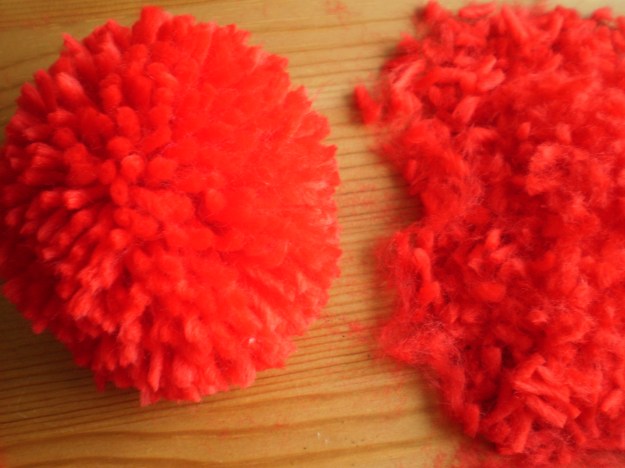
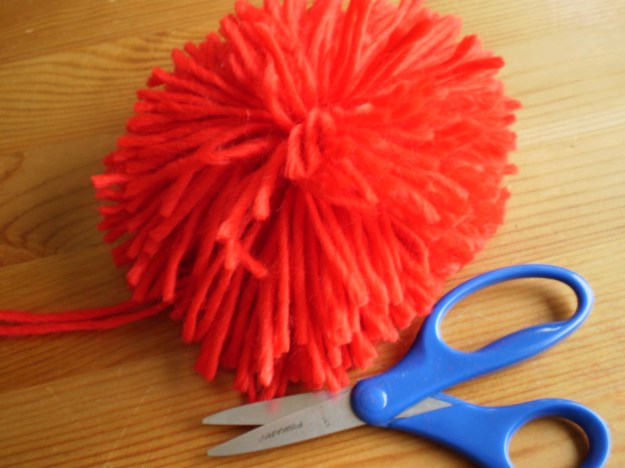 Step 5: This is the messy step. With your scissors, carefully trim the ends of your yarn until the pompom starts looking nice and round. Go slowly, since you can always trim off more yarn, but can’t add any back in. Try to avoid cutting the long tails of the tie-off yarn.
 Step 6: Attach the pompom to your hat. Use a tapestry needle to pull the long tail ends of your pompom through the crown of your hat, right at the top. I like to just tie the ends together using a bow or other removable knot, so that if I’m having a pompom-ish day, I can wear my pompom hat, but if I’m having a curmudgeonly day, I can remove the pompom and wear the hat plain. But today, is totally a pompom day!