Category Archives: Techniques

Face it

You have spent hours and hours and hours working on a teddy bear, doll or other plushie, and you are just about done, when you realize it doesn’t have a face.   While a faceless doll can be cute on occasion (although they are usually creepy), you probably at least want some eyes.  You have a couple options, but the easiest is usually an embroidered face.

If you are making your plushie for kids under 3, animals, or particularly dumb adults, embroidered faces are best, sinc there is nothing for them to swallow or choke on.  Using an eye-colored yarn or embroidery floss, sew through the back of the head, make a stitch or two for each eye, and sew back through the back of the head.  If your doll has hair or a hat, it the ends will be hidden.  If you don’t have hair, try making a tiny little knot at the back of the head, and then burry the tail in the head, trimming off any excess yarn.  stitched eyes can be very expressive:

OLYMPUS DIGITAL CAMERA

OLYMPUS DIGITAL CAMERA

OLYMPUS DIGITAL CAMERA

OLYMPUS DIGITAL CAMERA

OLYMPUS DIGITAL CAMERA


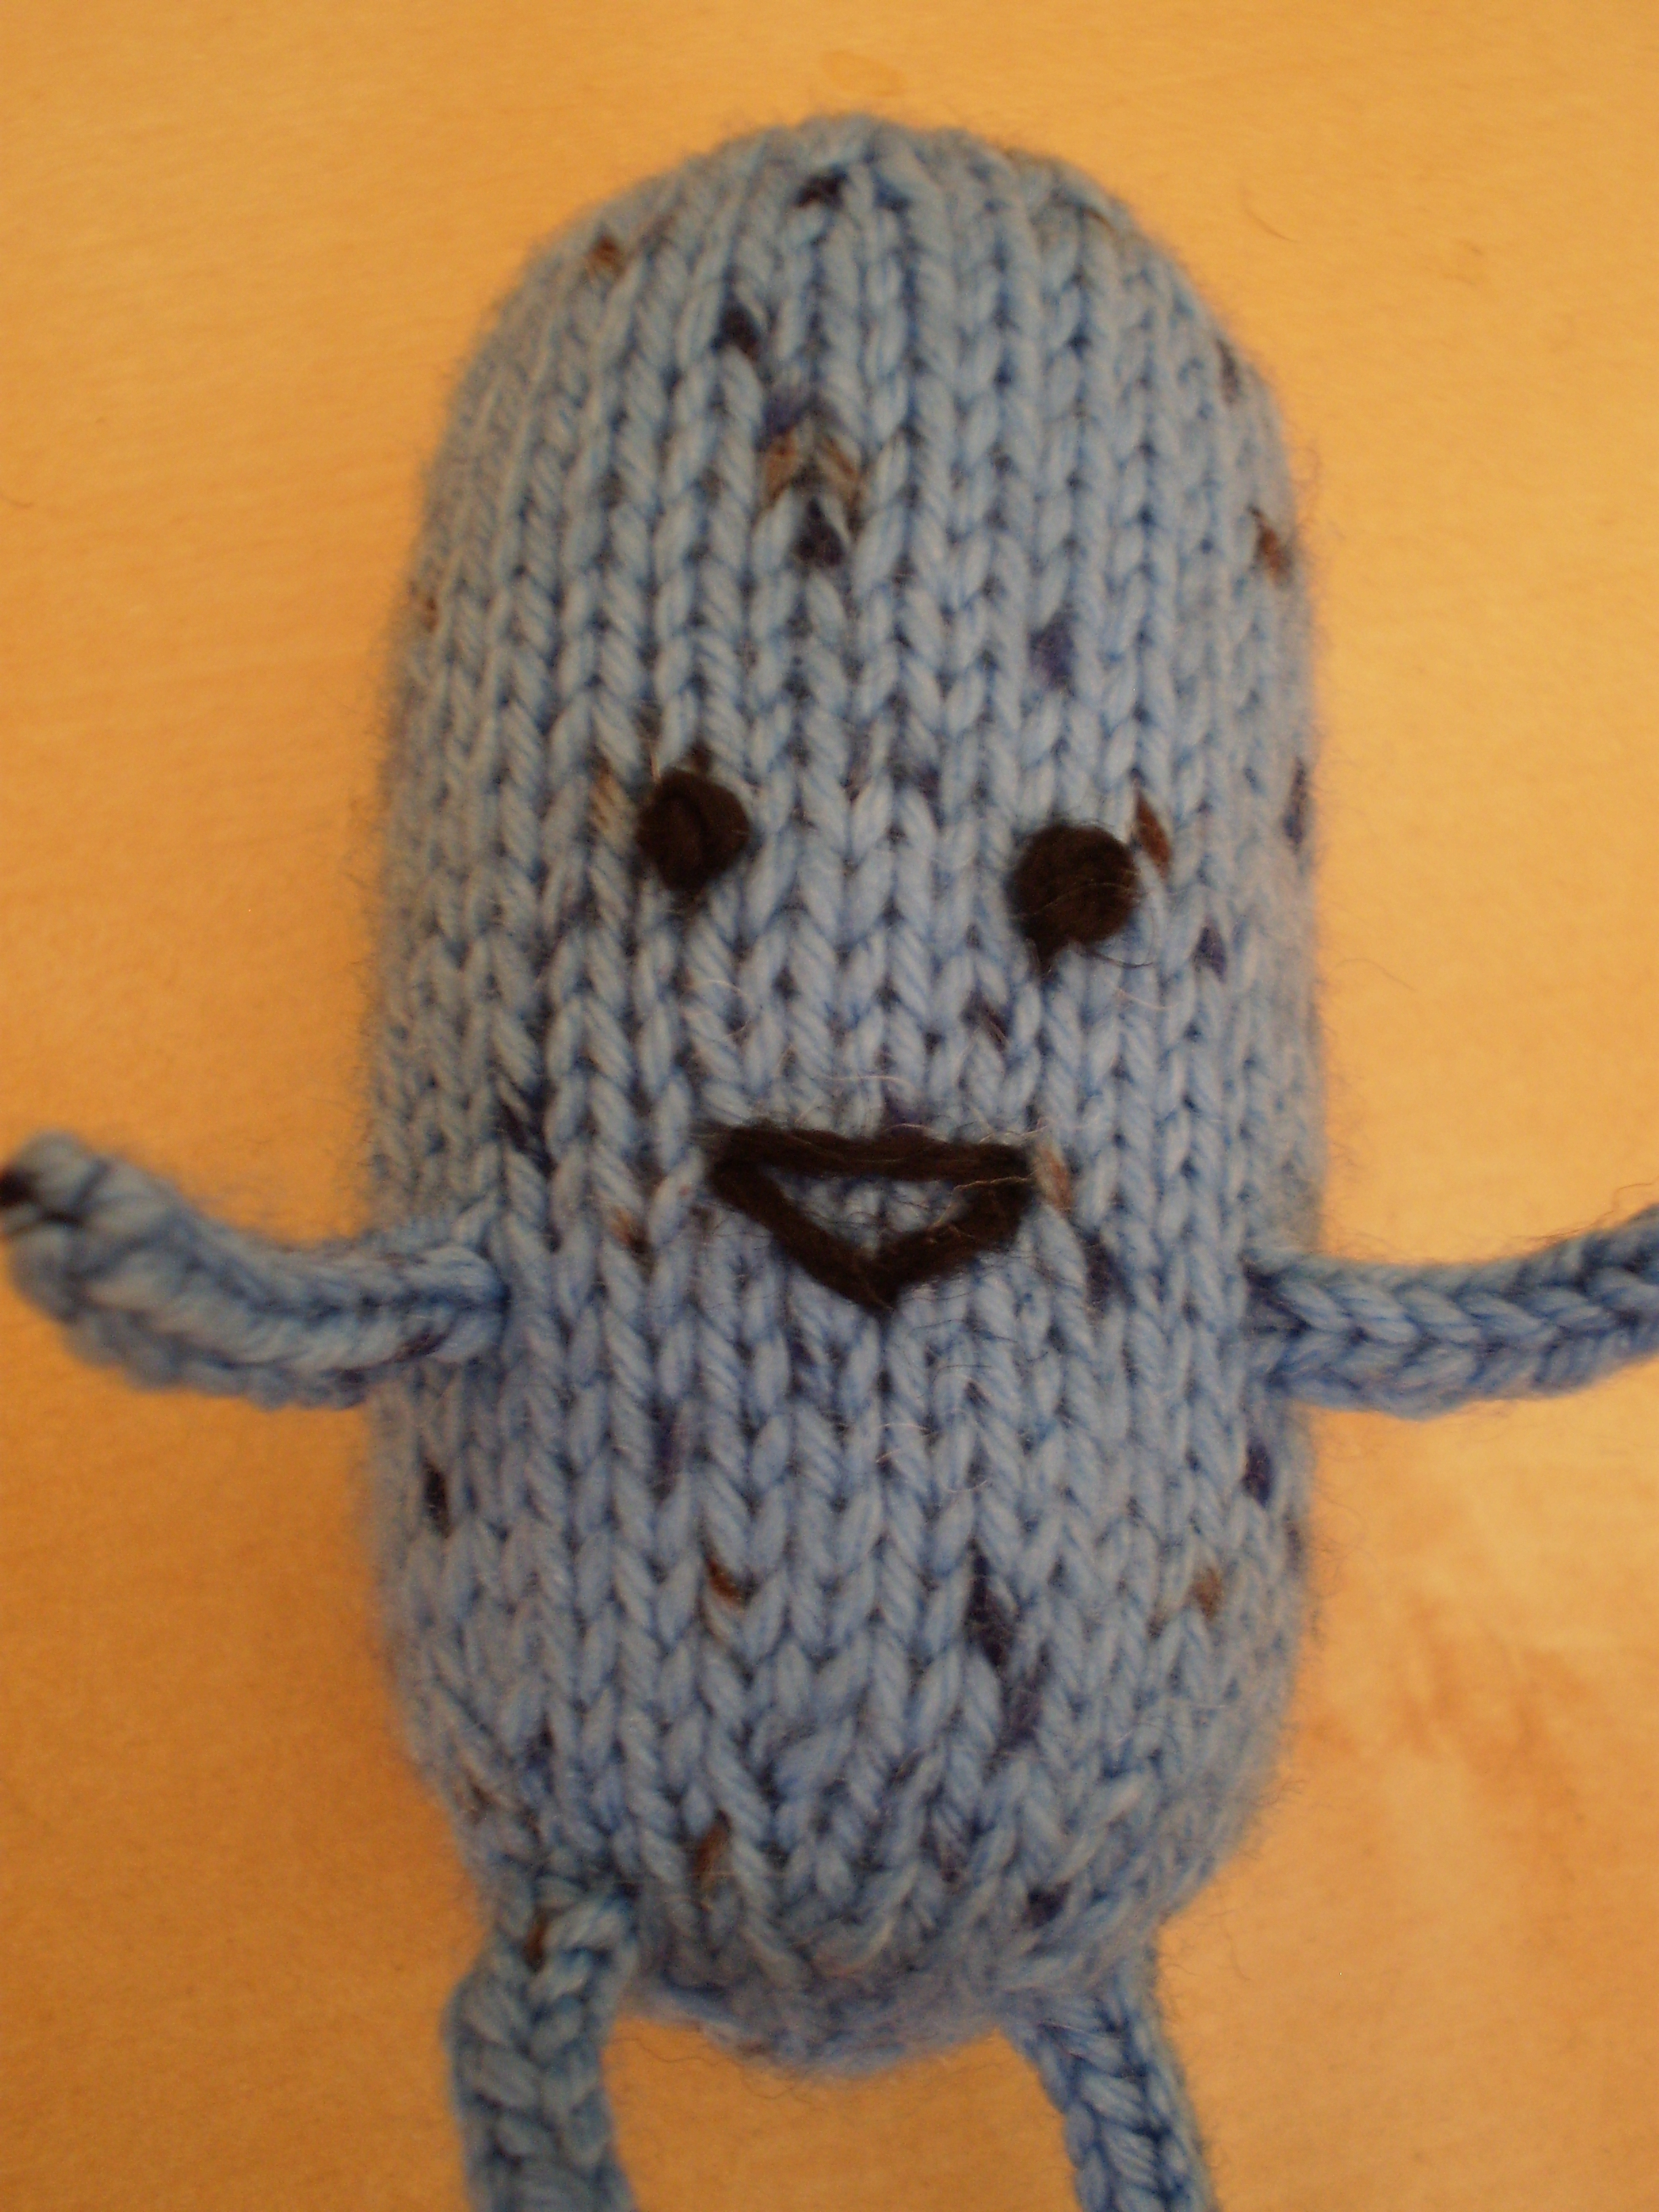
All of these faces were made with these super simple stitches:

French Knots

Running Stitch

Now, go fourth and give things faces.  I don’t know about you, but I feel like I’m being watched or something.  Eep!

I-cord

When I first learned about I-cord, I was told that the name was short for “Idiot-Cord.”   Supposedly it has this name because the first person who made I-cord did it on accident because she was an “idiot” who forgot to flip her knitting around when she started a new row.  I think this is kind of mean.   Especially since I-cord is super fun to make, useful, and more than a little ingenious.  Maybe we’ll pretend the “I” stands for ingenious.

So, what is I-cord?  It’s a very thin tube of knitting.  It can be used as a tie or drawstring, and back in ‘ye olden times’ was used to make shoelaces before they were commercially available.  I-cord is knit in the round, but on two needles, which makes it super easy to make.  If you can knit a garter stitch swatch, you can make an I-cord.

Here’s how you do it:

Using double-pointed needles, cast on 3-4 stitches (you could cast on more stitches if you want a thicker cord, but I-cords with more than 4 stitches end up a bit wonky looking).

OLYMPUS DIGITAL CAMERA

Usually at this point, you’d flip your knitting, so that the working yarn is on the right.  But, since we’re making an I-cord, we’ll do something a little different.  It’ll feel a little weird at first, but it’ll work, I promise.

Without flipping your knitting around, slide your stitches to the right hand end of the needle.  The working yarn should be coming off the left side of your knitting.  Take the needle with your stitches on it in your left hand, and your empty needle in your right hand.  Knit across.

OLYMPUS DIGITAL CAMERAOLYMPUS DIGITAL CAMERA


Do the same thing again.  Slide you knitting to the right end of the needle, and knit all stitches.  Repeat ad nauseum, making sure not to flip your knitting between rows.

OLYMPUS DIGITAL CAMERA

See how your knitting is turning into a little tube? That’s an I-cord!  Give the I-cord a little tug after every couple rows to settle the stitches into a nice even cord.

OLYMPUS DIGITAL CAMERA


Keep going until your I-cord is as long as you want it to be, and then finish by either binding off, or sewing your tail through your active loops (like you do at the top of a hat).

OLYMPUS DIGITAL CAMERA


Now, don’t you feel ingenious?

OLYMPUS DIGITAL CAMERA

Adding Fringe

So I don’t know about you, but I am not great at learning things from out of books.  However, I do love a good tutorial video.  So, I thought, why not make a video about adding fringe?  How hard can it be?  Apparently harder than I thought.  I managed to make a video, but I don’t know how to add titles or cut scenes, or even have sound.  That’ll be my next project.  I may be good with needles and yarn, but technology still stumps me sometimes.

Anyway, here it is, my very first YouTube video!  Drum roll please!

And, since I can’t figure out how to add audio, here is what I would have said, if I had been able to conquer the computer:

Step 1: Insert the crochet hook through both the front and back layer of the scarf.

Step 2: Pick up one of your fringe pieces folded in half and use the hook to pull the middle of the fringe through both layers of the scarf.

Step 3: Using your hook again, pull the ends of your piece of fringe through the middle loop.

Step 4: Pull the ends of the fringe tight.

Step 5: Repeat the whole process over and over, so that each stitch has a piece of fringe  attached to it.  This makes a really nice, thick fringe for a scarf.

Step 6: Laugh at how terrible my YouTube video is.  I promise I’ll work hard to make my next one better. Cross my heart.