I admit, this is a little bit of a silly one, but something that I’ve been needing to do for literally years. I’ve done it. I’ve officially organized my DPNs! *Applause please.*
For a long time, I tried to keep my DPNs in their original packaging, but that was a mess. It looked awful. I had packs of needles stashed everywhere, and I could never find the ones I needed.
Then several years ago, I put all my needles in one big ceramic jar. I figured they’d at least be all in the same place. I didn’t have to go rummaging through thirty-seven different project bags, or digging in my desk, or looking through my various pencil cases and backpacks.
And they looked cute! Bonus!
But that was quite a while ago, and in the interim, I’ve acquired *ahem* quite a few more needles. (I don’t have a problem, you have a problem.)
I was digging through them the other day, looking for some US6’s, and I ended up so frustrated that my husband offered to help (looking through probably 100+ nearly identical needles will do that to you). He immediately said “There must be a better way.” Which made me realize that there must be a better way.
Why had it never occurred to me!? I like to think that I’m pretty smart, but sometimes I question my own intelligence.
Anyway, I was thinking of what I wanted, and I knew I still wanted my needles out on display, and I wanted to be able to grab the size I needed at a moment’s notice (or at least without a half-hour long search and a lot of swearing).
Long story short, I ended up at Target, and found a “lipstick organizer” (Who’d have thought that was a thing?!). It’s a short-ish organizer with 16 little spaces, plenty for each size of needle to have its own spot. 
So far, it’s working great! It still looks a little messy, but it gets the job done. I think I might add little stickers or something to label the sizes, but for now, it’s working out OK.
I can’t believe I wasted so much time digging through that old jar… sigh.
How do you organize your needles?
 I think my favorite part of this sweater is how wearable it is. Who would have thought? A short-sleeved, cropped sweater? Really? Past Allison would have laughed at the idea that I would wear something like this.
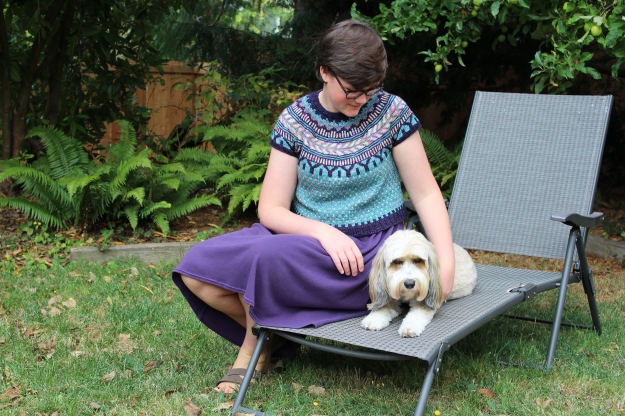 I’ve been wearing it over dresses, tank-tops and jeans. And once it cools down (fall’s right around the corner), I think it’ll be cute over long-sleeved tanks or a nice buttondown.
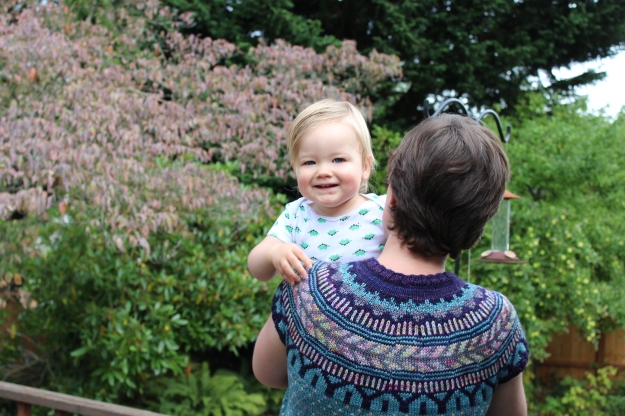 The kid seems like he likes it too. (How cute would a baby one be?!)
 It’s named after the Olympic Peninsula, the gorgeous part of Washington between the Puget sound and the Pacific Ocean. It’s full of lush forests, misty coastline and snowy peaks. (And it’s where Twilight was based, if that gives you an idea. Though I imagine that people that live over there don’t love that reference.) It’s the perfect place to traipse around in a woolly cabled pullover.
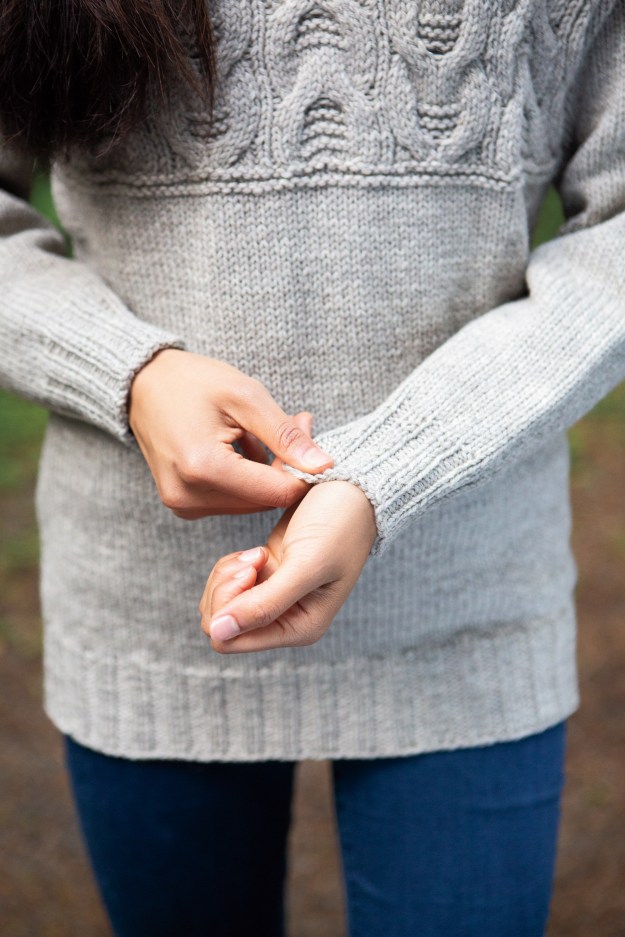 This sweater is beyond simple- dropped shoulders mean almost no shaping, and everything’s worked in pieces and sewn up, so it would make nice travel knitting. Plus, the cables look super-complicated, but once you get them established, they’re pretty simple.
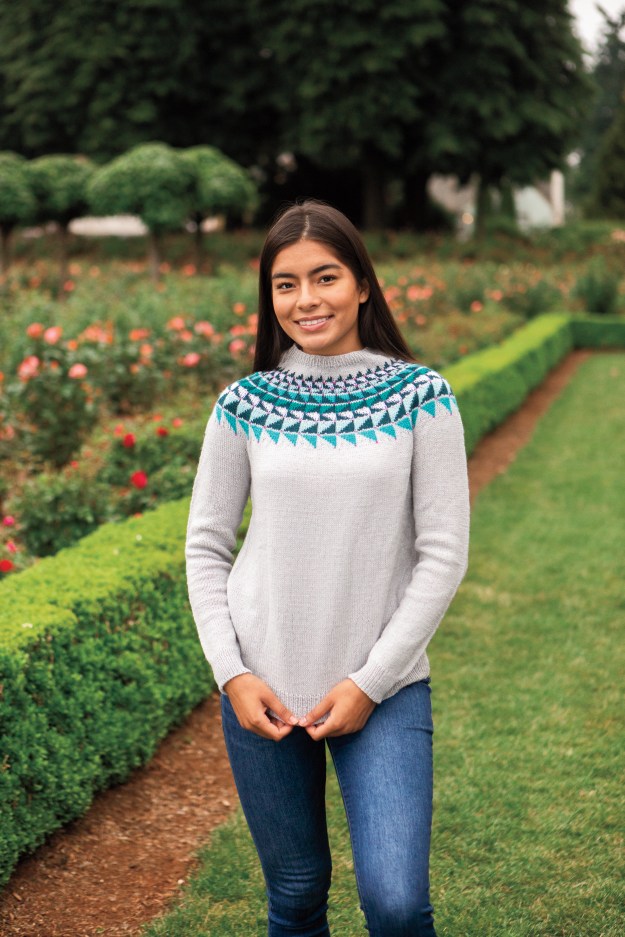 It’s a long-sleeved yoked pullover, made with
  I will say one thing though- the neck on the sample in these pictures ended up kind of funny, so if you want to make a Piper’s Creek Pullover (which I highly recommend), here’s what I would do to avoid the weird neck. First, make sure that you’re only doing the number of short rows called for in the pattern, or maybe even reduce the number by one or two, just in case. Second, make sure to work the colorwork nice and loosely (tight shoulders will make the neck funnel up, like it is in the pictures). And third, make sure to block the sweater so the neck goes nice and smoothly into the shoulders. Worst case scenario, if the neck ends up terrible even with all those precautions, you can always rip it out from the top down (or cut it out),


