I firmly believe that you can never own too many containers. Bags, boxes, jars, crates… it doesn’t matter. I can always find something to put in them. Maybe it’s more containers… but the point still stands.
When those containers are pretty, it’s even better.
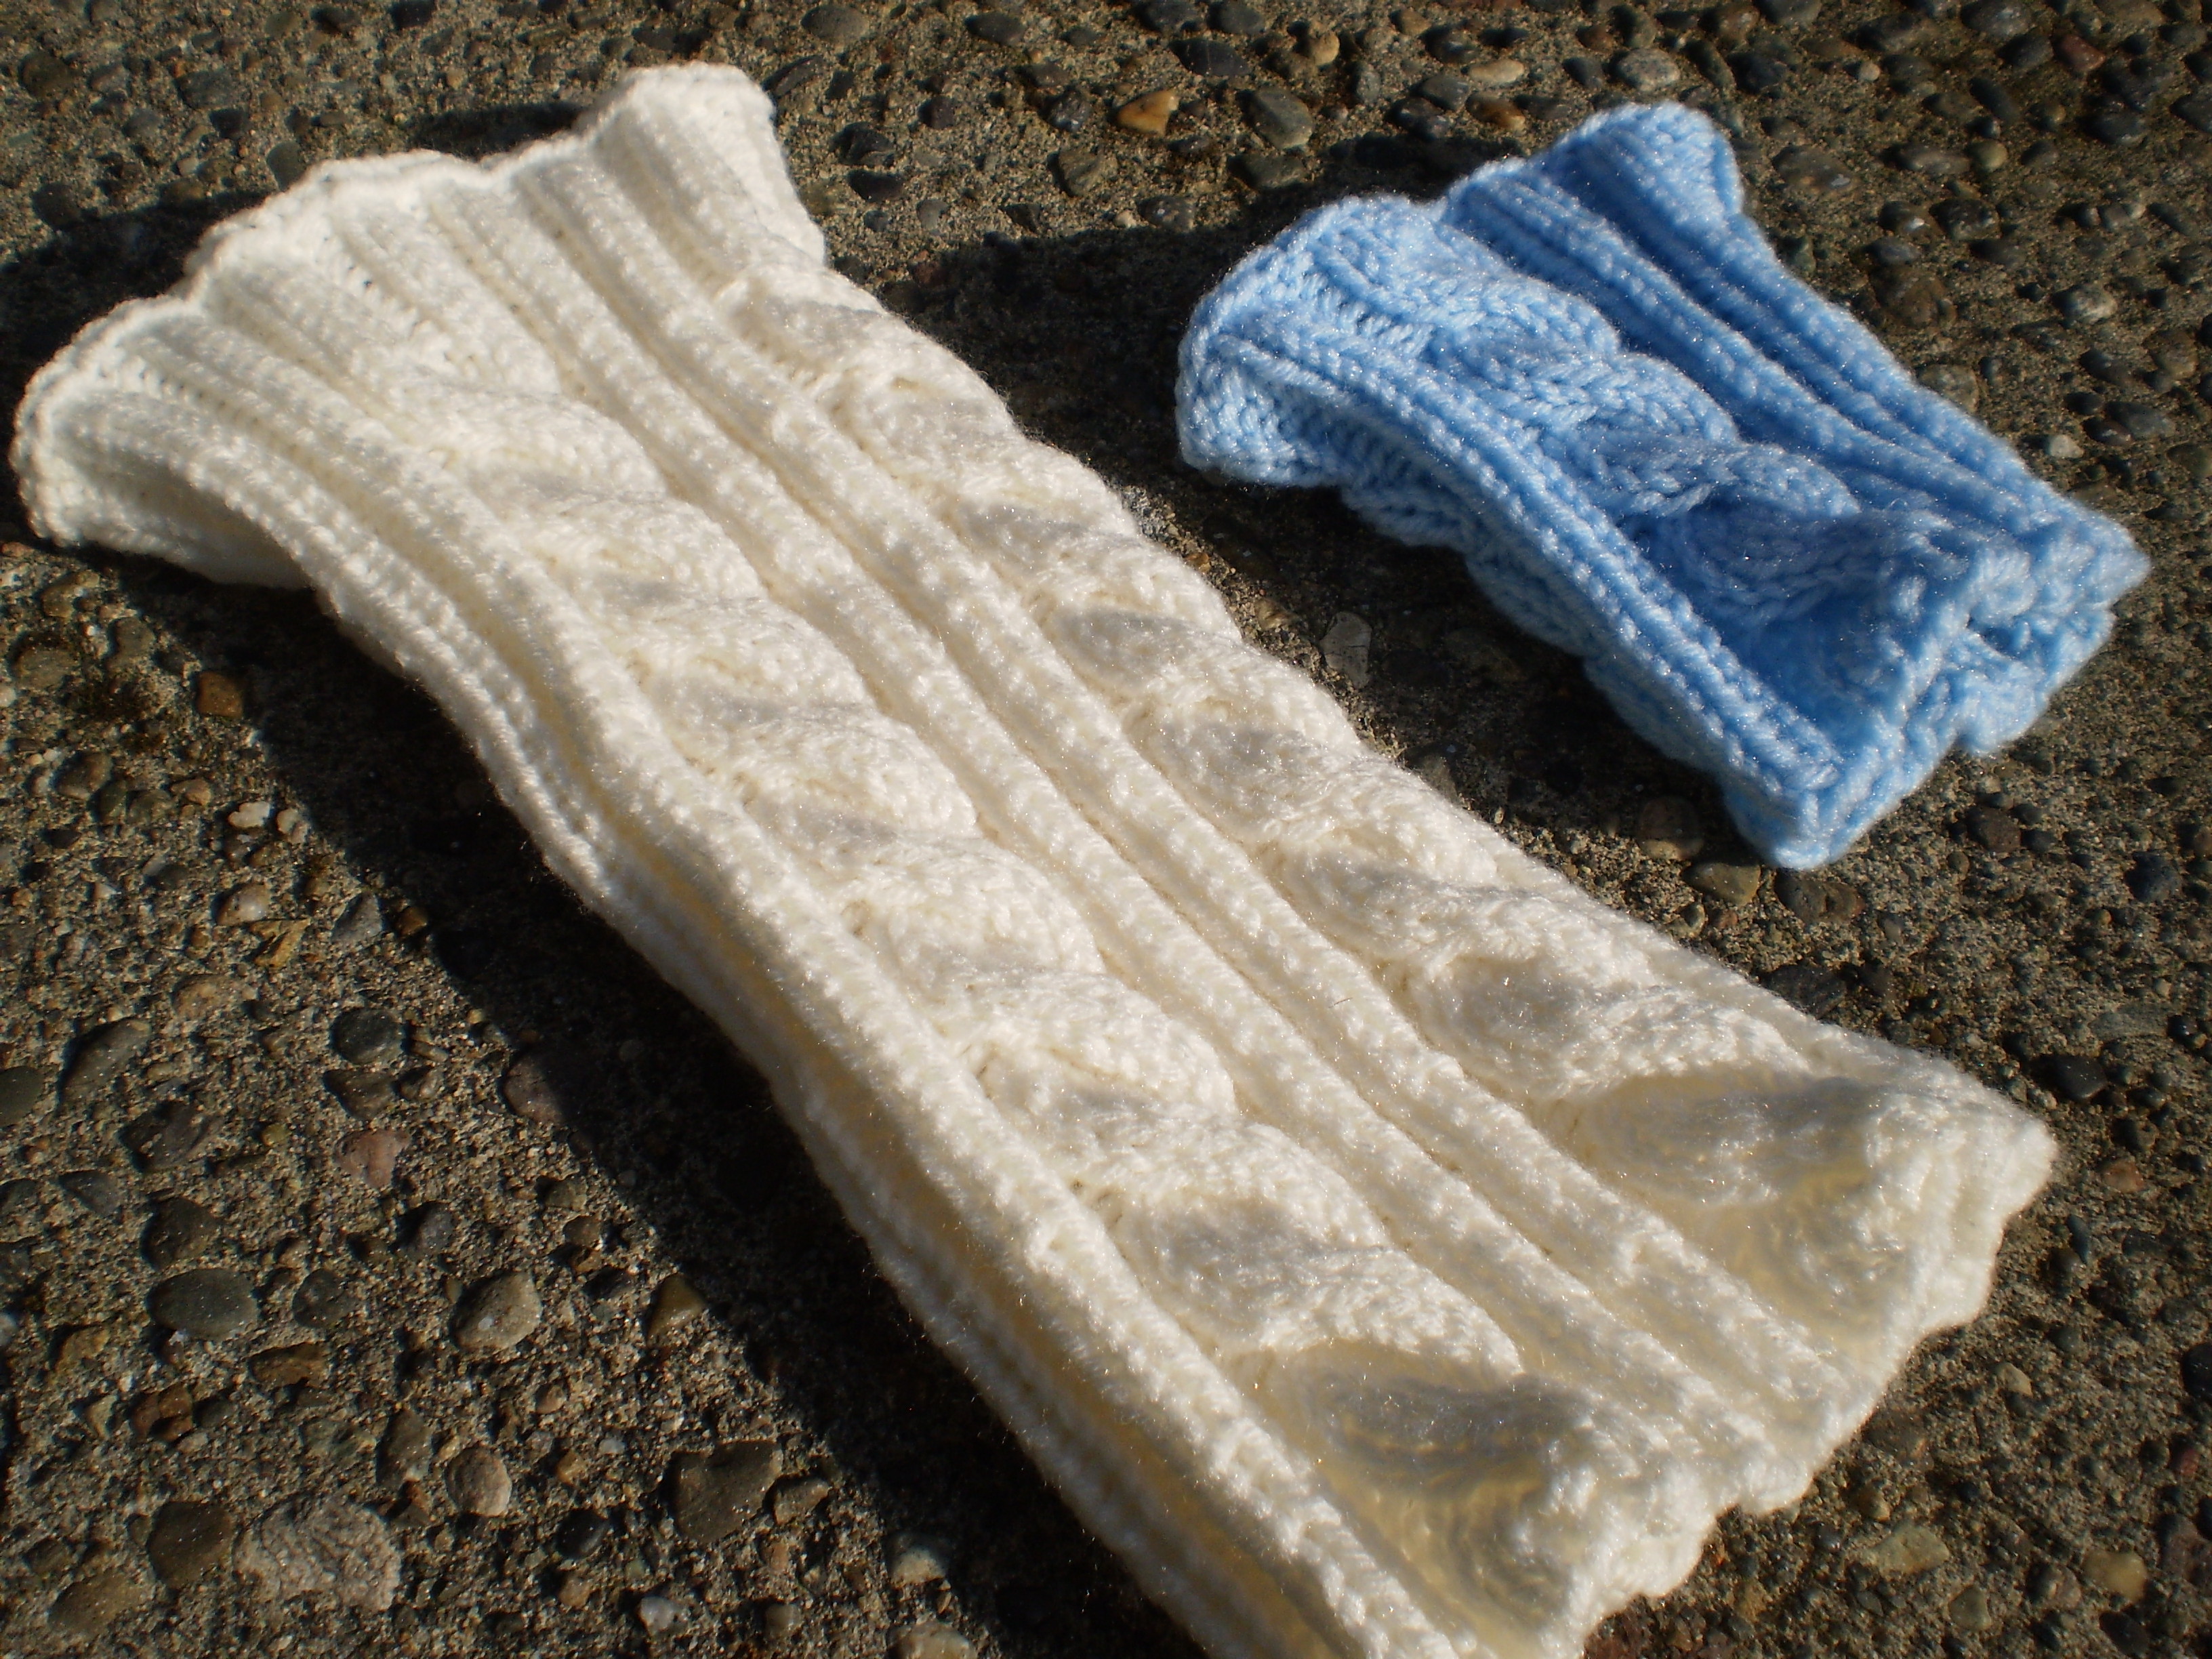
Here’s a recipe for a cabled sleeve that you can use to pretty-up any straight-sided containers around your house. I’m using an oatmeal canister and a small coffee can, but you could use the same recipe to cover jars, pots, vases, or other plastic or ceramic containers. They make great places to keep needles, flowers, and the tiny little balls of sock yarn that are left over at the end of a project that you don’t want to throw away. (Don’t look at me like that… I know I’m not the only pack-rat out there.)

Materials:
1 straight-sided container (Coffee cans, oatmeal canisters, old (clean) juice cartons with the tops cut off neatly, storage crate-the kind without big holes in them, vases etc. Look around your house… I can guarantee you have something that would work for this project)
1 (or more) skeins of worsted-weight yarn. (Use more than one skein if the container you are covering is gigundo. Don’t spend too much money on this project… It’s not like a sweater or something that you’ll have to wear around close to your skin.)
Size 8 needles (DPNs or appropriately sized circulars, depending on the size of the project. I’m working on a smallish coffee can, so I’ll be using DPNs. If I was covering a big crate or something, I’d use circulars that were a little smaller than the diameter of the container.)
An appropriately sized cable needle
Tape measure
Calculator (optional if you’re good with math in your head)
Stitch markers
Scissors and tapestry needle
Spray paint (0ptional)
Hot glue (optional)
Instructions:
- Make a stockinet (knit 1 row, purl one row) gauge swatch. I know. Lame. But, it will be important later. The container cozy really has to fit nicely to give you a good result. Measure your gauge and write it down. My gauge is 6 sts/in.
- Rip out the gauge swatch. Or not. Finished gauge swatches make excellent coasters.
- Measure the circumference of your container by wrapping the tape measure around the outside of the container. (My container’s circumference is 12 inches.) Multiply this number by your gauge. (6 sts/in x 12 in=72 stitches)

- Round this number to the nearest multiple of 4. (72 already is a multiple of 4, so I can skip this step.)
- Cast on your number of stitches (in my case, 72), place a marker at the beginning of your round, and work 2 rows in the round in a k2p2 rib.
- On your next row, you’ll continue working the k2p2 rib, but at the same time you’ll start your cables. I will be doing 3 cables on my coffee can, placed more or less evenly. Make as many or as few as you want. (You don’t have to do any. I won’t call the cops or anything.) Work along the row until you reach the spot where you want your first cable to be. After a p2, place a marker, k6, and go back to your k2p2 rib pattern. Continue to where you want your next cable to be, and the same thing (after the p2, place marker, k6, continue in pattern).
- Now that you’ve got your cables established, the rest is easy. Continue working in pattern, following what you’ve been doing (k2, p2 rib, k6 when there’s a cable) for 3 more rows.
- Next row, get out your cable needle, and work up to your first stitch marker. Transfer the first 3 stitches from the “K6” to your cable needle, and hold them in front of your work. Knit the second 3 stitches of the cable. Then knit the 3 stitches from the cable needle. Continue working in pattern to your next cable and do the same thing. (Here’s a video with instructions if you’re having trouble with your cable. She talks a lot, but gets around to instructions eventually.)
- Work in pattern for 6 rows, then work another cable row. And rinse and repeat. Keep adding height to your sleeve until the piece measures 1/2 inch less than your container height.
- To finish, work 3 rows even (after your last cable row), then work 3 rows of k2p2 rib, and bind off loosely. If you want, you can continue the k2p2 rib for a few inches, if you want a folded-over edge.
- Weave in the ends, and trim the tails (making sure they lie on the inside of the tube).

- (Optional) If your container has lots of colors and patterns on it, you may want to spray paint it with a color similar to that your yarn.

- Slip your piece over your container, like a sock. If the tube is too long, fold the top of the tube over, inside the container to make a nice finished-looking edge. If the tube is too loose, add a couple dabs of hot glue at the top of your container to hold the sleeve up.
- Add in flowers, knitting needles, or whatever else you want to display in your cool new container. Brag to your friends about the handmade vintage vase on your mantelpiece that you got from Anthropology for about 500 bucks. (They don’t have to know it’s an old coffee can and about 50 cents worth of yarn that you had in the back of your closet.)


Brilliant!! I’m going to try it.
I’ve been looking for a pattern for a tissue box cover. I think I could probably still use this. I hope to make it higher than the sides enough so that I can make an I-cord woven between the stitches to gather it into a bow to partially close the top around where the tissue is pulled out.