I have a sweater that I totally love. It’s flattering and a really pretty color. It goes with just about everything. I love wearing it.
But.
It gets pulls in it if you look at it wrong.
I don’t know if it’s the yarn or the stitch pattern, but something about this sweater makes it super easy to pull. Velcro on my backpack will totally mess it up, and I’ve accidentally zipped it in my rain coat more times than I would like to admit.
Luckily, pulls aren’t too hard to fix, if you’ve got two minutes and a tiny bit of patience.
First of all: Don’t cut them off!! (I’ve had folks offer to cut off my pulls, and that makes me freak out. There’s nothing scarier than a non-knitter coming at my favorite sweater with a pair of shears. Holes in my beautiful sweater? No! *Shudder*)
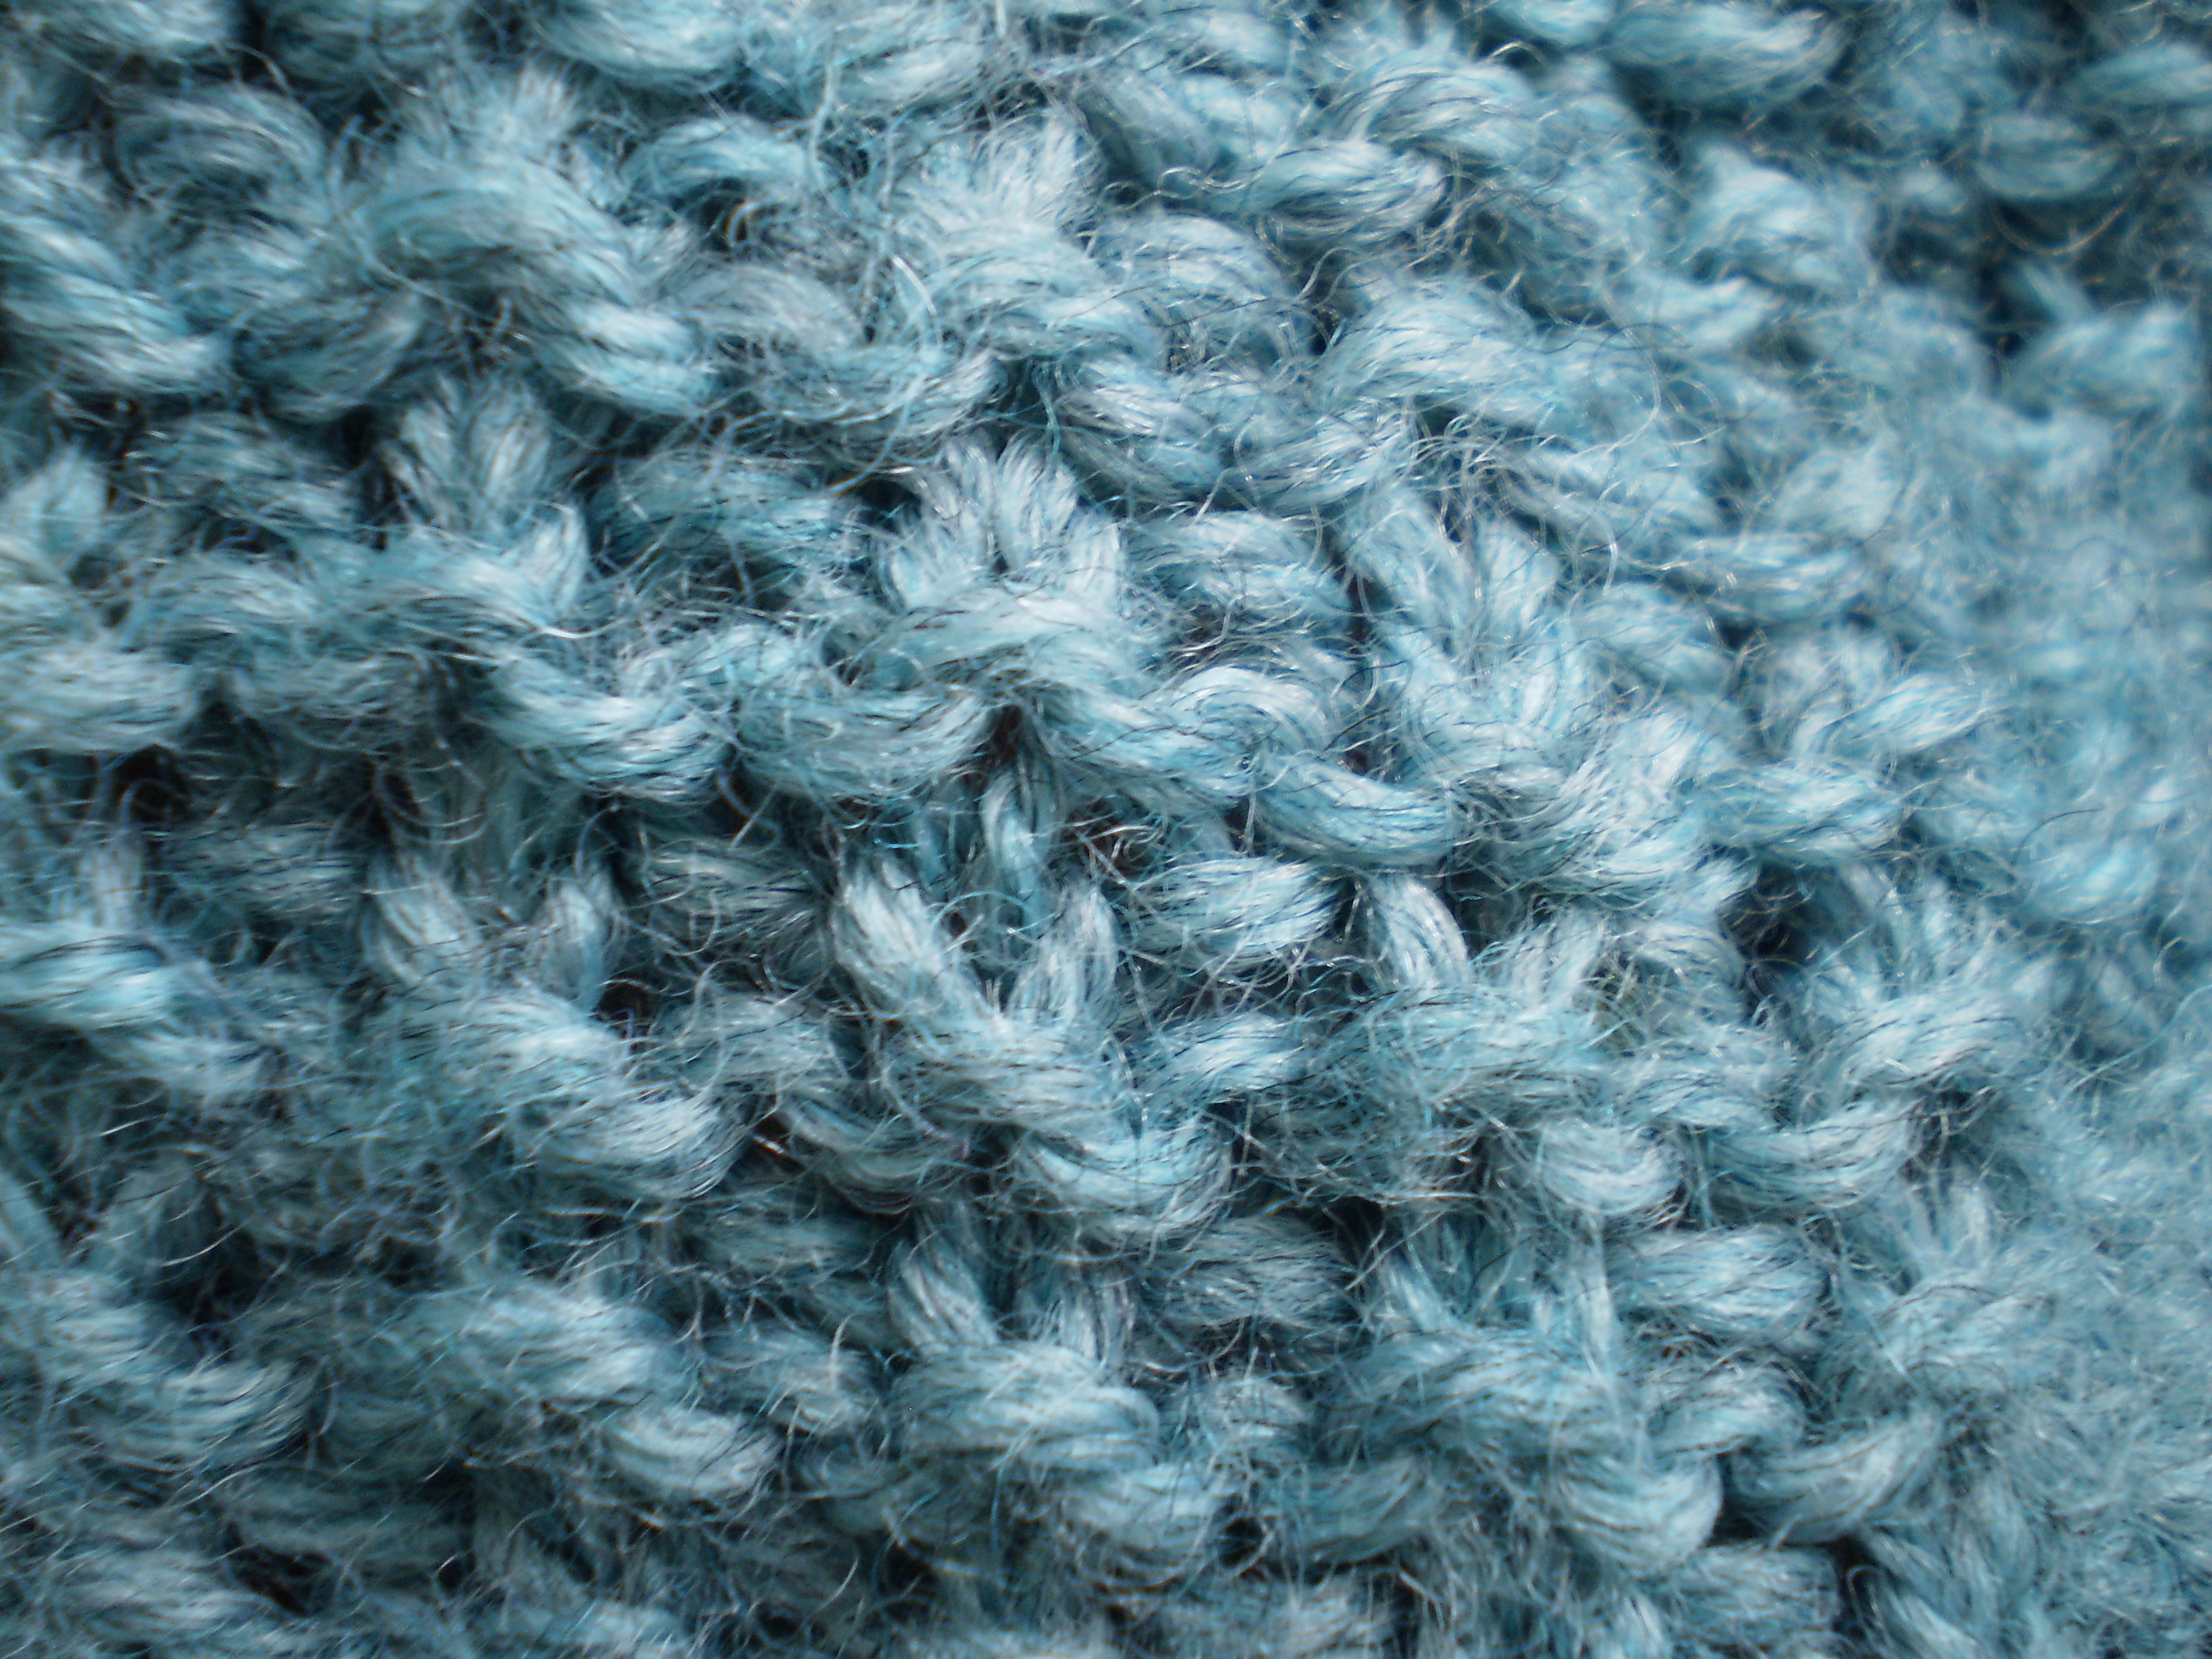
OK, so here’s my pull. It was kind of fluffy, because it got velcro-ed, so I tugged on it a little bit to straighten out the fibers in the pulled ply so I could see what I was doing.
 This pull is only one ply of yarn, so I have to get the rest of the plys out of the knitting to match this problem one. Look at the knitting at the bottom of the pull to find the rest of the strand of yarn. See it there? (If your pull is a whole strand of yarn, skip this step.)
 I used a tiny sock needle to really yank on the yarn to get the whole strand to match the single ply. This will seem wrong, disturbing and uncomfortable. It will look worse before it gets better, but I promise, it will get better.
 Now, here comes the fun part. Look to either side of your super-duty pull. See where the stitches are all tight from all your yanking? Use your needle to start moving yarn from the pull to either side and loosening up the stitches.
 Keep moving along, tugging the tight stitches and evening out the yarn to make them match the rest of your knitting.
 Once you’ve gotten most (if not all) of the pull redistributed, give your knitting a good tug in a couple of direction to set the stitches.
And, voila! Your sweater is good as new!

I have a store bought woven sweater I have to do this with. Love your pic tut on the method.